
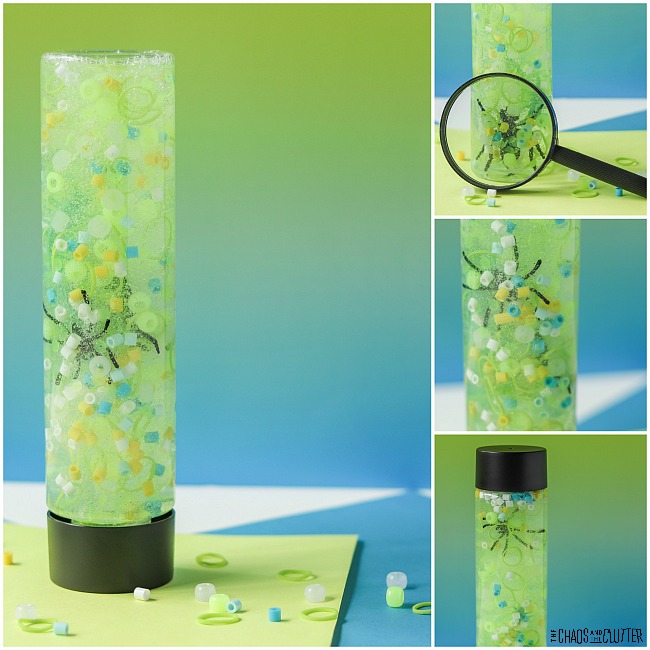
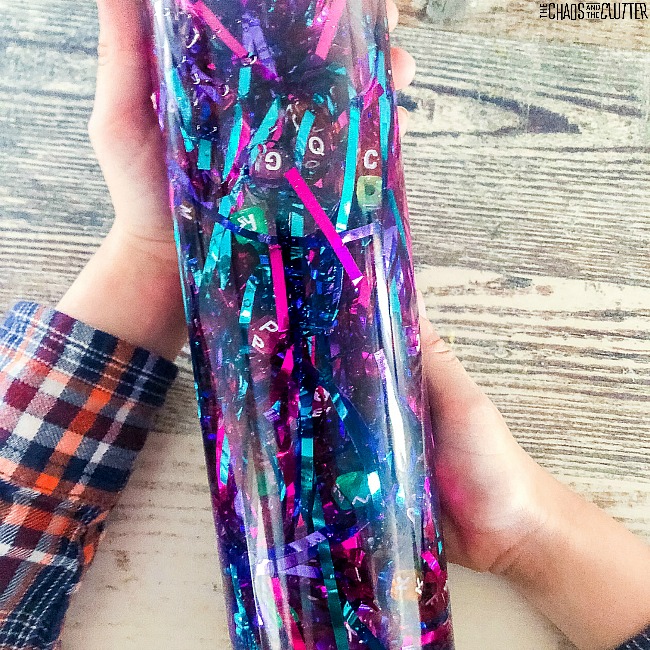
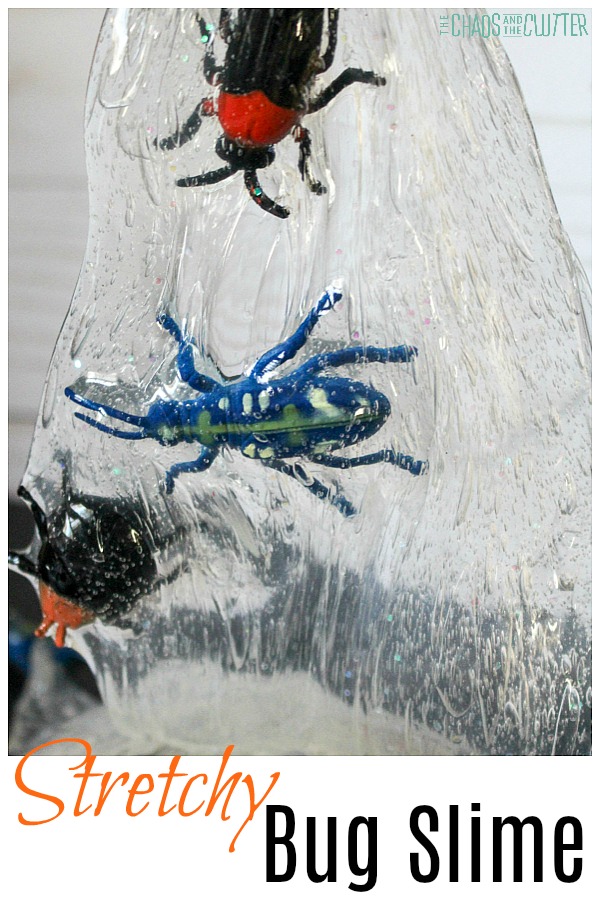
This bugs sensory bottle is almost too beautiful to play with! The colours are very inviting. Kids are generally fascinated with insects. This is a great vehicle for that.
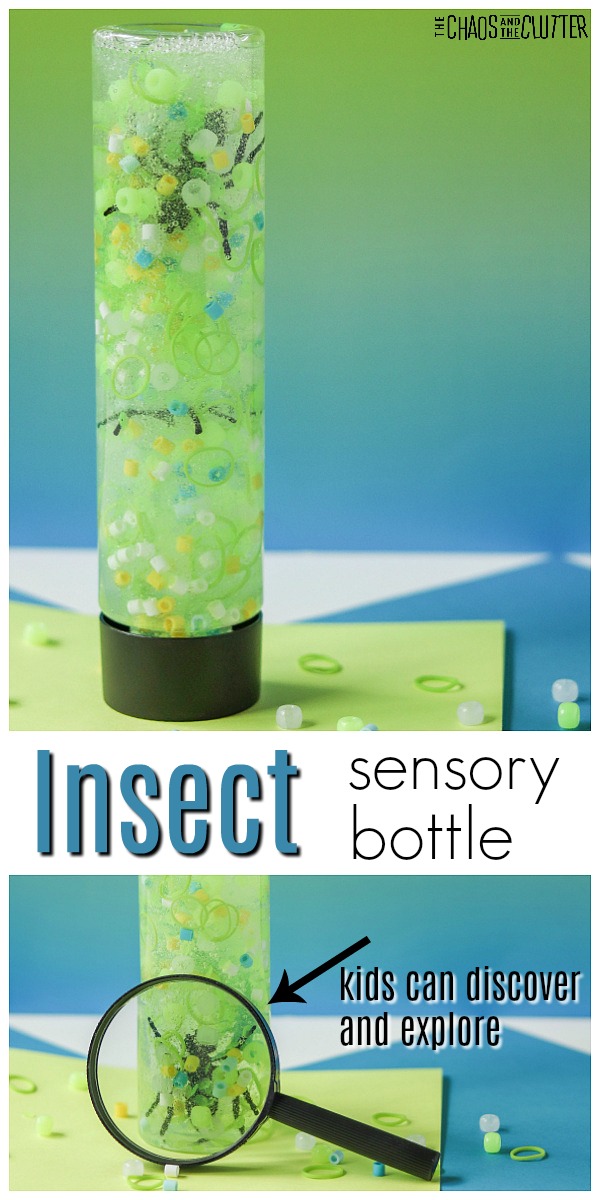
Bugs Sensory Bottle:
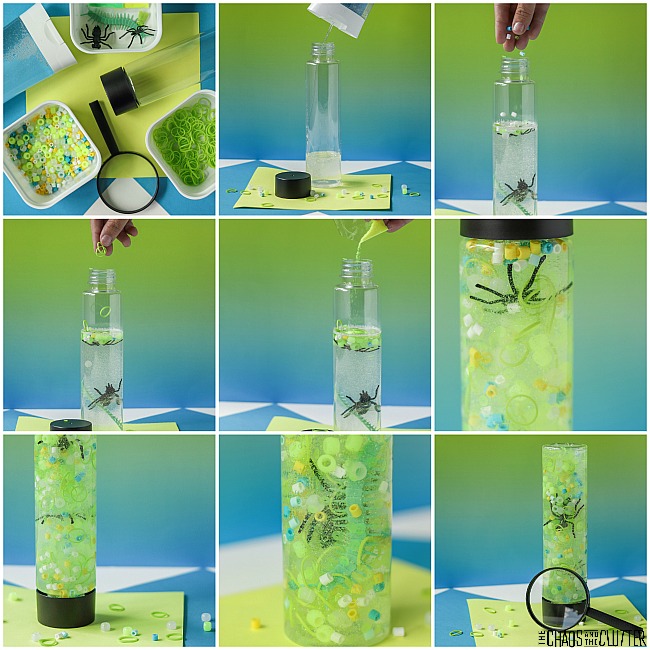
Supplies needed:
- Voss style empty water bottle
- clear dish soap*
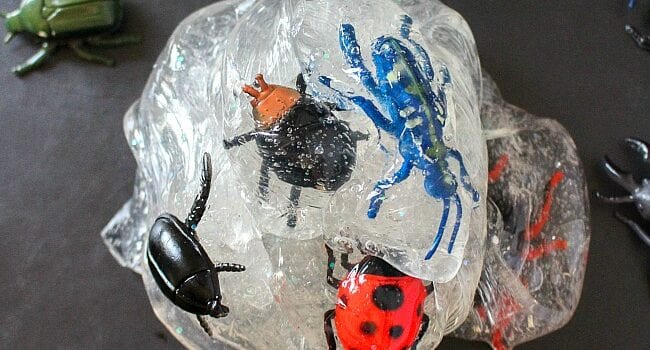
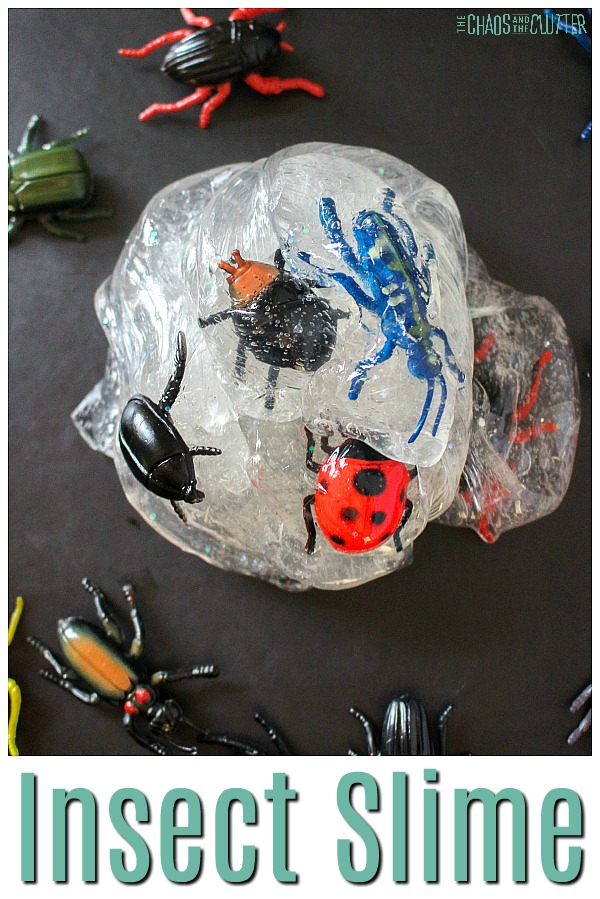
- small plastic bugs
- spider ring
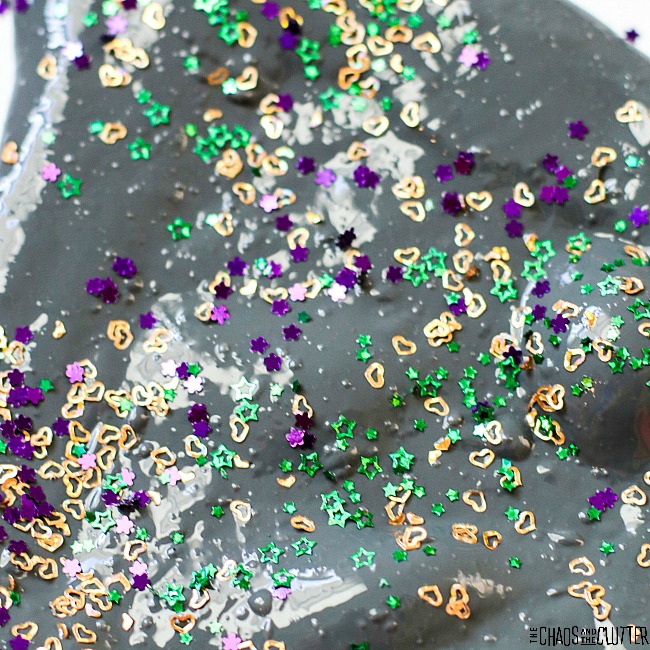
- yellow and green glitter
- various types of yellow, white, and blue beads
- green mini rubber bands
- super glue
- magnifying glass
*any dish soap will do, but I like the thickness of Dawn
 Instructions:
- Pour clear dish soap into the bottle until it’s about 2/3 of the way full.
- Add in the plastic bugs and the spider ring.
- Sprinkle the beads in.
- Next, drop the small rubber bands in. This is a great way to make use of all those leftover rainbow loom elastics that are floating around your house!
- Pour the glitter into the bottle.
- Fill any remaining space with water.
- Super glue the lid in place and allow to dry before handing it over to your child to play with.
- Set out a magnifying glass so that kids can explore all the different insects in the bottle.
This sensory bottle contains small parts. Even though the lid is glued in place, kids are determined little creatures and they may be able to find a way to get it open. As with all sensory activities, adult supervision is required at all times.
Learning and sensory benefits:
Unit study – This discovery bottle can be used in a bug/insect unit study. Students can jot down their observations of the different bugs such as number of legs, antennae, and other visual characteristics.
Sensory – This activity provides visual and proprioceptive sensory input. The use of the magnifying glass adds more of a visual element. The complimentary colours are pleasant to look at and will encourage kids to explore what they can find. 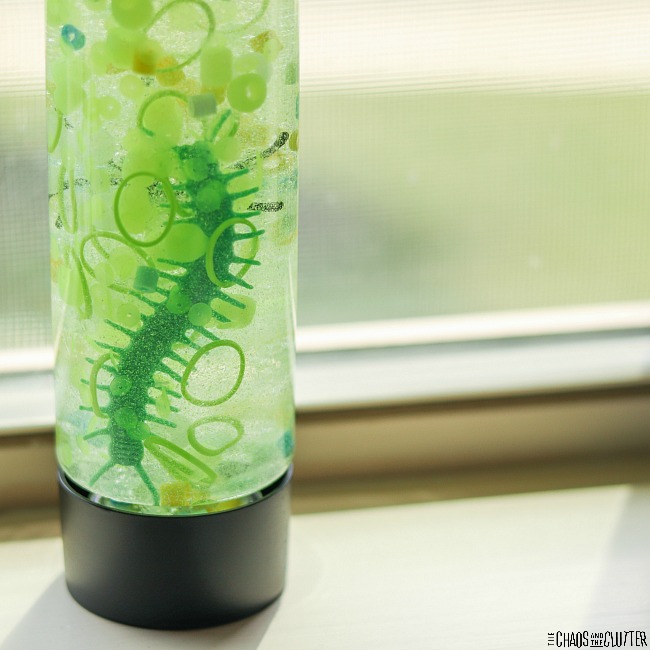 Math – Your child can count how many of a certain coloured bead there are or how many bugs are in the bottle. They can also guess if there are more green beads or blue beads etc.
Science – You can set out books about bugs to encourage children to do their own research and learning.
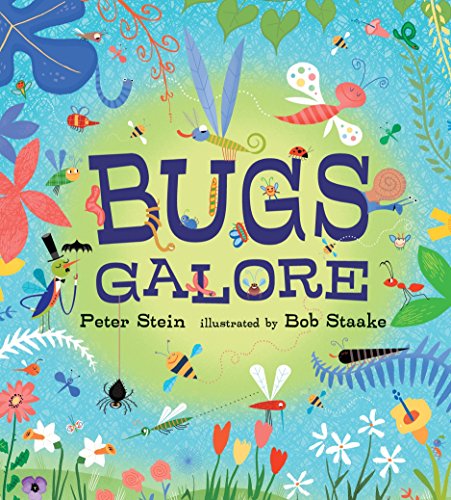
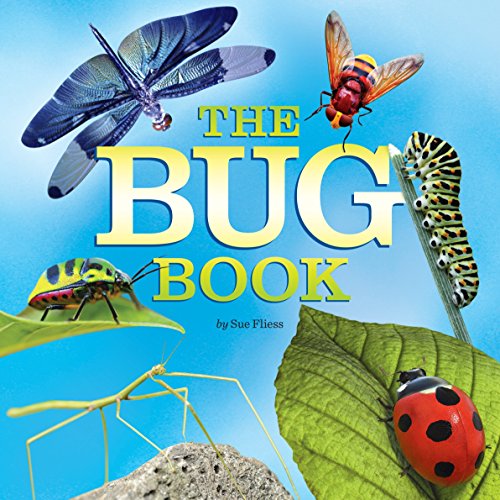
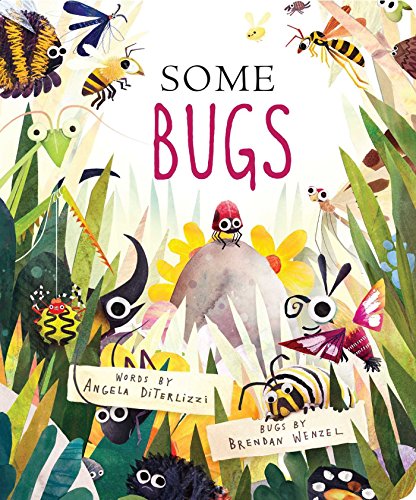
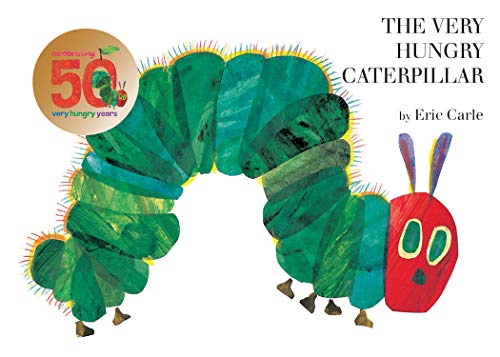
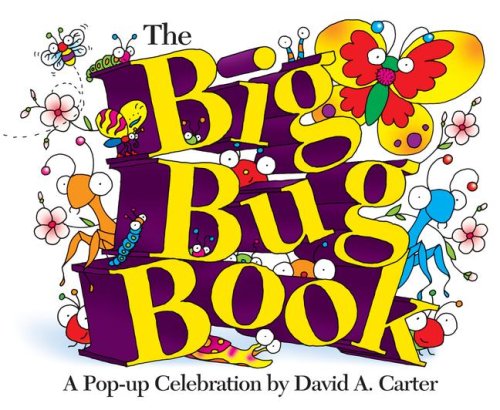
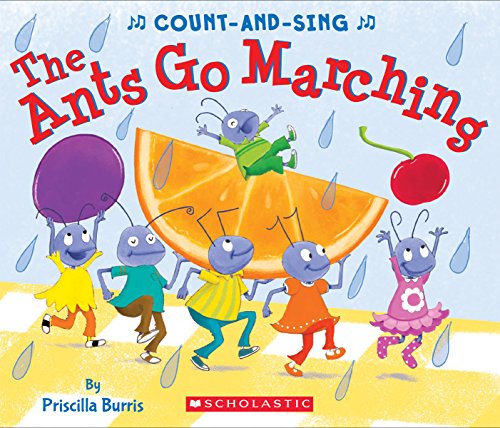
Bugs Galore The Bug BookSome BugsThe Very Hungry CaterpillarThe Big Bug Book: A Pop-up CelebrationThe Ants Go Marching: A Count-and-Sing Book
Communication – Vocabulary and communication skills are encouraged by kids asking questions and talking about their observations. They can talk about how quickly the glitter falls, what they feel and see, what types of bugs are included, what colours they observe, and any other things they notice.
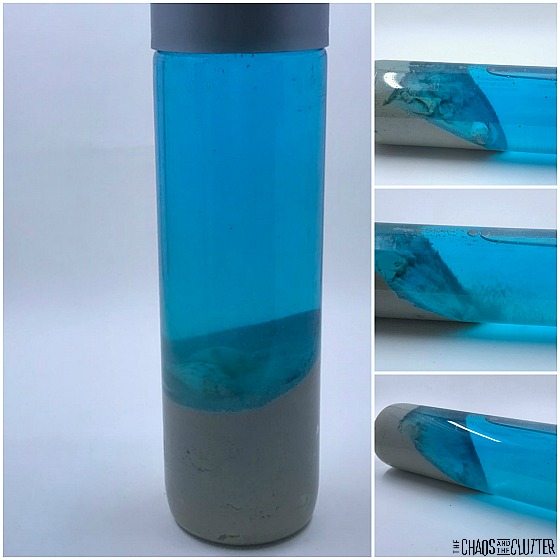
Check out these other sensory bottles:
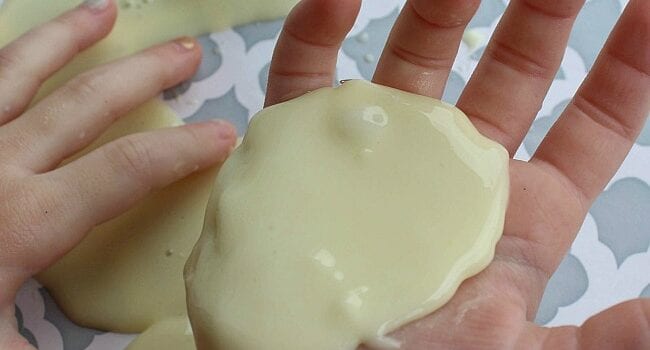
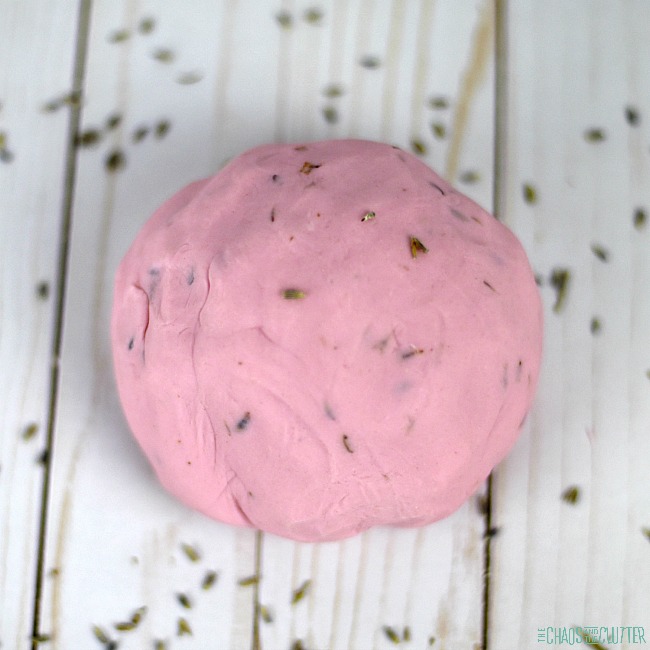
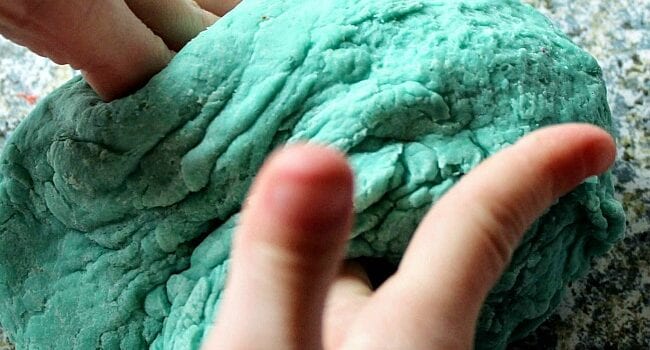
 My kids love slime that is super stretchy. That is one of the things we really like about this particular recipe. It has a good amount of stretch to it.
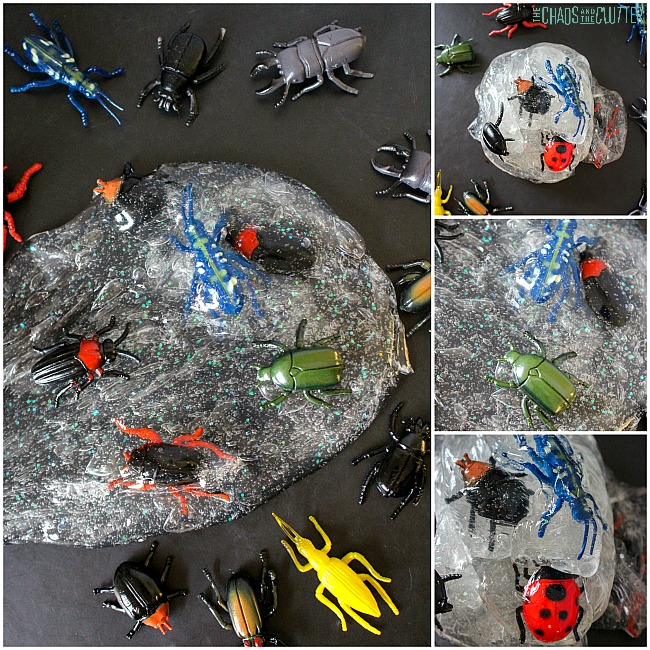
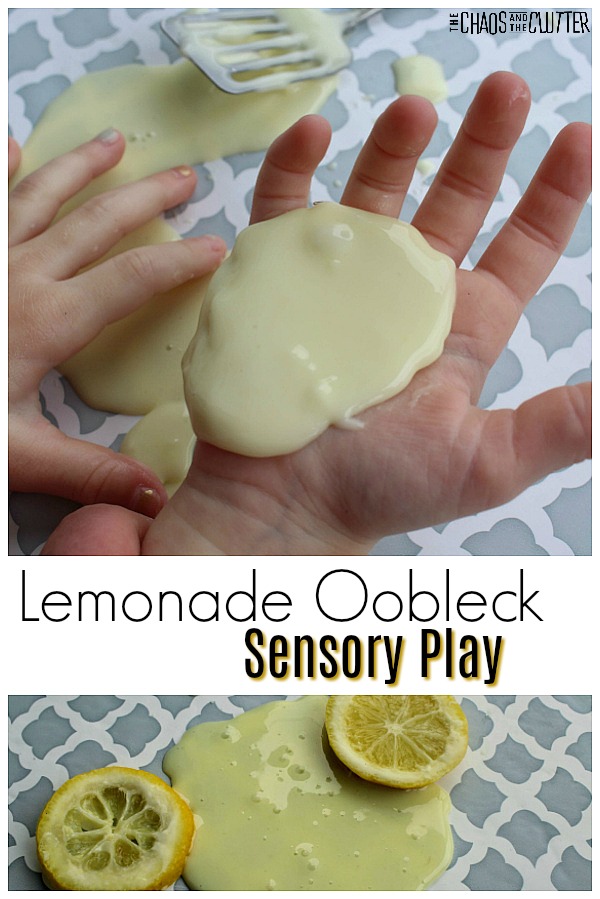 This scented sensory play recipe is so simple. Only 3 ingredients are needed. Kids can easily make this oobleck slime themselves. Younger ones that need mom or dad’s help can help to measure and pour by stirring.
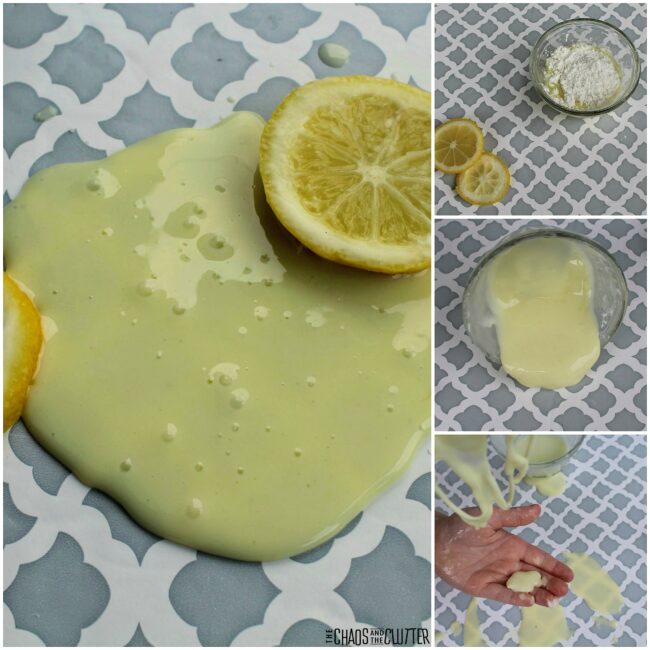
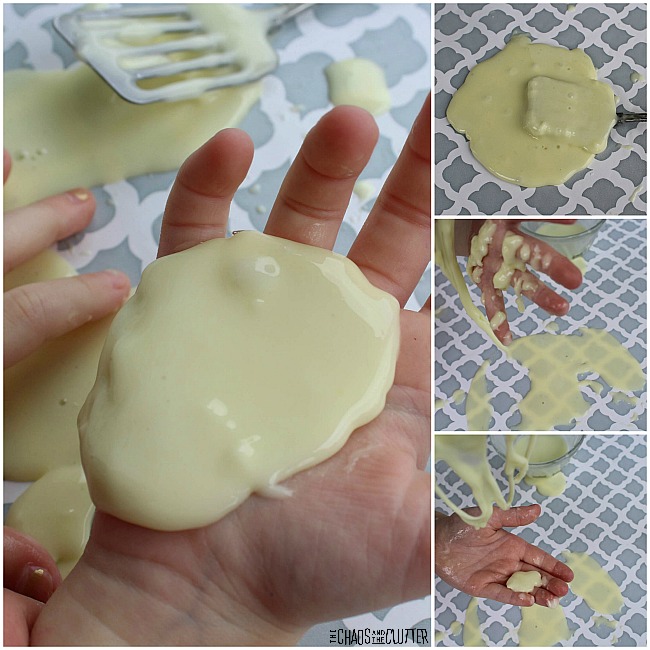 Sensory – Lemonade oobleck provides visual, tactile, proprioception, and olfactory sensory input. Children can see (visual) the colour and explore shape as it changes from liquid to solid. They can touch (tactile) and feel the texture of the state of matter change.
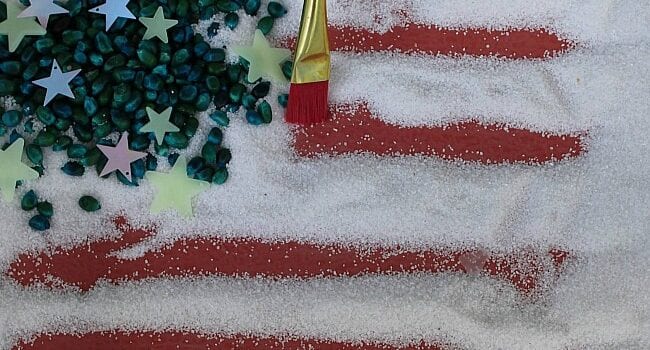
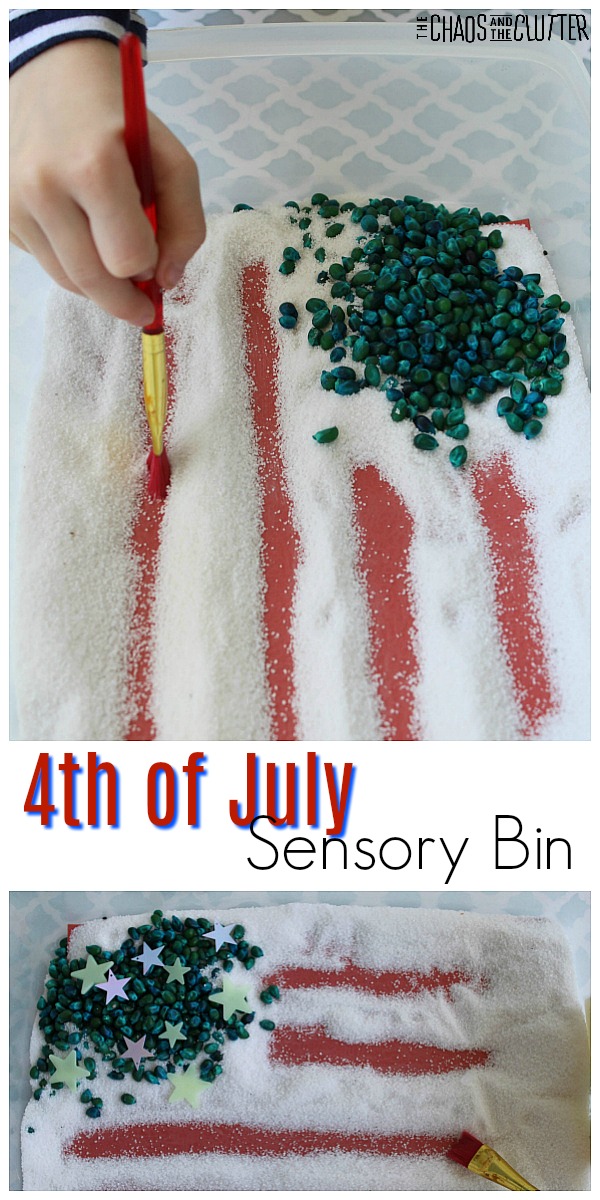
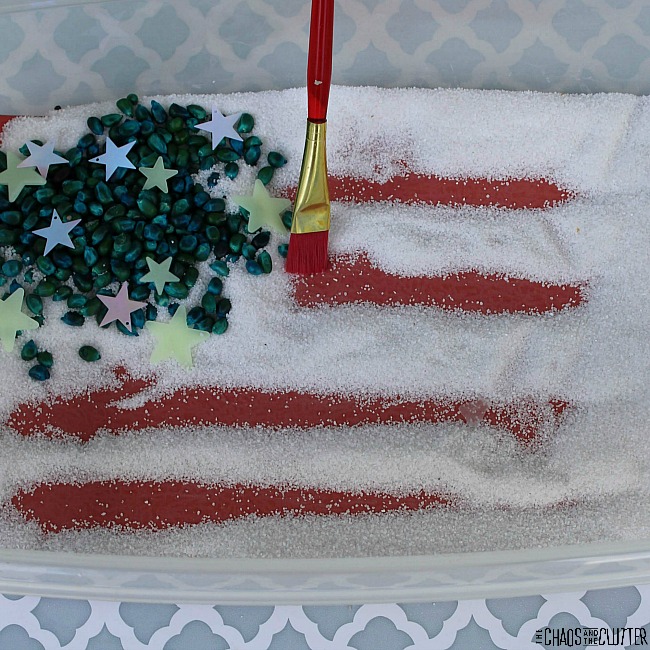
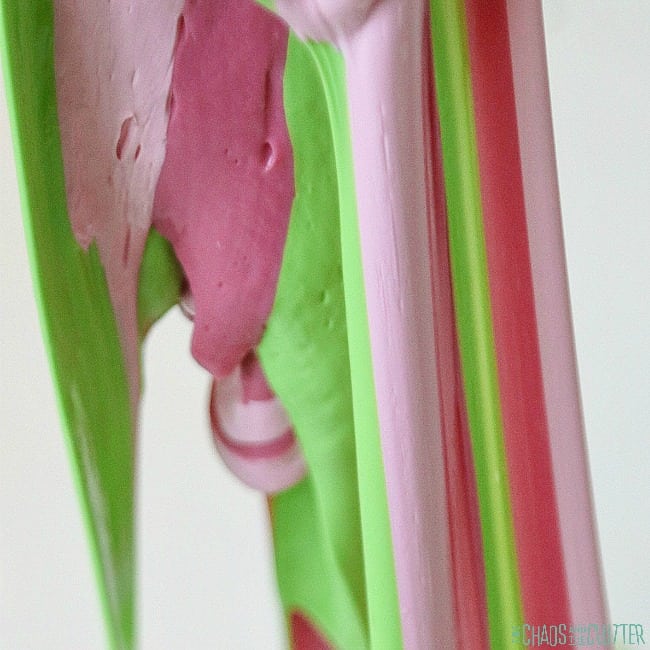
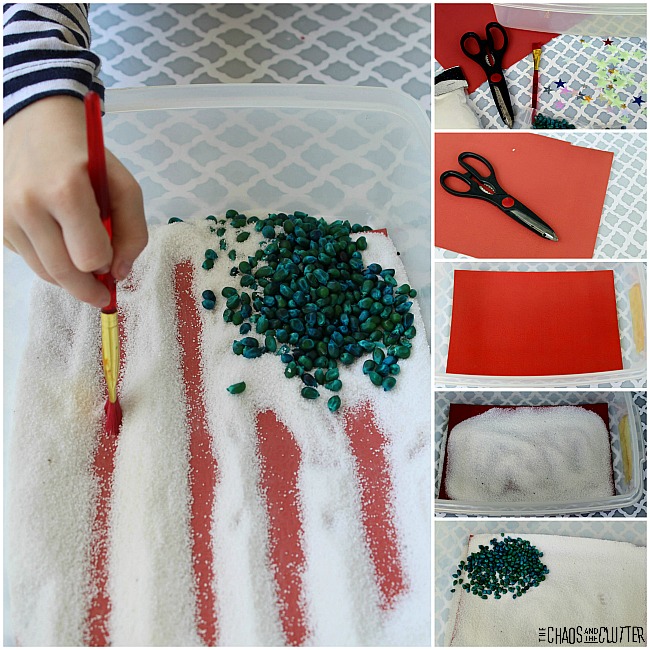 This patriotic sensory play activity is also a good way to talk to kids about the American flag and its history. You can read a book such as
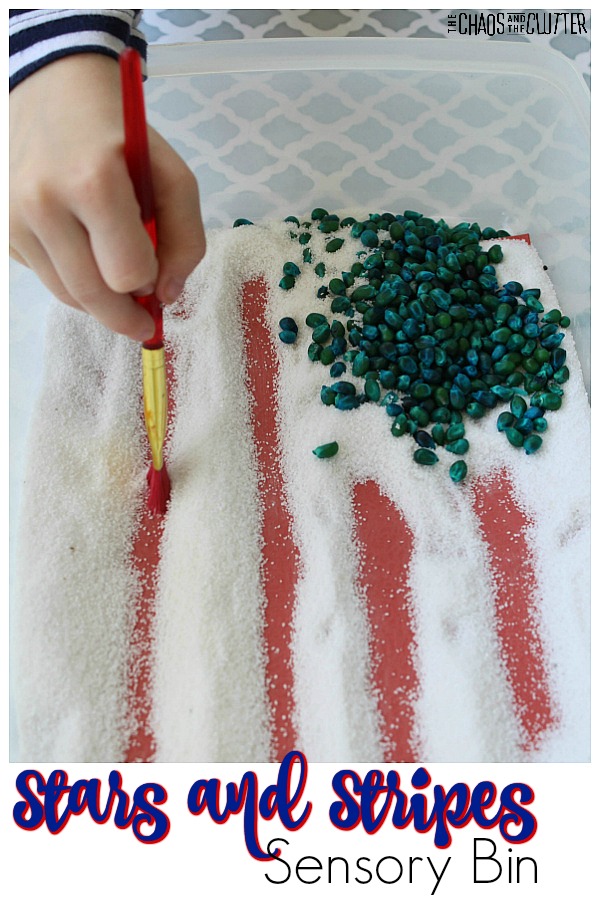


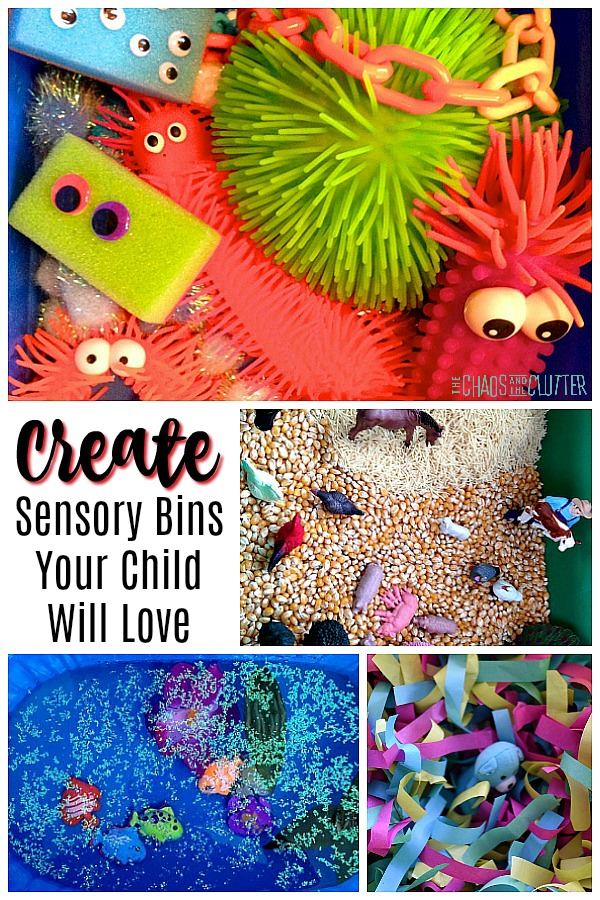 Not all sensory bins are created equal. While just plunking a few items in a bin will still result in your child enjoying some sensory input and play, there are ways that you can create sensory bins your child will love.