• Skip to primary navigation
  • Skip to main content
  • Skip to primary sidebar
  • Home
  • About
  • Contact
  • Privacy + Terms
  • Affiliates

The Chaos and the Clutter

  • Facebook
  • Twitter
  • Pinterest
  • Google Plus
  • RSS
  • Email
  • School at Home
  • Sensory
    • Sensory Processing Disorder
    • Awesome Sensory Play Activities
      • Sensory Bins
      • Sensory Bottles
      • Sensory Bags
  • Family Games
    • Minute to Win It Games
  • Special Needs Parenting
    • Childhood Anxiety
    • Reactive Attachment Disorder
    • Sensory Processing Disorder
  • Store
  • Course Login

Archives for 2019

Why You Should Befriend a Special Needs Mom

By Sharla Kostelyk

Maybe you’ve seen that mom at the playground or in the halls at school. Maybe you’ve passed by her many times and thought of saying something, but you haven’t. Here’s why I think you should befriend a special needs mom.
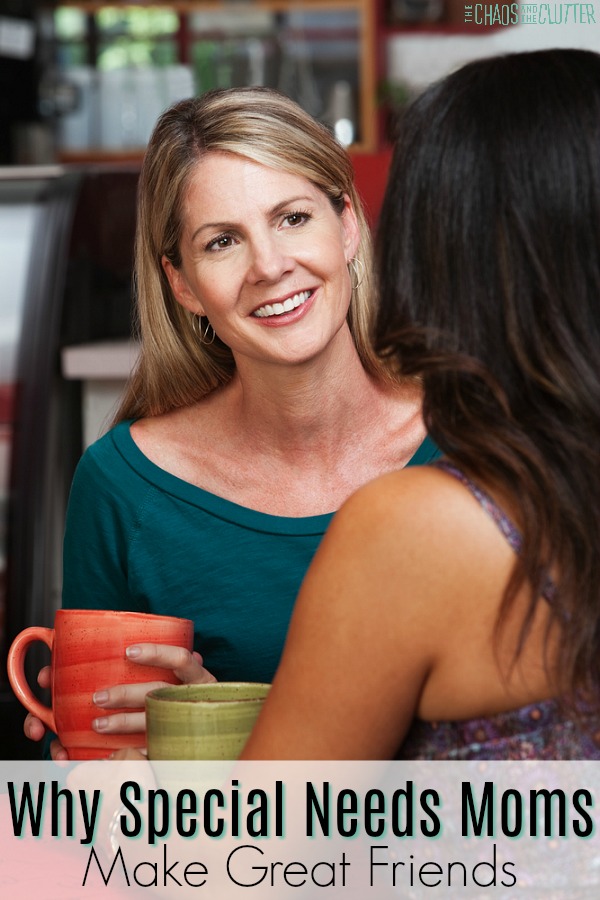
 Why Special Needs Moms Make Great Friends #specialneedsparenting #specialneeds

She needs you.

It’s tough being the mom of a child with special needs. She needs allies, laughter, and support. She also needs a break from time to time.

It’s lonely when the other moms exclude you. It’s not usually done intentionally. Perhaps, the other moms aren’t sure what to say. They may not want to offend.

Be that brave woman who walks over to the other side of the room and invites that special needs mom in.

You have more in common than you may think.

Moms are moms. Whether they are parenting a “neurotypical” child or a child with special needs, all moms fiercely love their son or daughter.

You both want what’s best for your child. Both of you worry and wish. And you do the very best that you can.

You can learn from her.

There is so much you can learn from her. She’s probably an expert in advocating for a child. I’m sure she’s got pointers she can share with you when it comes time for you to talk to the school or a doctor about your child.

If you’re looking for someone who can model patience, chances are, she’s it!

Here are just a few of the other things she can probably teach you:

  • celebrating the small wins
  • being in the moment
  • compassion
  • research
  • stretching a dollar
  • accessing resources
  • finding joy in little things

It will give you new perspective.

Listening to a mom with a special needs child share her heart, her worries, her struggles with you will give you a new perspective for your own.

It’s not that your problems aren’t still valid. In fact, be sure to share those with her as well because chances are, she has built a lot of compassion over the years and may also have some wisdom to share that could help. But growing your awareness of the challenges others face, it will give you a different perspective on things you face in your own life. It will help you not to “sweat the small stuff” and to appreciate what you have.

She’ll be a loyal friend.

Chances are, she lost her share of friendships after her child was diagnosed. Some because they weren’t sure what to do or what to say and some because they didn’t want to put in the effort. Others out of guilt that their children were healthy. And many because she could no longer attend events or because their child was considered “difficult”.

Losing those friendships was painful. It was another hurt she wasn’t expecting at a time when she most needed support. But it taught her to appreciate the friends that stuck by her. It showed her the value of true friendship. She doesn’t take that lightly.

You’ll be inspired.

Special needs moms aren’t perfect. They fail as often as you do. But it’s the getting back up every time that is inspiring. When all the odds are stacked against them, they only seem to grow stronger.

It will make you a better mom.

After spending time with your new friend, you’ll find yourself appreciating the little things with your kids. Her compassion and patience will rub off on you.

Every friendship enhances your life and contributes to your self care which makes you able to give more to your children.

The moms I know who are parenting special needs children are determined, inspiring, committed, loving, generous, giving, and smart. I am better for having them in my life.

As a special needs mom myself, I’m also undeniably grateful for the “regular” moms who I can call friends. They have blessed me abundantly by making me feel included and reminding me what it feels like to laugh.

If you are a special needs mom, I encourage you to befriend both other special needs moms and other moms. You can learn so much from both.

Join me for a free 5 part email series, Little Hearts, Big Worries offering resources and hope for parents.

What Special Needs Moms Need From You 12 Things a Special Needs Mom Needs from you

Filed Under: Special Needs Parenting

Seek and Find Sensory Bin

By Sharla Kostelyk

This seek and find sensory bin is so simple and yet, so much fun. Kids will love searching through to find their hidden items. This Seek and Find Sensory Bin is so much fun for kids! #sensorybins #sensoryplay #sensory
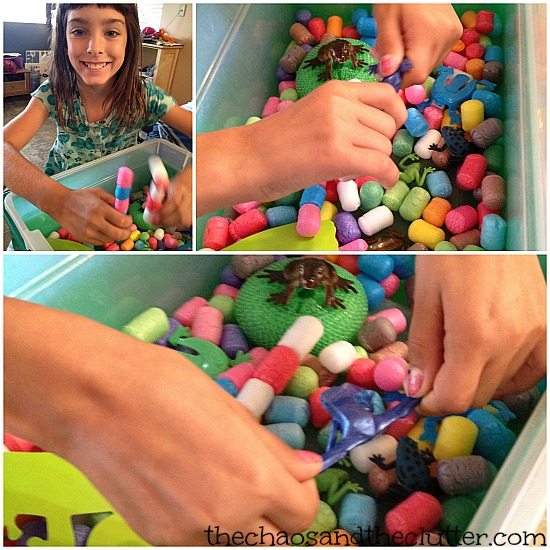
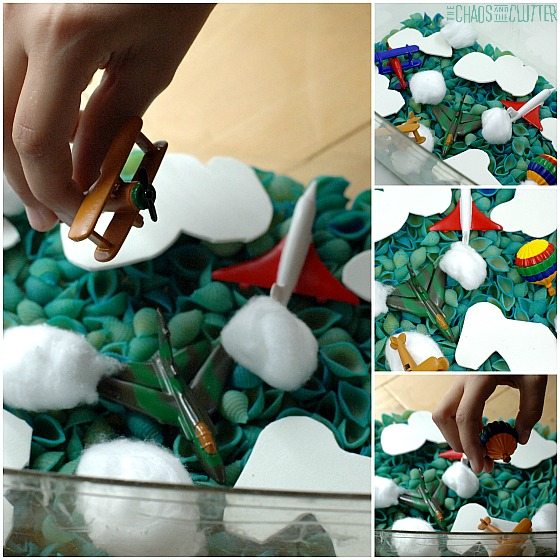
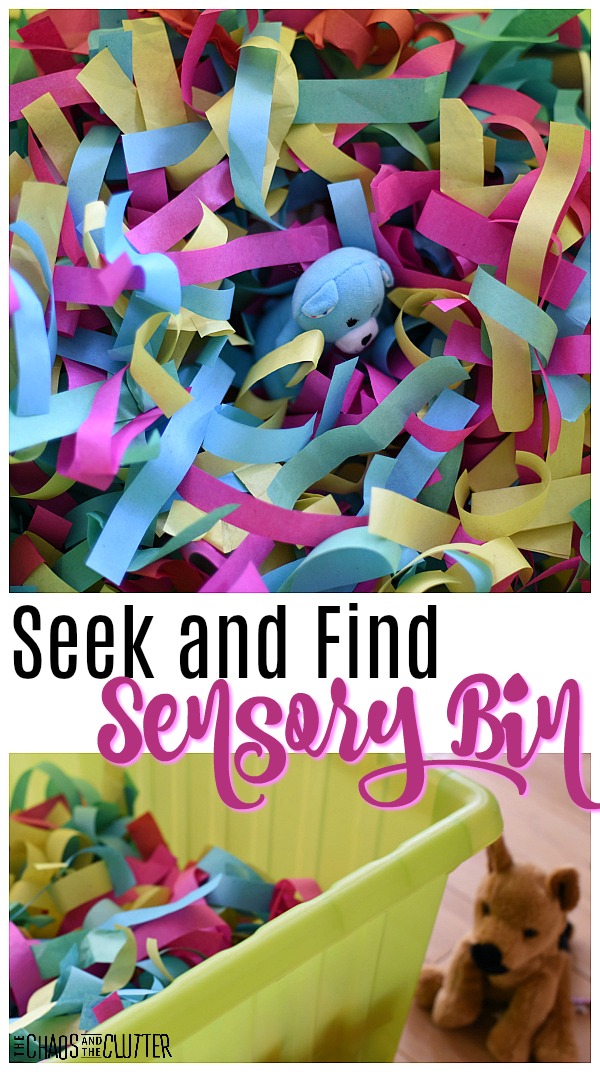
For younger kids, this sensory bin can almost mimmic a peek-a-book type of effect. You can drop a toy in and it disappears until they find it and it reappears again.

Seek and Find Sensory Bin:

Materials needed:

  • multicoloured paper shreds (we actually got ours from inside those confetti popper things, but you can cut or tear tissue paper, use paper scraps, or leftover Easter grass)
  • small toys or stuffed animals
  • plastic bin 
  1. Fill a plastic bin with paper shreds.
  2. Toss in a few favourite toys or stuffed animals.
  3. Have your child go “seek and find” the toys.
  4. Throw the toys back in and repeat!

Seriously, that’s it! I love the simplicity of this sensory bin.

You don’t need to put too much thought into this. You don’t need expensive sensory items. This is just a wonderful, simple activity that kids will enjoy.

For younger kids, this bin is a great way to reinforce the concept of object permanence. They see the object before it goes in, then it disappears under the paper shreds, but they are able to find that it still exists when they find it again.

It has that peek-a-boo type of factor that kids just love!

As long as this is used with supervision and the toys used are large enough not to be a choking hazard, this sensory bin is safe for use with babies and toddlers.

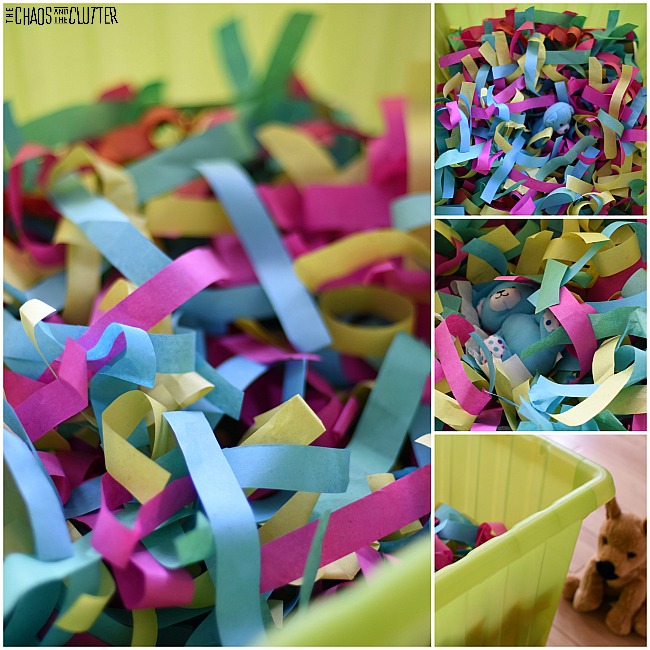
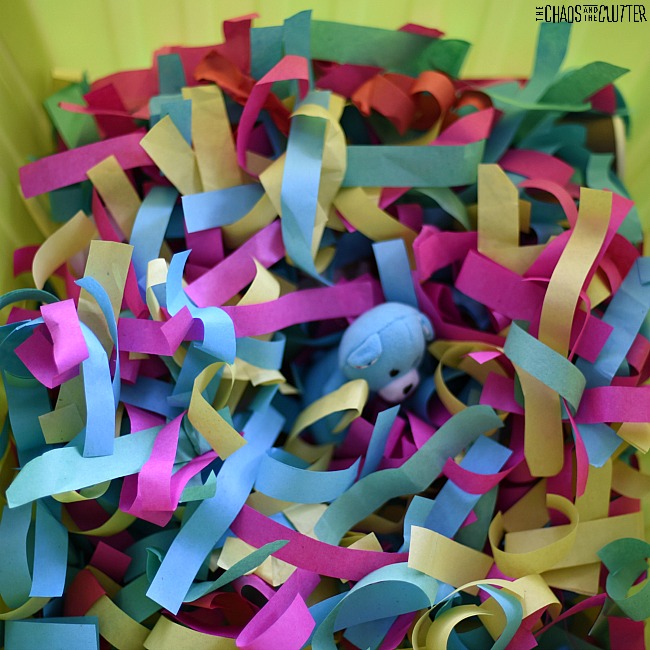
This activity engages the visual and tactile sensory systems. If you place the bin on the ground and your child bends over to go through it looking for their toy, then it also engages the vestibular sensory system. And the crunching of the paper can provide auditory input as well.

Check out some of our other sensory bins:

Seaside Sensory Bin 

Calming Lavender Sensory Bin Calming Lavender Sensory Bin

Sky Sensory Bin 

Filed Under: Sensory, Sensory Bins Tagged With: sensory play

Van Gogh Inspired Starry Night Sensory Bottle

By Sharla Kostelyk

My oldest daughter loves Vincent Van Gogh’s Starry Night artwork. This starry night sensory bottle is inspired by that piece. Van Gogh Inspired Starry Night Sensory Bottle #sensorybottle #sensoryplay #sensory #kidsactivities #starrynightThis sensory bottle is extremely lightweight. This makes it perfect for keeping in the vehicle or in a backpack. Having easy access to a sensory bottle can help kids to stay calm when they need it. 

Starry Night Sensory Bottle:

Materials needed:

  • plastic water bottle (I like the Voss ones because of the shape and the wide spout)
  • 12-inch long, 3-inch wide yellow ribbon
  • ½ cup Royal Blue holographic glitter
  • ½ cup Royal Blue glitter
  • 5-10 gold glitter foam stars, varying sizes
  • funnel
  • Super Glue, optional

VOSS Water BottlesVOSS Water BottlesVOSS Water BottlesRoyal Blue Holographic GlitterRoyal Blue Holographic GlitterRoyal Blue Holographic GlitterRoyal Blue GlitterRoyal Blue GlitterRoyal Blue Glitter

Directions:

  1. If using a Voss water bottle, empty the bottle of water and allow the bottle to air dry.
  2. Fold the ribbon and slide it into the sensory bottle.
  3. Add stars (these may have to be folded in half depending on the size).
  4. Add both glitters to the bottle using the funnel.
  5. Replace the lid and play! (see note below)

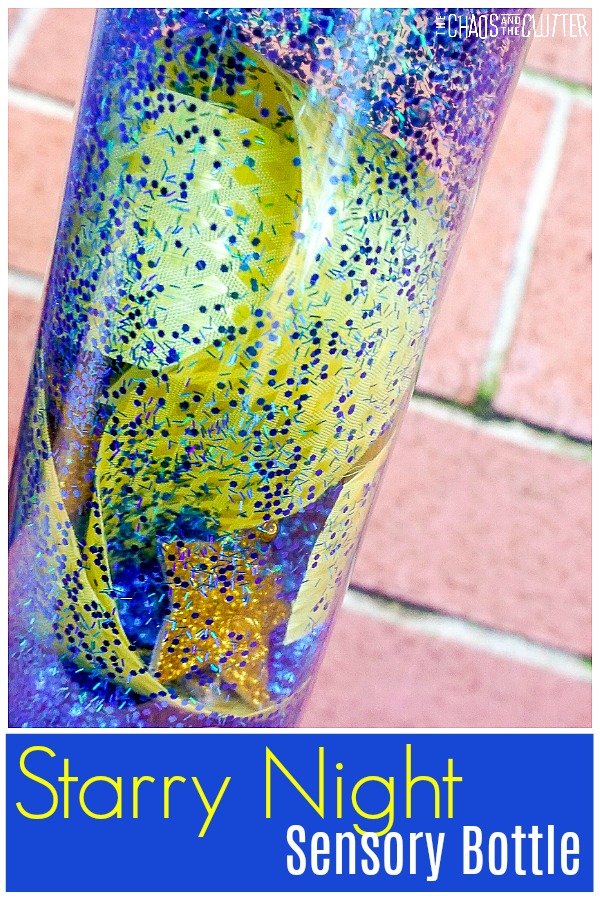
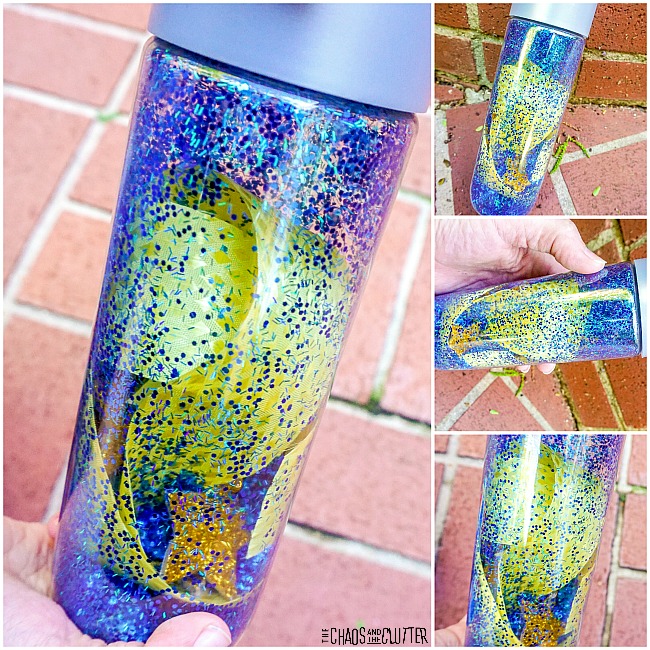
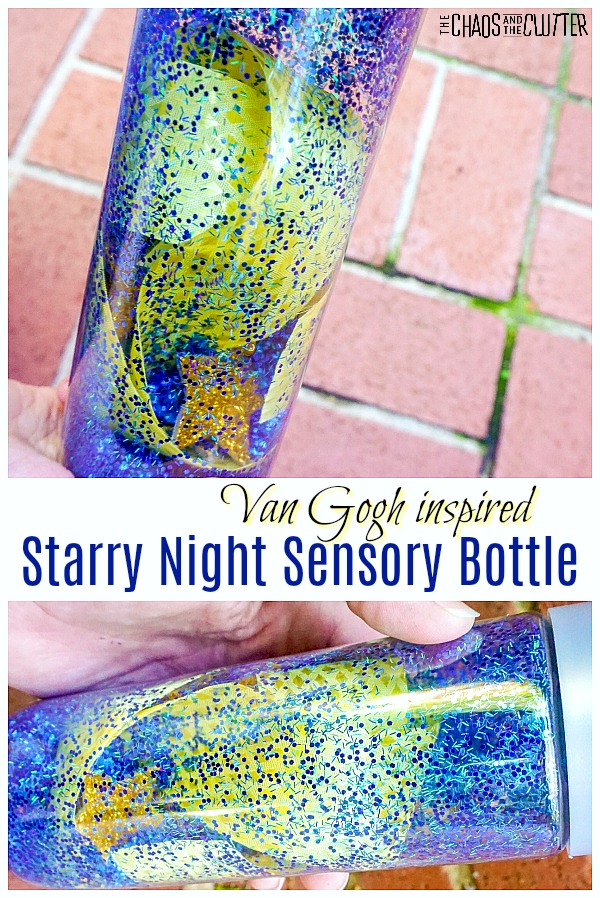
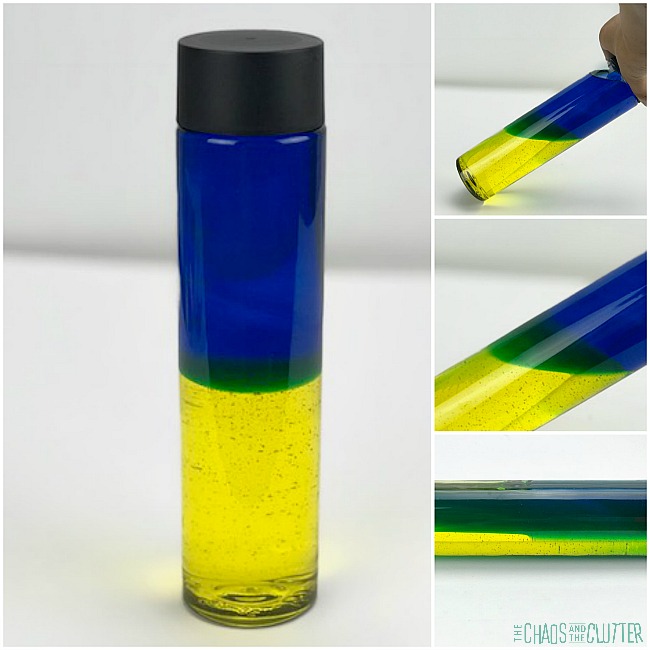
Note: If you are intending to use this sensory bottle with small children, seal the lid with super glue before screwing the lid back on. You will need to give the super glue at least 15 minutes to dry before handing it over to a child.

Learning Objectives for the Starry Night Sensory Bottle:

Sensory – Describe the sound the bottle makes, describe the feel of the bottle (light, heavy, etc), describe what you see when you shake the bottle. This bottle provides good visual sensory input. 

Math Skills – Counting stars, counting the different size stars, sorting the stars by size.

Science Skills – Over time, watch how the glitter sticks to the side of the bottle, creating a new “painting” with every shake.Fine Motor – Getting the ribbons and stars into the sensory bottle can be a challenge for little hands. Not only will this challenge their fine motor muscles, it is also an excellent chance to problem solve and discuss what happens if you fold the ribbon, push it in with your fingers or just try to get it to “fall” into the bottle.

Language Skills – Have kids use descriptive language to explain what the ribbon, stars and glitter look like, what sizes the stars are, how long the ribbon is and what they are experiencing. Each child can practice pragmatic language for rules on how to use the sensory bottle and how to share the sensory bottle (informing, demanding, stating, and requesting).

Art Appreciation – Look together at images of the original Starry Night painting by Vincent Van Gogh. Discuss how the sensory bottle is similar and how it is different.

Check out these other sensory bottles:

Nature Sensory Bottle

Rainbow Rainfall Sensory Bottle

Ocean Sensory Bottle

Filed Under: Sensory Tagged With: sensory bottles, sensory play

Toilet Paper Roll Bird Feeder

an empty toilet paper roll covered in birdseed on a table sprinkled with bird seed. A white plate is visible in the background.

By Sharla Kostelyk

I love this project. It’s simple. Kids love it. It only requires a few supplies. It provides opportunities for learning and sensory input. And who doesn’t have an empty toilet paper roll?!

In fact, I love this project so much that we make these pretty much every year. The kids enjoy all aspects of it. Bird Feeder Sensory Science #sensoryplay #sensory #sensoryscience #science #toiletpaperrollcrafts
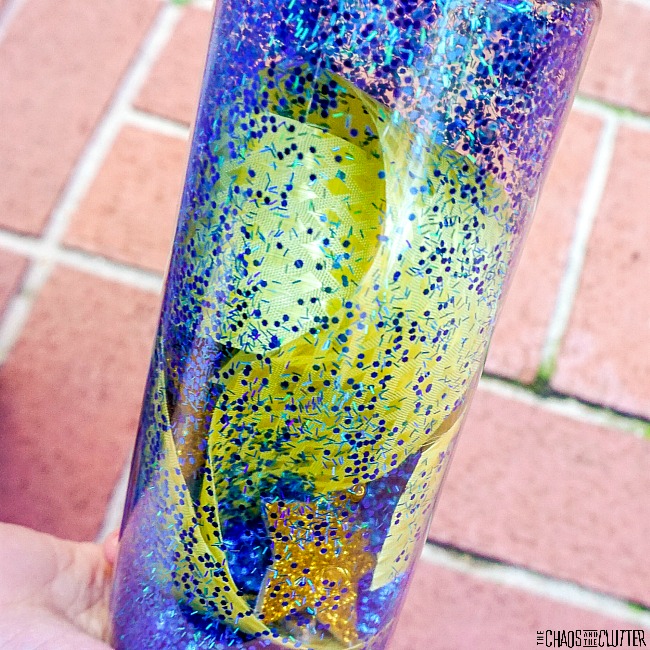
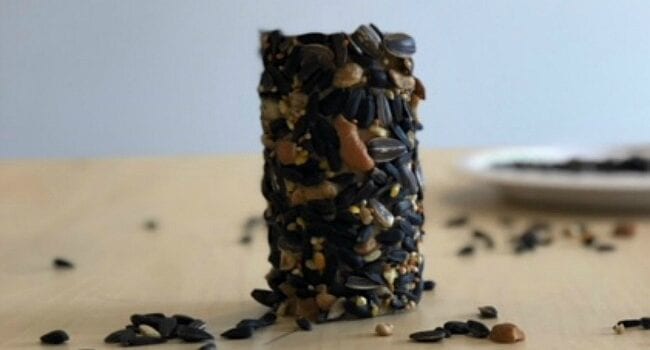
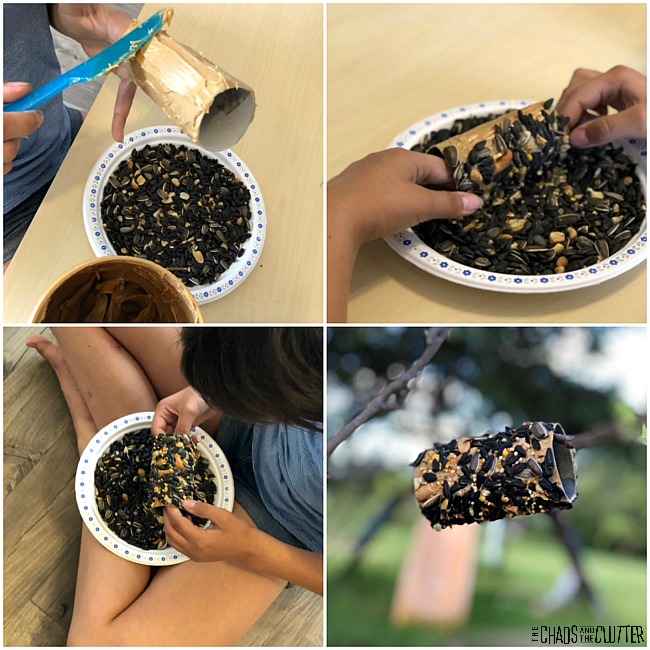
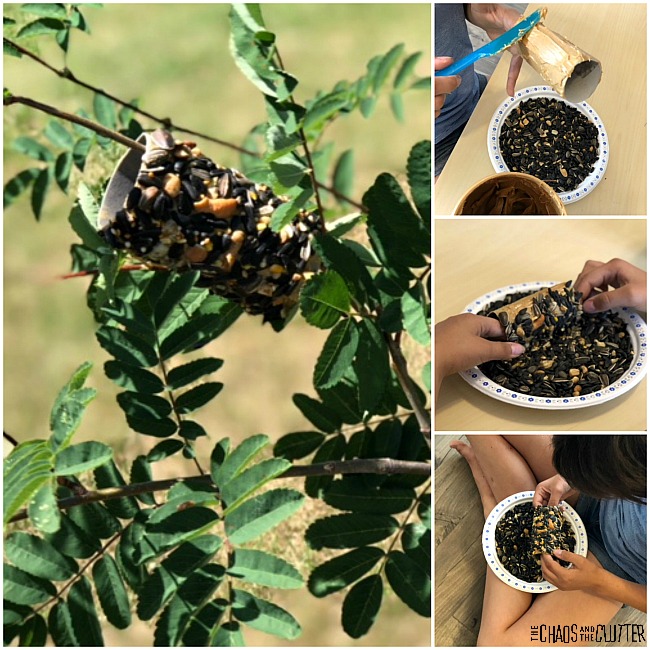
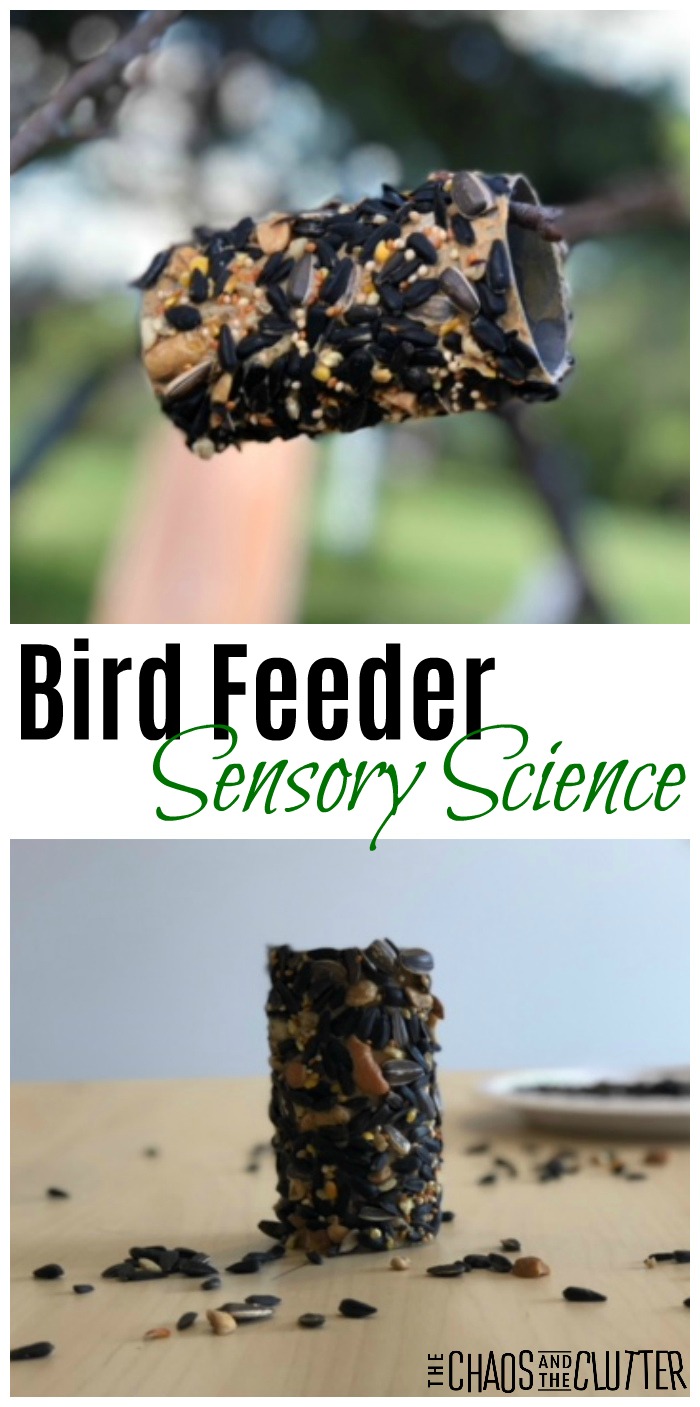
One thing I like about this project is how it engages the senses. The peanut butter and the bird seed both give olfactory (smell) sensory input. Rolling it in the bird seed and hanging it on a tree are excellent tactile input. And both making the bird feeder and later observing the birds who use it are visual.

If you have a child who is very sensory avoidant when it comes to touching textures or when it comes to smells, they may prefer to watch someone else make the bird feeder and then enjoy observing it in action once it is complete. toilet paper roll bird feeder

How to make a toilet paper roll bird feeder:

Supplies needed:

  • empty toilet paper roll
  • peanut butter
  • bird seed
  • knife or spoon for spreading the peanut butter
  • plate or paper plate
  • optional: string

  1. Put a layer of bird seed onto a plate.
  2. Spread peanut butter on the outside of a toilet paper roll using a knife or spoon.
  3. Roll the toilet paper roll in the bird seed. Because of the peanut butter, the seeds will stick.
  4. Loop the string through the toilet paper roll and hang it on a tree or slip the toilet paper roll directly onto a tree branch.
  5. Observe the birds who come to feed.

How to make a toilet paper roll bird feeder without peanut butter:

With many schools being peanut and/or nut free, you may need to make this without peanut butter. You can use Sunbutter (a sunflower butter) in place of the peanut butter.

Expanding this activity:

Use a journal or notebook to write down observations of the birds, their sounds, their habits, their colour, their features or to draw pictures of the birds observed.

Using a book from the library or the internet, try to identify the different bird species that are visiting.

Make the bird feeder using a different type of bird seed and observe whether other varieties of birds visit.

Discussion Points:

What types of birds do you think will visit the feeder?

What types of birds are attracted to the seeds we are using?

This is one of the many activities included in The Sensory Science Book Volume 1. It contains ideas for the themes of Colour, The Senses, and Nature. Other Sensory Science Activities you may enjoy:

Colour Mixing Sensory Bottle

Sensory Smell Bottles


Filed Under: Crafts and Activities, Simple Science Tagged With: sensory play

Timon Inspired Lion King Slime

By Sharla Kostelyk

Timon is a meerkat from the Lion King movie. Timon is known for his love of bugs and most especially, grubs. This Timon inspired Lion King Slime will quickly be a favourite for kids who are a fan of the movie. Lion King Slime with Timon the Meerkat #slime #slimerecipes #sensoryplay #lionking
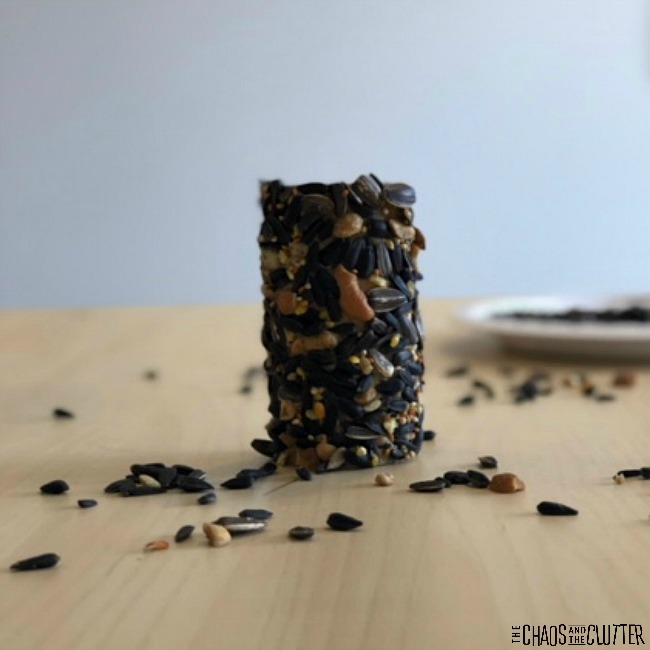
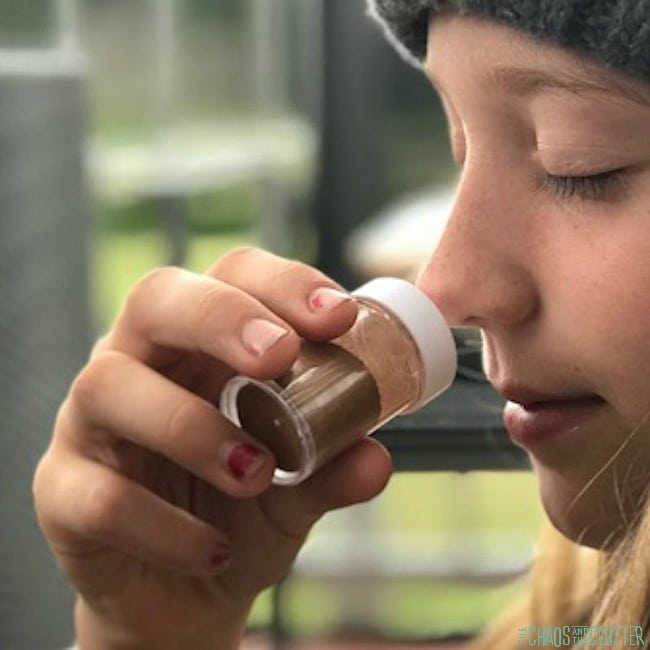
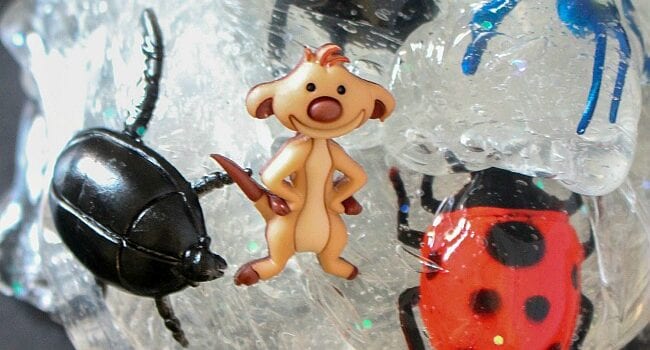
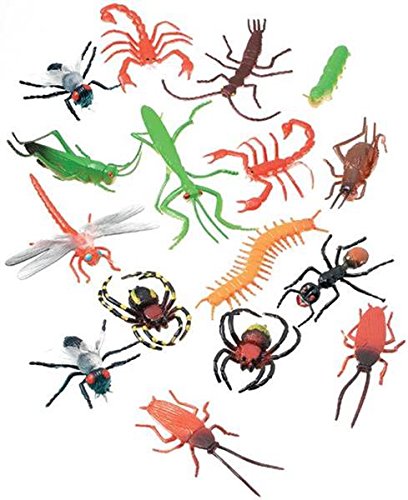
This beloved character is pretty cute, even if he does eat bugs!
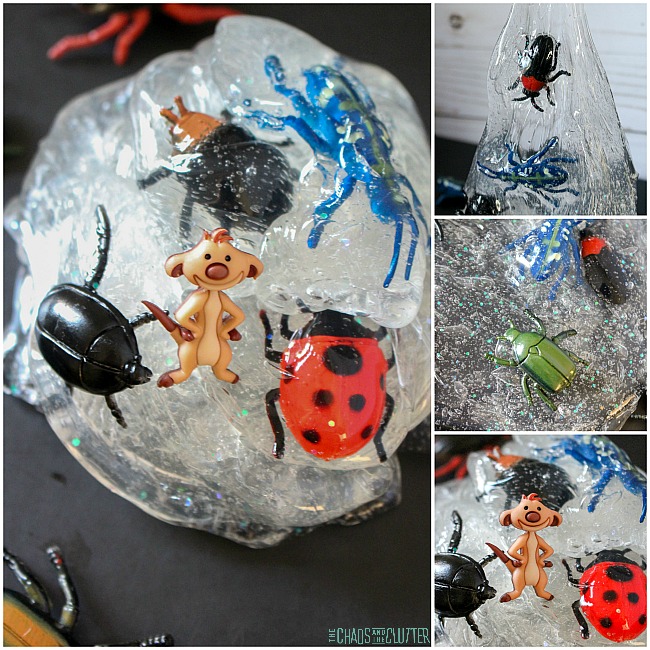
Timon Inspired Lion King Slime Recipe:

  • 5 oz. clear glue*
  • 1/2 cup water
  • 1/2 tsp baking soda
  • 1 Tbsp. contact solution (use a buffered contact lens saline solution)
  • plastic bugs
  • Timon mini figurine or cake pick

*A note about the glue: I find that when making slime, Elmers school glue works best. I’ve tried other glues and the results haven’t been as predictable as they are when I use Elmers for my slime. Instructions:

  1. In a bowl, pour 5 oz. of clear glue.
  2. Add 1/2 cup of water. Mix until the glue has broken up and is incorporated well in the water.
  3. Mix 1/2 cup baking soda in. Baking soda will help determine your slime’s thickness.
  4. Add 1 Tbsp. of contact solution. Mix. The slime will be ready to knead when the slime pulls away from the sides of the bowl. Contact solution is what makes the stickiness of the slime.
  5. Knead the slime. It will be too sticky at first. Just keep kneading it! If you have to, you can add a drop or two more of the contact solution, but be careful not to over-activate.
  6. Once your slime has formed, you can add your bugs and knead them inside.  
  7. Place the Timon figure in or on the slime.
  8. Store the slime in an airtight container when not playing with it.

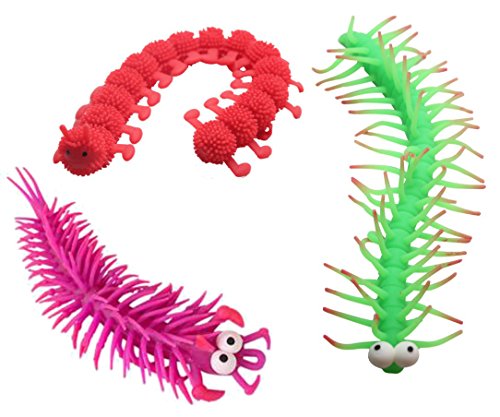
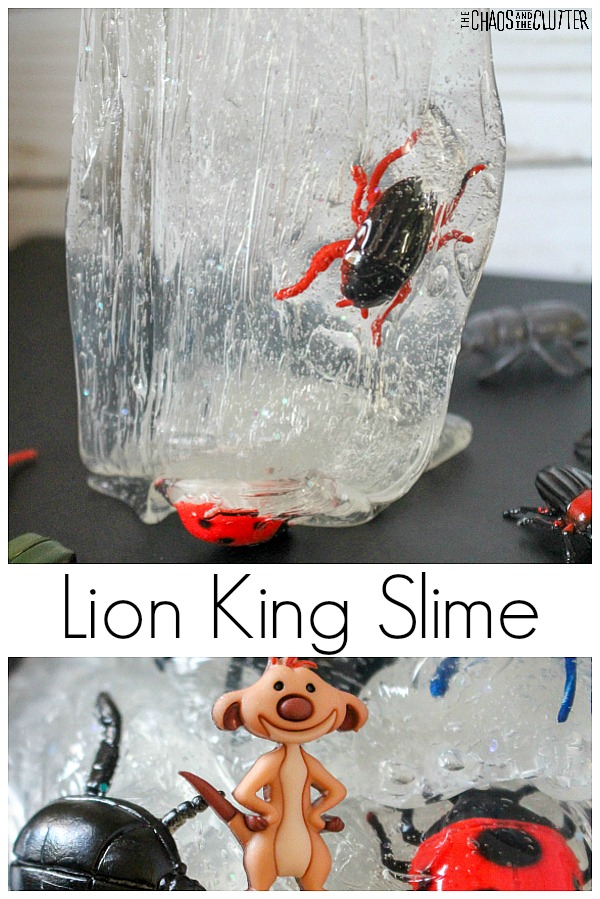
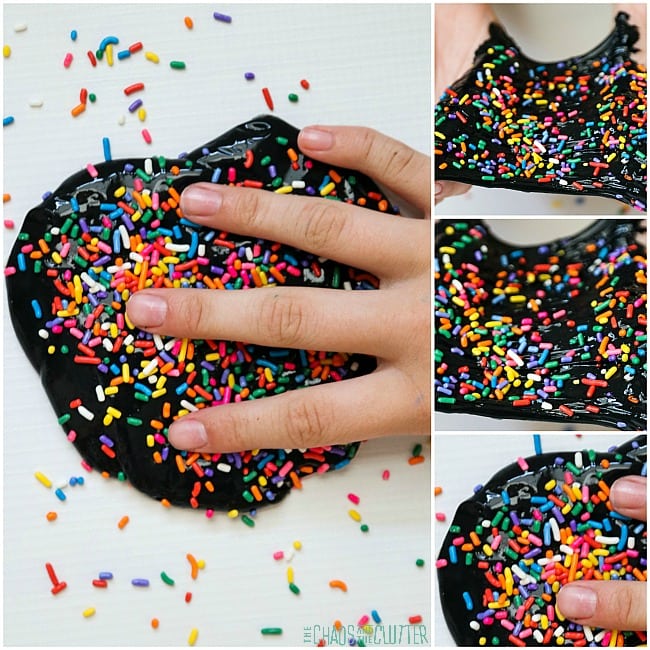
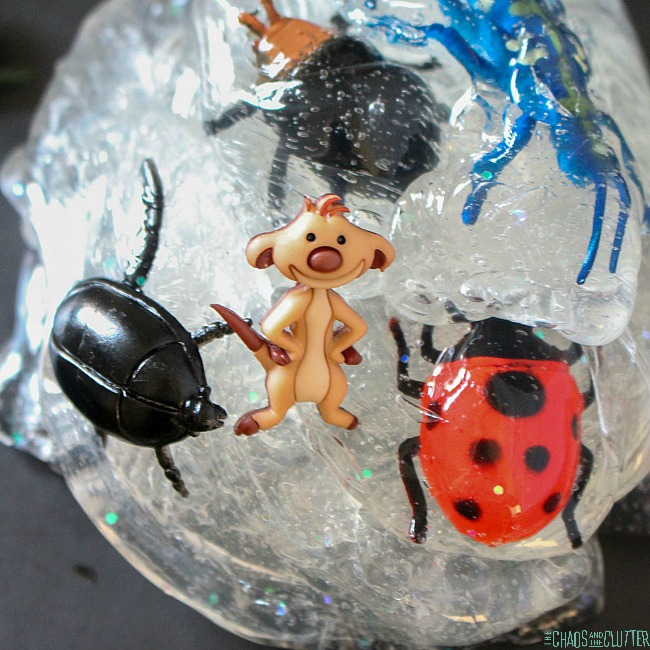
Slime is a great sensory play material. It allows for visual, tactile, and proprioceptive feedback. It can be an effective calming tool when used for proprioception. Ideas for doing this include:

  • stretching
  • pulling
  • kneading
  • pressing, pushing
  • squishing

Check out these other fun slime recipes:

Minnie Mouse Slime

Unicorn Fluffy Slime 

Rainbow Confetti Party Slime 

Filed Under: Sensory Tagged With: sensory play, slime

Insect Sensory Bin with Pasta

By Sharla Kostelyk

This Insect Sensory Bin is a great addition to a preschool unit on insects or Spring. It has a variety of textures and colours. This adds to both the visual and tactile sensory experiences.

Insect Sensory Bin #sensory #sensoryplay #sensorybins #sensoryscience
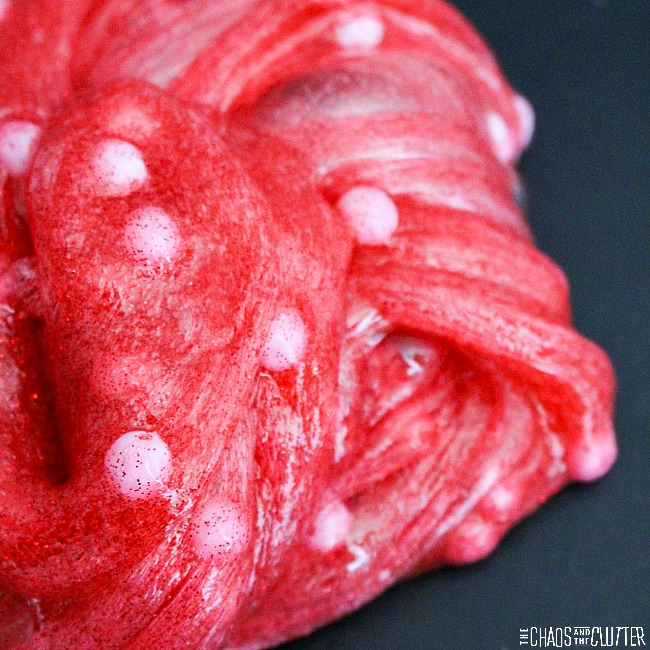
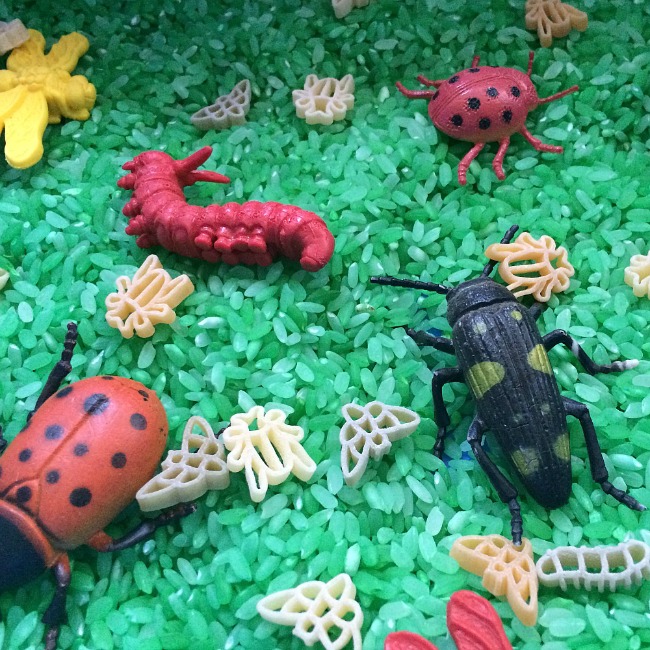
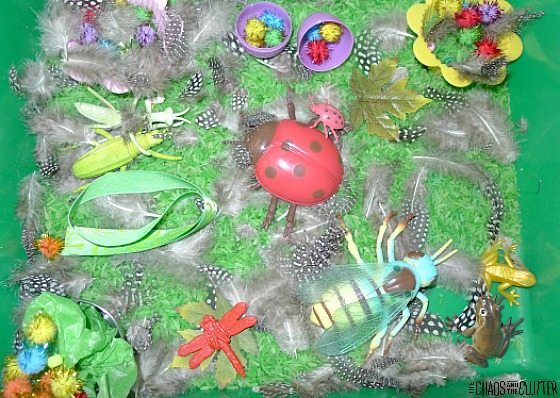
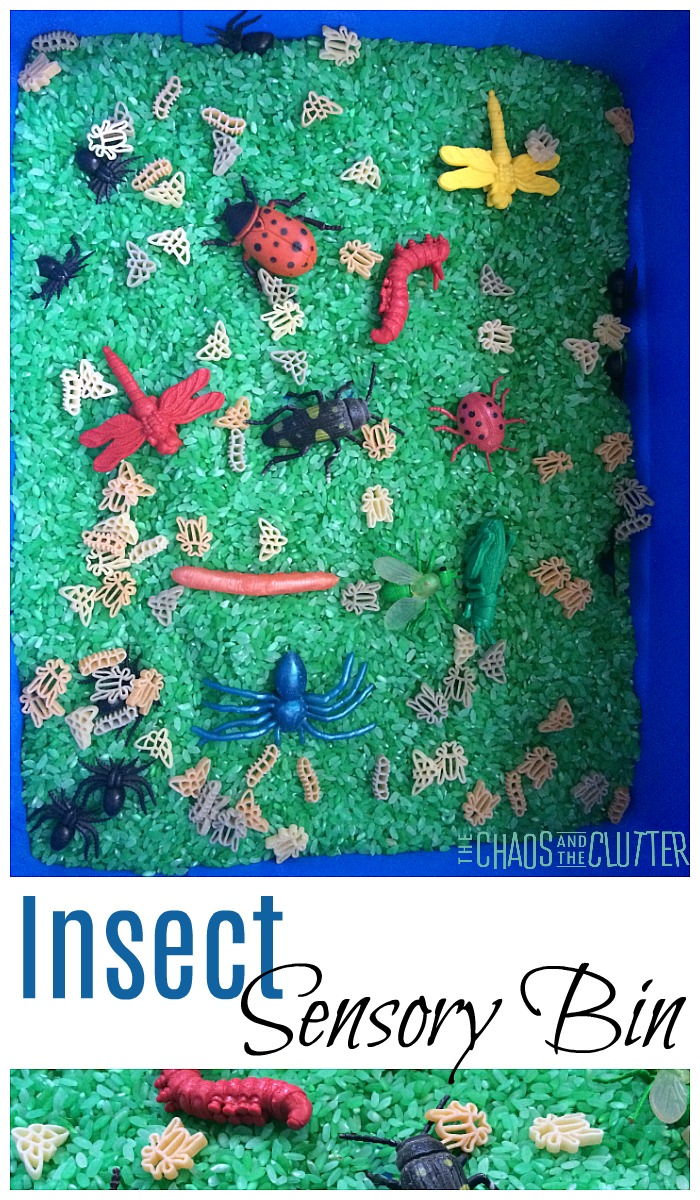
We used this sensory bin while studying insects in our homeschool. The kids enjoyed playing in it. The green rice looks like grass and made us look forward to Spring.

My kids were quite surprised that there was a pasta shaped like insects! We used some of the pasta for the sensory bin and cooked the rest for lunch. This created a gustatory (taste) sensory experience for them as well.This particular sensory bin was one of the ones we had made in our sensory bin swap. That meant that when the kids and I got to the insect unit in our science, I could easily just dump the contents of the bag into a bin and voila!

Insect Sensory Bin:

  • rice dyed green*
  • insect shaped dry pasta
  • toy bugs
  • stretchy insects
  • spiders (see note below on spiders)

*you can find a tutorial on how to dye rice for sensory play here.

Bug Shaped PastaBug Shaped PastaBug Shaped PastaStretchy BugsStretchy BugsStretchy BugsPlastic Bugs and ArachnidsPlastic Bugs and ArachnidsPlastic Bugs and Arachnids

A note about the dyed rice:

When you’re finished using this sensory bin, you can store the green rice in a resealable plastic bag. The green rice makes a nice sensory bin base for a lot of different themes because it looks like grass. You can also use it inside sensory bottles or bags.

Spiders are not insects:

Yes, I know that spiders are not an insect. The kids wanted to add them and we actually used it as a compare and contrast science lesson on why they are not an insect. If you prefer to have this be an authentic insect sensory bin, simply leave the spiders out!

Ideas to expand the learning:

  • Add magnifying glasses to the sensory bin.
  • Set out books about insects and let the kids try to match them up.
  • Add scoops, small cups, and tweezers for fine motor skill practise.

You may also be interested in checking out these sensory bins:

Frog Sensory Bin Frog Sensory Bin Play

Spring Sensory Bin 

Filed Under: Sensory, Sensory Bins Tagged With: sensory bin, sensory play

  • « Go to Previous Page
  • Page 1
  • Interim pages omitted …
  • Page 12
  • Page 13
  • Page 14
  • Page 15
  • Page 16
  • Interim pages omitted …
  • Page 18
  • Go to Next Page »

Primary Sidebar

Categories

We are a participant in the Amazon Services LLC Associates Program, an affiliate advertising program designed to provide a means for us to earn fees by linking to Amazon.com and affiliated sites.

Copyright © 2026 • The Chaos and the Clutter • Site Design by Jeni @ The Blog Maven

Return to top of page

Copyright © 2026 · Chaos and the Clutter 2.0 on Genesis Framework · WordPress · Log in