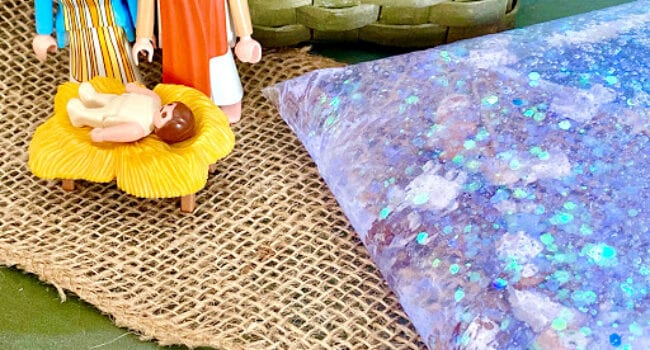
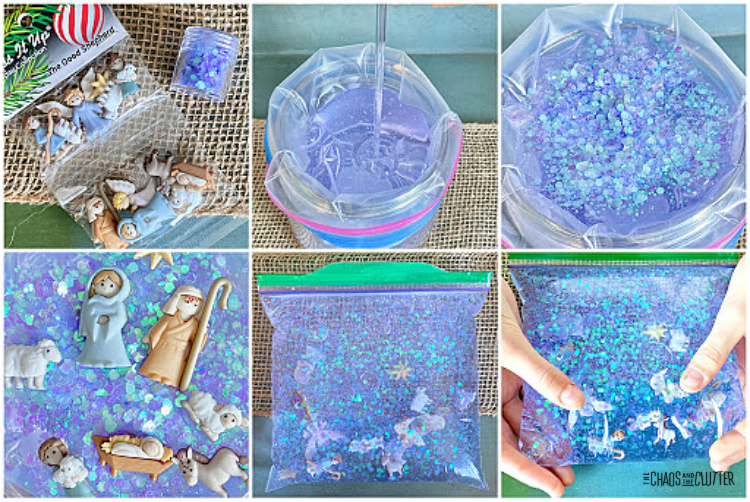
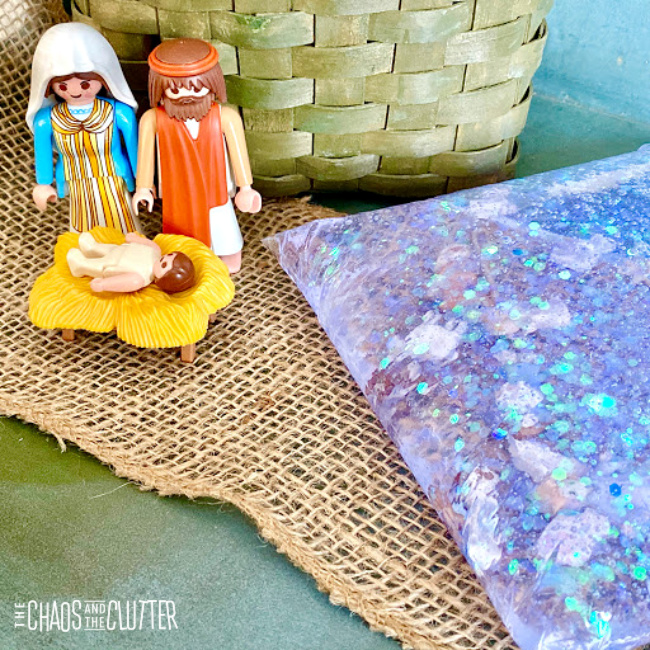
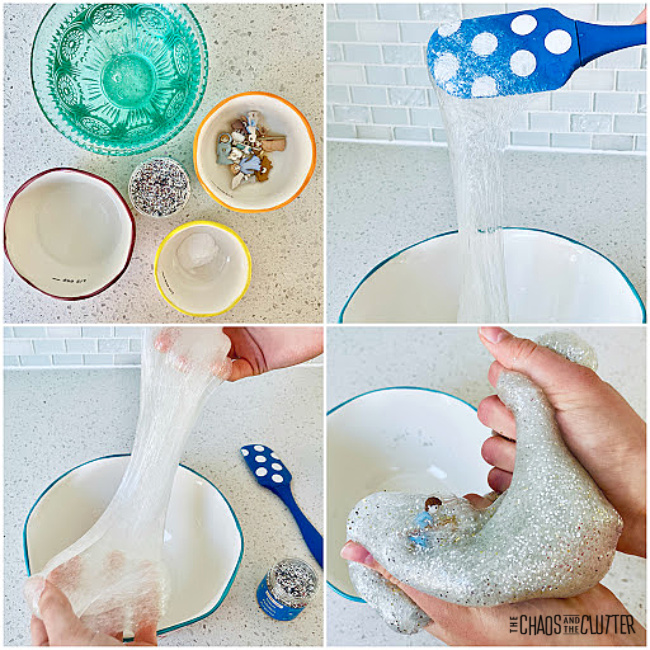
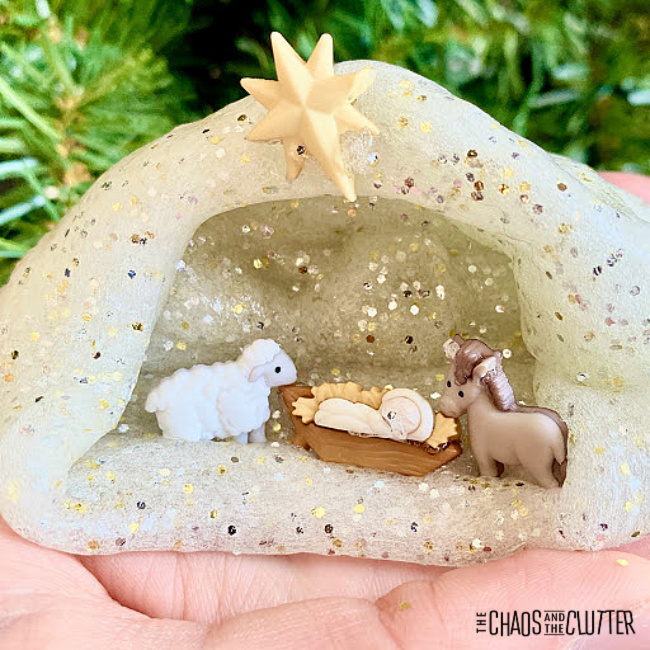
I have to admit that I *may* have gone a bit overboard this year when it comes to creating nativity sensory activities after discovering the most adorable little buttons. And that is how the idea for this Nativity Sensory Bag came about.
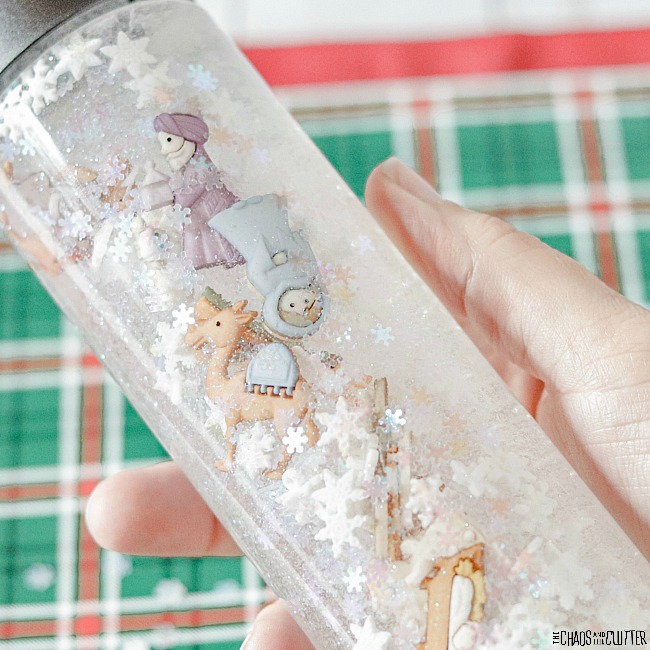
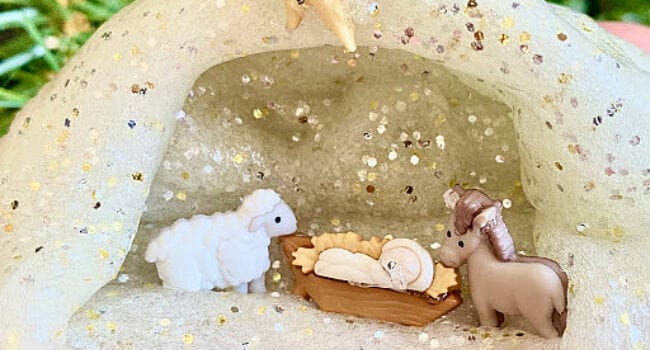
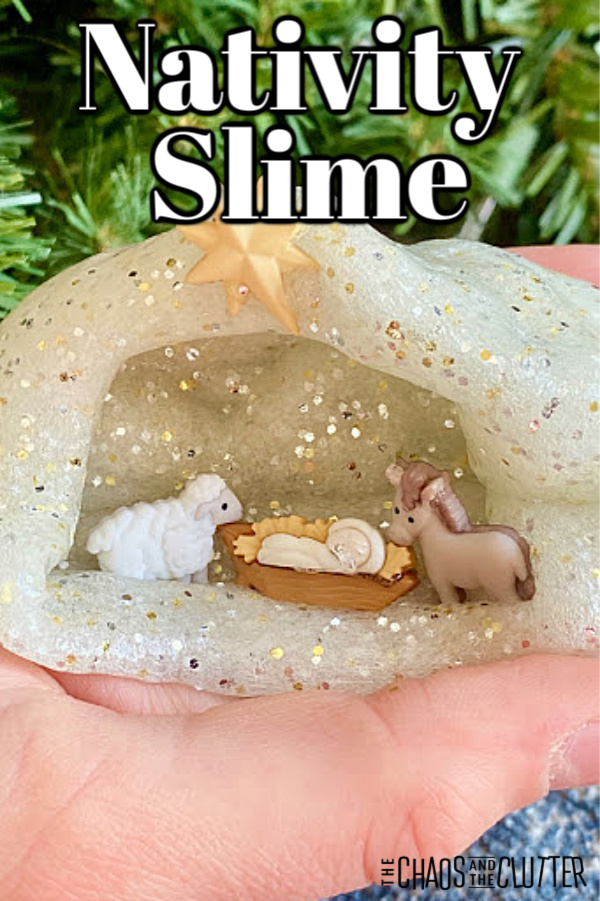
I first used the buttons in our Nativity Sensory Bottle and then in our Nativity Slime (which turned out even better than I had imagined) before they were used to create this simple sensory bag.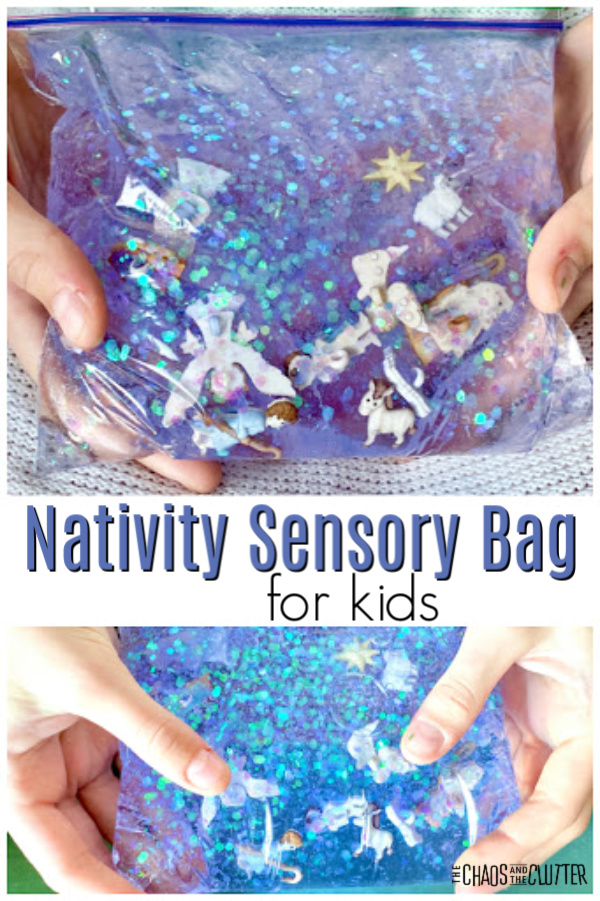
Nativity Sensory Bag:
Supplies needed:
- medium sized resealable plastic bag
- liquid hand soap
- unicorn glitter
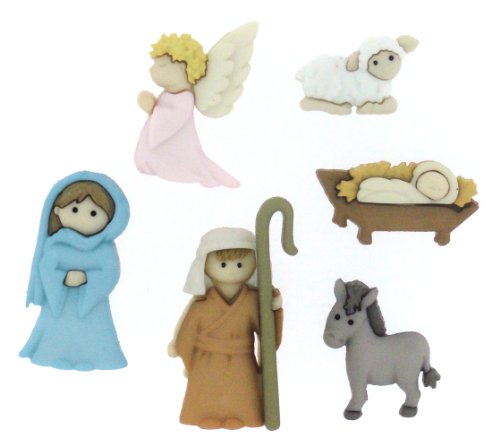
- mini nativity figure buttons
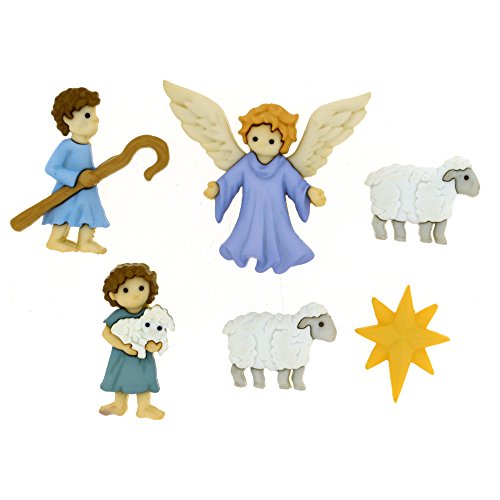
- mini Good Shepherd figure buttons
- optional: duct tape
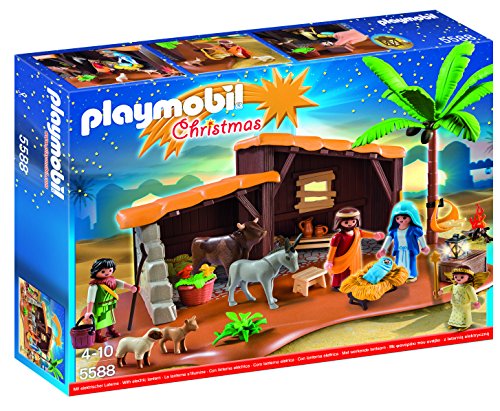
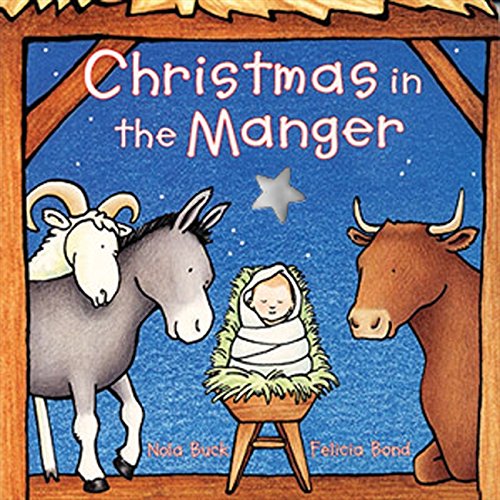
Nativity buttons The Good Shepherd buttonsUnicorn Chunky GlitterPLAYMOBIL NativityChristmas in the Manger book

Directions:
- Squeeze hand soap into the resealable plastic bag to a little over half full.
- Add the glitter. We used two colours.
- Set the small nativity figure buttons on top.
- Seal the bag shut and squish to mix everything together.
- If you will be using this with younger children, you may want to fold duct tape over all sides of the bag to ensure that it can’t be opened. You can use holiday duct tape to make it look more appealing.
 Remember that as with all sensory activities, adult supervision and common sense should be used.
Sensory and Learning Opportunities:
This activity engages the visual, tactile, and proprioceptive sensory systems. If your child is old enough to help with creating the sensory bag, squeezing the liquid soap into the bag provides additional proprioceptive feedback.
Your child can play with their Nativity Sensory Bag while listening to the Christmas story. This will improve their focus and retention. They can also additionally engage with the story by finding the people in the bag as they have come into the narration.
Create a nativity learning center in a classroom or playroom by setting out some of these things:
- children’s nativity set
- this sensory bag
- crayons and colouring sheets
- Nativity Slime
- supplies to make these Nativity Cards
- Christmas story
- material to create Nativity Chalk Silhouettes
- O Holy Night Sensory Bin
- Printable Nativity Scene
- Nativity Printable Preschool Pack
- Nativity Sensory Bottle
- costumes for acting out the Christmas story
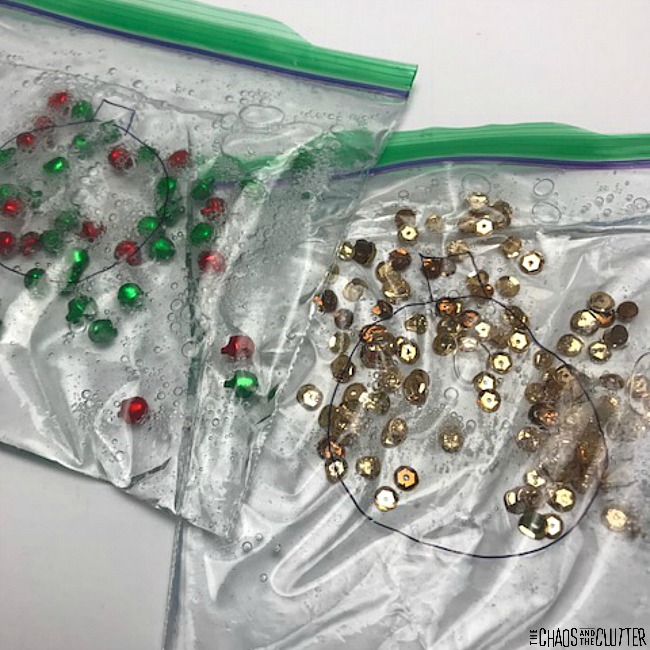
 If you’re looking for other holiday Sensory bags, check out:


 Slime Troubleshooting Tips:
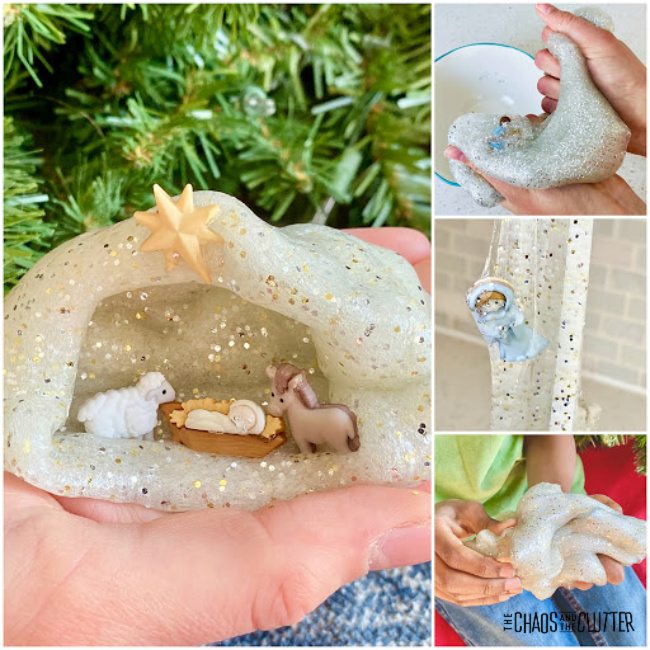
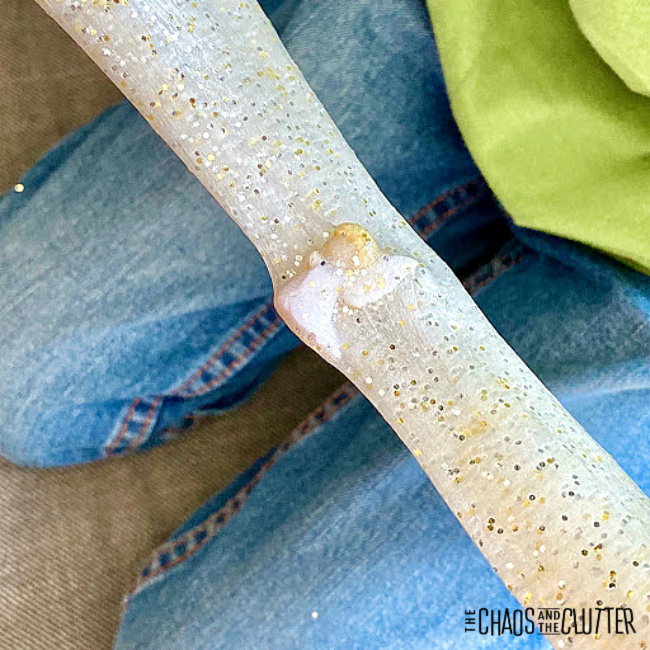
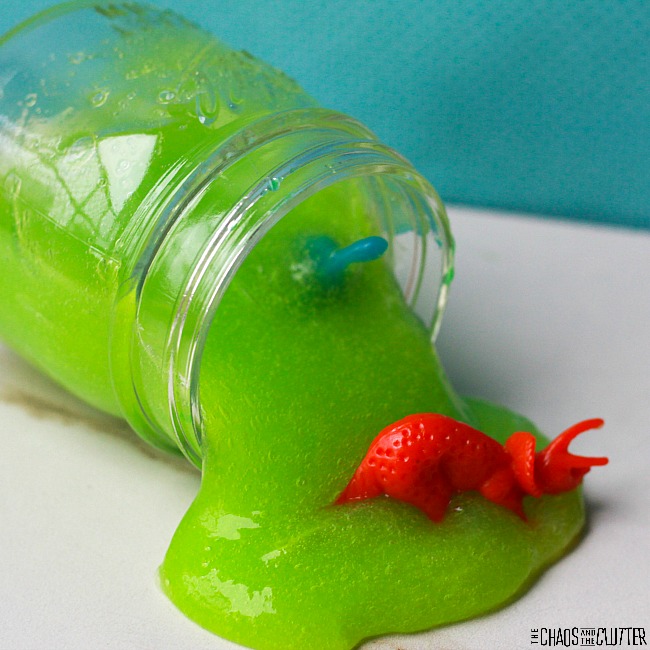
 Have your child hold and squish and pull their slime while you are reading them the
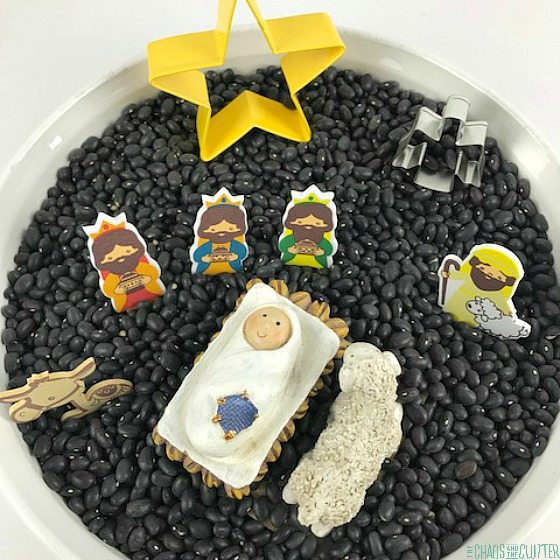
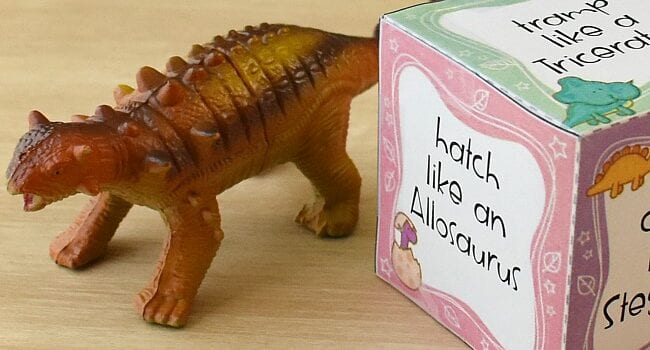
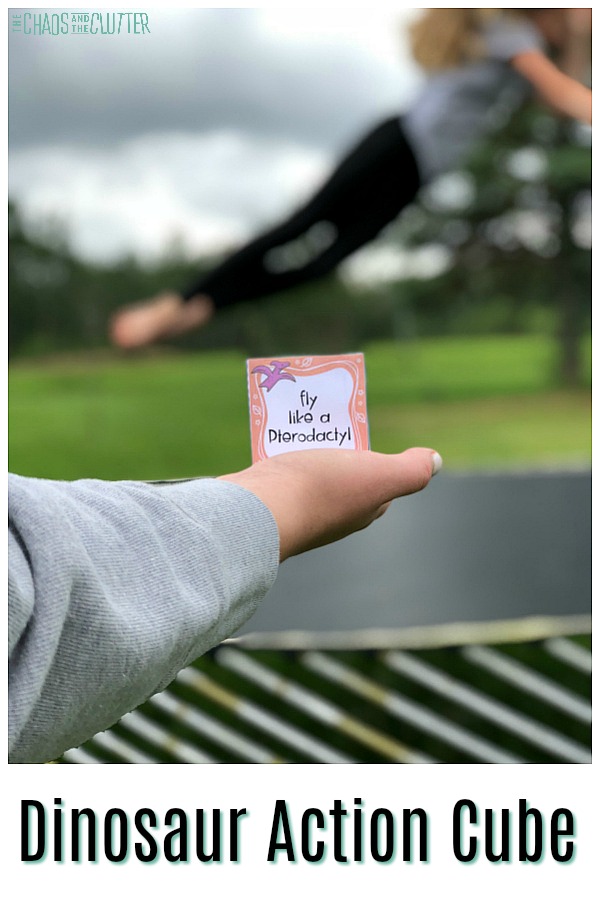 You can use the dinosaur action cube indoors or outdoors. Kids of many ages can participate. This is a fun rainy day or snow day activity because it gets the whole body engaged. Kids explore their movements and imaginations as they hatch, tromp, charge, fly, and munch like the dinosaurs of the past.
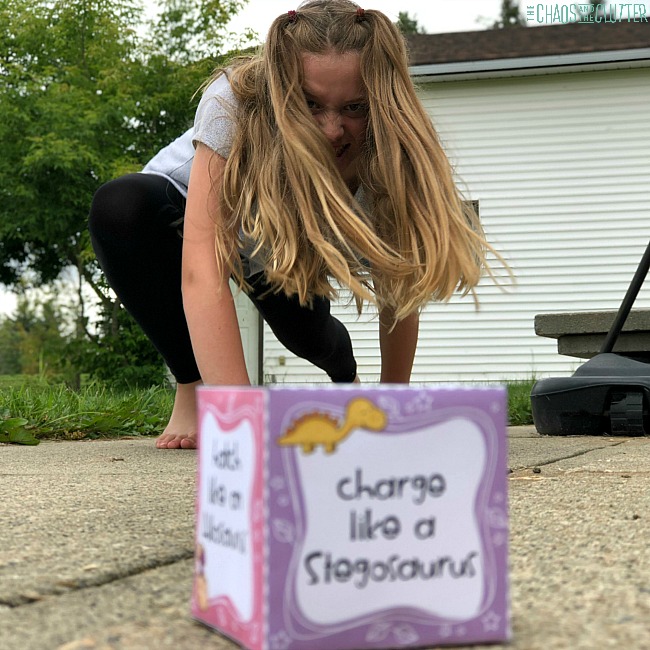
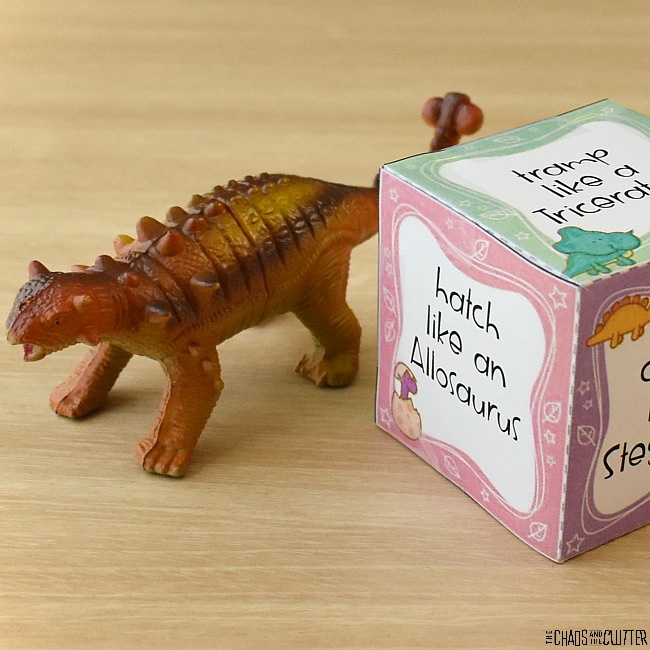 You can also take the activity one step further by having them read about each of the dinosaur types on the cube or having them draw that species. There are so many possibilities.
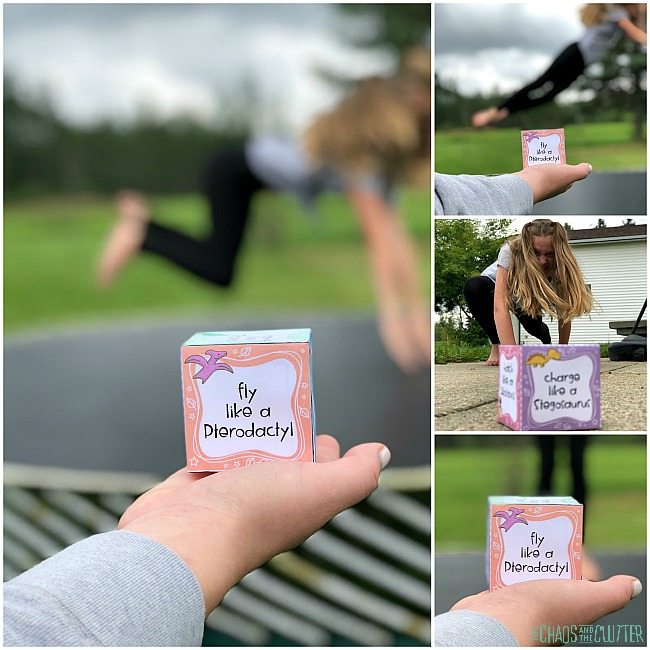 I enjoyed seeing my kids’ interpretations of the dinosaurs. Some kids also like to add their own sound effects. We may not know exactly what dinosaurs sounded like, but my kids did some pretty convincing impressions!


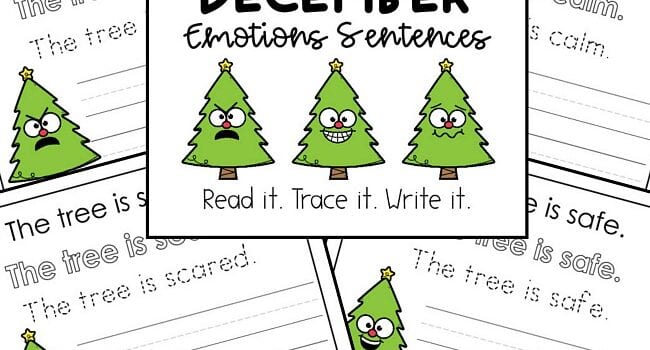
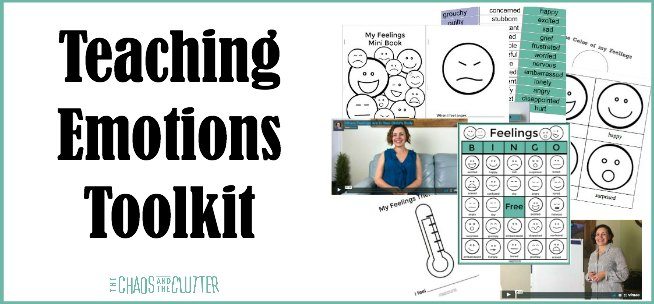
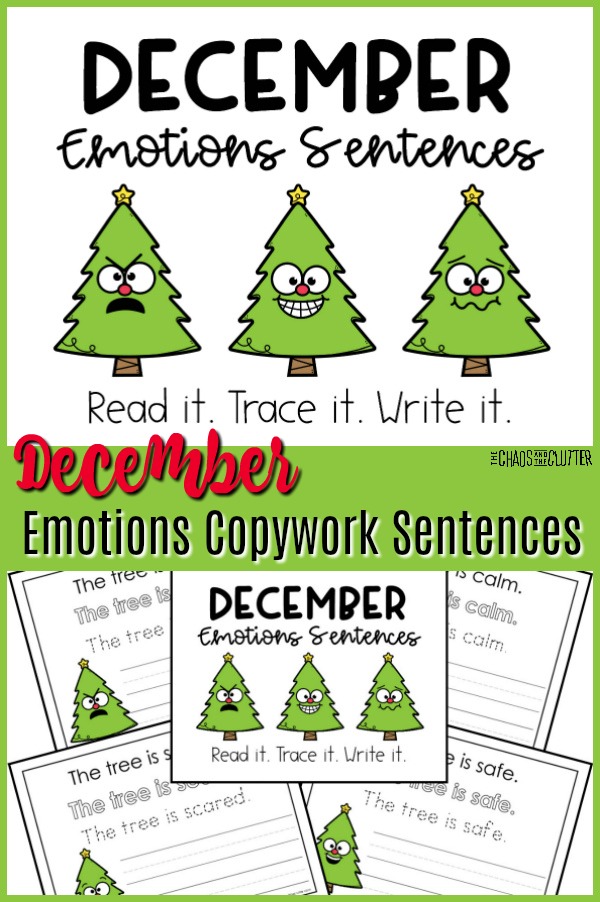 These printable worksheet pages help students associate the emotion word with the corresponding facial expression using adorable little Christmas trees. They are perfect for using in your classroom or homeschool. They also work well to use with your child if they need extra printing practise at home.
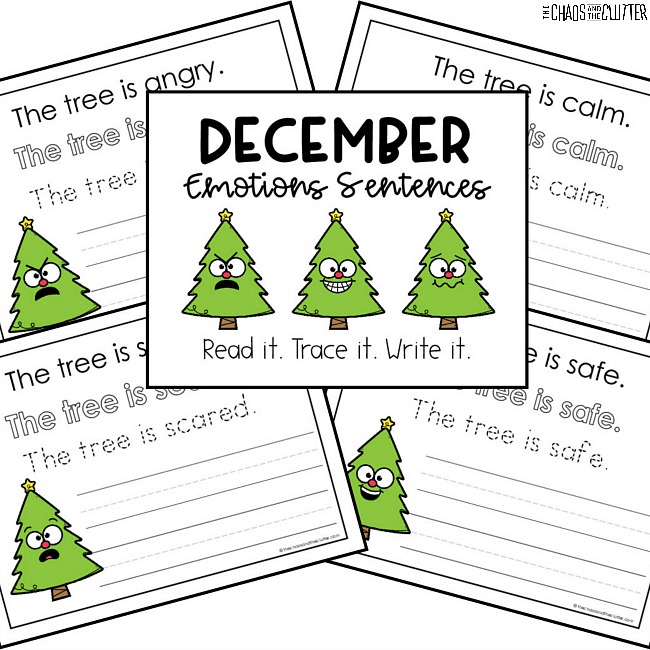 If you want to make the sheets reusable, laminate the pages or slip them into a plastic page protector. Students can then use a dry erase marker to complete the tracing and writing.
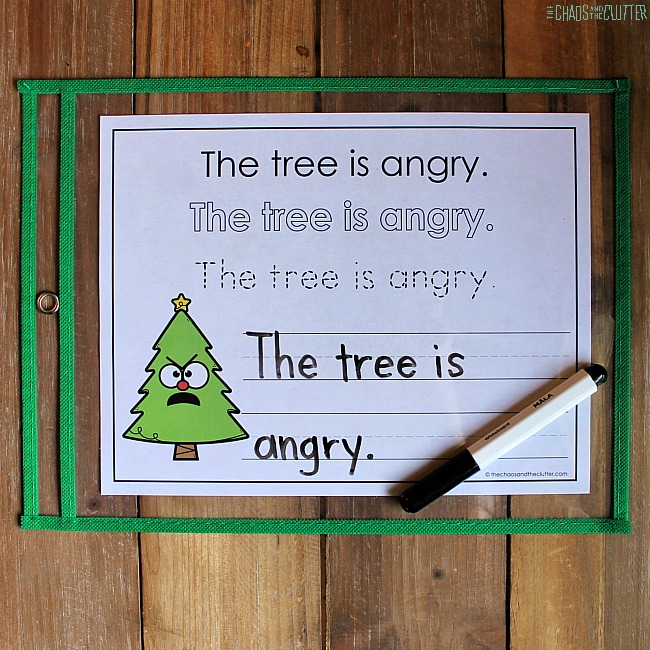 Instructions for the student: