The holidays are a wonderful time to use sensory play. With all the hustle and bustle, it can become even more important for kids to have down time and sensory play allows them to do that. These Nativity sensory activities bring the true meaning of Christmas into that sensory play. 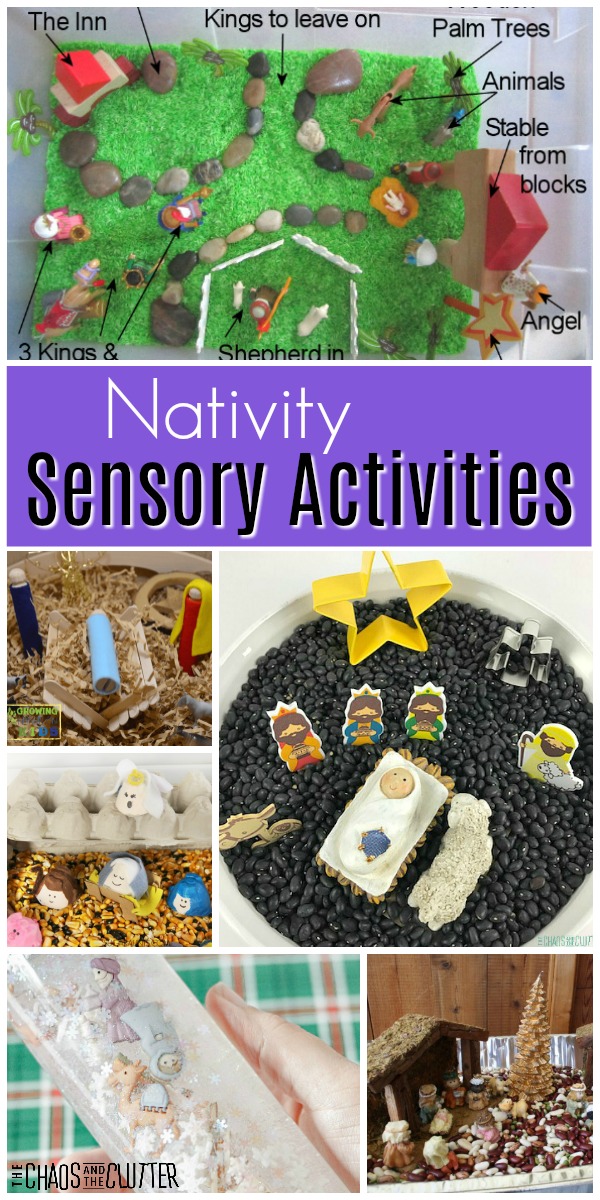
Nativity Sensory Activities:
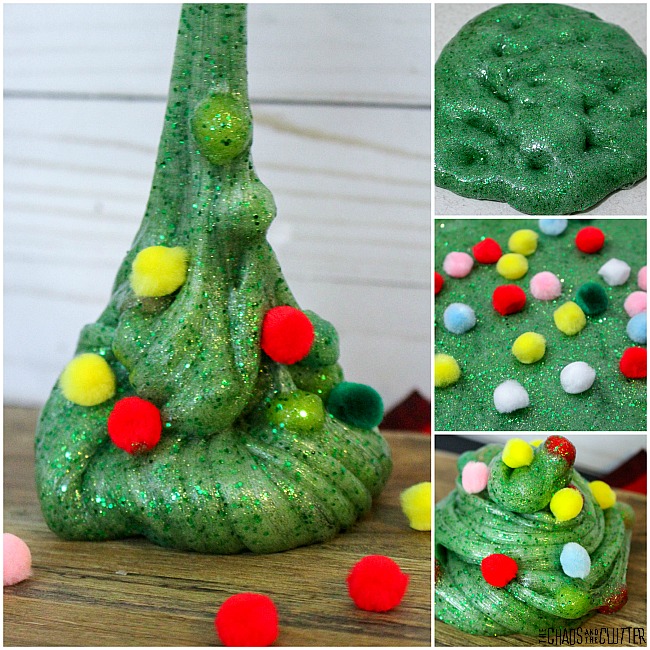
Invite kids to engage both their creativity and senses with a station for Nativity Playdough.
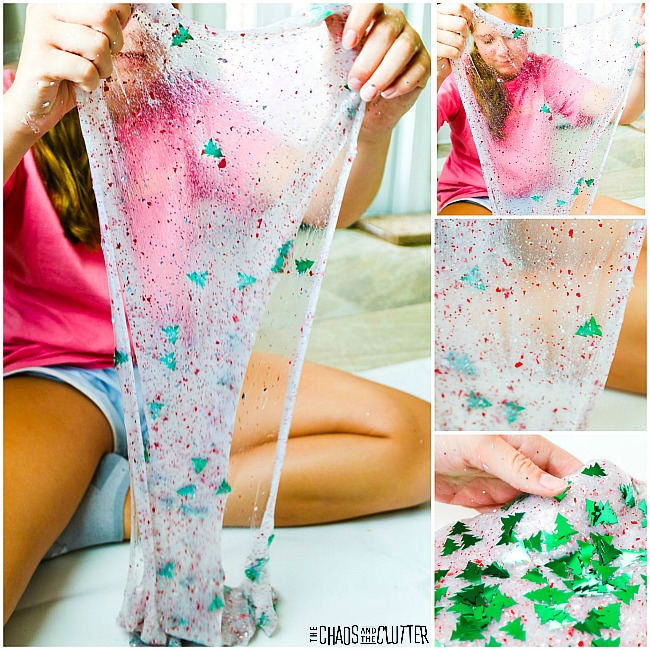
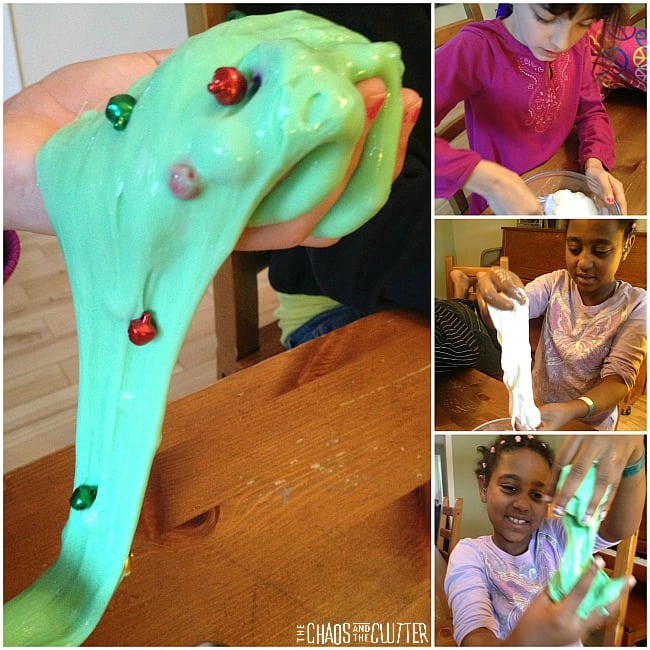
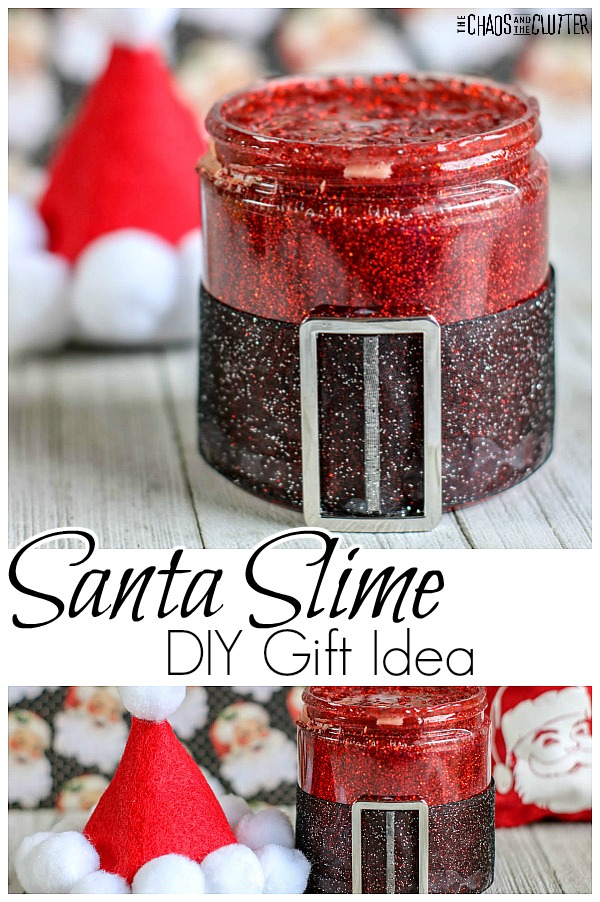
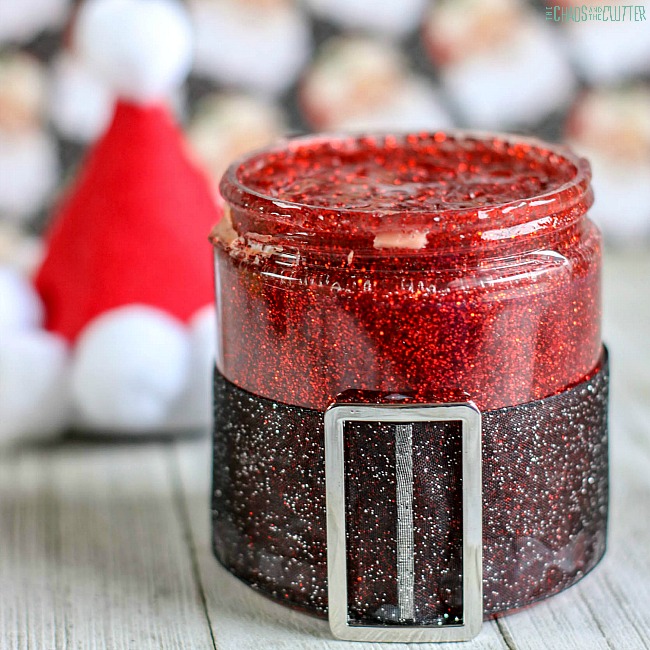
A perhaps unexpected sensory play recipe is this one for Nativity Slime. It’s a favourite with kids.
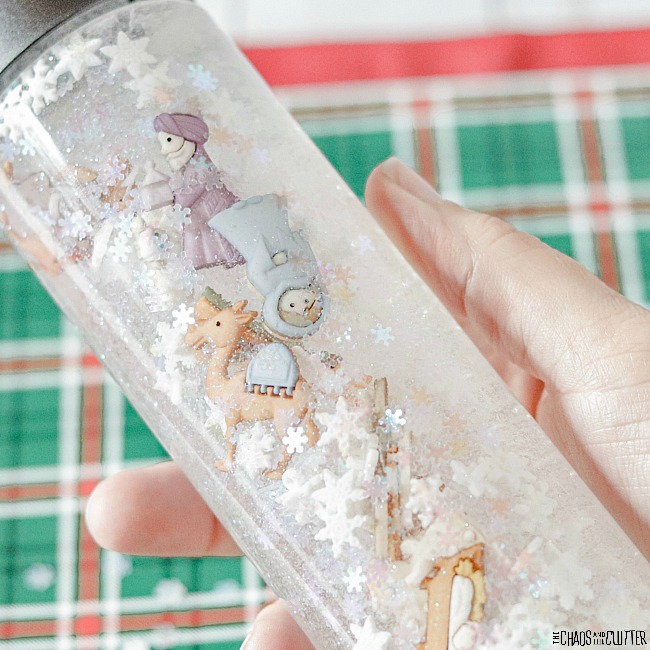
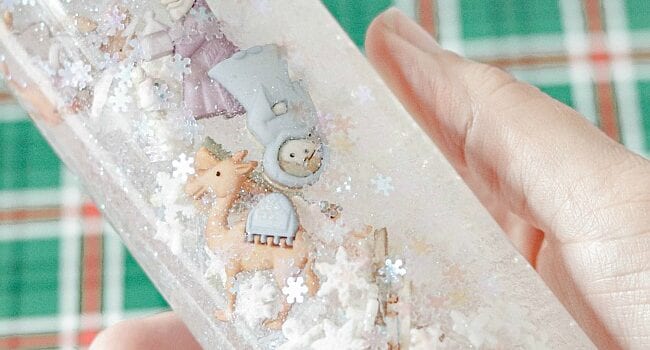
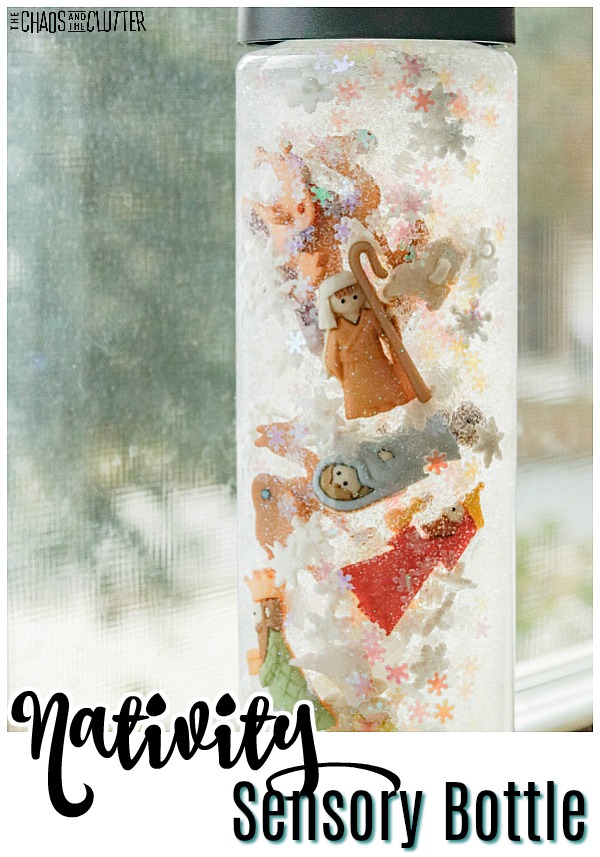
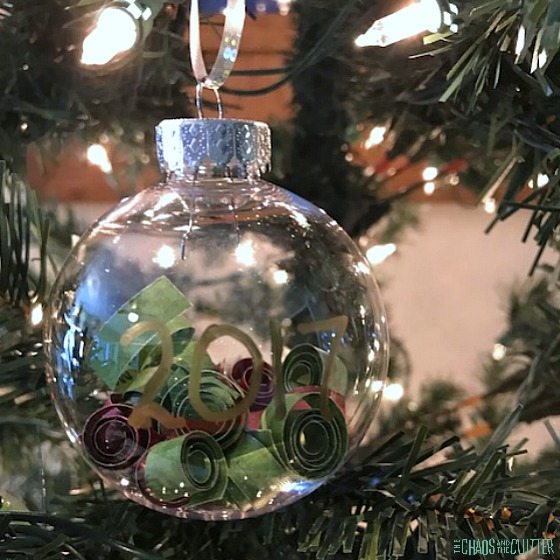
Our Nativity Sensory Bottle Snow Globe is a great way to help kids focus on the Christmas story as they try to follow along by finding the corresponding items in the bottle.
We used the same buttons to create our Nativity Sensory Bag.
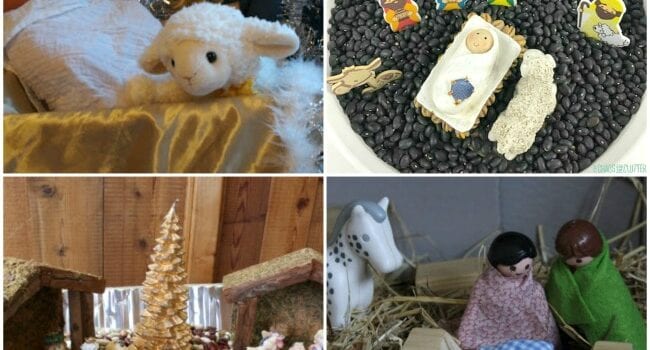
The Christmas story is the main event with the Sensory Nativity Story Box from The Fairy and The Frog.
Create your own Felt Nativity for kids to interact with like the one at Mama Smiles. 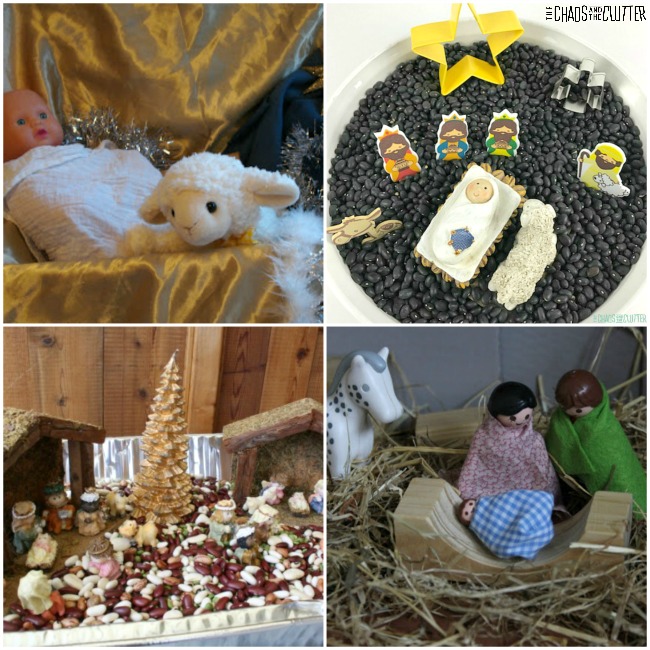
Nativity Sensory Bins:
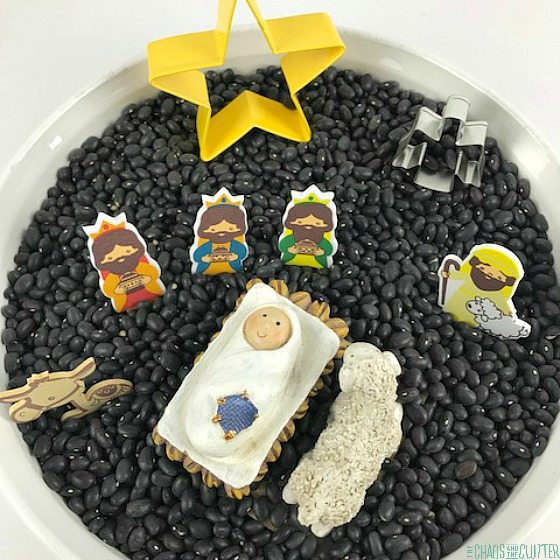
Our O Holy Night Sensory Bin is a very simple one that keeps the focus on baby Jesus. It costs next to nothing to put together.
The Nativity Sensory Bin at Growing Hands on Kids incorporates homemade elements so kids can really be involved in the process of creating the bin with you. It allows them to make Christmas crafts and then play with those in a very hands-on way.
Away in a Manger Nativity Sensory Bin from The OT Toolbox again begins with kids helping to create the elements that will be used inside the bin, this time making adorable egg carton characters and animals.
Catholic Icing shares their Playmobil Nativity Sensory Bin which has the cutest little stone walking paths and uses blocks to create the buildings.
Happy Hooligans Nativity Sensory Bin for Toddlers and Preschoolers uses any store bought nativity set that you already have so it can be thrown together in a flash.
Children can get in on the story telling with this Nativity Scene Small World Play from The Imagination Tree.
You might also be interested in checking out:
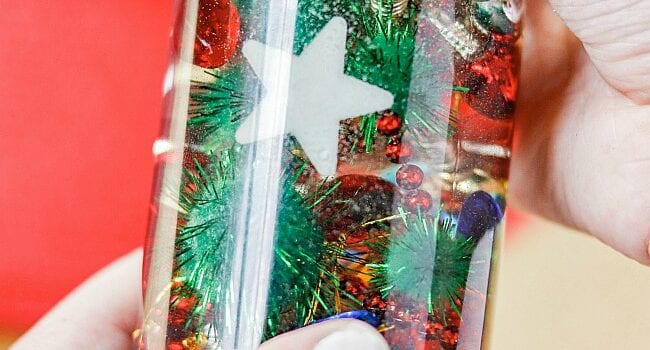
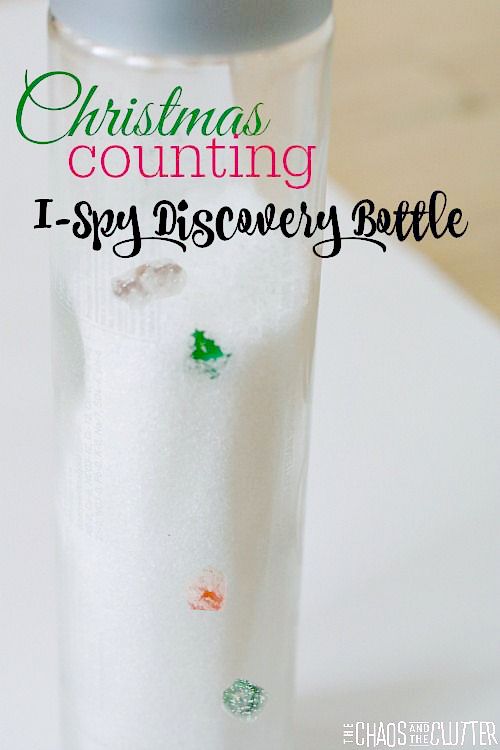
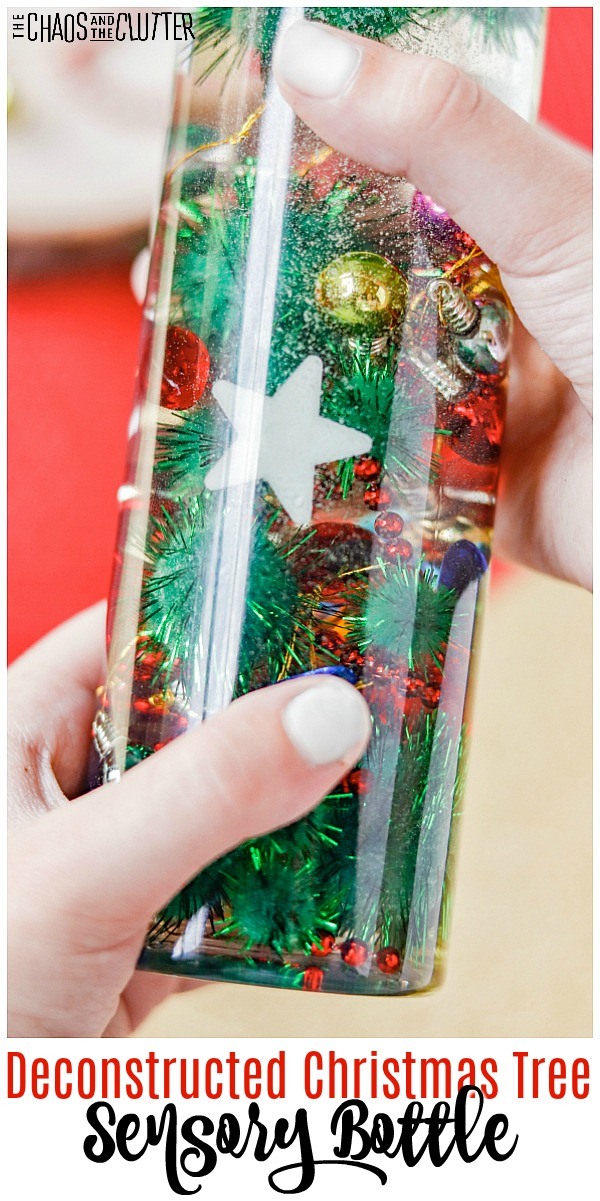 This is a great quiet activity for kids in amongst the hubbub of the holidays. Every year, I make several seasonal inspired sensory bottles for the kids like our
 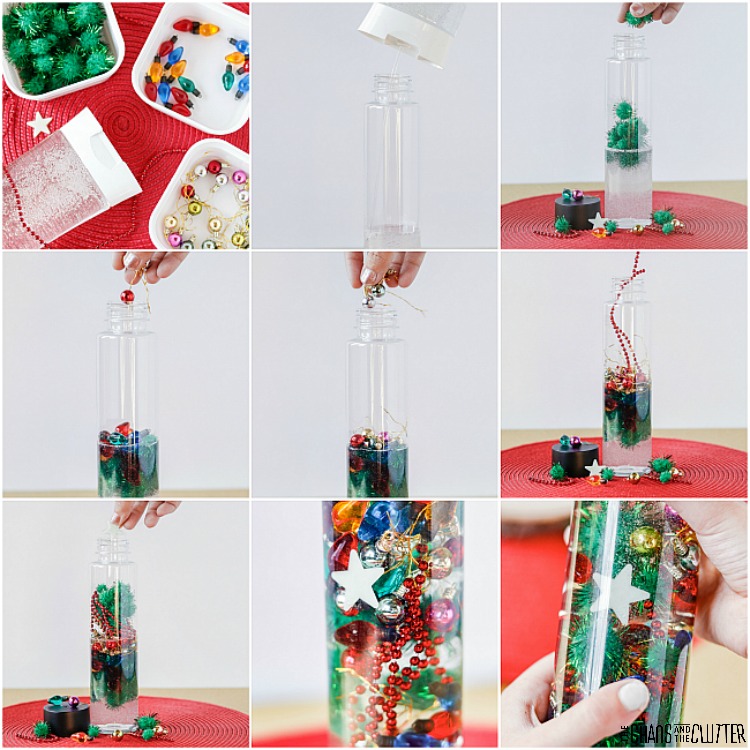 Directions:
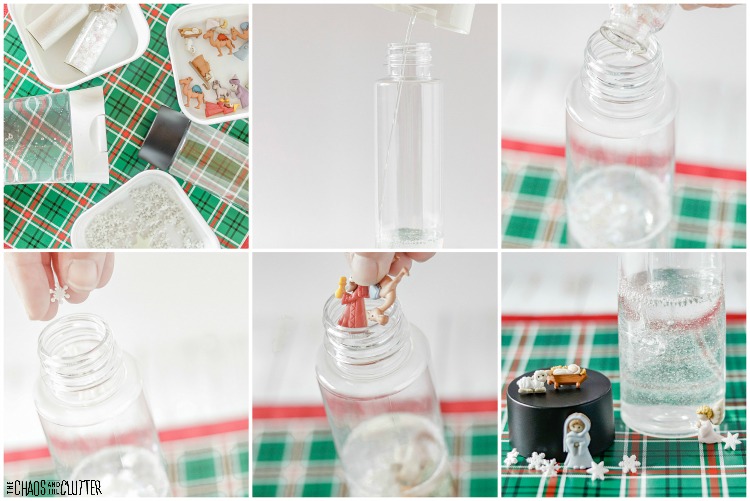
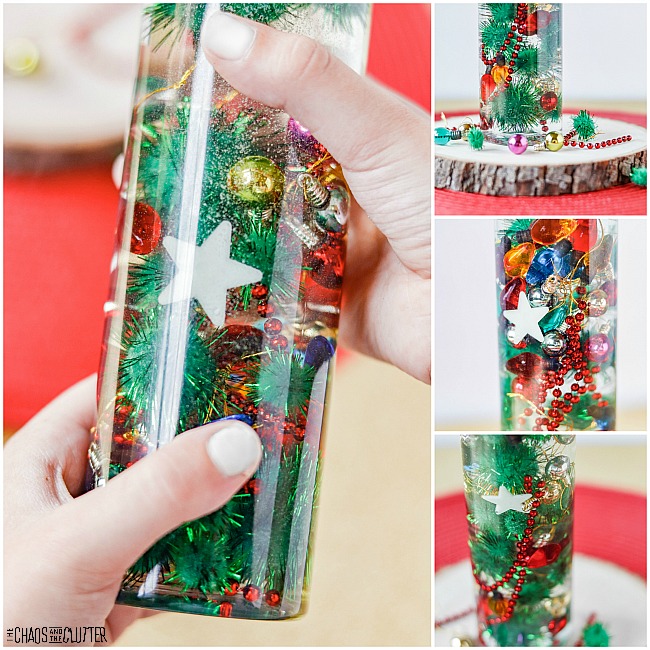 You can find the supplies to fill this at the Dollar Store, Hobby Lobby, or on Amazon. Of course as with any sensory activity, adult supervision should be used at all times even if the lid is secured in place.
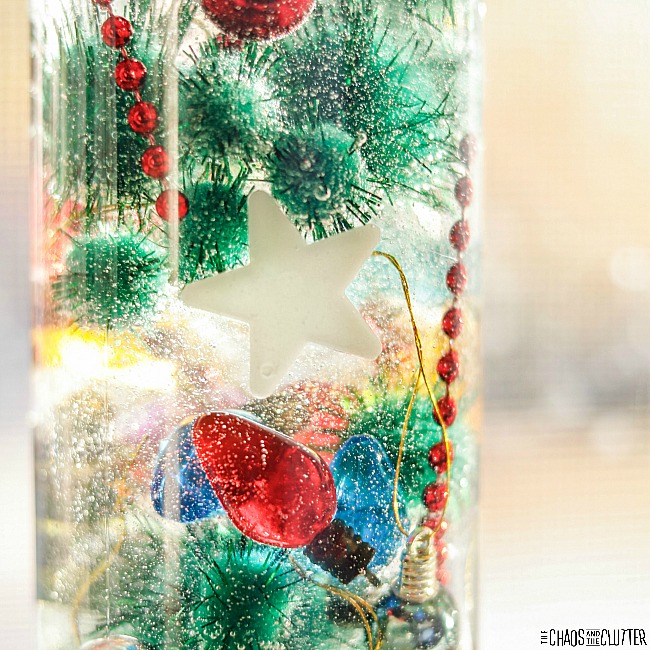 Sensory and Learning Opportunities for Kids:
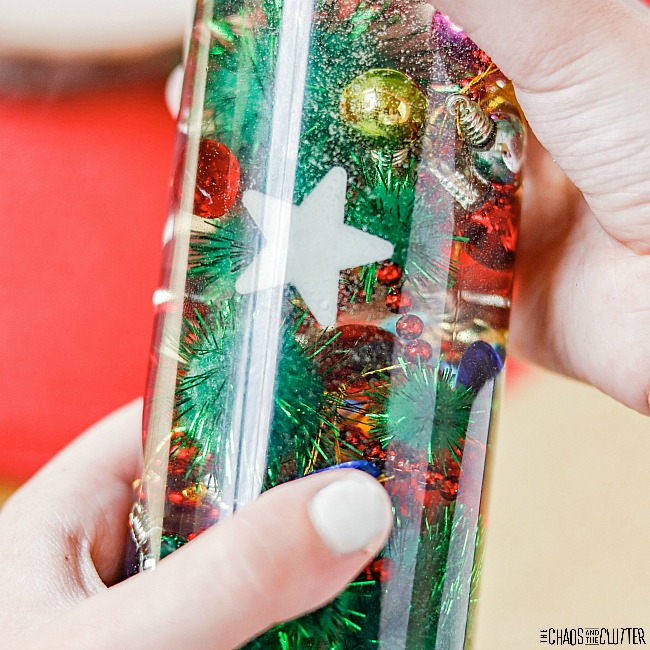
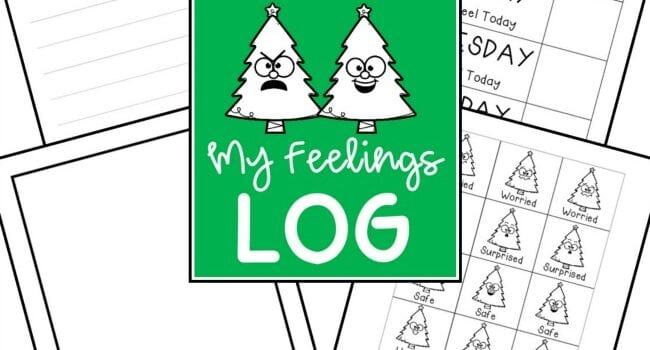
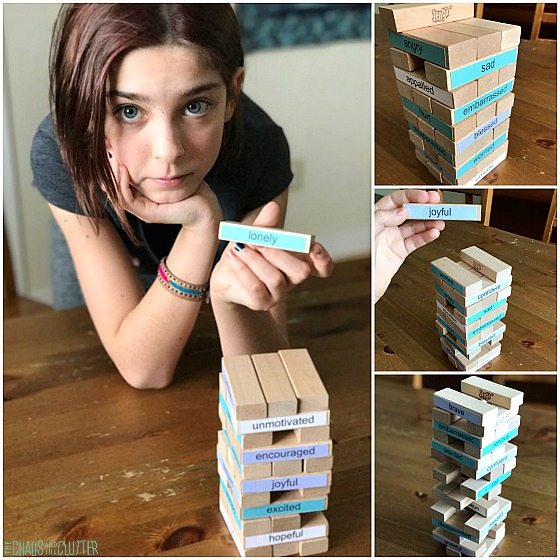
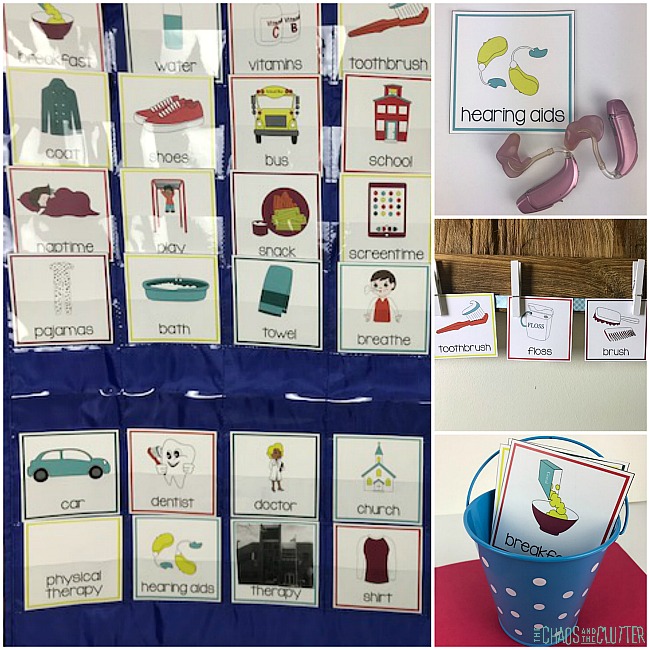
 When children are able to name and express their emotions, they are better able to manage them. It’s kind of like the first line of defence when it comes to challenging behaviours.
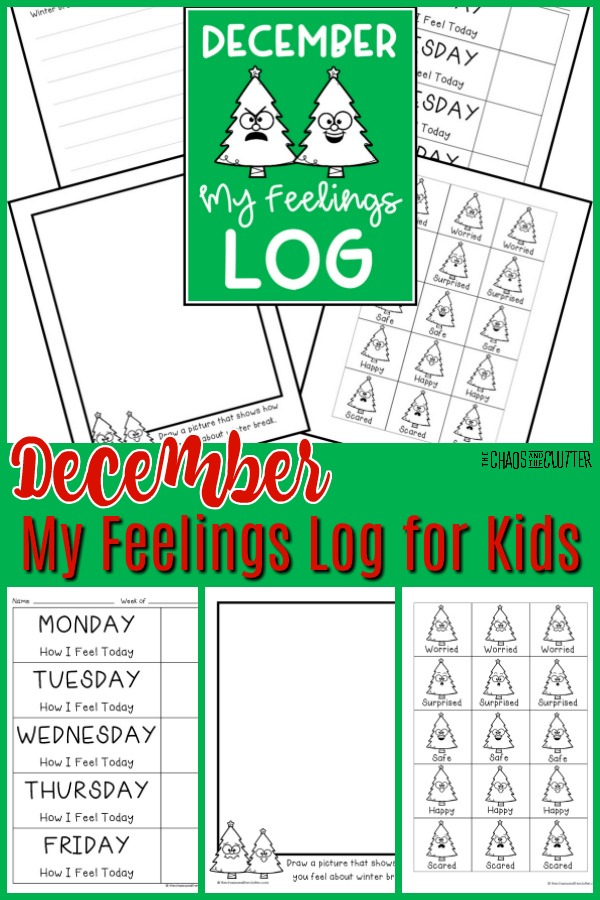
 Keeping a daily log allows kids to examine their emotions and it gives the opportunity for parents, teachers, or therapists to see if there are any obvious patterns emerging when looking back over the log. It’s a great tool!
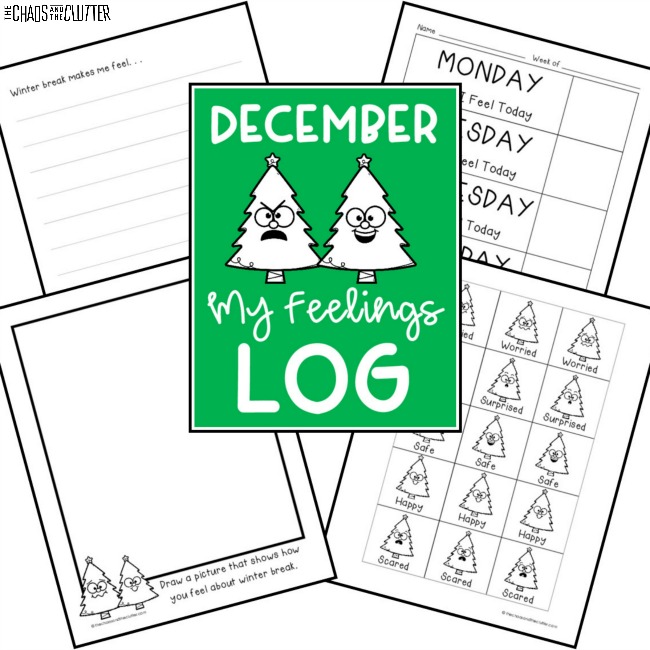 Perhaps have them draw how they are feeling about other events in December such as Christmas, an upcoming concert or performance, visiting relatives, or grieving the loss of a relative, pet, or friend who will not be celebrating the holidays with them this year. This can be so helpful.
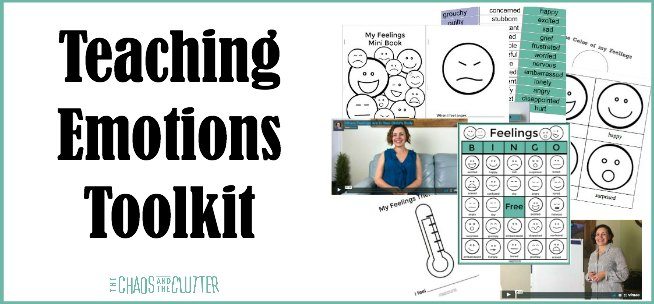


 Sometimes the way we want to do things may not be what’s best for our child. That’s a hard realization to come to. When it first hit me that part of my parenting style was not what my child needed, it was hard to accept. Yes, it was hard because I felt guilty for not having met my child’s needs, but I’m going to be honest here and admit that that wasn’t the hardest part. The real hard part was that it meant that I was going to have to change. And change is hard.
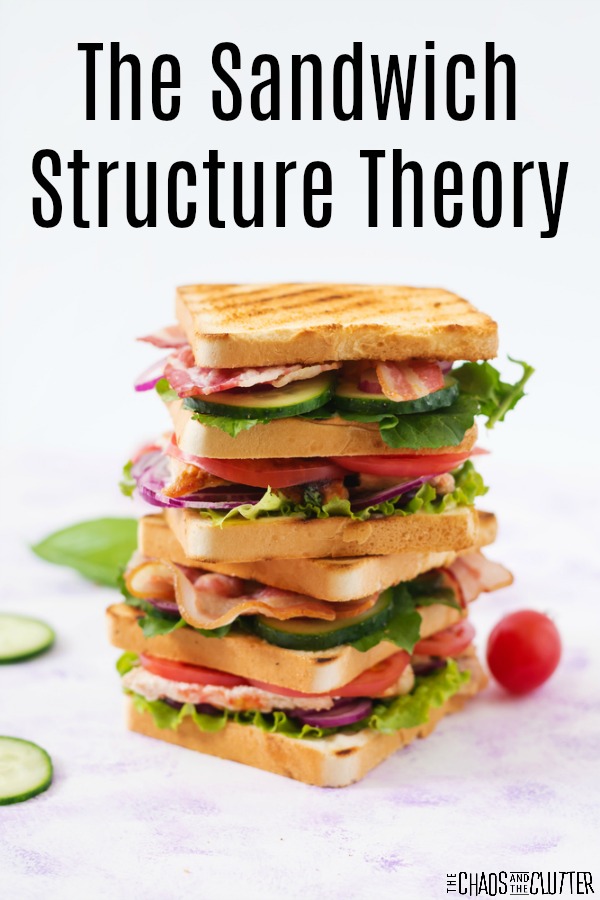
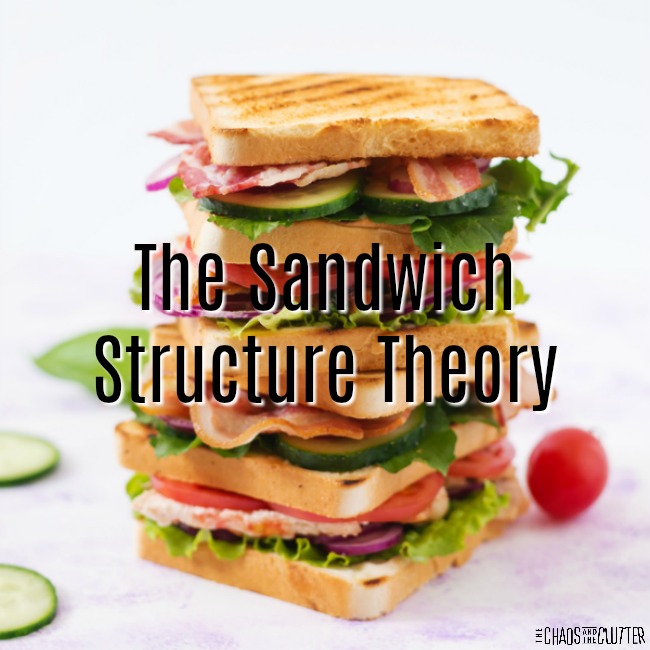 Think of it like a triple layer sandwich. You need the bread (structure) on top, in the middle, and on the bottom. That’s what holds the sandwich together. But the beautiful thing about doing it this way is that you can fill the sandwich with whatever you want in between the layers.
 Directions:
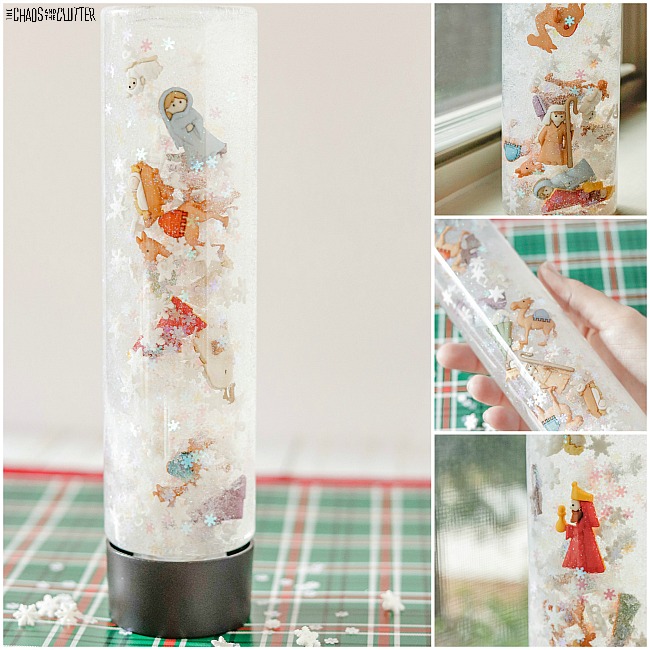
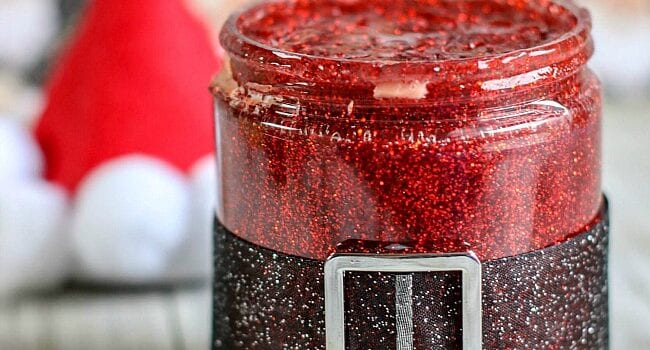
 Slime directions:
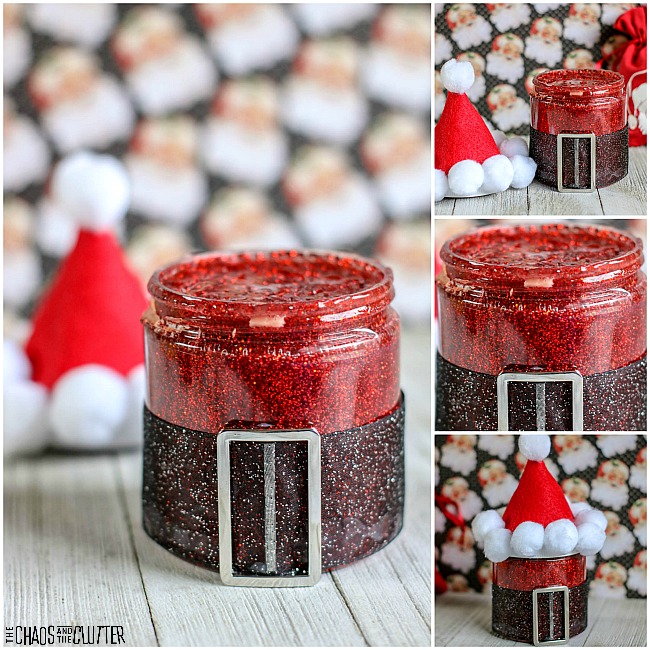 To decorate the Santa jar: