As soon as I started to plan out our Sensory Room, I knew I wanted to include a sensory wall. My DIY skills aren’t that impressive, so I had to come up with something that was easy and could be done on a budget. This tactile sensory wall is a great addition to our sensory room. The room that we are using for our sensory room isn’t ideal (it’s a converted closet area, so it’s smaller than I’d like), so I didn’t want to affix anything permanently to the wall in there which is what brought me to the decision to essentially create a large sensory board.
Sensory boards sell for hundreds of dollars, but I was able to make this one for under $100. In fact, if I had already owned a cork board, my cost would have come in at under $25!
There were parts of the project that were a bit tedious, so it was a time commitment, but it was so easy. Even with my limited DIY skills, I was easily able to complete this project myself.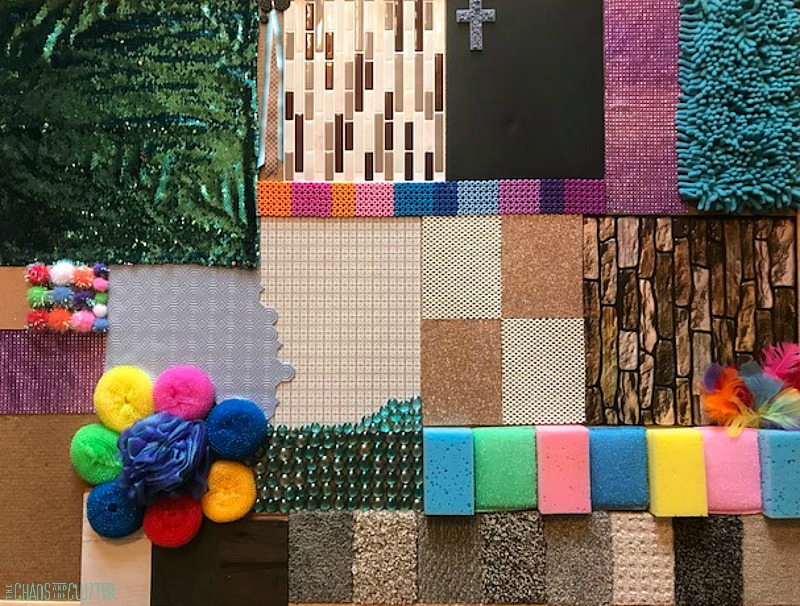
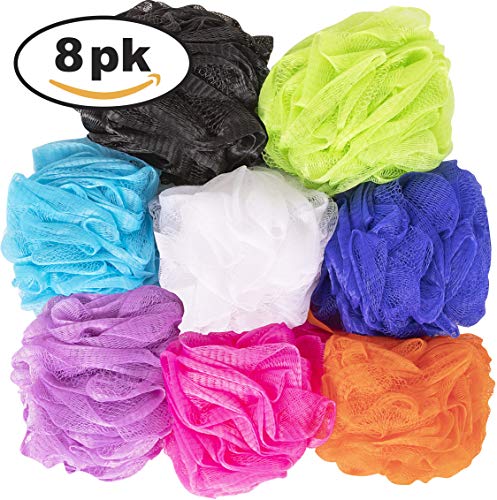
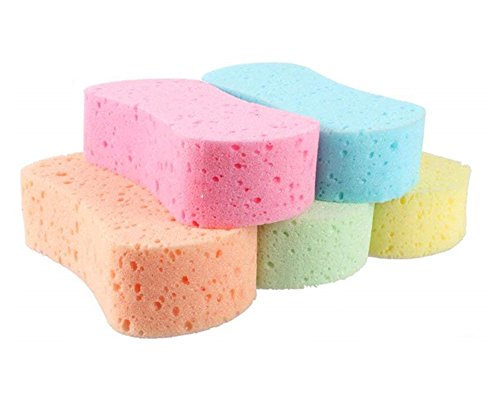
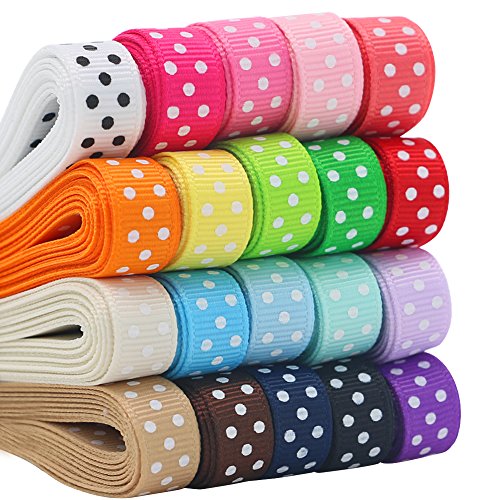
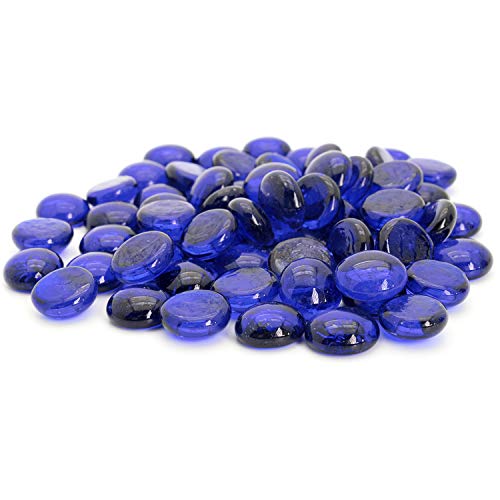
Cork Board 48 X 36 Inches Reversible Mermaid Sequin FabricPeel & Stick Faux TilePony Bead BoxMop HeadsCork CoastersGrip Cupboard LinerRound Nylon Dish Scouring PadsKitchen Scrubbing SpongesMesh Bath SpongesCar Wash SpongesRibbonGlass BeadsSandpaperGorilla Hot Glue Gun and Sticks
How to make a sensory wall:
Supplies needed:
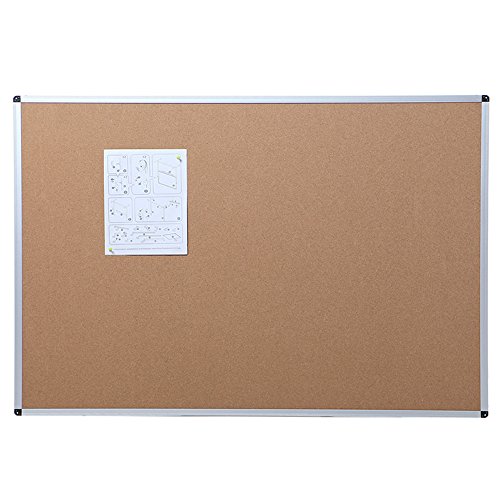
- large cork board with frame (the one I used was 36×48)
- carpet samples
- flooring samples
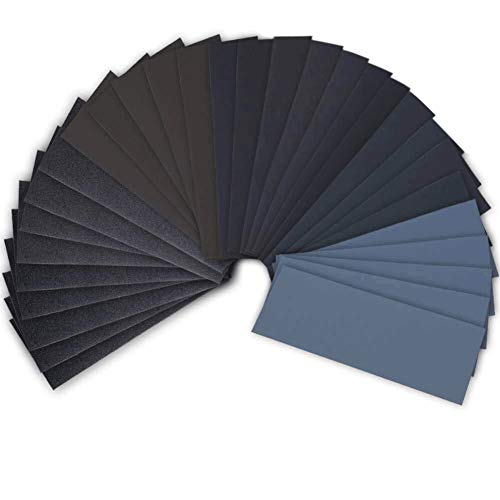
- sandpaper (use coloured sandpaper if you want)
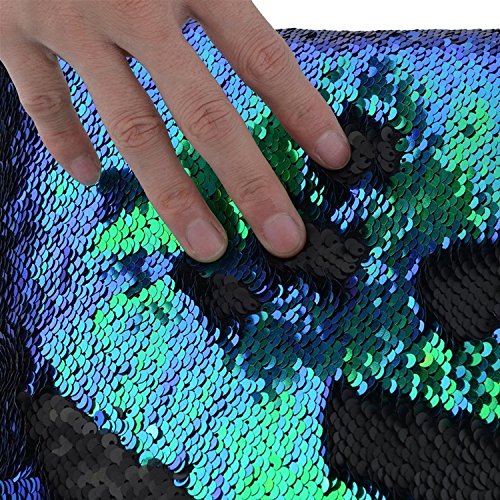
- reversible sequin mermaid fabric*
- glittered foam sheet
- feathers
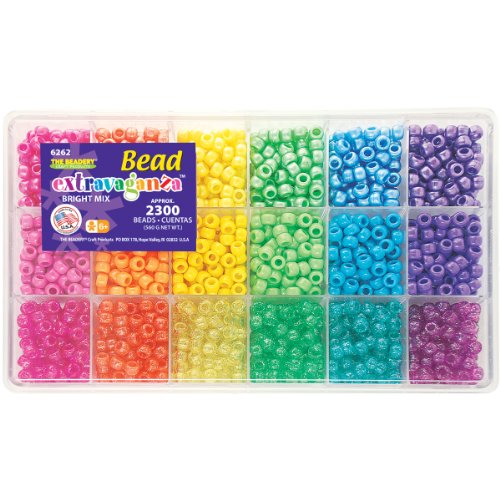
- pony beads
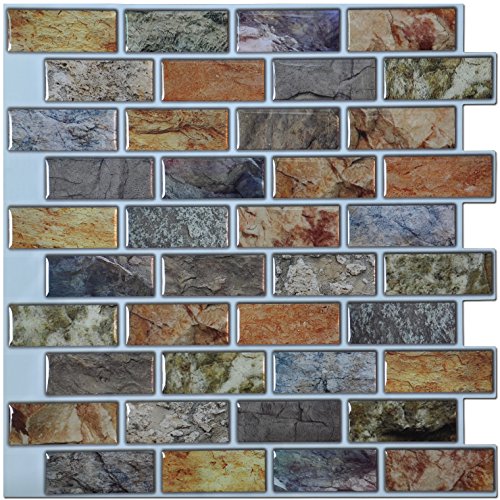
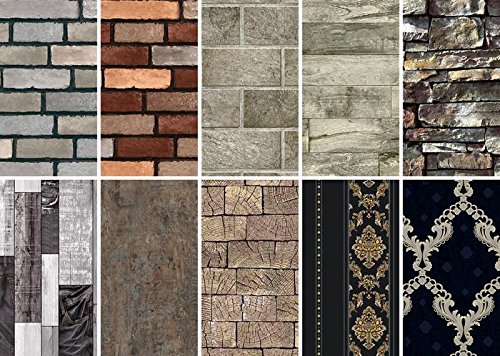
- faux tile or brick panels
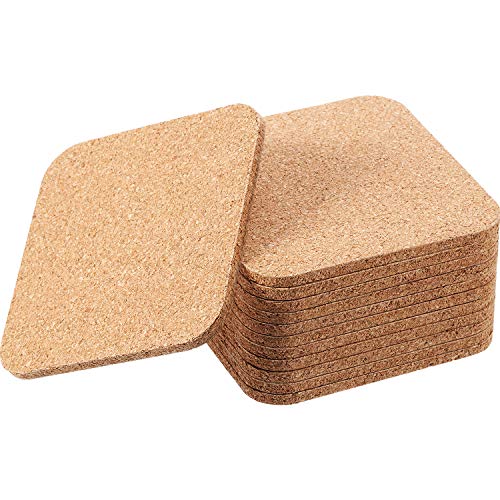
- cork coaster
- beaded or sequinned fabric
- glass beads
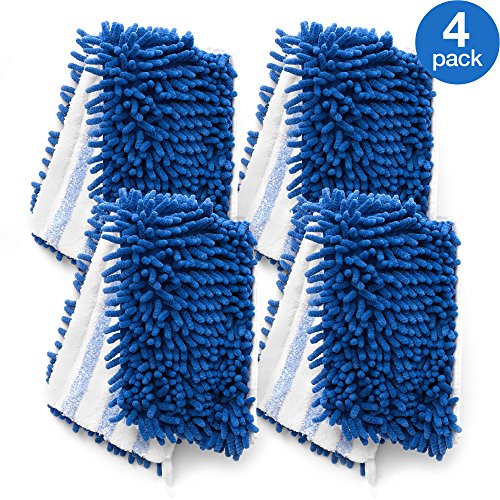
- mop head
- ribbon
- textured brads
- embroidered cross
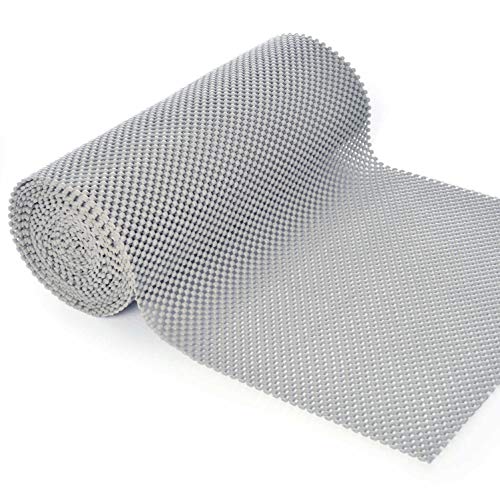
- cupboard liners (I used several types)
- pompoms
- dish scrubbers
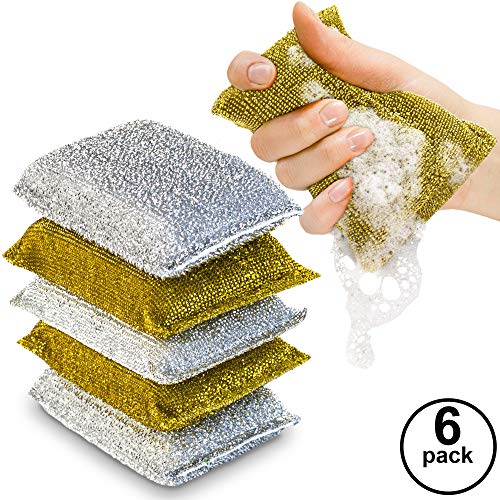
- sponges
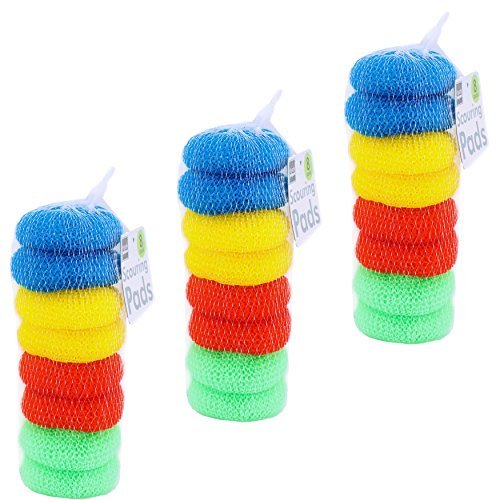
- nylon dish scrubbers (round)
- mesh bath sponge
- textured paper
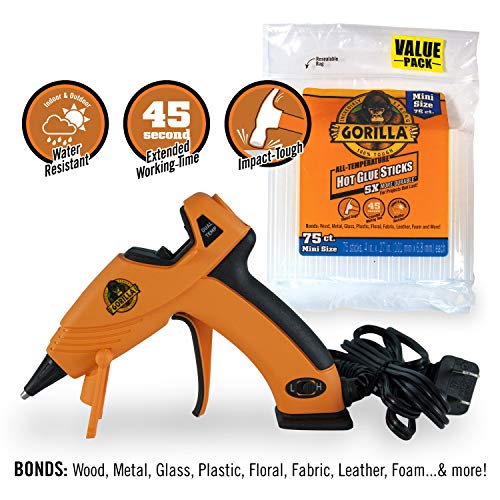
- hot glue gun (not the small ‘warm’ glue guns)
- hot glue sticks
- optional: scissors

Instructions to make the sensory board:
- Shop for the supplies. I bought the cork board at an office supply store. I got the carpet samples (free) and the flooring samples (under $1 each) from a home improvement center. All the other items were purchased at the dollar store or things I already owned.
- Lay the cork board on the floor. Set items on top of it and move them around until you’re happy with how it looks. I played around with different layout options for quite awhile before I decided where I wanted things.
- Begin attaching the items to the board using the hot glue gun. This should be done by an adult as the glue gun and the glue are hot enough to cause burns. Note that if you are gluing something like mesh or lace, you’ll want to use a book to press it down instead of your hand or the glue will seep through and burn you. (ask me how I know!)
- For smaller items such as the beads, I put down a line of glue directly on the board before placing the beads using tweezers. I then pressed them into the glue.
- Allow the glue to dry completely before lifting the board up.
- Lean the board up against the wall or attach it securely to the wall. I suggest you do this at the bottom of a wall so that even young children can touch everything on it.
I used glue for attaching everything, even materials such as the faux tile panels that had a sticky back because I wanted to secure things well.
Using scissors, I cut some of the items to make things fit or to create interesting lines. I tried to place things in such a way that maximized different textures, heights, and colours. Just for added visual appeal, I created a flower out of nylon dish scrubbers and a mesh bath sponge.
*For the sequin mermaid fabric, I was able to find a pillow cover at the Dollar Store. My oldest daughter took the stitching out to remove the back. It was satin, so I had been planning to use that as a separate texture element but I ran out of space. 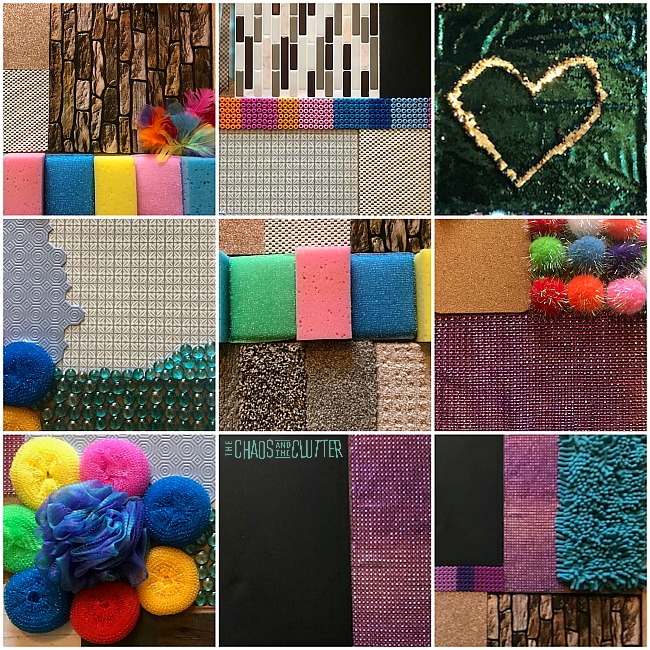
Other ideas to include on your texture wall:
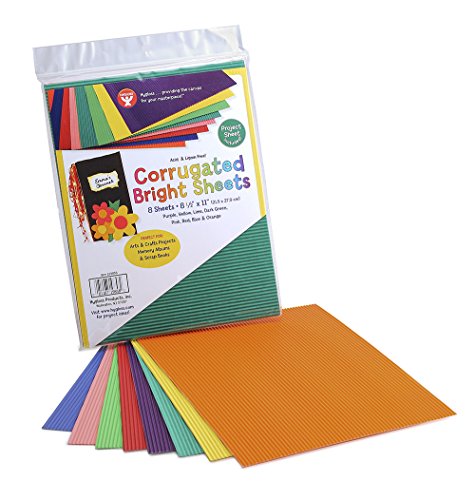
- corrugated cardboard
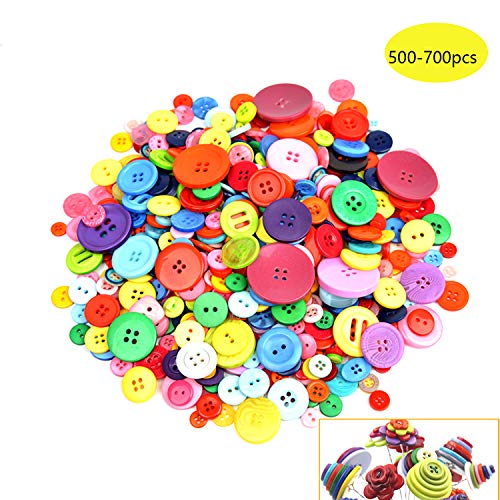
- buttons
- silicone moulds
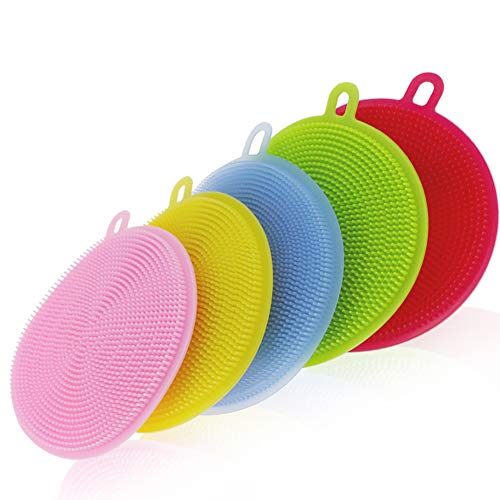
- silicone dish scrubbers
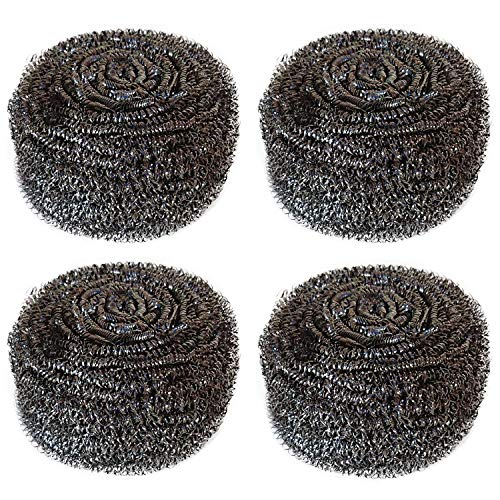
- metal scouring pad
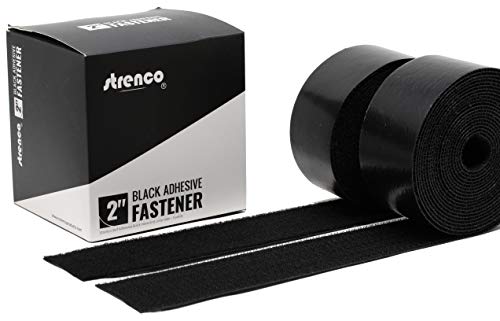
- velcro
- dry pasta
- seashells
- pipe cleaners
- cotton balls
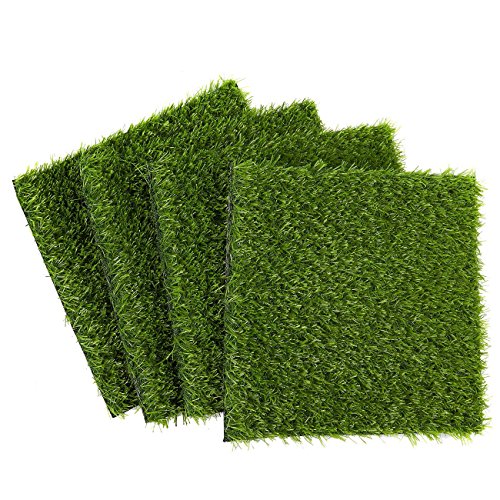
- fake grass
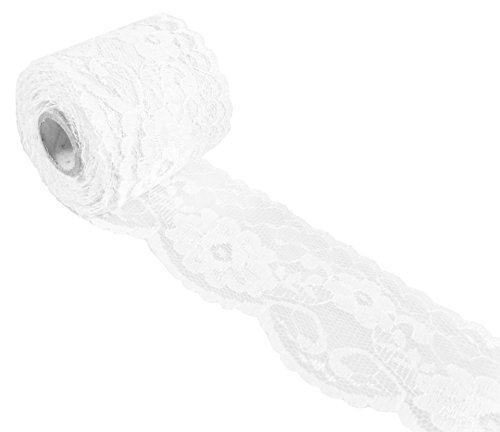
- lace
- glue (make designs in glue and allow to dry for kids to trace with their fingers)
- a variety of fabric swatches (silk, satin, flannel, cotton, denim, spandex, wool, suede, seersucker, etc.)
- faux fur
- rocks
- beans
- straws
- crayons
- toothpicks
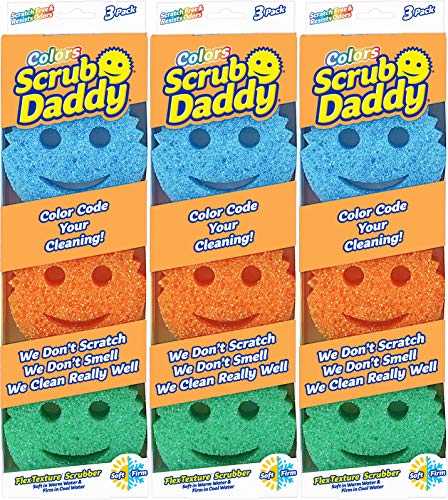
- happy face sponges
- foam
- tissue paper
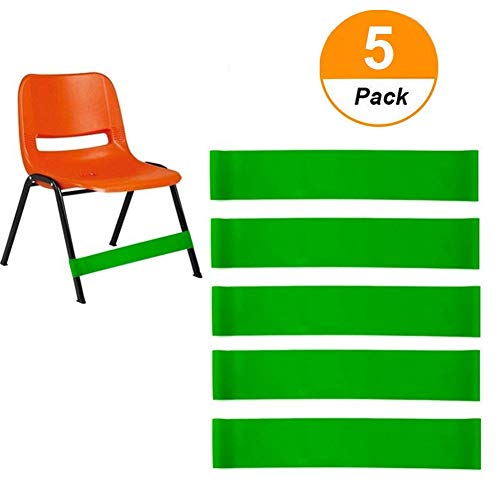
- lycra or latex band
- mesh
- screen
- makeup sponges
- foam shapes
- tin foil
- cotton
- corks
- wire
- pretend flowers
- straw beach mat
- costume jewelry such as Mardi Gras beads
- balloons
- bubble wrap
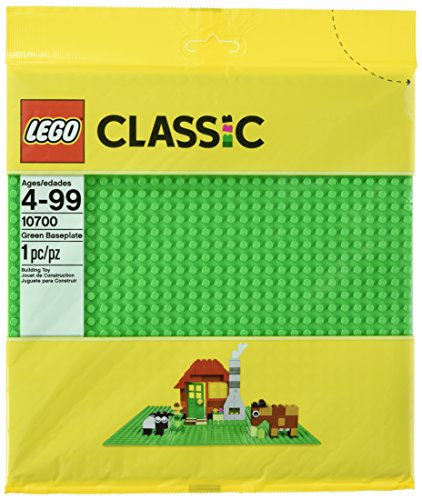
- Lego plates
- wood
- bag filled with gel
- wallpaper samples
- bamboo
- burlap
- bark
- twigs
- felt
- shammy
- gauze
- doily
- old curtains or tablecloth
Corrugated CardboardSilicone ScrubbersButtonsMetal ScrubbersVelcroFake GrassFaux Fur Fabric PieceSensory Latex BandsHappy Face ScrubbersLEGO BaseplateWallpaper SamplesLace Ribbon

Why create a sensory wall?
Sensory walls provide an opportunity for rich sensory exploration. They give tactile, visual, and auditory sensory input. They are an invitation for children to explore through their senses and discover more about their own sensory preferences. It is important for kids to learn about the sensory systems and sensory preferences.
A sensory wall can be enjoyed by toddlers, preschoolers, and even older kids and adults. You are never too old to explore through your senses!
As kids explore through touch, they will find texture they like and ones they don’t. They will have their favourites and ones that they never touch again. One of my daughters even has a particular carpet sample she likes best and keeps going back to.
A perfect example of sensory preferences is that my middle daughter asked me to please keep a section of the cork board empty because she couldn’t get enough of touching it. It’s hard to describe the feel of it. It’s not traditional cork (though I did attach a cork coaster). This cork board is kind of hairy and rough. The funny part was that I couldn’t stand touching it. I was avoiding it as I worked on building the sensory wall and here my daughter was saying that it was her favourite part!
Strangely enough, the mop head turned out to be my favourite thing on the board.
Children can also discover with their eyes as they take in the colours, shapes, and patterns on the wall. They can explore sounds by running their fingers or nails over the beads or scratching on the sandpaper or scrunching the kitchen scrubbers.
This type of play is also great for vocabulary and communication. Kids can describe what they are seeing, hearing, and feeling. They can ask questions and express their likes and dislikes.
Other sensory wall ideas:
Use a pegboard to attach things to. This creates a sensory board that can be changed around for different seasons, themes, or as your child grows and their interests and sensory needs evolve.
Sensory Wall for a Large Room – Teach Me Mommy
Busy Board for Babies and Toddlers – Kara Carrero
DIY Sensory Boards for Little Ones – Fun at Home with Kids
If you create you own sensory wall, send me a picture or tag me on social media. I would love to see what you come up with!
Looking for sensory play recipes? Join for a five day email series on Sensory Activities and Solutions and get a free sample of our Sensory Play Recipes eBook.
Check out our whole Sensory Room (including a video tour)!
These other articles may interest you as well: