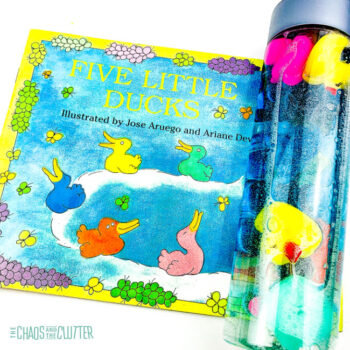
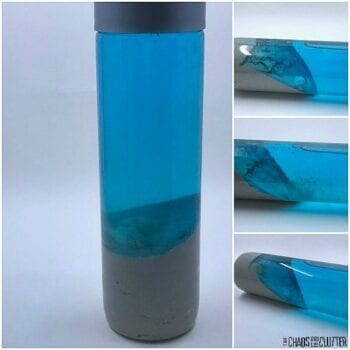
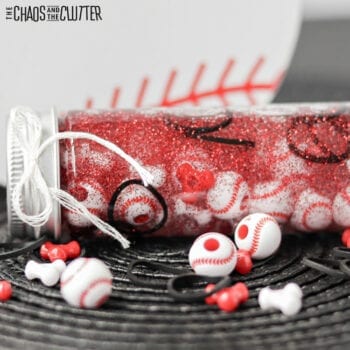
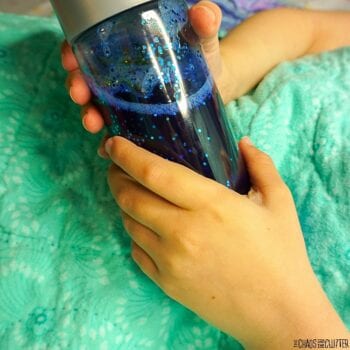
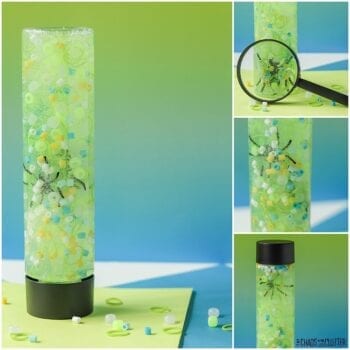
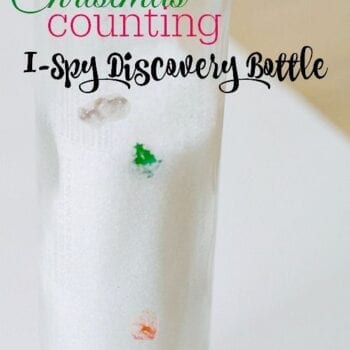
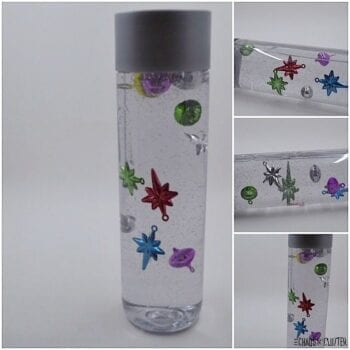
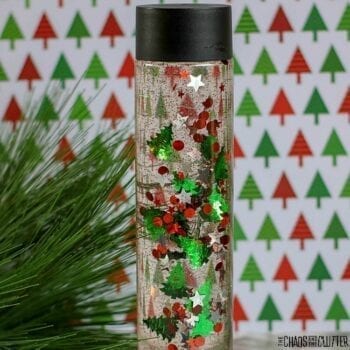
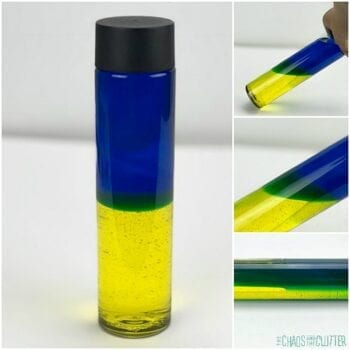
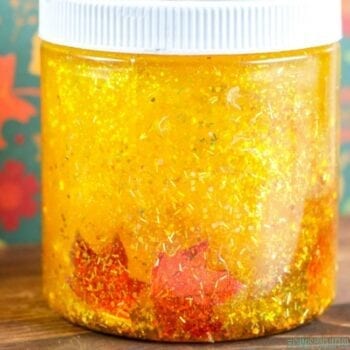
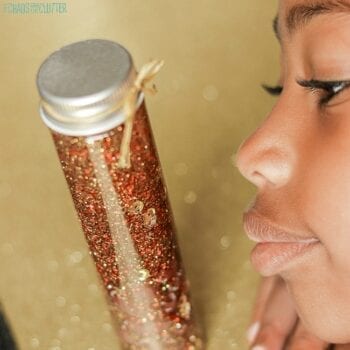
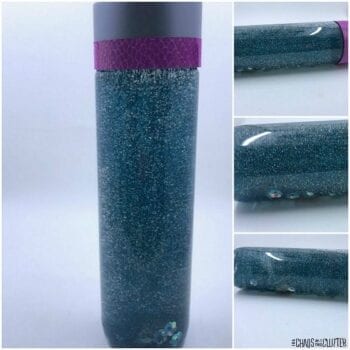
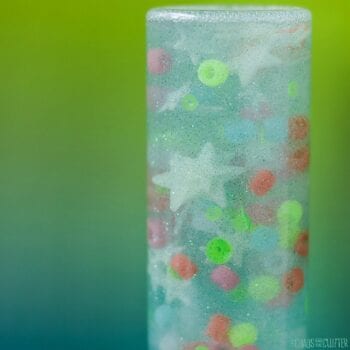
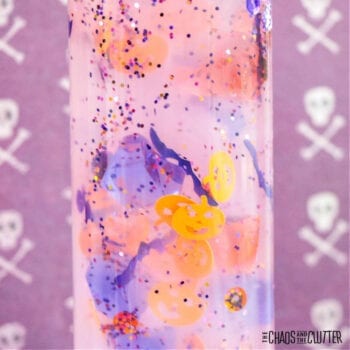
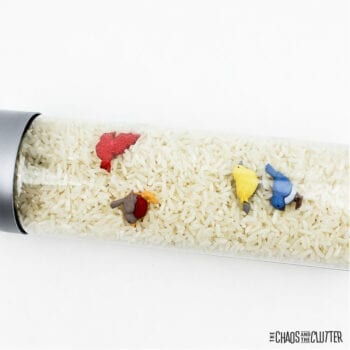
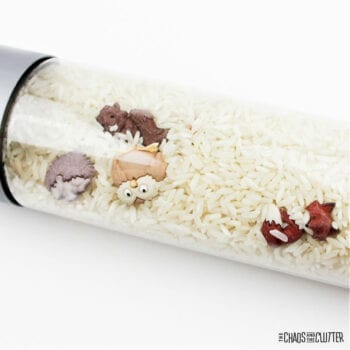
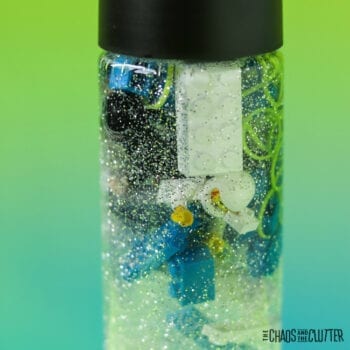
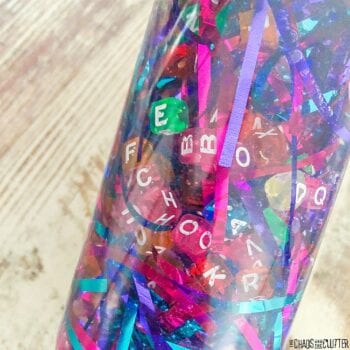
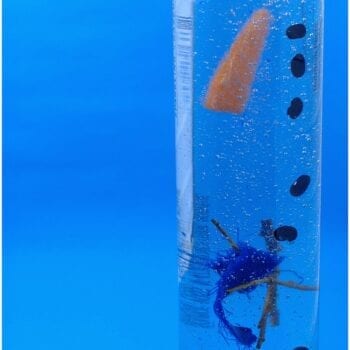
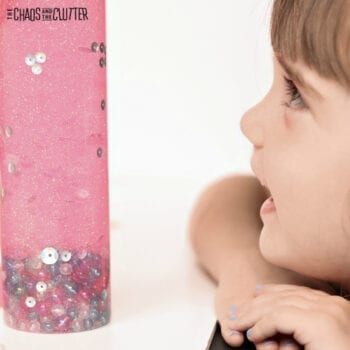
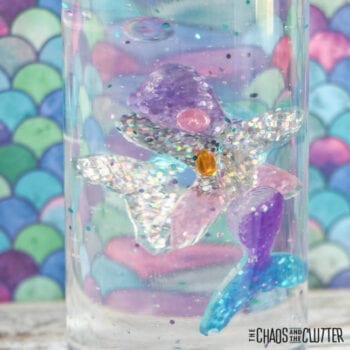
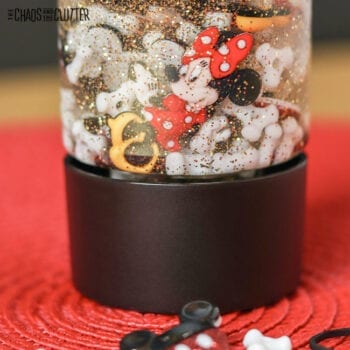
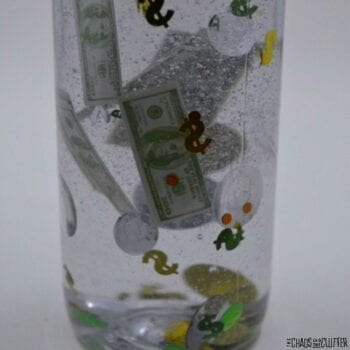
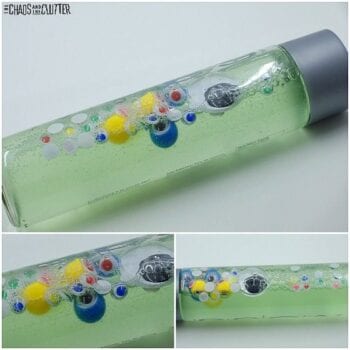
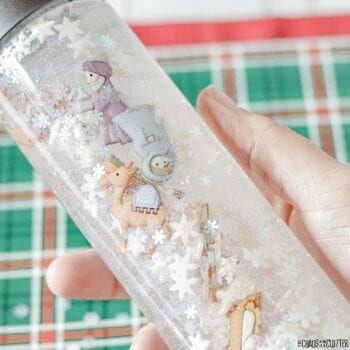
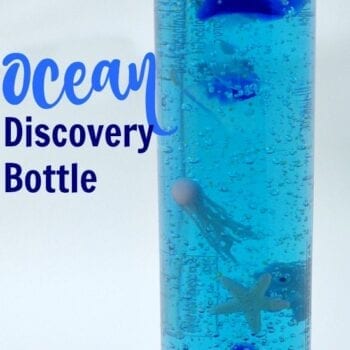
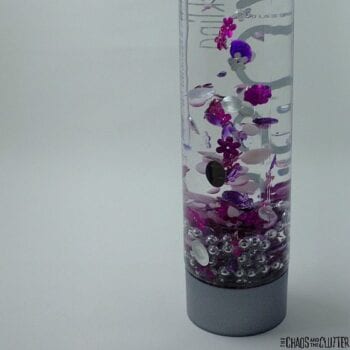
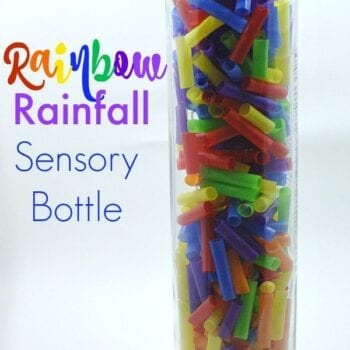
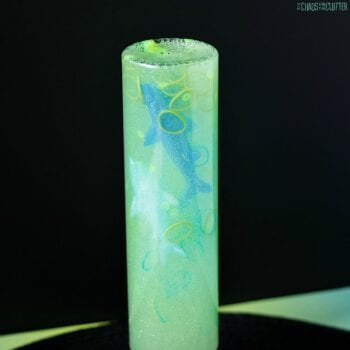
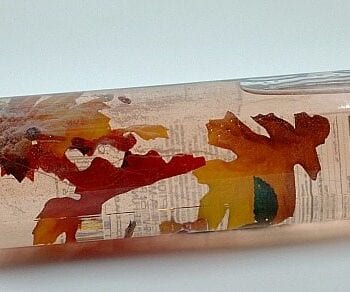
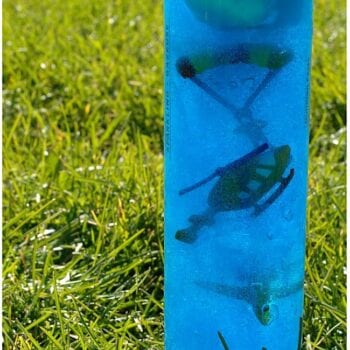
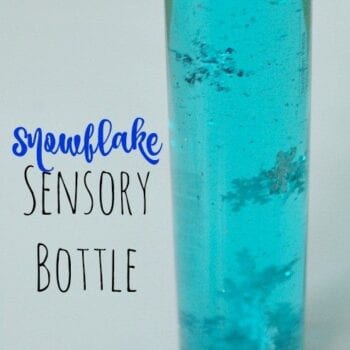
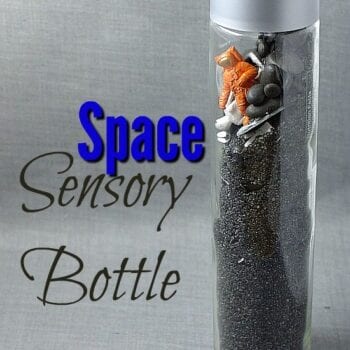
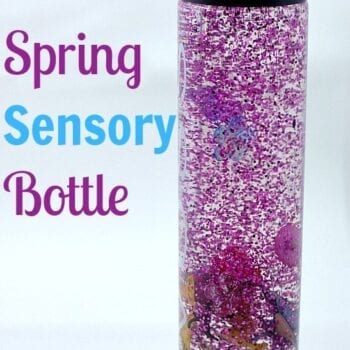
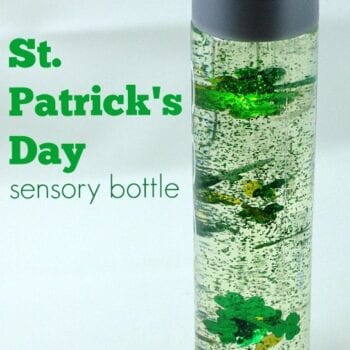
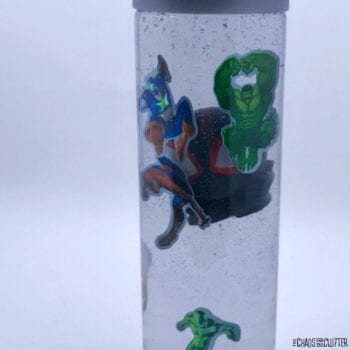
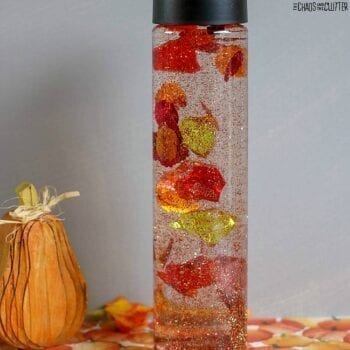
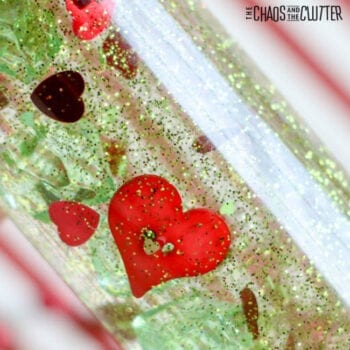
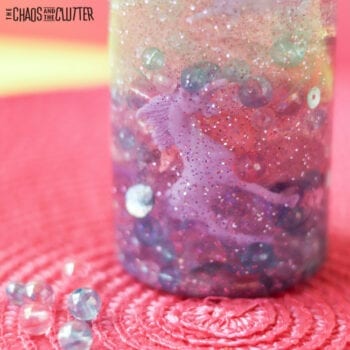
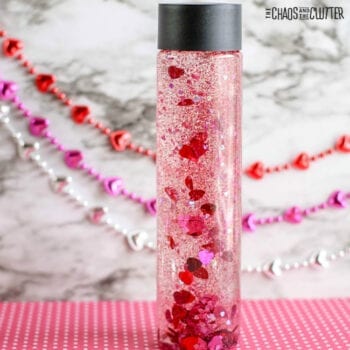
We love creating sensory bottles. There are so many possibilities. Whether you’re wanting to create a simple glitter sensory bottle or calm down bottle or wanting to create something with a fun theme, sensory bottles are easy to make yourself.
 They are a great addition to your child’s sensory play or to your preschool or classroom. There are many benefits to exploring with a sensory bottle. Not only does this activity allow kids to meet some of their sensory needs through visual, tactile, and sometimes proprioceptive, auditory, or olfactory sensory systems, they also give way for other avenues of learning.
In fact, sensory bottles are also known as discovery bottles. You can create them along any theme to coincide with a learning unit in your preschool, classroom, or home.
It’s easy to make your own sensory bottles. With just a few supplies, you can create your own. They are a mess free sensory play option great for all ages.
How to make sensory bottles:
Step one: Choose the bottle.
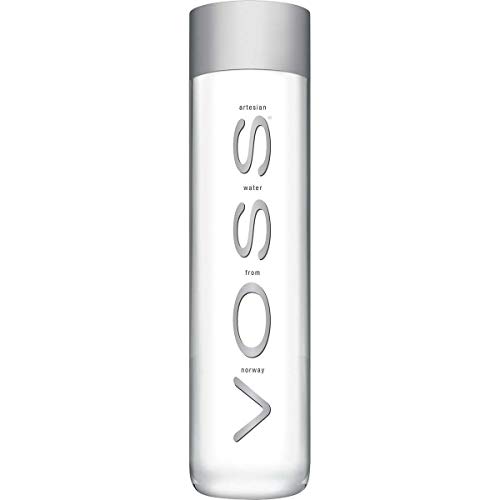
You’ll need an empty bottle. I usually use either use an empty Voss bottle or a plastic bottle from the craft store because I like the look of them, but any empty bottle you have will do.
I almost always use plastic, but sometimes choose to use a glass bottle to add extra weight for proprioceptive feedback. Of course, you want to use extra caution if using a glass bottle and only use it with older kids or adults.
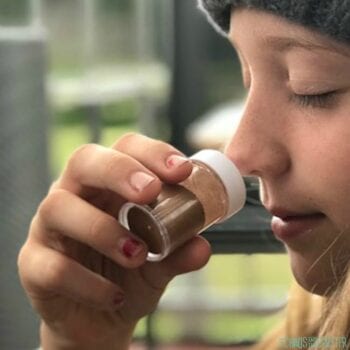
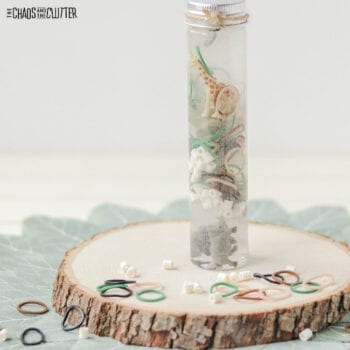
Other containers that will work are spice containers or small plastic test tubes. Spice containers are especially good if you’re wanting to make smell bottles.
Step two: Fill the bottle with liquid of some kind or another filler.
Common sensory bottle fillers are:
- water
- combination of warm water and clear glue
- hair gel
- hand sanitizer or liquid soap
- water beads and water
- corn syrup
- baby oil
- cooking oil
- shampoo
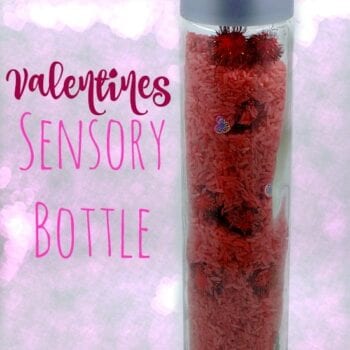
- dry rice
- dry beans
- coconut
- Epsom salt
- sand
Step three: Add other things of interest.
Common examples are:
- small toys
- glitter
- confetti
- sequins
- beads
- Rainbow Loom elastics
- plastic animals
- googly eyes
- pompoms
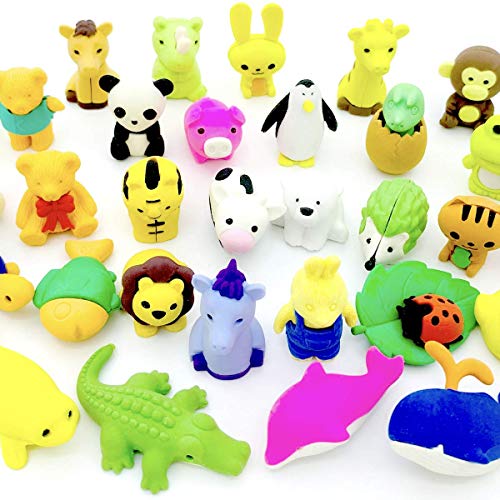
- mini erasers
- buttons
- marbles
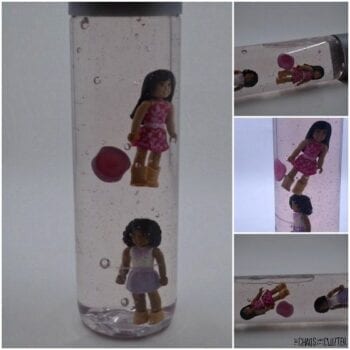
- LEGO
- ribbon
- rocks
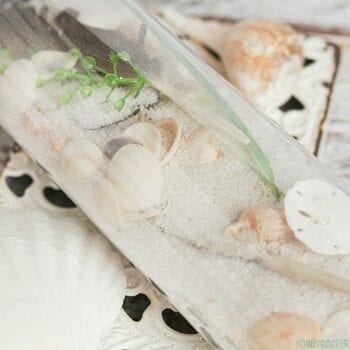
- shells
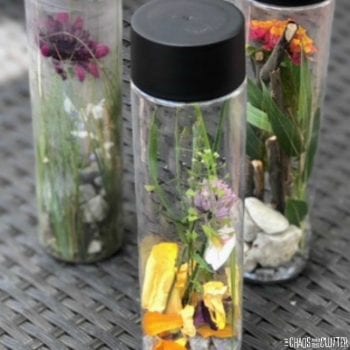
- items found on a nature hike or beach walk
- items from a Toob
VOSS Water Plastic Bottles Empty Sensory Bottles
 Water Beads
 Fine Glitter Set
 Sequins
 Summer Confetti
 Rainbow Loom Rubber Bands
 Assorted Miniature Animal Toys
 Mini Erasers
 Safari Ltd On the Road TOOB
 Safari Ltd In The Sky TOOB
 Safari Ltd Knights & Dragons Toob
 Gorilla Super Glue
Step four: Secure the bottle.
You’ll then want to replace the lid and if using with younger children, secure it in place with a hot glue gun or Gorilla glue. Be aware that even if glued on, the lids can be opened so adult supervision should always be used.
Step five: Play!

How to make glitter sensory bottles:
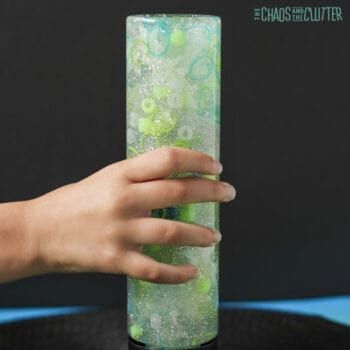
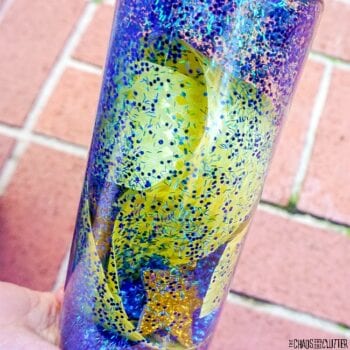
There are two main ways to make a glitter sensory bottle. One is using a combination of warm water and glitter glue. The other is to combine warm water, clear glue, and glitter.
- Add a bottle of glitter glue or clear glue to an empty water bottle.
- If using clear glue, add a generous amount of glitter.
- Next, pour in warm water until the bottle is almost full.
- Replace the lid and shake well.
- If using with younger children, secure the lid with a hot glue gun or Gorilla glue.
The glue in the bottle will slow down the movement of the glitter, thus creating a calming effect as kids (or adults) watch it fall. This is an easy way to make your own calm down jars.
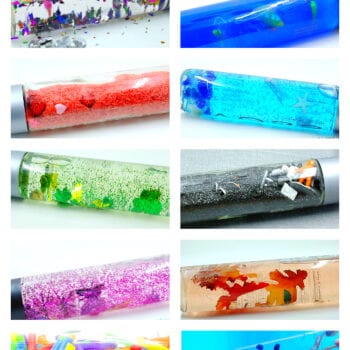
Sensory bottle ideas:
Join me for a free 5 part email series Sensory Solutions and Activities and get a free sample of our Sensory Play Recipes eBook.
