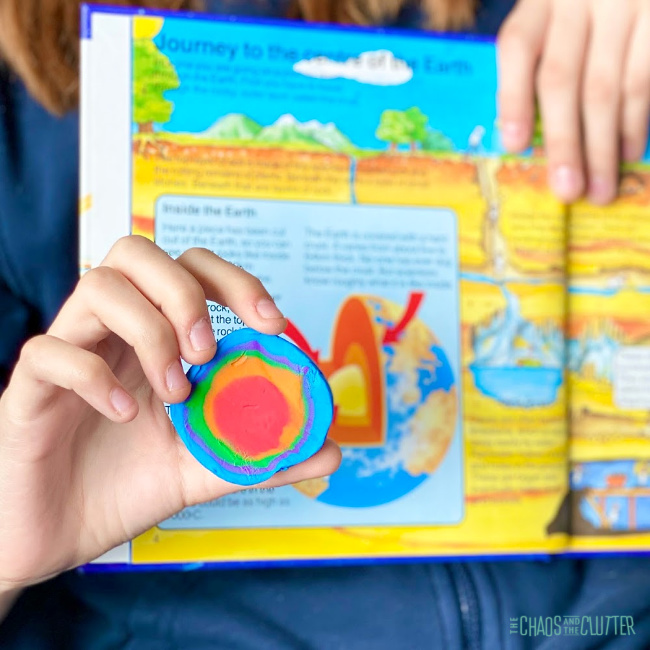
When teaching students about the structure of the Earth, this 3D layers of the Earth project really helps bring it to life. Using a hands-on activity like this helps kids be able to conceptualize what they’re learning and be able to retain it.  This project is super easy to make with minimal supplies. Watch the video below to see exactly how to shape your layers of the Earth visual model.
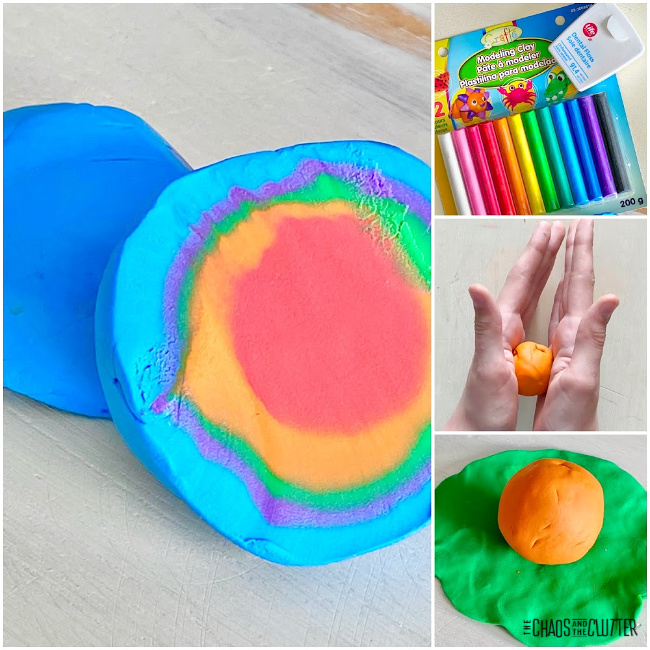
Layers of the Earth Activity:
To create this 3D model of the layers of the Earth, you will need just a few easy-to-acquire supplies.
Supplies needed:
- 5 colours of modelling clay
- waxed dental floss
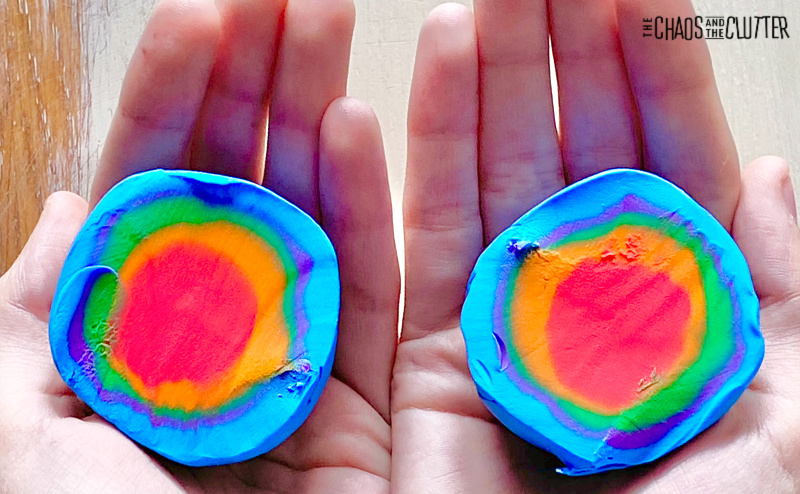 Directions:
- Form a ball to represent the inner core. We chose red to represent the intense heat of the inner core.
- Next, roll out a circle of another colour and wrap around the ball and roll gently. This next layer represents the outer core.
- Each subsequent colour will need more modelling clay than the last. You will need a colour to represent the lower mantle, another for the upper mantle, and the outer layer for the crust.*
- Once your ball of 5 layers of modelling clay is complete, use a piece of waxed dental floss to cut the ball down the middle, revealing all the layers underneath.
*Be sure not to press the layers too firmly together so that the colours don’t mix.
Ways to expand on this activity:
- Have your child draw a diagram depicting the layers and labelling them.
- Set out books about the Earth for your child to peruse.
- Hang up a learning poster in your classroom or home to give kids another visual cue.
- Make a Layers of the Earth Soap with the kids.
- Make some Layers of the Earth Pudding Cups as a related snack.
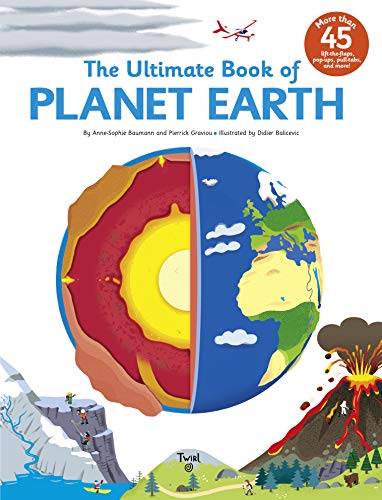
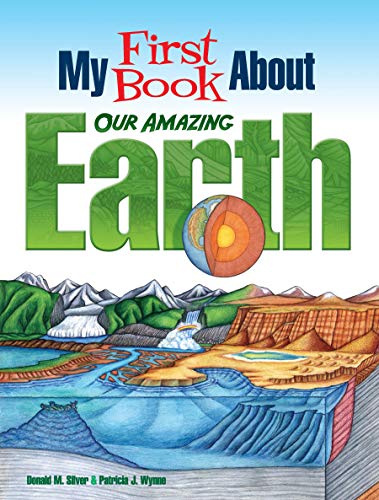
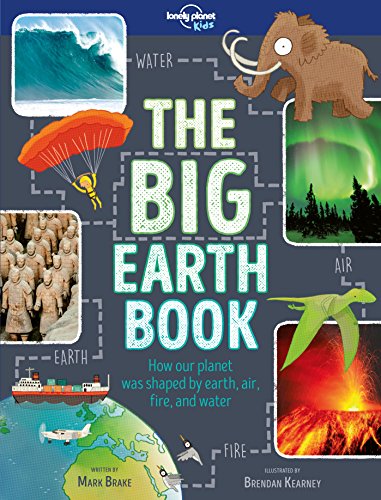
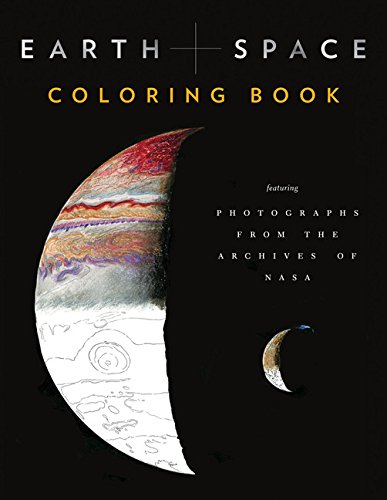
Earth Books to go along with this science unit:
The Ultimate Book of Planet Earth My First Book About Our Amazing EarthThe Big Earth BookEarth and Space Colouring Book: Featuring Photographs from the Archives of NASA
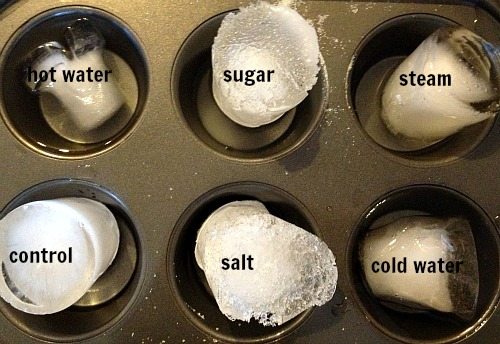
You may also be interested in these hands-on science activities for kids: