The sensory input on this activity happens throughout the activity. Each individual nature sensory bottle is unique.
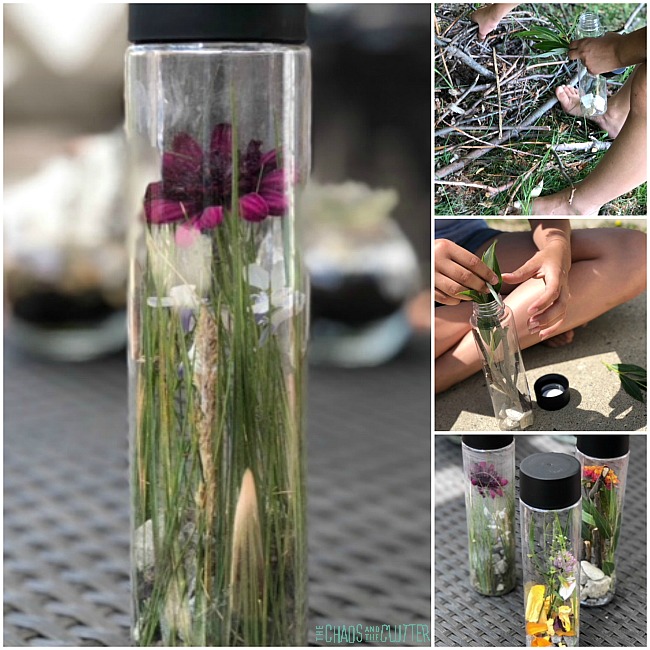
 Begin with a trip outside to explore nature. Bring a plastic water bottle with you. Allow your child to really take the lead on this walk or hike.
If they find things that catch their eye, they can add them to their sensory bottle. They can either gather all of the items before and add them to the bottle later or they can add the items as they find them.
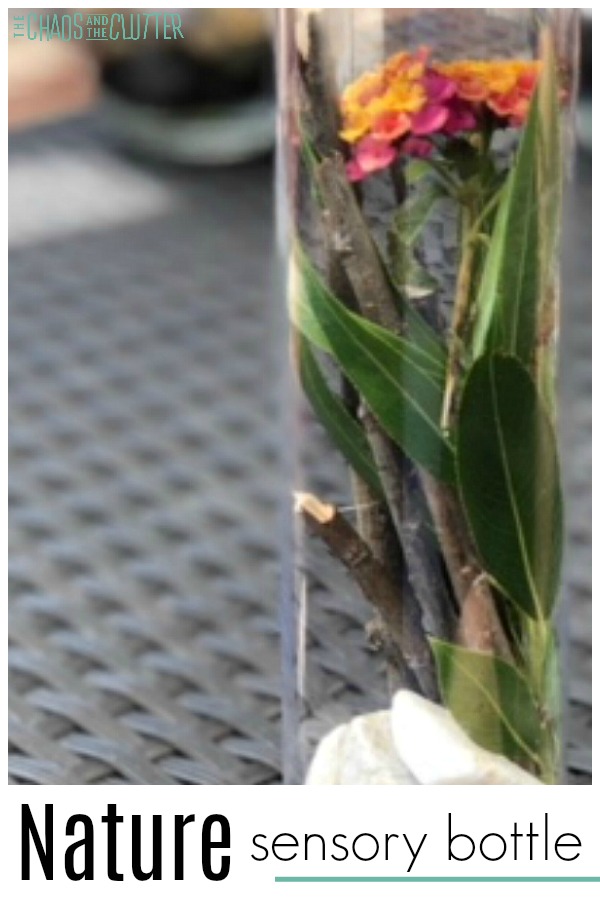
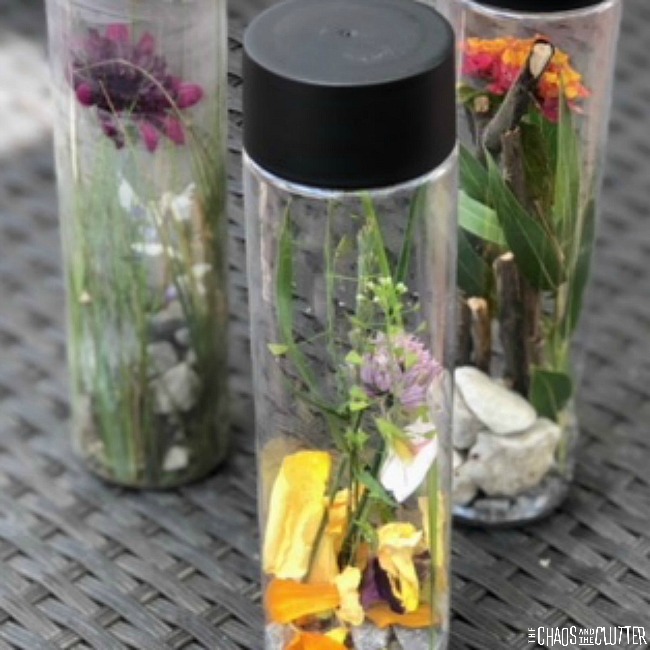
My kids really enjoyed creating their nature sensory bottles. They enjoyed climbing through the trees looking to discover items to include. I love how each one of their came out so differently and yet all were lovely.  We filled ours in the spring and the colours were so beautiful. The flowers, flower petals, and purple clover contrasting against the white rocks, green leaves and stems, and brown twigs made them quite striking.
Nature Sensory Bottle
Materials needed:
- empty water bottle (I like the look of Voss bottles)
- items found in nature
Instructions:
Go on a nature walk or hike to gather items for your nature sensory bottle. As you are outside, ask your child questions designed to help them become more aware of their sense.
“How does that rock feel?” or for younger kids, “Does that rock feel rough or smooth?”
“What do you smell?”
“Can you feel the wind?”
“What sounds do you hear?” or for younger kids, “Can you hear the birds chirping?”
“What colours or shapes do you see?”
As they gather items to fill their bottle, have them describe the items to you. See if they can incorporate their senses into the descriptions.
Really, any item they find can be added to the sensory bottle, so this list is not comprehensive.
When complete, place the lid on the bottle. Some of the items in these sensory bottles can mould over time due to moisture, so the bottles only keep for a few weeks. Or you can fill the bottle up and empty it right away and head back out on another nature hike to fill it again. 
What to put in a nature sensory bottle:
- sticks
- rocks
- pussy willows
- leaves
- snow
- water
- flowers
- flower petals
- weeds
- pebbles
- seeds
- dirt
- mud
- sea shells
- pine cones
- pine needles
- feathers
- herbs
- grass
- acorns
- sand
- berries
- insects (only if you poke holes in the bottle of course)
- wheat
You can do this sensory activity in any season. The nice thing about that is that the nature sensory bottle you make in winter will be very different than the one you make in spring. My favourite season is fall because of the colours of the leaves. They make beautiful sensory bottles!
This easy idea is included in our Sensory Science eBook Volume 1 in the Nature section. The book includes fun, hands-on activities for kids that combine learning with sensory input. 