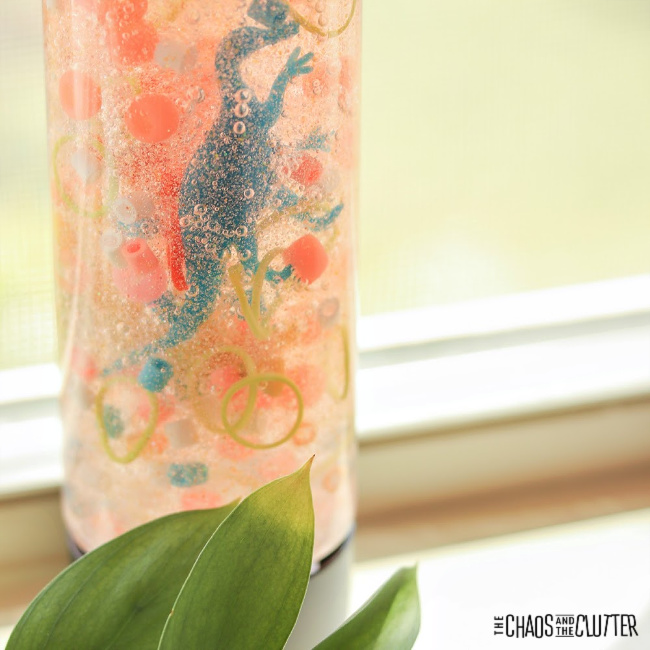
Have you ever noticed how soothing a glitter bottle is? The fascination of the slow sparkling movement mixed with color is somehow mesmerizing. It calms you down and helps you focus within just a few minutes. I can never resist picking up a glitter bottle and playing with it even if just for a few minutes, and I am a grown adult! Our Emotions Sensory Bottle blends glitter, water beads, and googly eyes to make a fun and curious way to work through big emotions. Aren’t these adorable???

If you thought that sensory bottles could only be found in the store, you are in for a treat. Nothing could be simpler to make, and these bottles can and will be enjoyed by all ages. Children can help make the bottles so they are invested in playing with them right from the start. The whole family can get involved playing games and discussing emotions whether you are around the dinner table or on a long car ride.
How to Make an Emotions Sensory Bottle
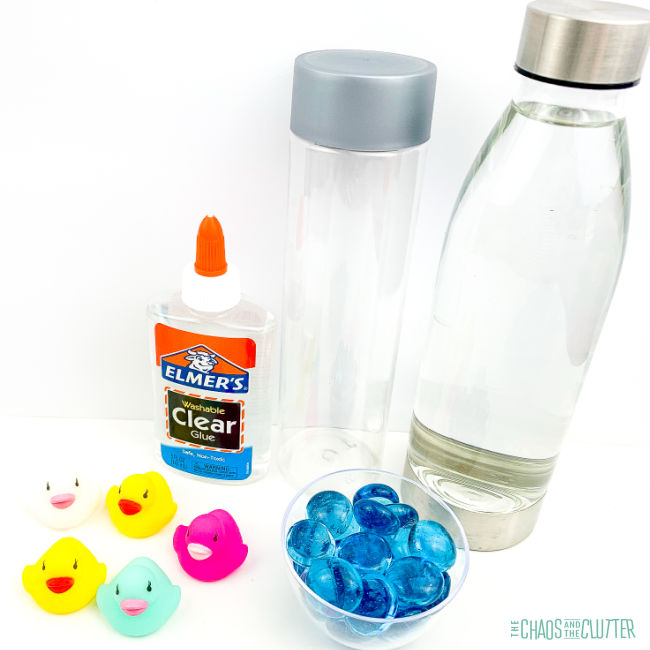
Supplies Needed
- Glitter glue
- Glitter
- Food dye
- Water
- Water beads
- Googly eyes
- Dry erase marker
- 4oz jars
- Crazy glue

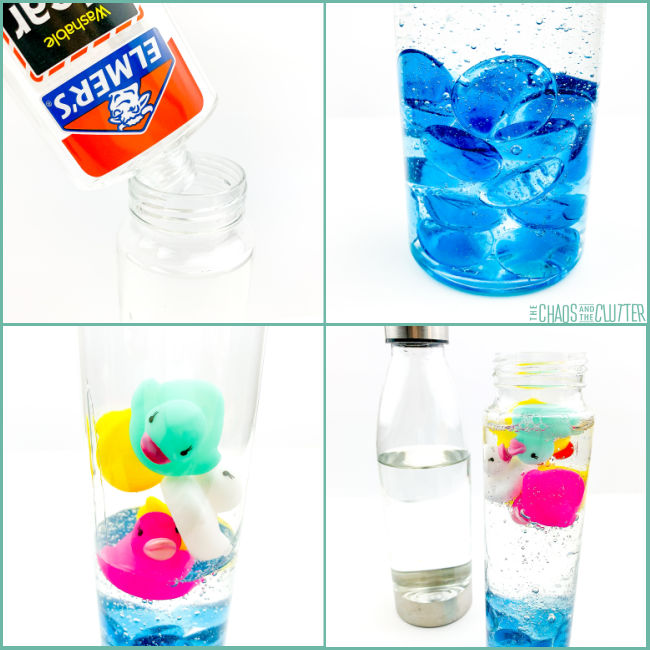
Step-By-Step Instructions
- Sort out the color of water beads and put into your jars.
- Then add in a glitter pack to each bottle.
- Squirt a little bit of glitter glue into your bottles.
- Mix the food dye with water until you get your desired colors. Pour the water into the glass jars.
- Glue the lids to the jars so your child will not open it up.
- Add some googly eyes and draw faces to match the colors of emotions.
Tips and Ideas for Emotions Sensory Jars
- You can add other items into your jar or use bigger jars if you would like. Emotion Beads would be a fun add!
- Make them along your child! Let them draw the faces.
- The crazy glue is used to glue the lid to the jars. This prevents mess, and also makes the Emotions Sensory Jars a toddler-safe activity. Please make sure younger children are always supervised!
- Use permanent marker to draw on the emotions so that the marker doesn’t come off with little hands.
- Alternatively, use dry erase markers and change the frown to a smile, etc. as you talk about changing emotions.
More Ways to Play with Emotions Sensory Jars
What really makes these jars special is that they give your child so many different ways to talk about emotions, gain emotional literacy, and work through hard emotions through pretend play.
The bottles instantly become people and your children storytellers — use that to your advantge! Take turns telling stories about the different glitter bottles based on their facial expressions.
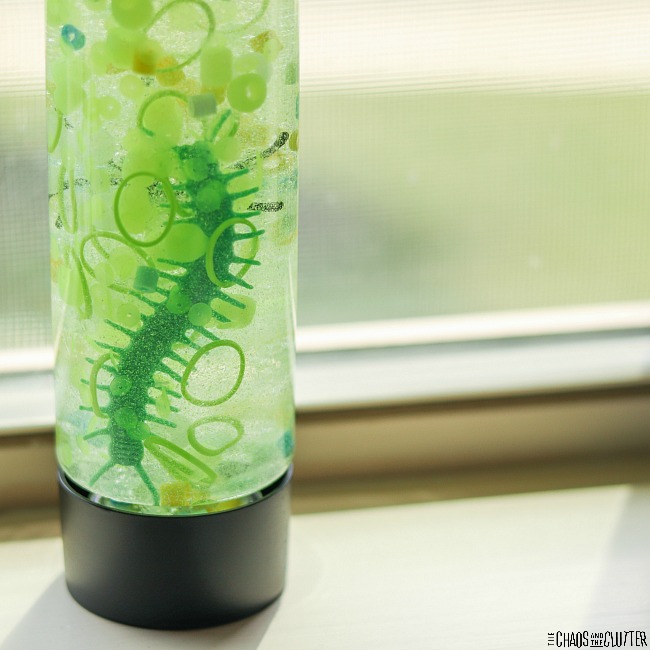
Consider each bottle individually and ask your child leading questions that can’t be answered “yes” or “no”. What emotion is the green bottle feeling today? Describe a time when you felt _____________. What do you think surprised the green bottle so much?
If you add emotion beads, or letter beads to spell out an emotion, or number beads, you can use those to extend the fun. Try to find each emotion and name it. Try to find each letter in the word (angry, happy, etc.) and put them in order on your paper. Count blessings that made you happy, name the # of things that cheer you up when you are sad, (if you find a #4, name four things that made you sad) or try to find as many different beads as you can.

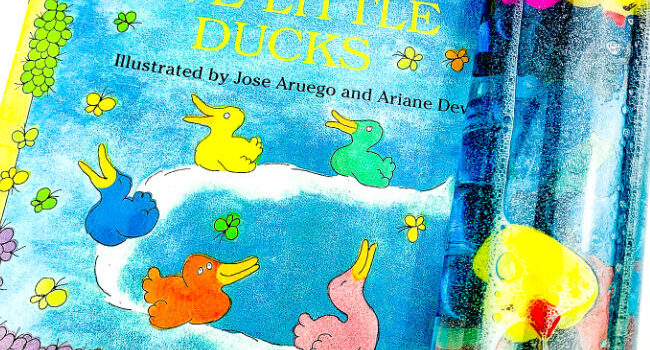
Fun Books About Emotions for Parents and Kids to Enjoy Together
The Feelings Activity Book for Children. Fifty activities to help build emotional literacy.
Little Actions Big Feelings by Aleks Swan.
In My Heart: A Book of Feelings by Jo Witek.
Grumpy Monkey by Suzanne Lang
Fun Toys and Games to Teach About Emotions
Emotions Stickers are a fun way to talk about and identify emotions and work on fine motor skills at the same time.
An exploratory way to play while learning about emotions, the Big Feelings Pineapple is also fun.
This Feelings Activity Set from Learning Resources is a great way to explore emotions while also counting, sorting, and making up stories about the little people.
A Little Spot of Emotions by Diane Alber is a series of books and we love that this set comes with Emotions Plushies too!
Act out various emotions with pretend play and tell stories to work through hard days or past trauma with these Emotions Puppets.
Additional Content To Help Children with Big Emotions
Along these same lines, our amazing Emotions Sensory Bin or Emotions Sensory Bags helps have the same conversations in different ways. Every time you can revisit this conversation with your kids you can add or deepen neural pathways and neural connections.
If you haven’t made one already, I highly recommend making a Calm Down Kit, and the emotions glitter bottles would be a perfect addition! This handy kit can be taken on the go and includes different items and activities, like these homemade emoji squishies, that can help your child calm down through portable, simple, sensory play.
How Can I Help My Child Control His Emotions is an excellent tool for parents and caregivers.


 This sensory bottle creates opportunity for kids to use their tactile, visual, and proprioceptive sensory systems. Sensory input is an important part of child development and emotional regulation.
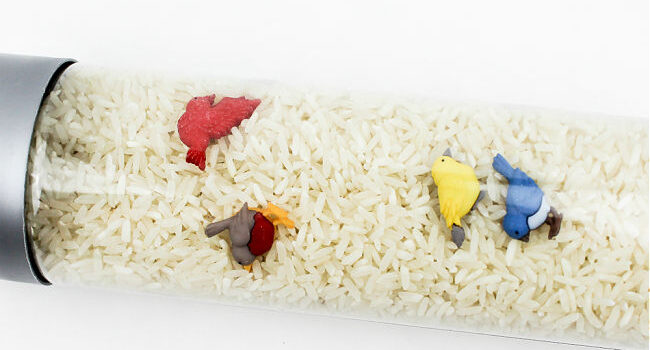
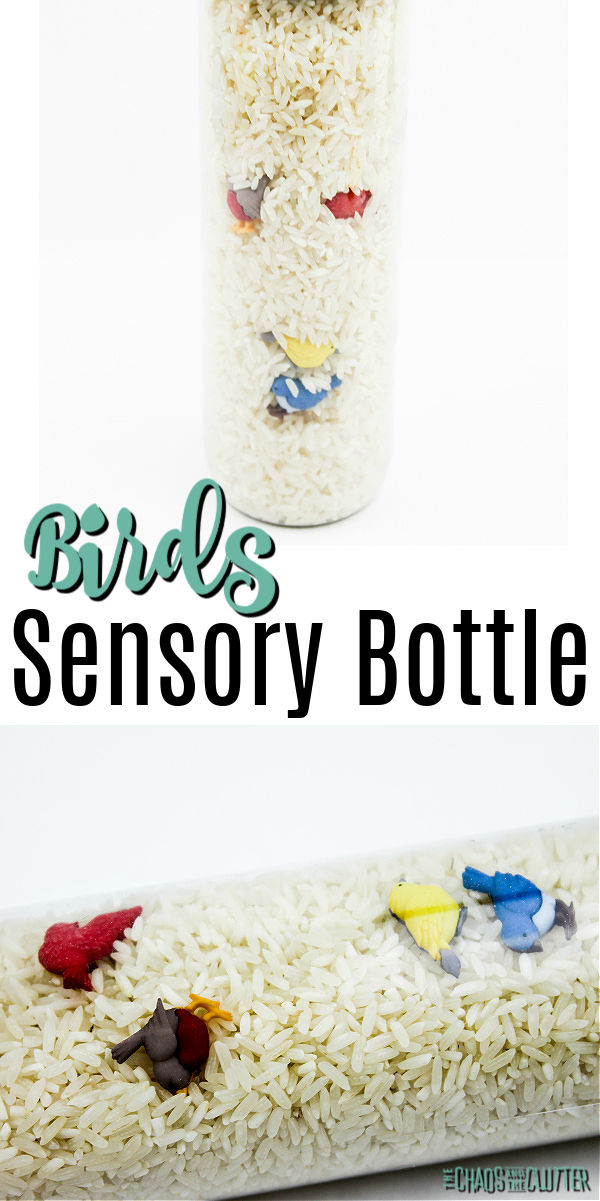
 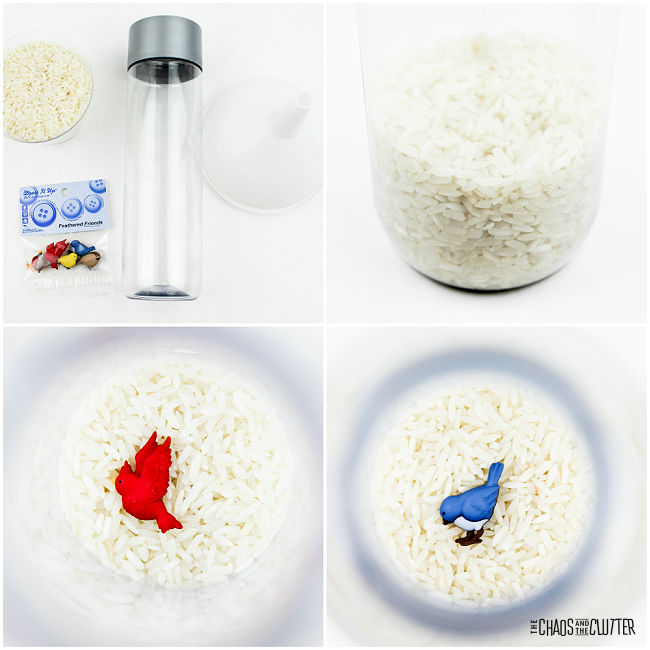 Allow the child to move and shake the rice around until they find all of the birds. They can even expand the activity by researching what type of birds they are.
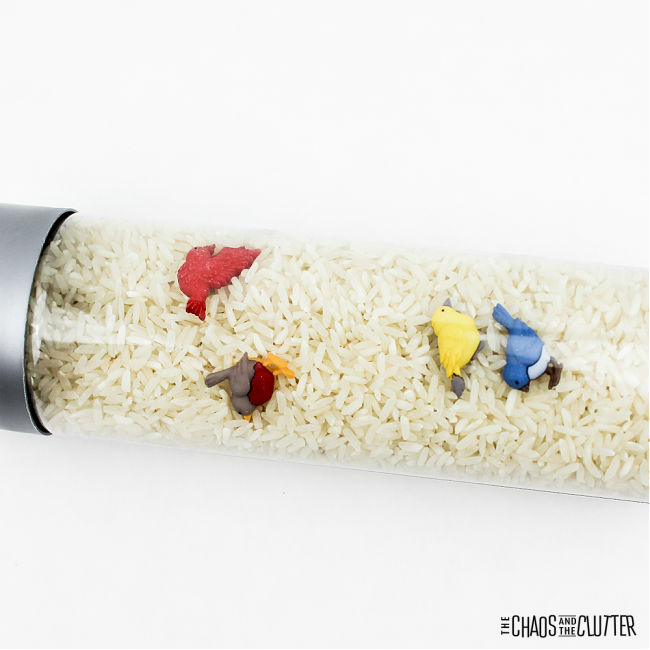
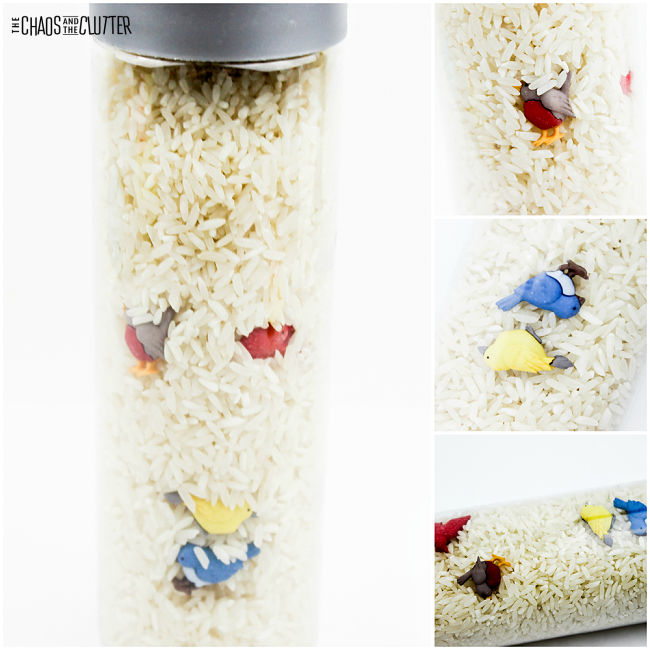 As with all sensory play activities, adult supervision should be used at all times. Even if you have secured the lid with glue, it is still possible to get it open and the bottle contains small parts which are choking hazards for children.