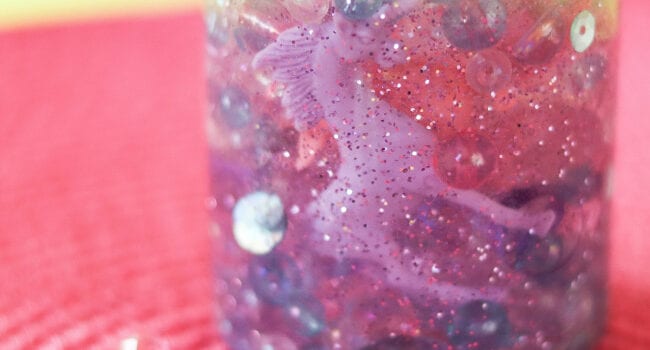
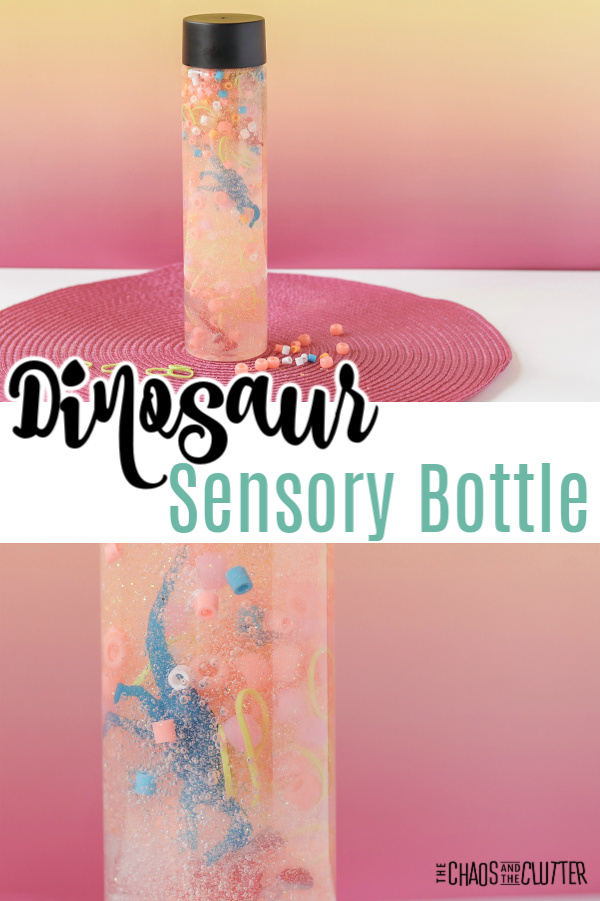
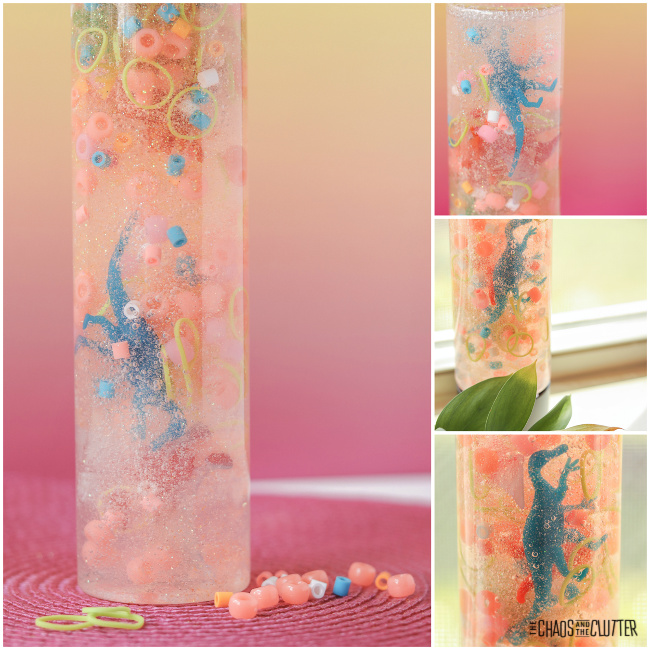
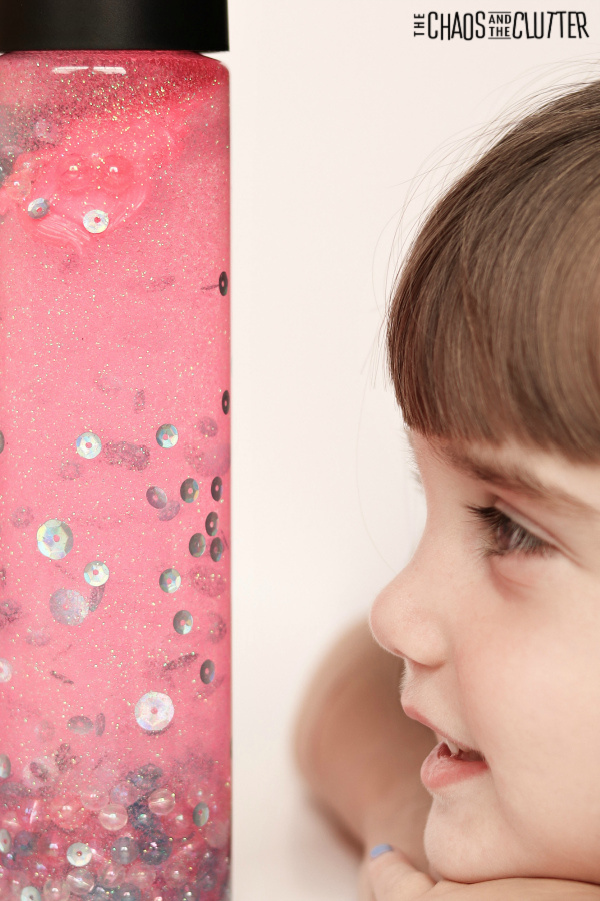
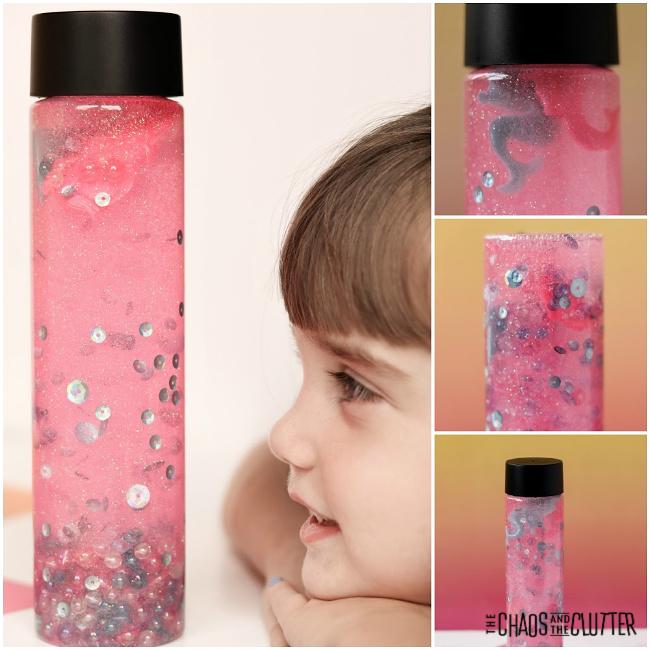
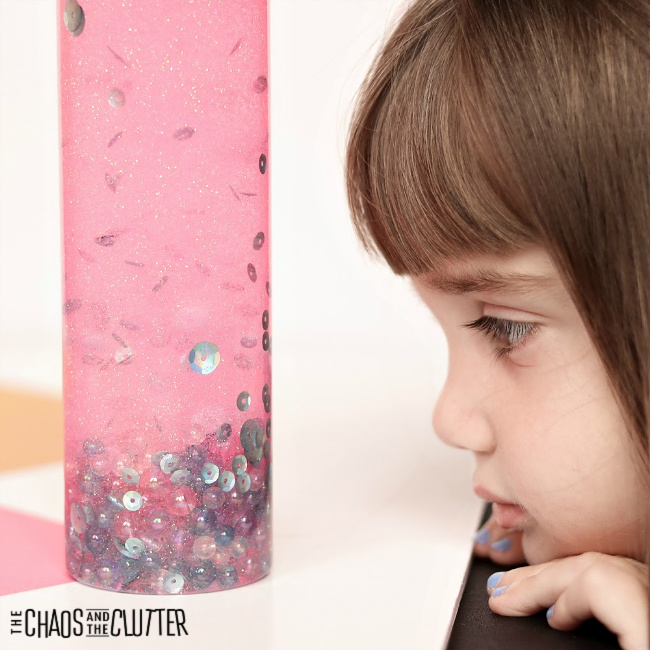
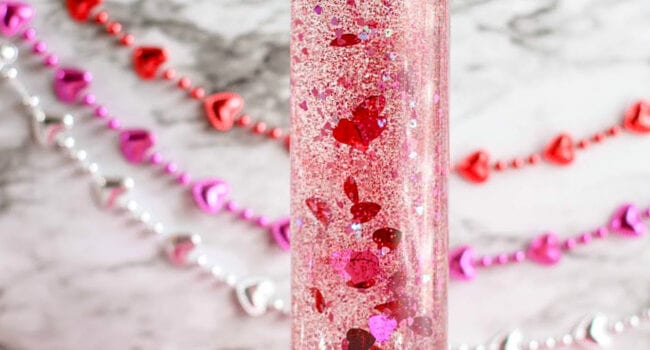
Girls (and some boys!) are going to go crazy over this Unicorns and Fairies Sensory Bottle. It’s so pretty that it could even be used as a bedroom or playroom decoration when they are finished playing with it. 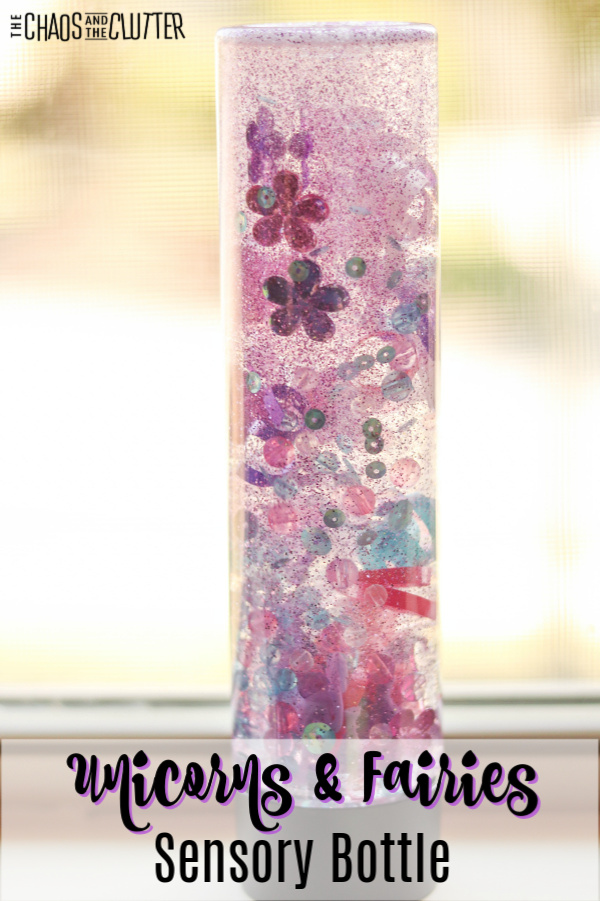
Unicorns and Fairies Sensory Bottle:
Supplies needed:
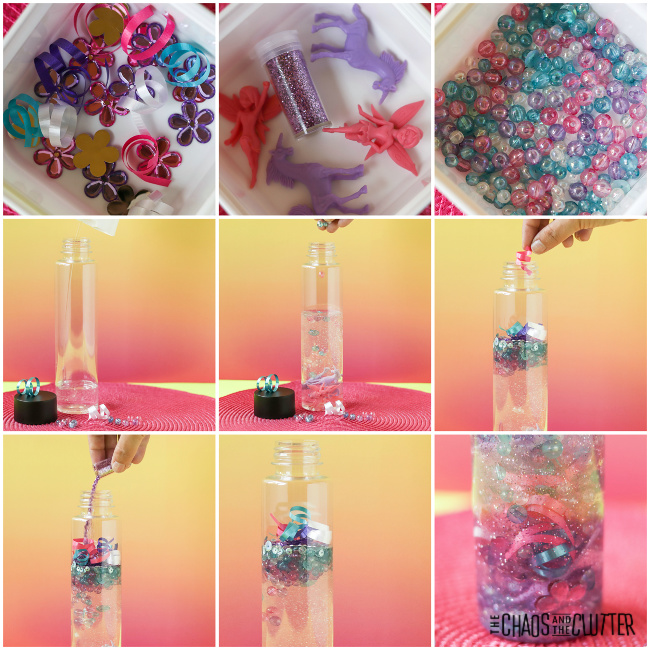
- empty water bottle (I prefer the look of Voss bottles or craft store sensory bottles)
- clear dish soap (Dawn or LemiShine are good because they are thicker)
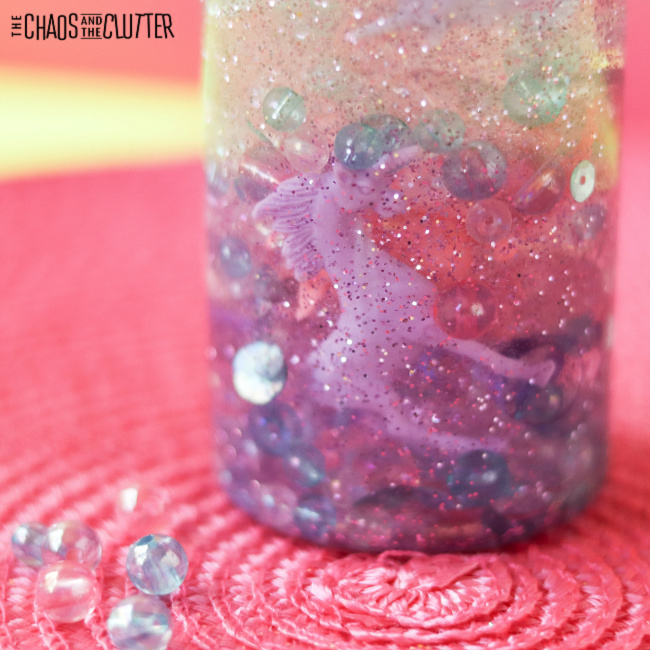
- small unicorn and fairy figurines (you can often find these in the party favour section of the Dollar Store or Target)
- purple glitter
- pink, purple, teal, and white pony beads
- small flower gems
- short ribbon curls in pink, purple, teal, and white
- optional: Superglue to seal
 Directions:
- Cut short lengths of ribbon. Use scissors to curl them.
- Pour clear dish soap into the container until it’s 2/3 full.
- Add the glitter, unicorn and fairy toys, beads, ribbon curls, and flowers.
- Fill any remaining space with water.
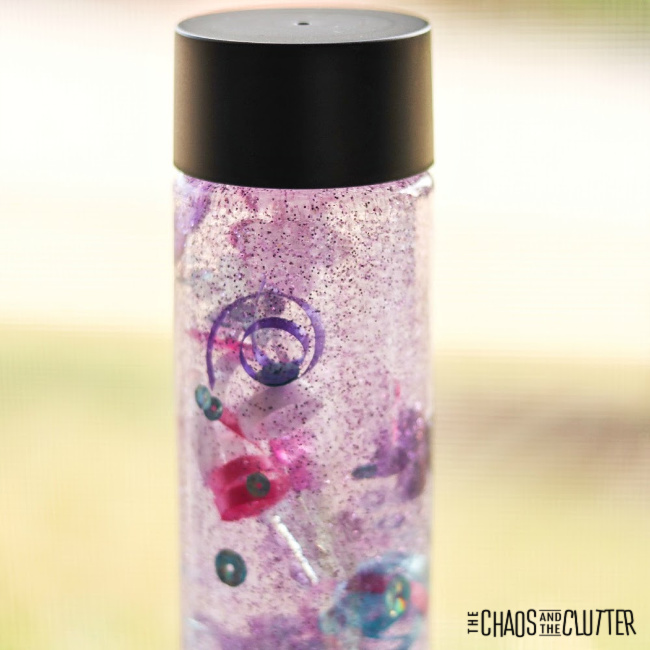
- Replace the lid. If you’re going to be using with younger kids, then I recommend that you super glue the lid in place and allow the glue to dry before giving it to your child to play with.
 As with all sensory activities for kids, adult supervision is recommended at all times. Even if you’ve Superglued the lid in place, it can still come off and the bottle contains small parts which are choking hazards.
Sensory and Learning Opportunities:
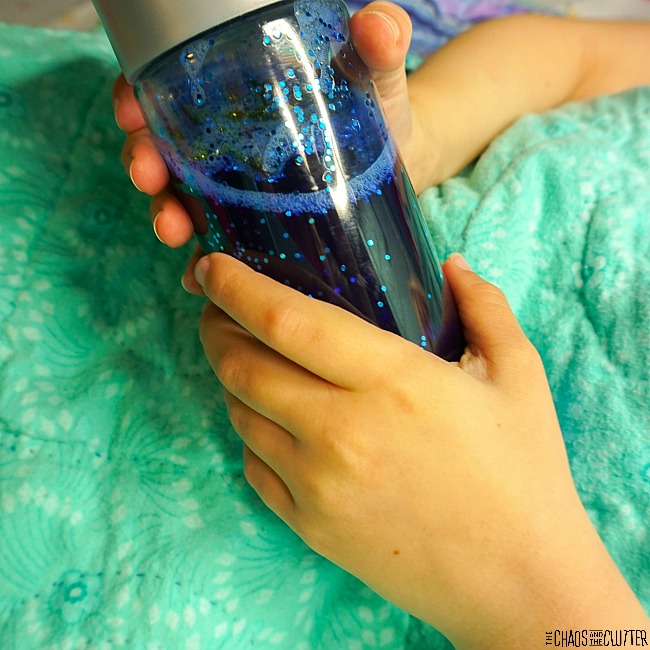
This Unicorns and Fairies Sensory Bottle allows children to engage their visual, tactile, and proprioceptive sensory systems.
Kids can practise counting as their count the unicorns and fairies. They can get it some colour and counting learning as they count how many pink flowers there are or how many purple ribbons.
 Are you looking for more easy sensory play recipes? Join us for a five day email series on Sensory Activities and Solutions and get a free sample of our Sensory Play Recipes eBook.
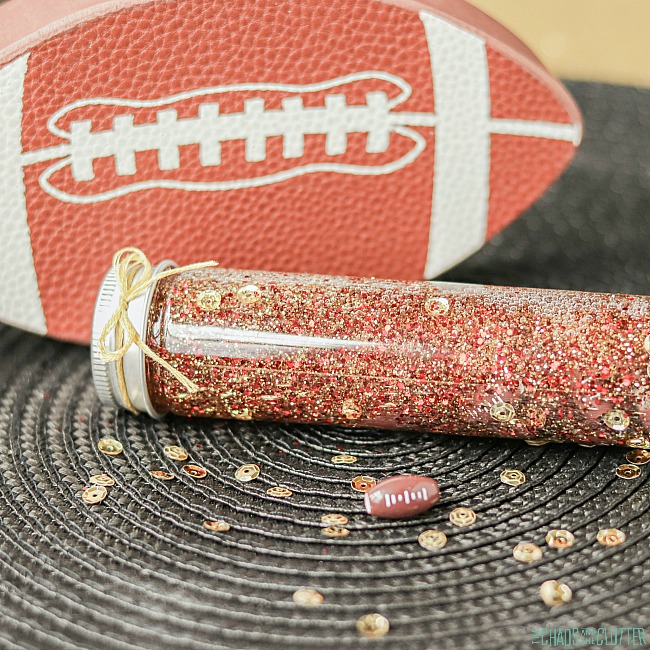
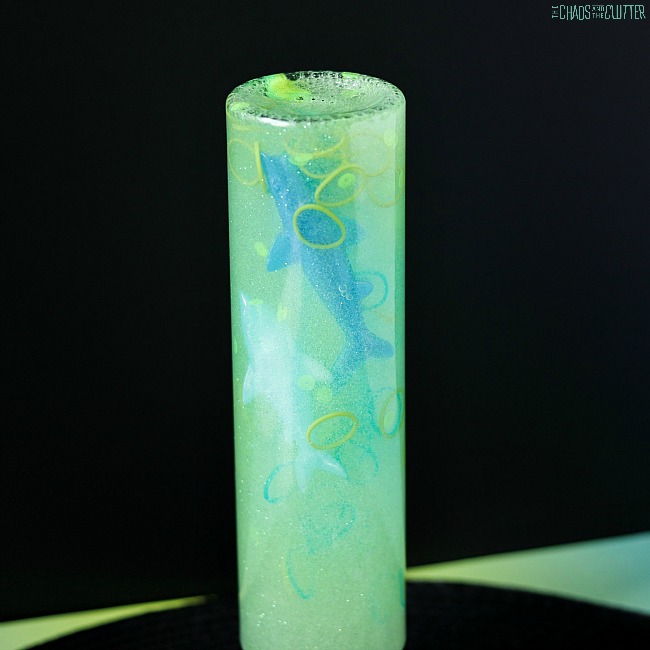
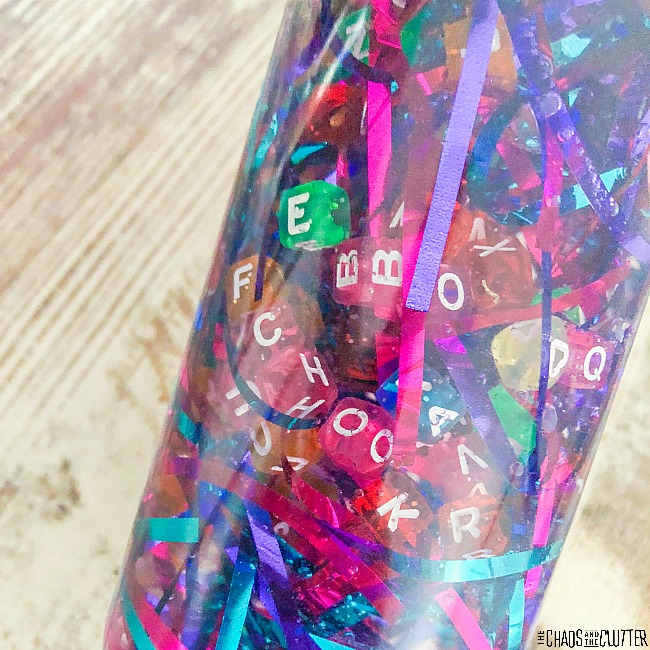
Discover some of our other creative sensory bottles:
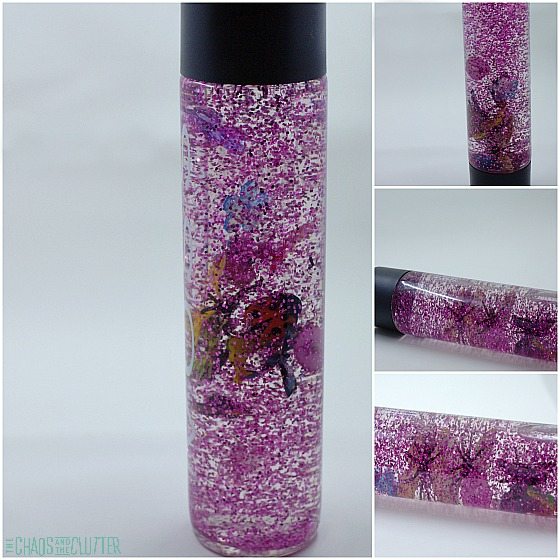
Van Gogh Inspired Starry Night Sensory Bottle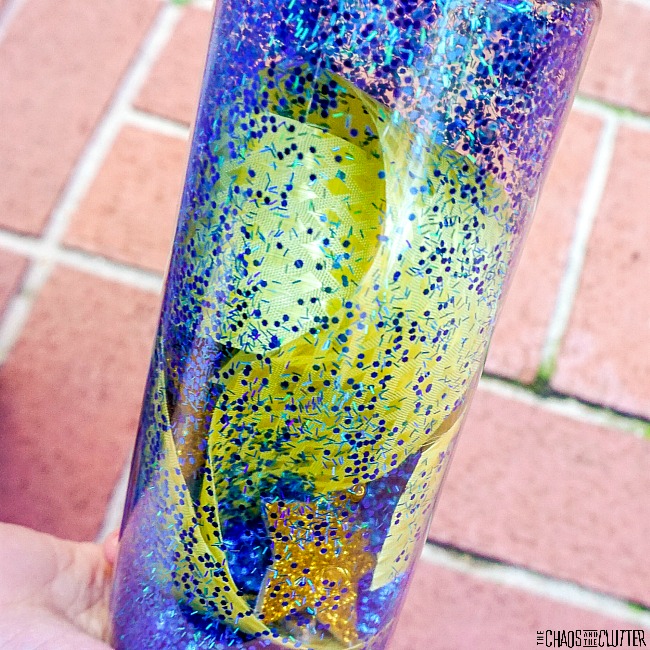
 Directions:
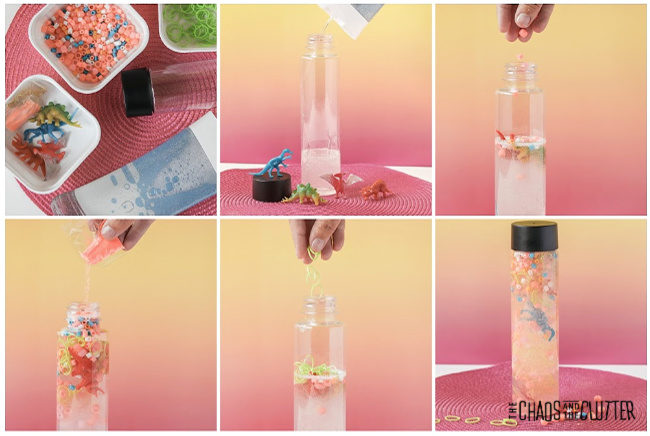 Adult supervision should be used at all times when kids are playing with this activity. Even if you glue the lid in place, it can come off especially over time. The bottle contains small parts which are choking hazards.
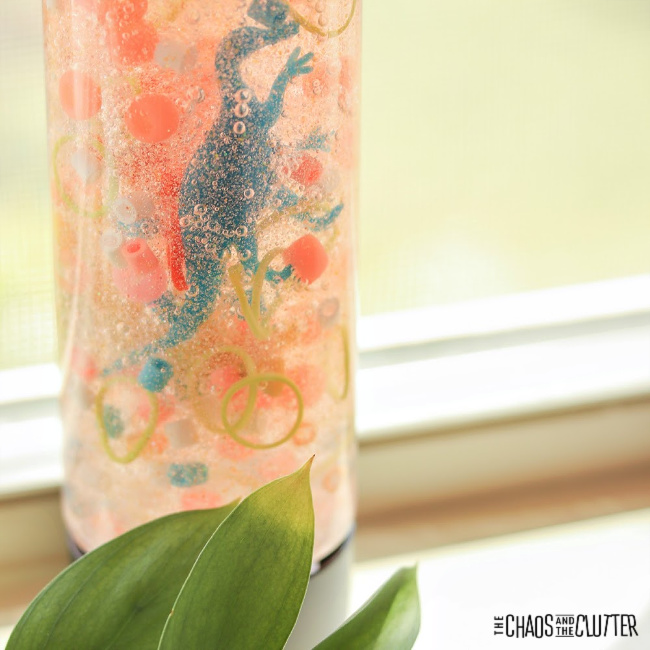
 Directions:
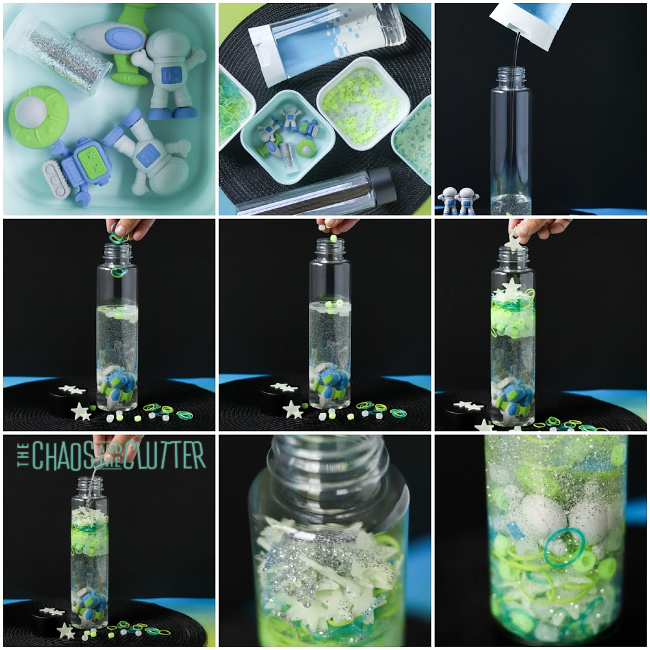 As with all of our sensory activities, adult supervision should be used. Even if you have glued the lid in place, it can still come off. The bottle contains small parts which are choking hazards so always use caution.
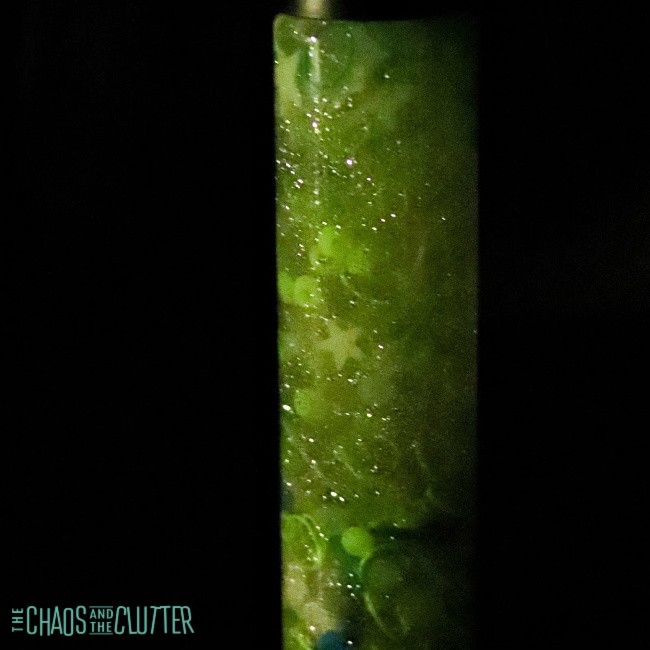
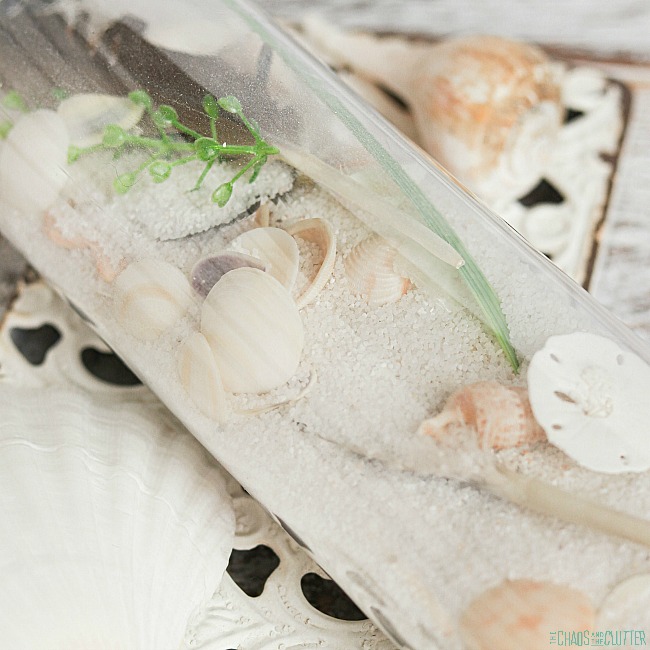
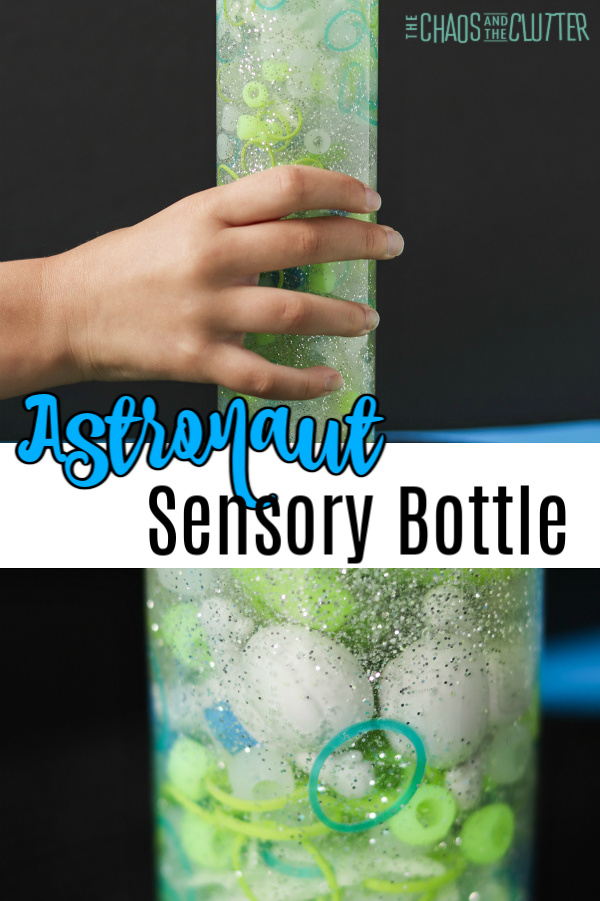
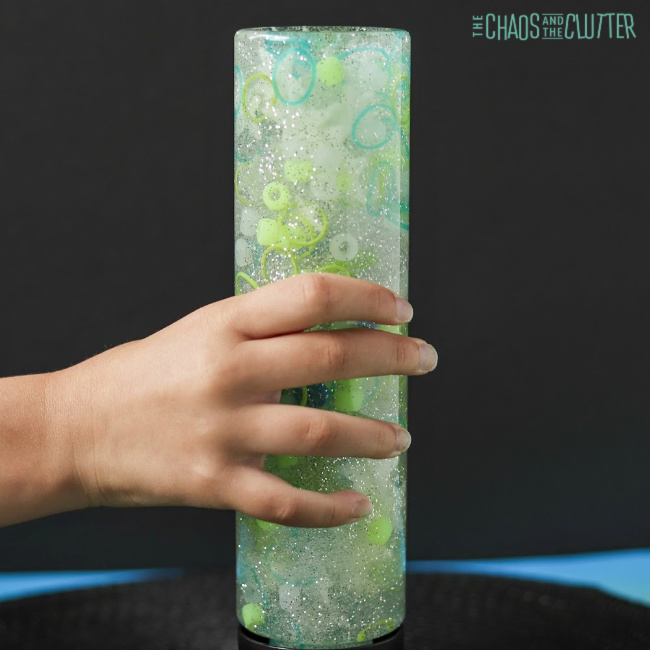
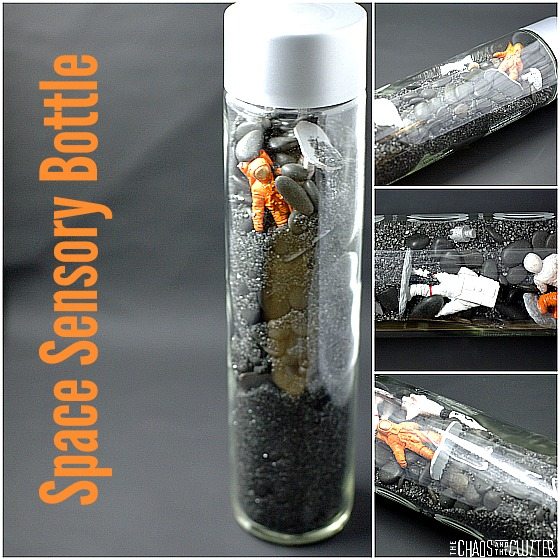
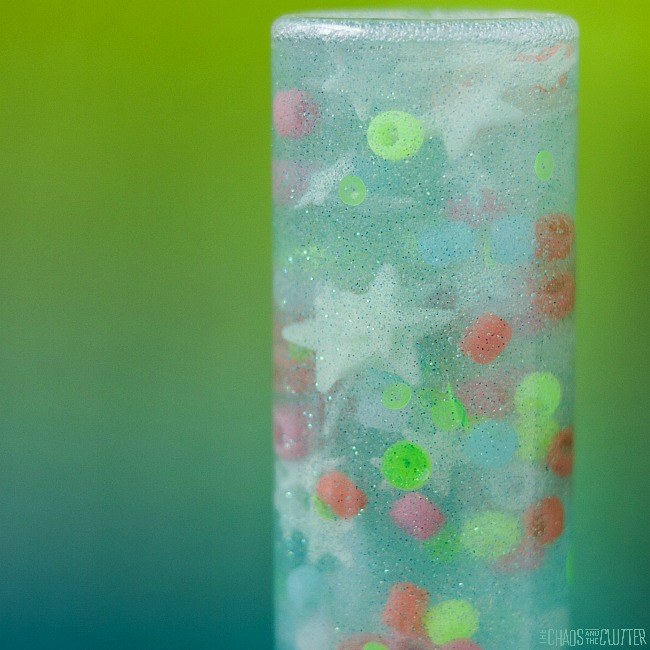
 If you’re doing a unit study on the Solar System, you can set out this Astronaut Sensory Bottle as a hands-on addition to your studies. When kids incorporate their senses into their learning, they show better retention. You can set up an entire Space Sensory Station at home or in your classroom to encourage learning.
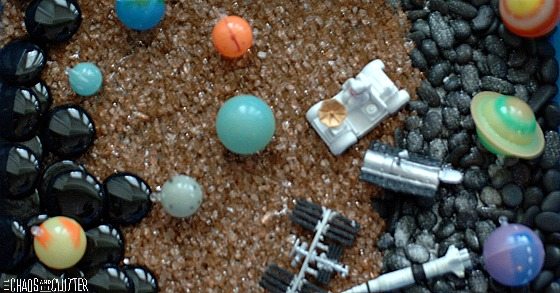
 Directions:
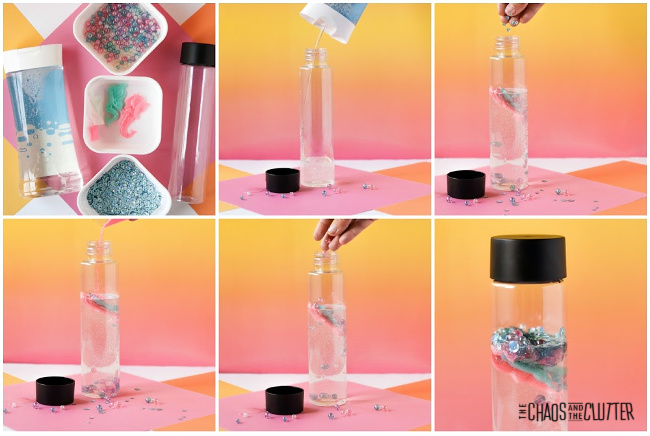 As with all sensory activities for kids, adult supervision is required at all times. Even if you have glued the lid in place, it can come off and the bottle contains small parts which are choking hazards.
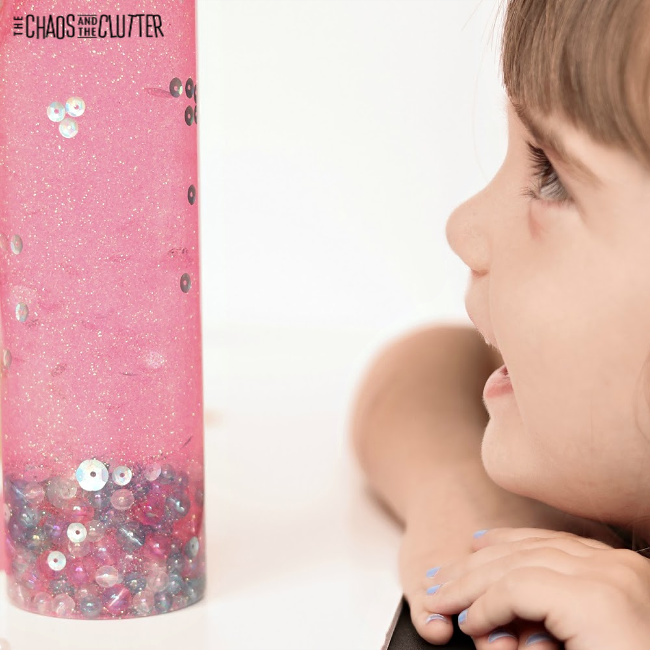
 Looking for more sensory play ideas? Join us for a five day email series on Sensory Activities and Solutions and get a free sample of our Sensory Play Recipes eBook.
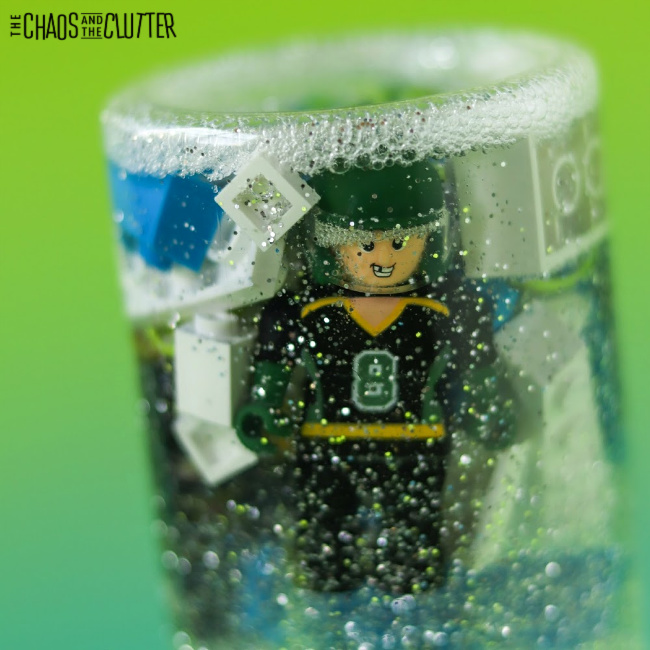
 Directions:
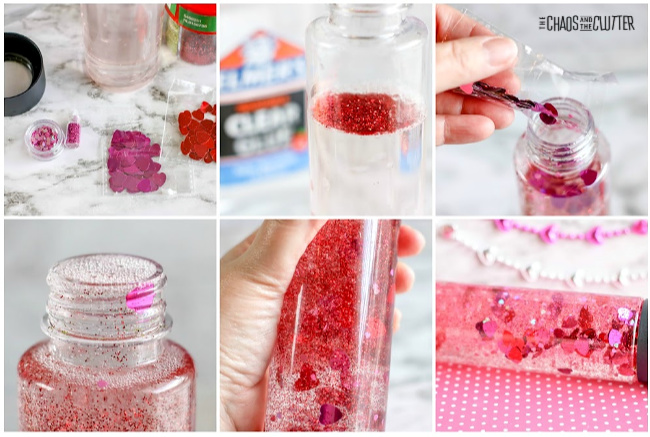 Even if you have secured the lid with glue, adult supervision should be used with this or any other sensory activities.
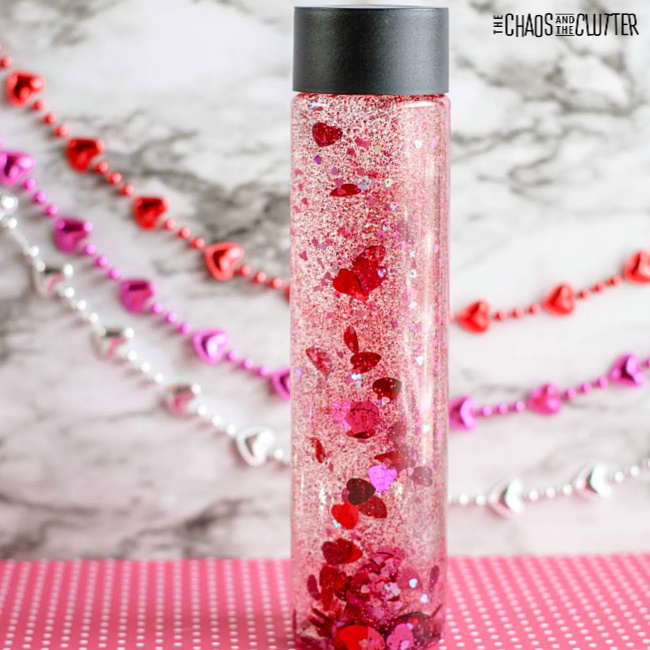
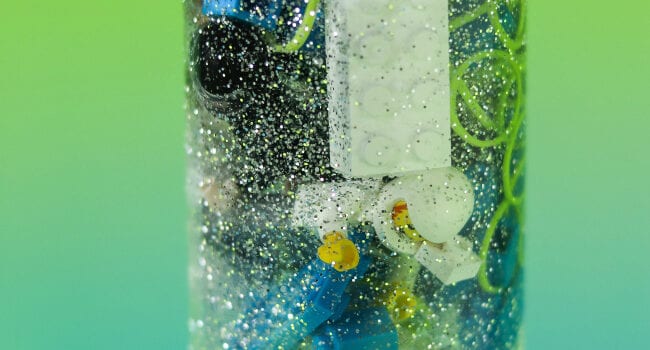
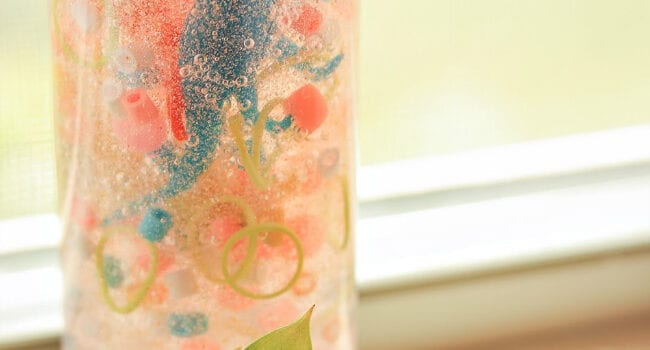
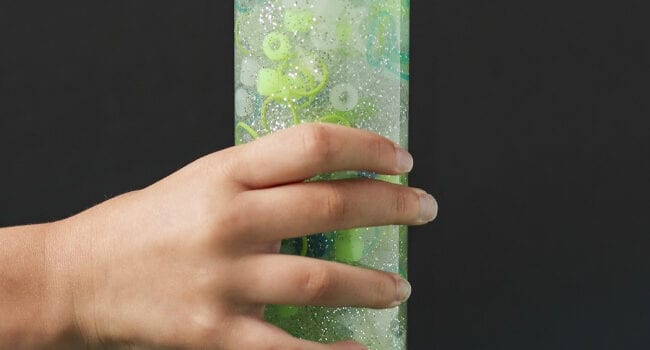
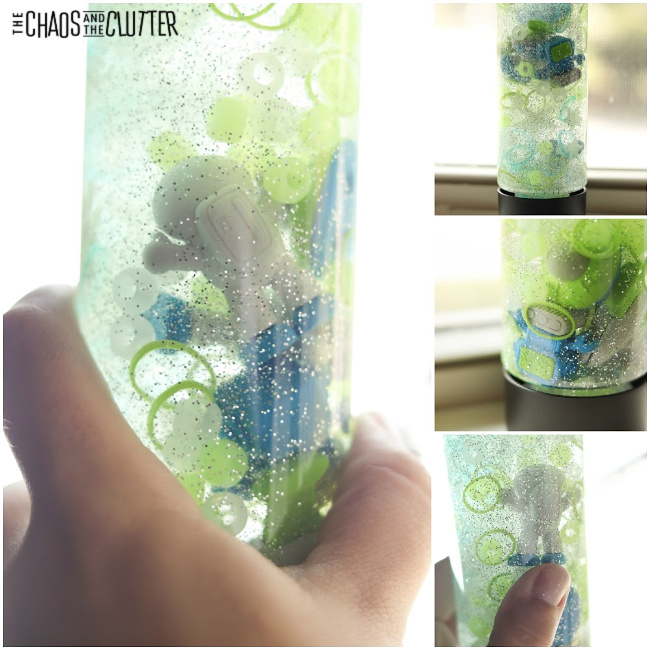
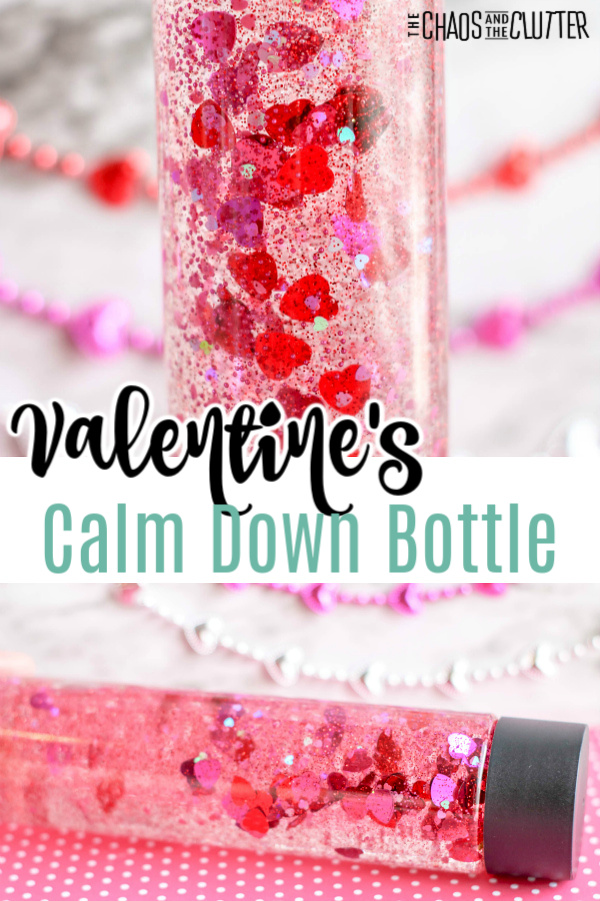
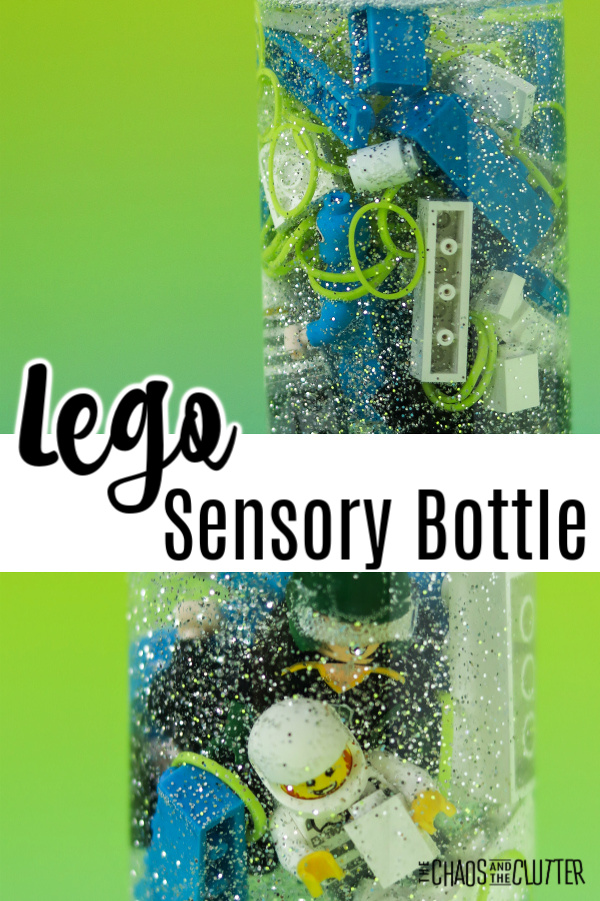 It can be a great calm down tool for kids as they sit and watch, mesmerized by the movement of the slow falling glitter, green bits, and Lego.
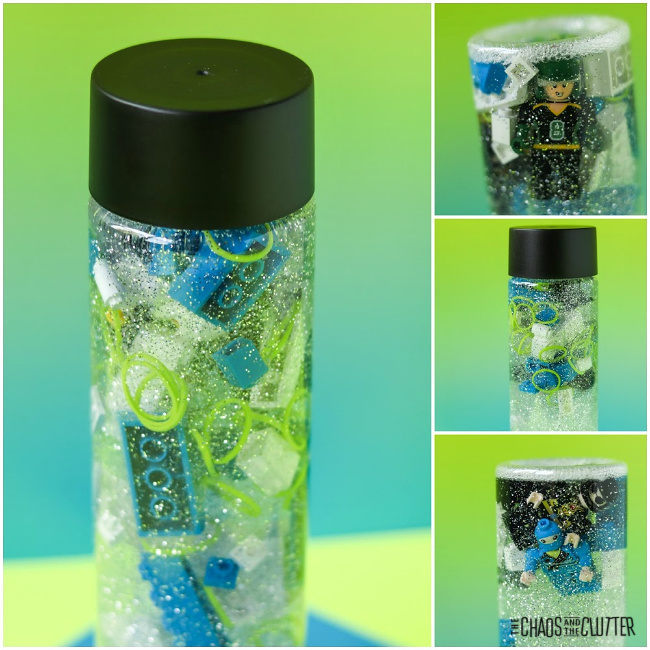 Directions:
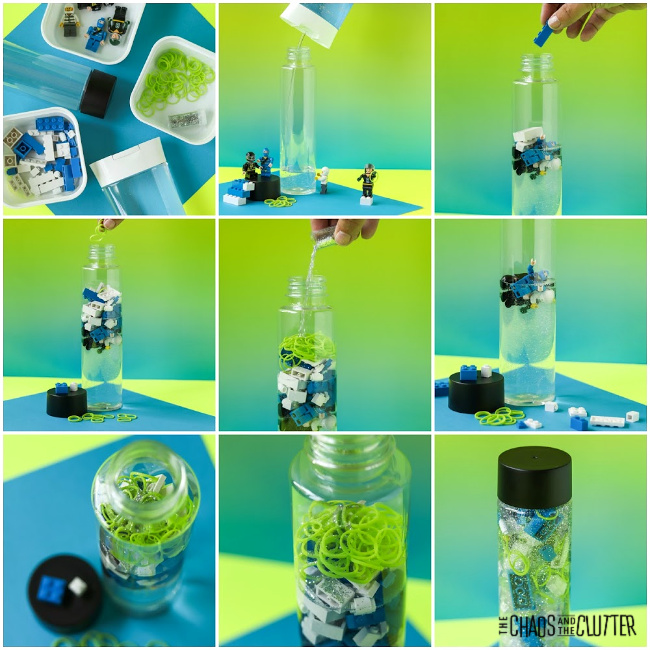 As with all sensory activities, adult supervision should be used at all times. Even if you have glued the lid in place, it can come off and the bottle contains small parts which are choking hazards.
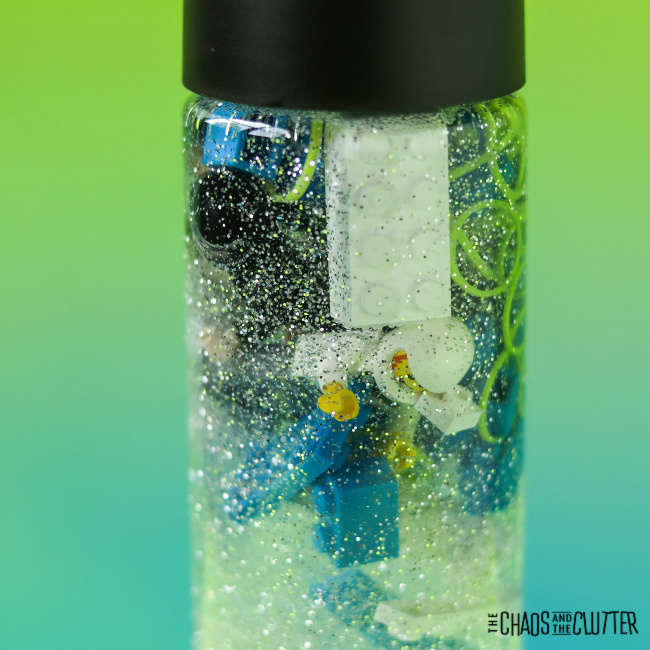 Are you looking for other easy sensory play ideas? Join us for a five day email series on Sensory Activities and Solutions and get a free sample of our Sensory Play Recipes eBook.