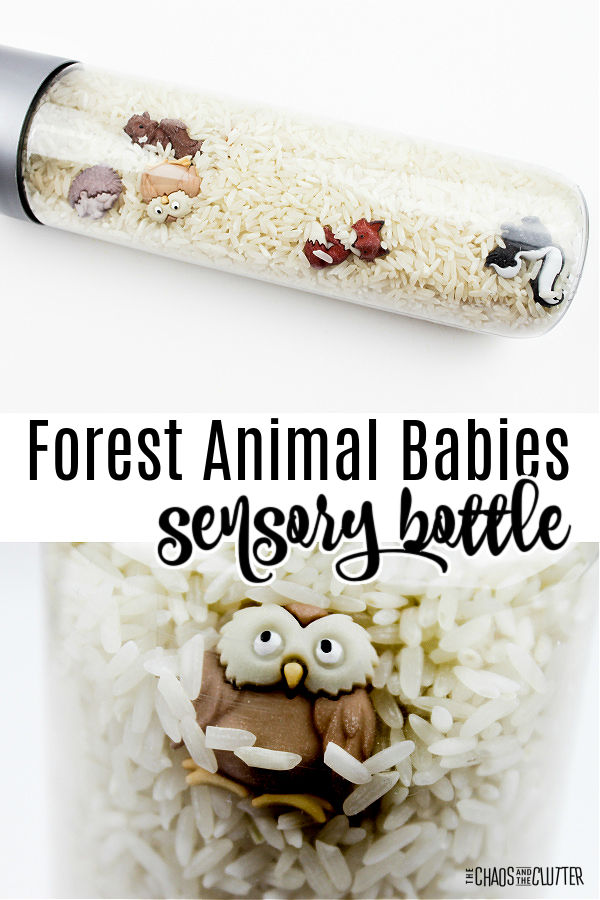
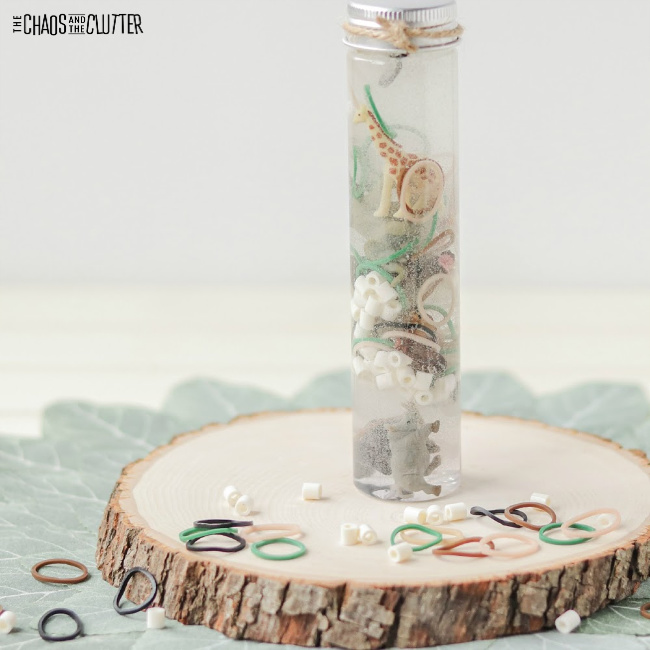
Create an opportunity for kids to explore through play with this I Spy Forest Babies sensory bottle. It’s easy and inexpensive to make and can be used at home or in the classroom.
 Kids will use their tactile, visual, and proprioceptive sensory systems. They can also practise counting skills, memory, visual recognition skills, and communication.
I Spy Forest Animals Sensory Bottle:
Supplies needed:
-
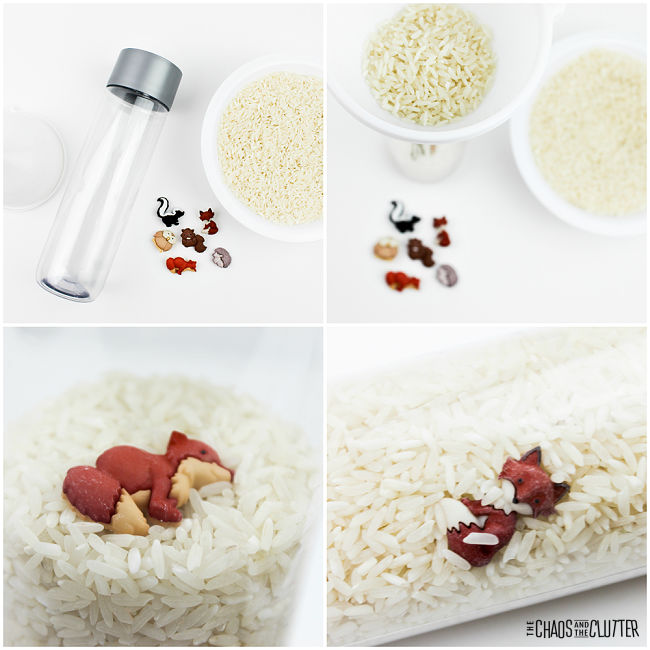
- 16.9 oz. bottle (you can use a sensory bottle or Voss type water bottle)
- white rice
- funnel
- forest babies buttons
- optional: hot glue
Directions:
- Using a funnel, add a small amount of rice to the bottom of the bottle.
- Place a forest baby animal button inside the bottle.
- Repeat the above steps until all the animals are placed inside the bottle. By layering the rice and animals, they won’t all be in the same place. We included two foxes, a porcupine/hedgehog (hard to tell what it is!), squirrel, owl, and skunk.
- Fill the remainder of the bottle with rice, but leave some space for the rice to move around. You can empty out rice if you feel the rice doesn’t move enough to allow the animals to be seen.
- Replace the lid on the bottle.
- If you want to secure the bottle, you can secure the lid with a hot glue gun.
- Give the sensory bottle to a child to explore.
 Kids can move and shake the rice around to find all of the forest babies in the bottle. You can also give them a cheat sheet so they know what they are looking for.
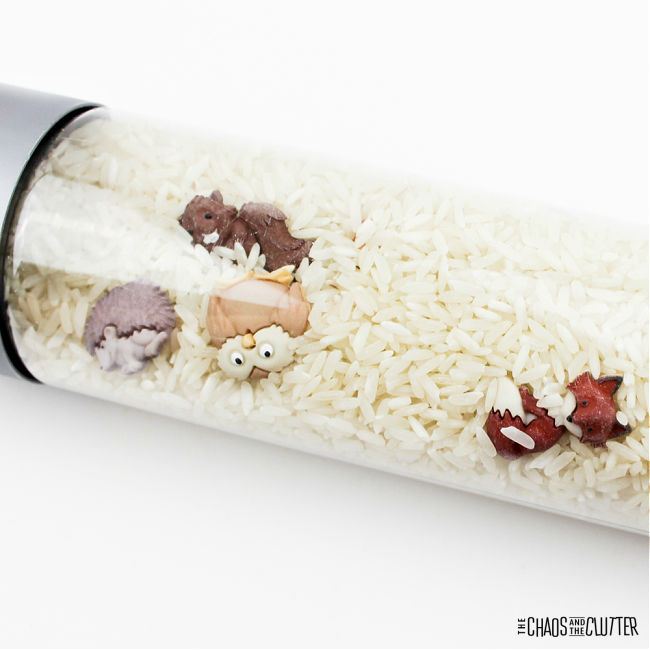
Ways to expand this activity:
- Have kids draw the animals as they find them.
- Set out books on forest animals.
- Watch a movie like Bambi about animals in the forest.
As with all sensory play activities, adult supervision should be used at all times. Even if you have secured the lid with glue, it is still possible to get it open and the bottle contains small parts which are choking hazards.
Are you looking for more easy sensory play ideas to try? Join us for a five day email series on Sensory Activities and Solutions and get a free sample of our Sensory Play Recipes eBook.
Check out some of our other sensory bottles:
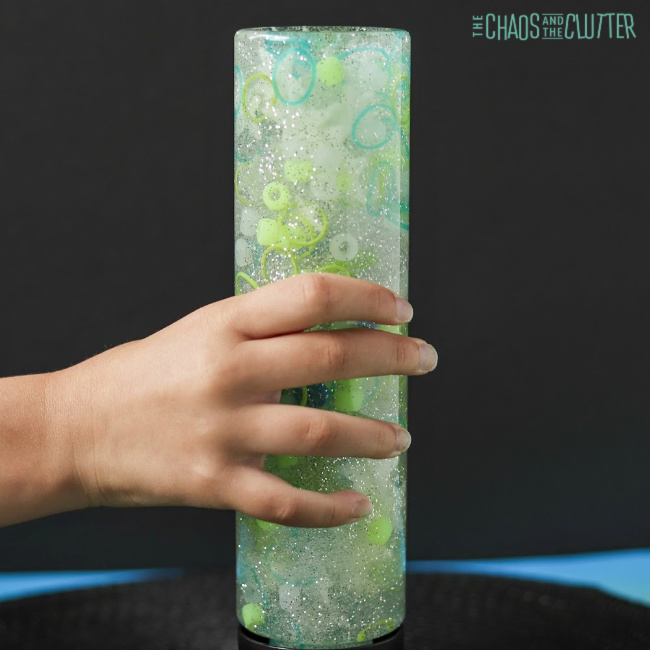

 This is a simple activity to do in a preschool class or at home. Because the glitter and confetti travel slowly through the glue and water, it makes a great calm down bottle for kids to observe when their emotions get too big.
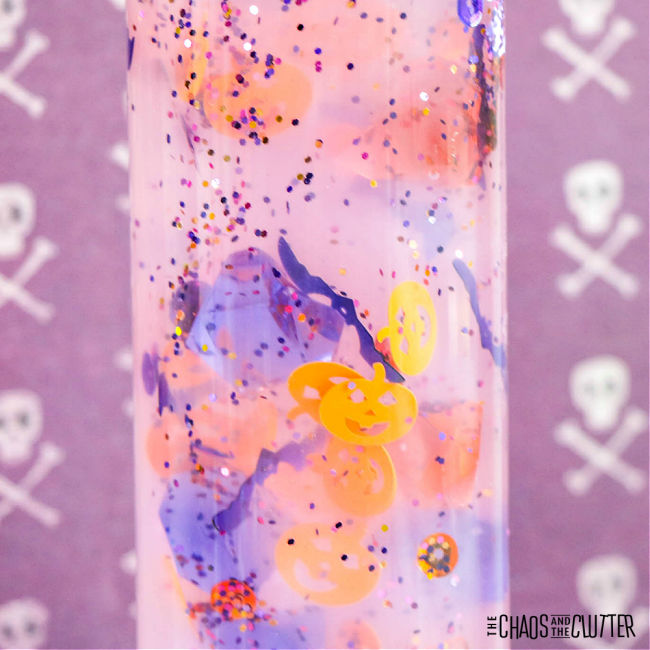 Directions:
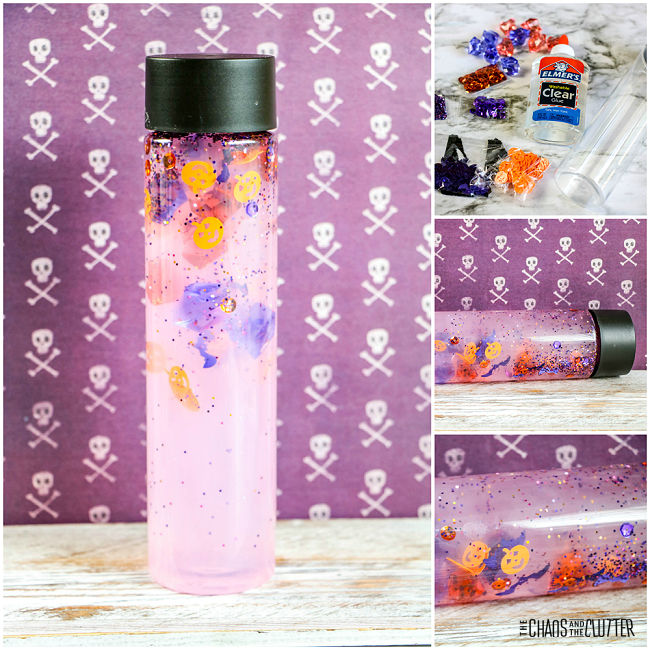 Are you looking for more easy sensory play ideas? Join us for a five day email series on Sensory Activities and Solutions and get a free sample of our Sensory Play Recipes eBook.
 The glitter falls slowly through the glue and water mixture, creating a calm down effect. This sensory bottle also provides tactile, proprioceptive, and visual sensory feedback for kids.
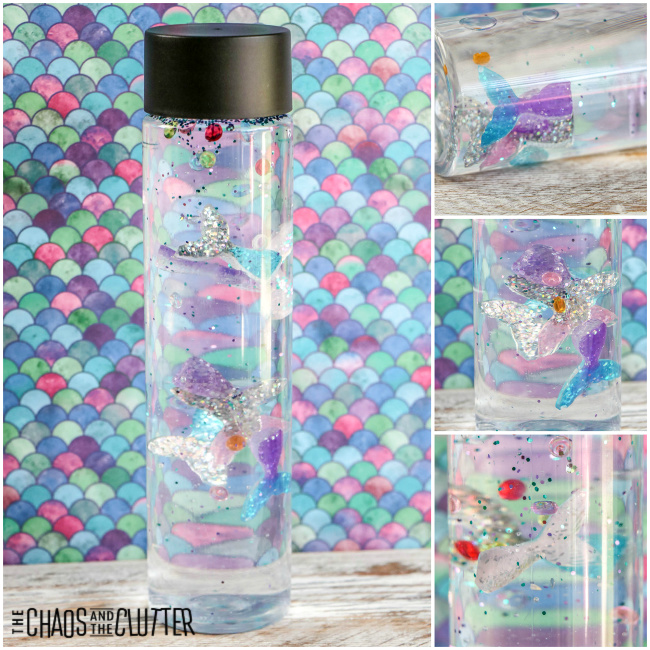 Directions:
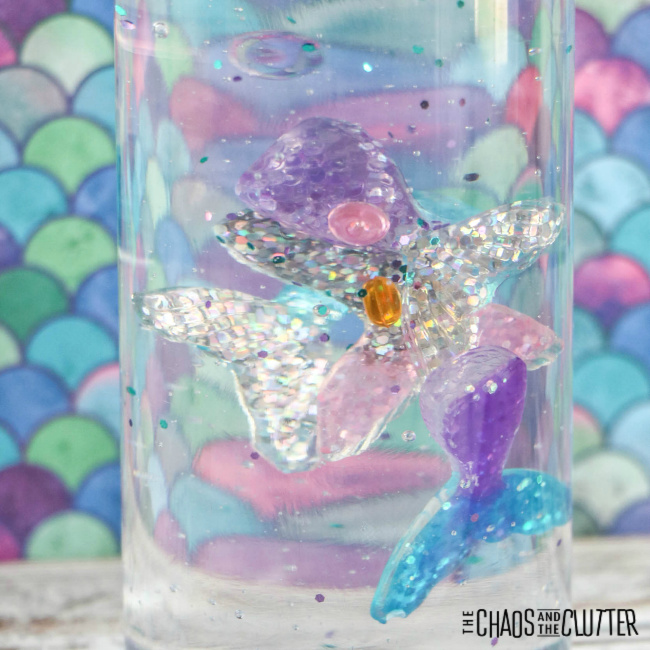 Are you looking for more easy sensory play ideas? Join us for a five day email series on Sensory Activities and Solutions and get a free sample of our Sensory Play Recipes eBook.

 Directions:
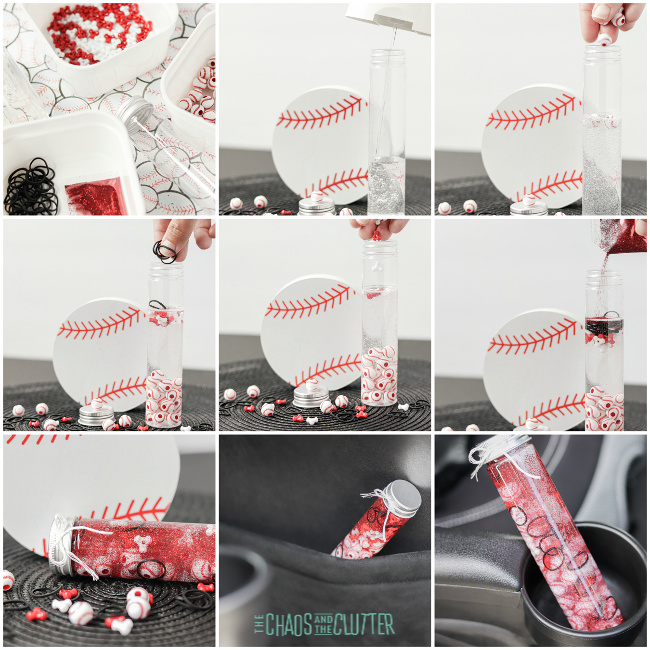
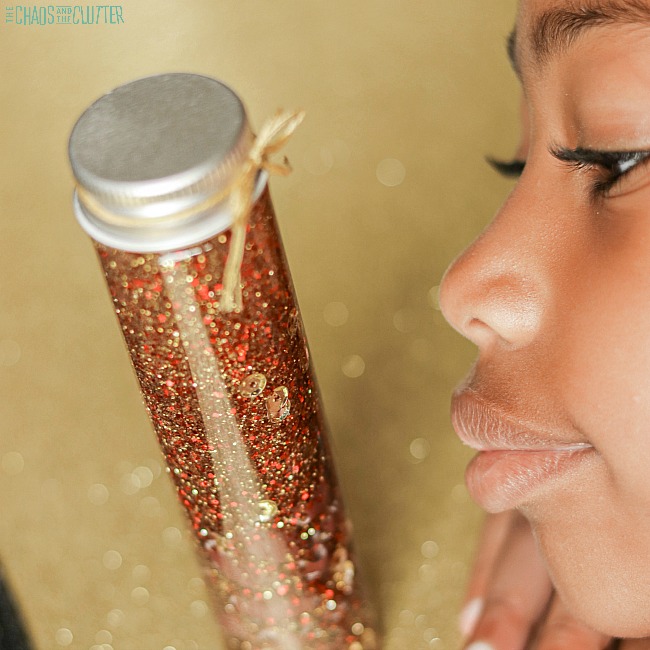
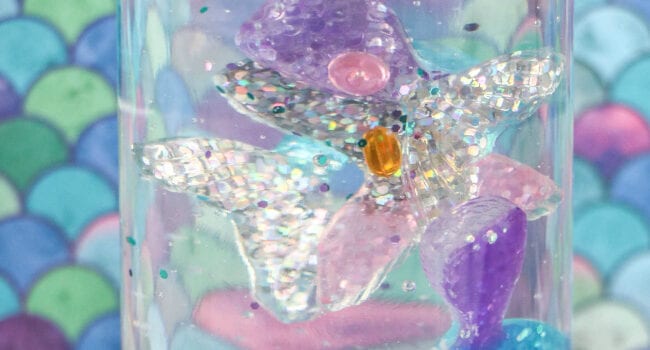
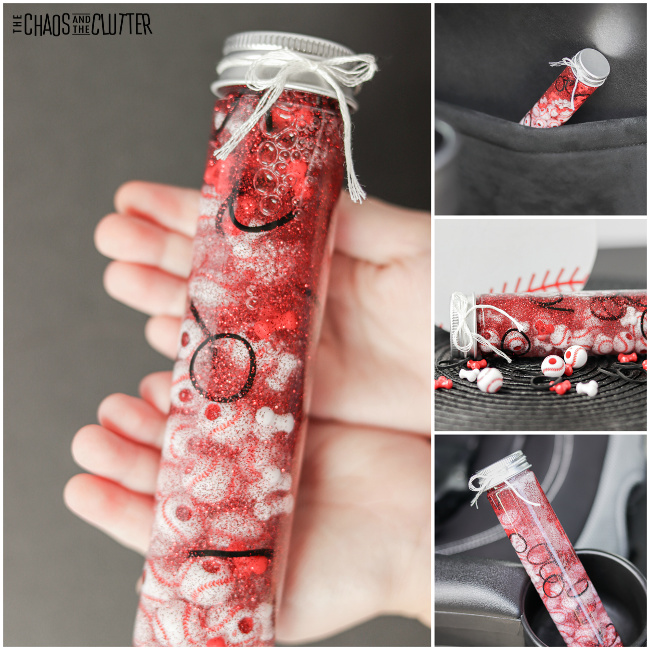
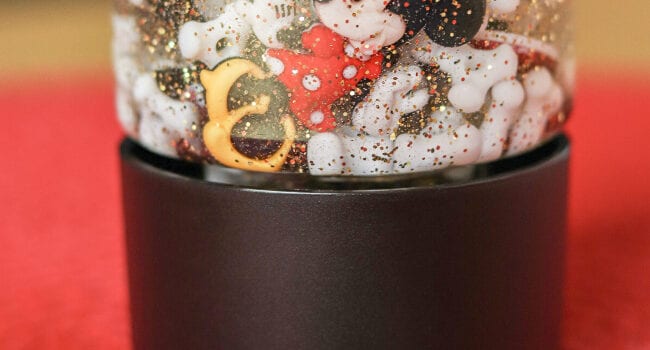
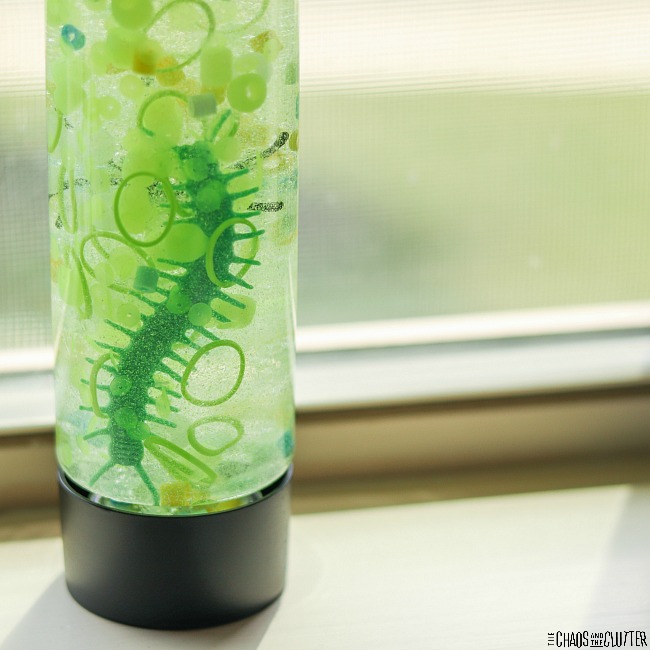
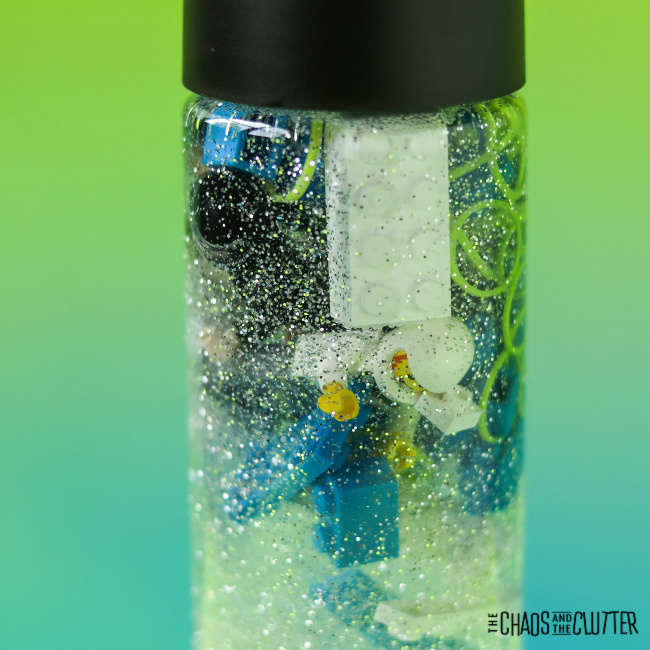
 This adorable mini bottle incorporates both the visual and tactile sensory systems. Because the glitter and beads stay suspended in the dish soap and fall slowly as it is turned or flipped over, this can also serve as a calm down bottle. Children can watch the glitter slowly fall as they focus on regulating their breathing.
 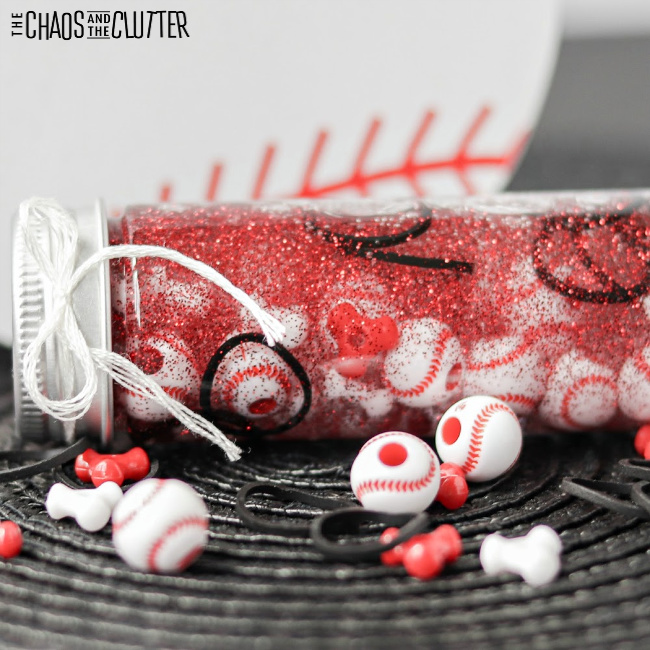 Are you looking for more easy sensory play ideas to use with kids? Join us for a five day
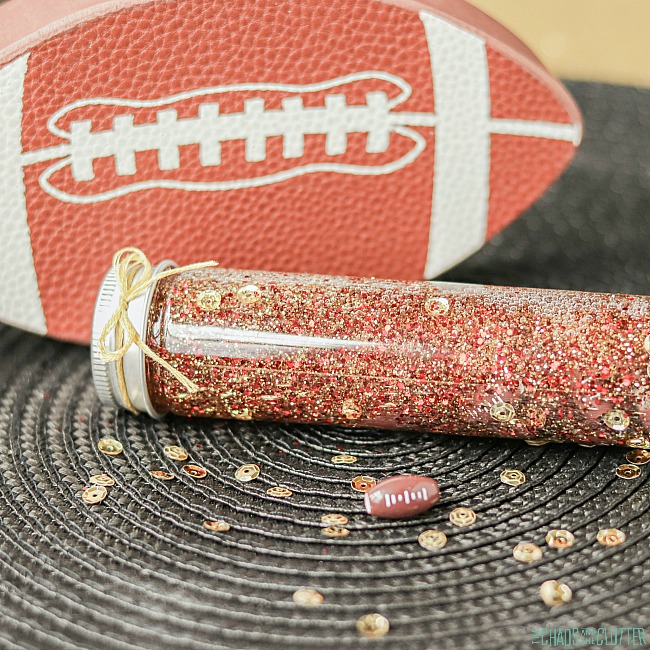
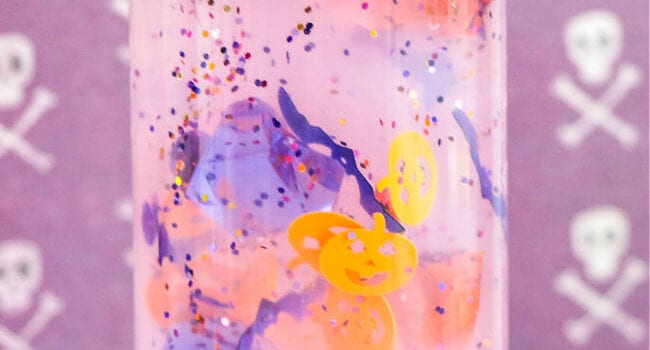
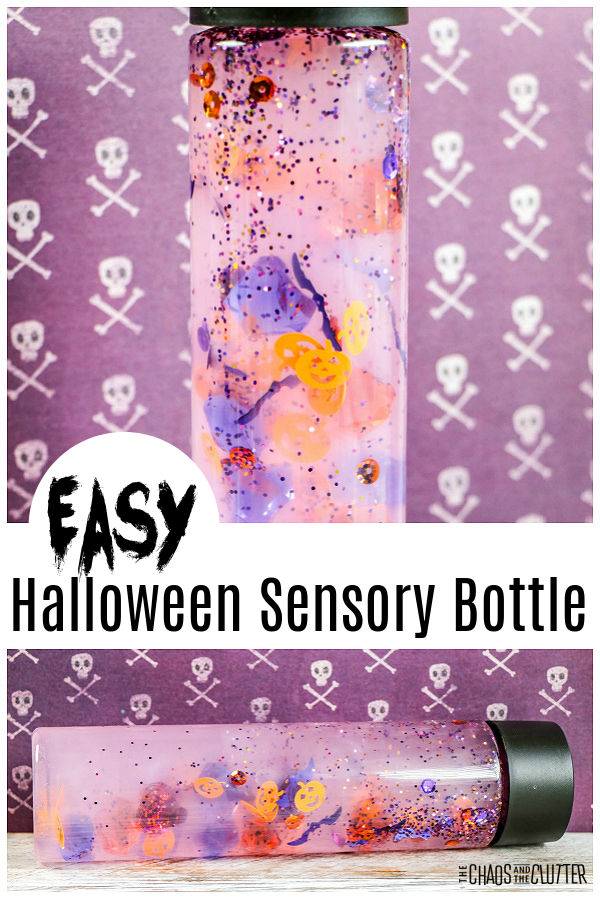
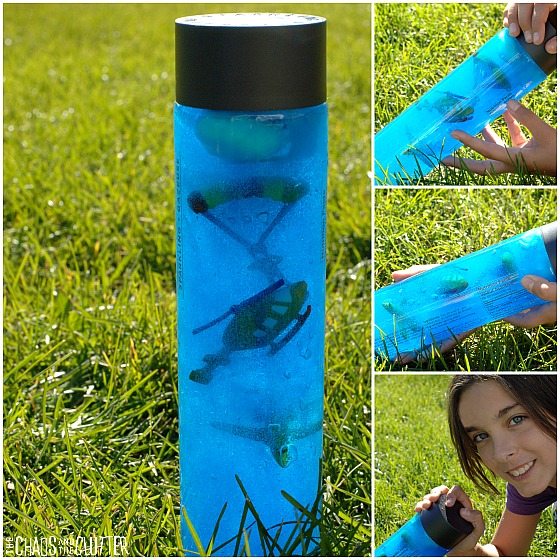
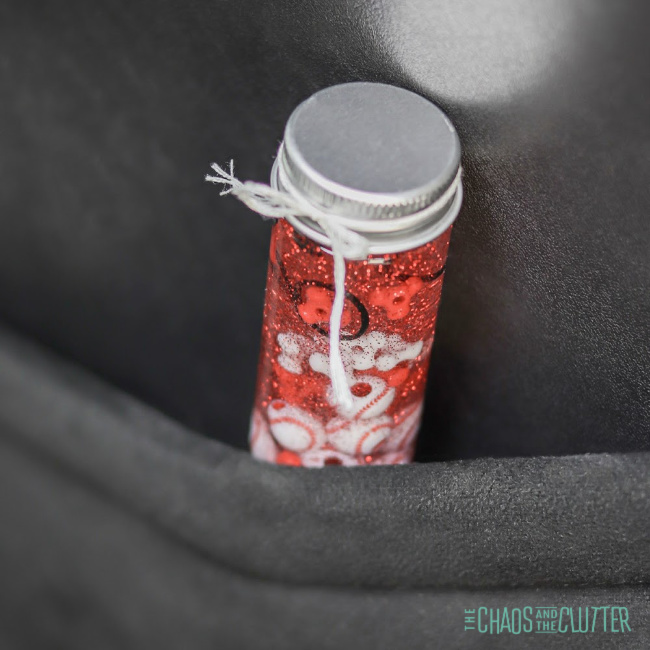
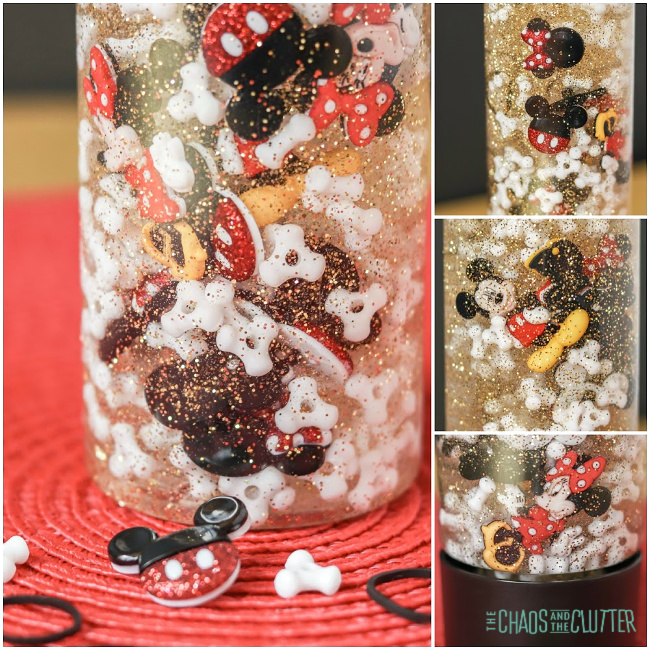
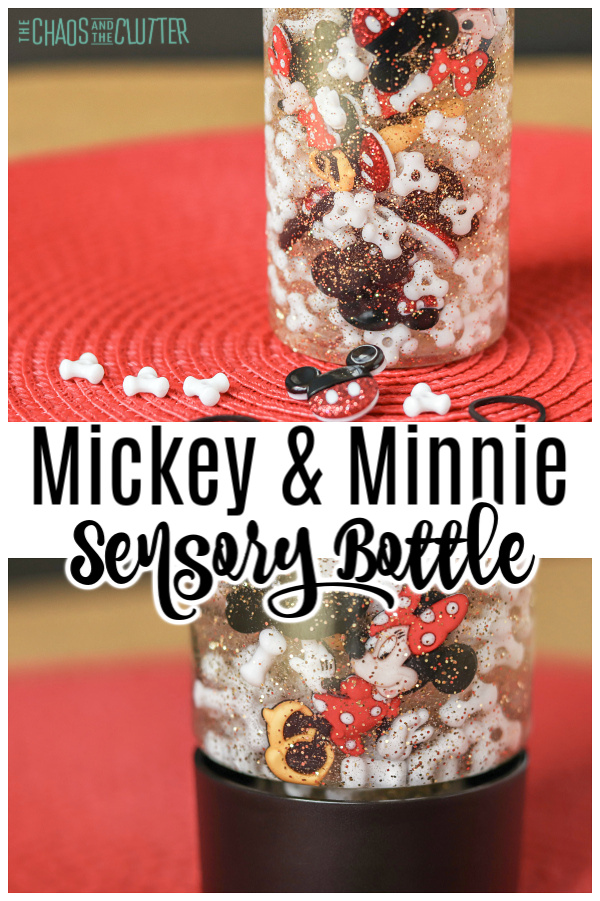 If you’re also a Disney fan, you’re going to love this adorable sensory tool. It’s easy to make yourself. In the same spirit as our
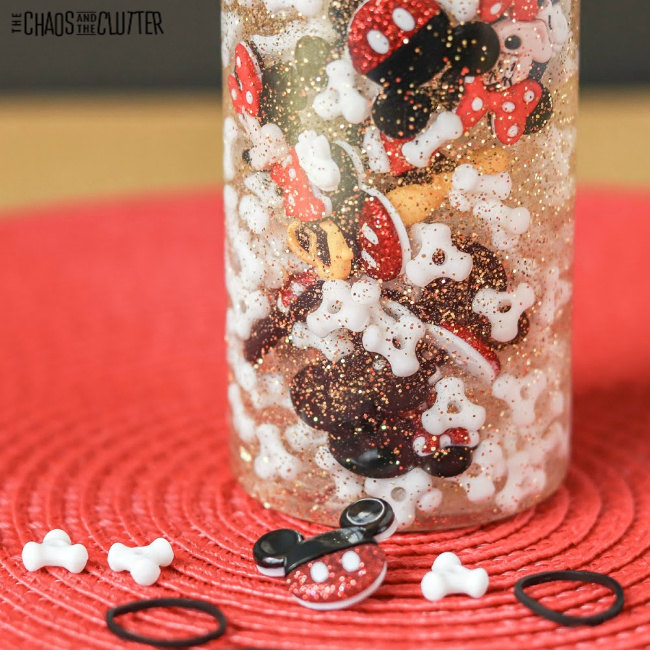
 Directions:
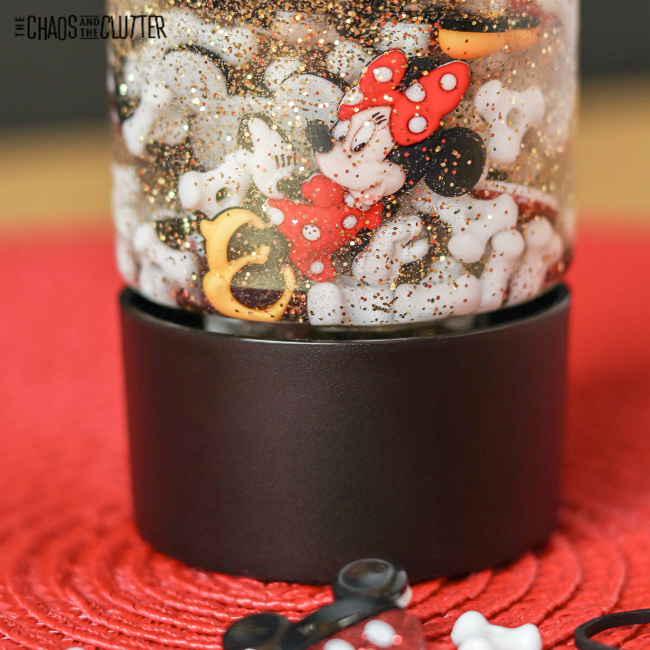

 With any other sensory play activity including this one, adult supervision is recommended. Even with the lid glued in place, it can be opened by determined kids or when the glue gets old. The bottle contains small parts that could be a choking hazard for kids.
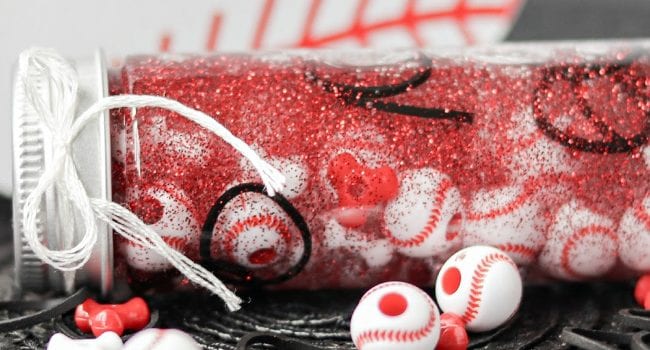
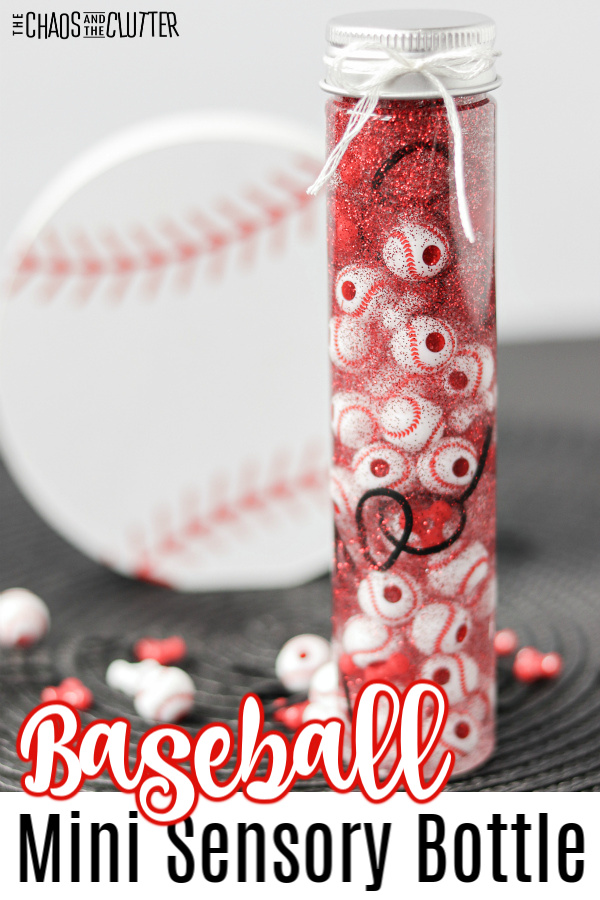
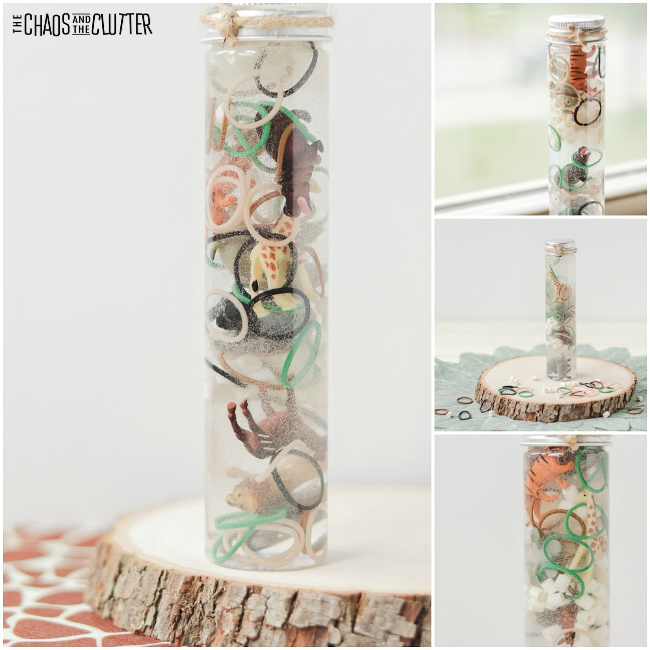 This adorable mini calm down bottle engages both the visual and tactile sensory systems. Because the glitter and sequins stay suspended in the dish soap and fall slowly as it is turned, it also produces a calming effect. Kids can watch the items fall slowly as they work on regulating their breathing.