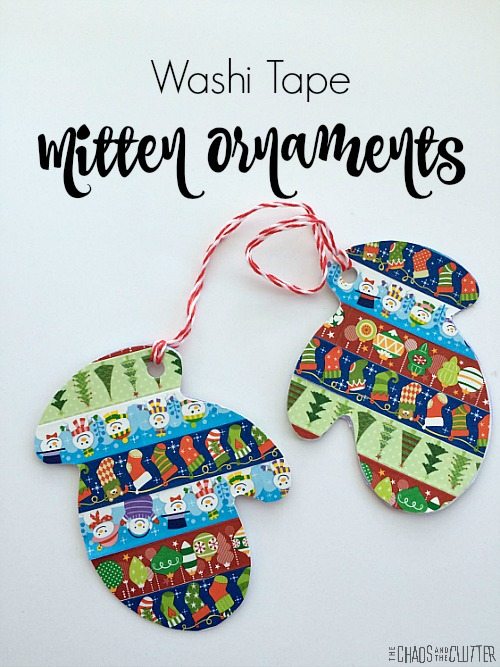
Of all the Christmas ornaments we’ve made this year, these washi tape mitten ornaments have got to be my favourite! They are so cute!
 My girls are really into washi tape this year so I picked up four rolls of holiday washi tape when I saw it at the dollar store, knowing that we would find lots of things to create with it. We used it to decorate Christmas gift bags, embellish cards and to make these adorable mitten ornaments.
 Materials needed:
- Christmas washi tape
- card stock
- mitten cookie cutter
- pencil or pen
- scissors
- glue
- hole punch
- string or wool
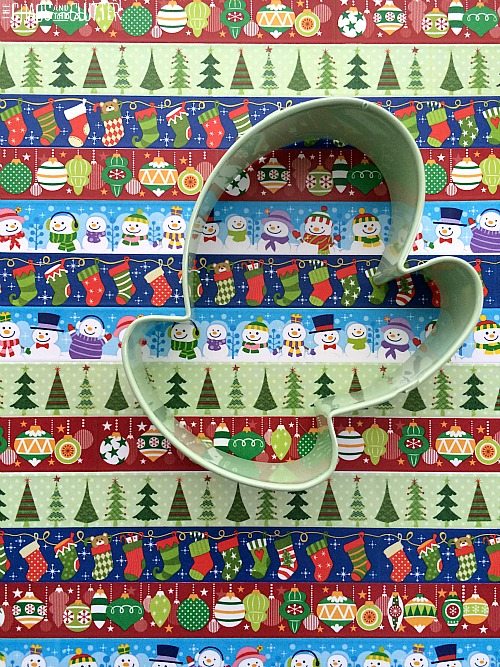
Stick washi tape on a piece of card stock. You can keep the lines straight or overlapping and haphazard. On some of our papers, I created patterns and on others, it was more random. There are so many variations to washi tape that no two sets of these mittens will be alike. You can also use some solid coloured washi tape in the mix to add even more options.
Once the paper is covered in washi tape, place a mitten shaped cookie cutter on top and trace it. Flip the cookie cutter over and trace another one facing the opposite direction.
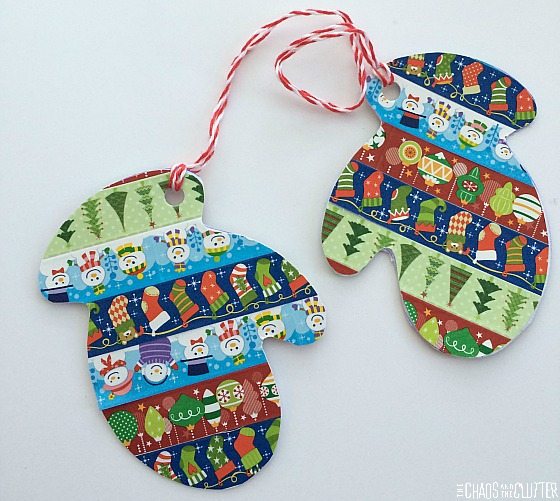
 Cut the mitten shapes out. Place the mitten pieces back to back so that the washi tape side is facing out and glue them together. Make another mitten in the same way to create a pair.
Wait for the glue to dry and then hole punch both of the mitten and string them together. We used a red and white string but wool would be a nice touch for this craft.
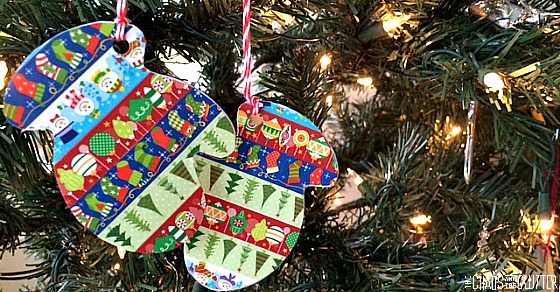
 These ornaments are so cute hung on the tree!
If you want to create unique gift tags, you could make single sided paper mittens and write on the backs of them.
Check out some of our other easy Christmas ornaments for kids to make: