Buying themed lacing cards can get expensive but it is so easy to make your own. All you need is to buy foam sheets. You can often pick up foam sheets in packs at the dollar store or you can buy individual ones at a craft store.
 Materials needed:
- foam sheets
- plastic lacing string
- hole punch
- scissors
- resealable plastic bag
- optional: shaped cookie cutters or stencils
To make your own lacing cards, cut the foam sheets into shapes. You can do this easily by cutting simple shapes like circles, squares and triangles with scissors or you can make more elaborate shapes. To create more elaborate shapes, lay a shaped cookie cutter or stencil on top of the foam sheet, trace with a pen or pencil and cut out.
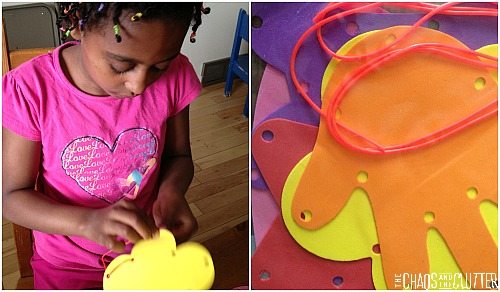 Next, hole punch around the outside of the shape at regular intervals (you may want the holes closer together or further apart depending on the ability level of the child). Place the hole punched shapes and some plastic lacing string into a resealable bag. This creates a lacing card busy bag that can be taken with you anywhere and is a great quiet activity as well as good fine motor practise.
You can also create several of these busy bags, each one having a theme. You can use farm cookie cutters to make farm lacing cards or use dinosaur stencils to make dino theme lacing cards.
If you are looking for more busy bag ideas, you may be interested in following my Activity Bags board on Pinterest.
Follow Sharla Kostelyk’s board Activity Bags on Pinterest.
3 Busy Bags with Popsicle Sticks
5 Busy Bags with Pipe Cleaners
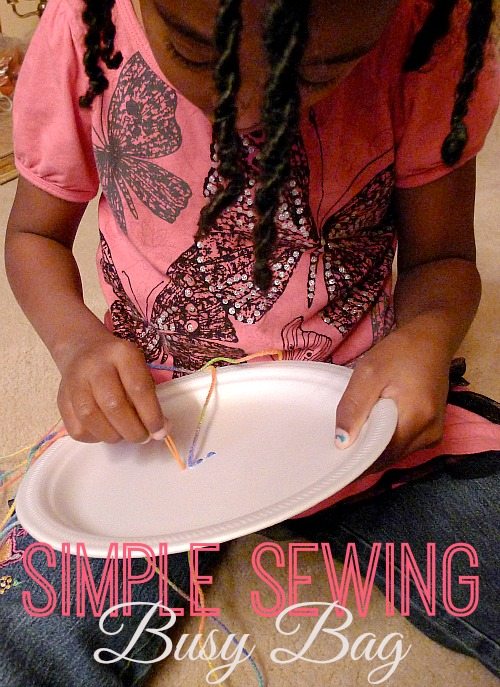
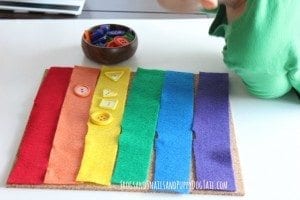
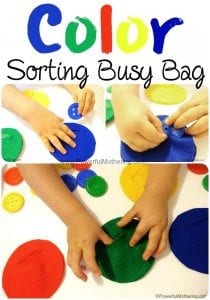
 Depending on the age of your child, you may have to help them get started with this activity by demonstrating how to thread the needle and by putting a knot in the end of it (older children can easily do this by themselves). You can then show them how to sew by poking the threaded needle through the back of the plate and coming down through the front of the plate.
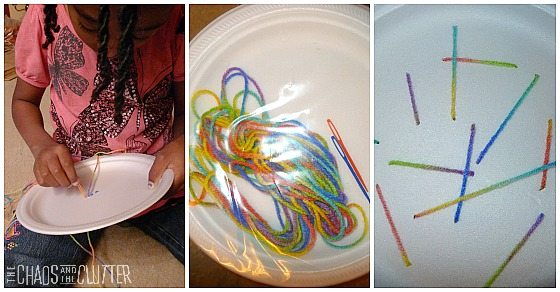
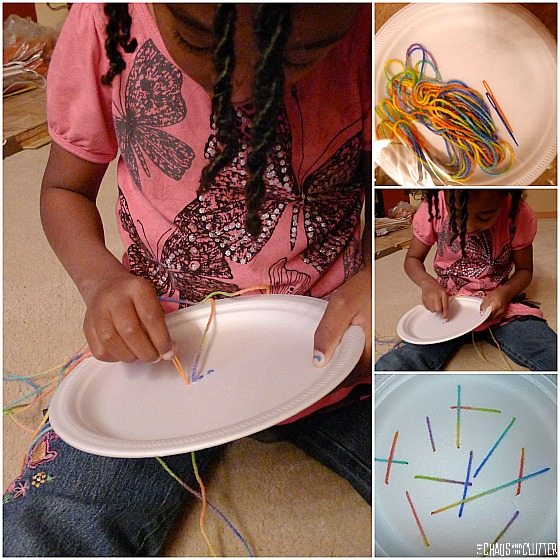 Our daughter Dancing Queen began by sewing large overlapping lines on the first plate but as her confidence grew, she tried smaller stitches next to each other to form lines on later plates. She was really proud of her efforts!
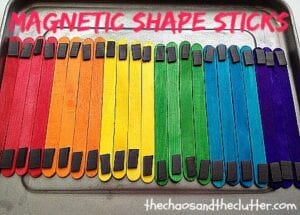
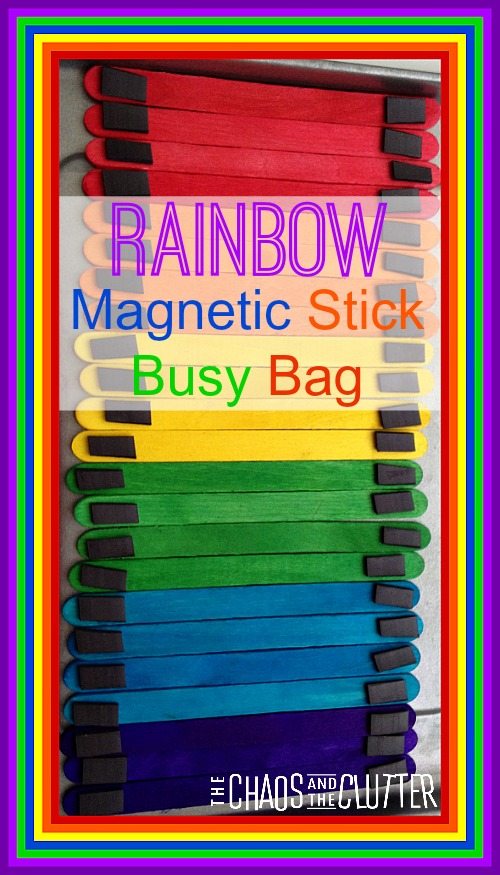
 To create this busy bag, simply attach magnet pieces to each end of the popsicle sticks. I used the adhesive kind of magnet strip, but I found that I still needed to glue them in place as the adhesive didn’t hold well enough.
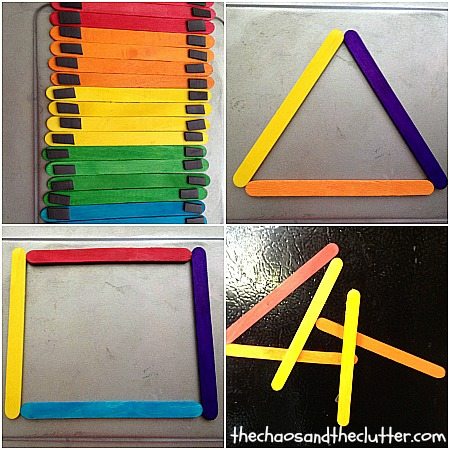 They can be used to play on the fridge or any other magnetic surface such as a
 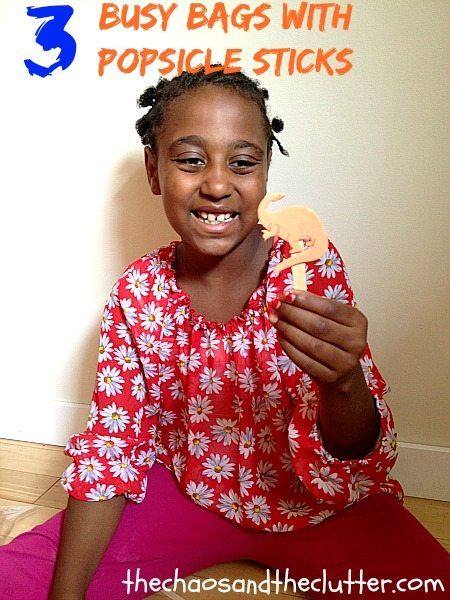 These popsicle stick activity bags can be made in a matter of minutes and require very little in the sense of supplies. You may very well already have everything you need to create these for your little one. One of these activities has small parts so wouldn’t be appropriate for very young children and like all activities, children should be somewhat supervised. (in other words, I am not liable if you make these and you or your toddler swallow a magnet!)
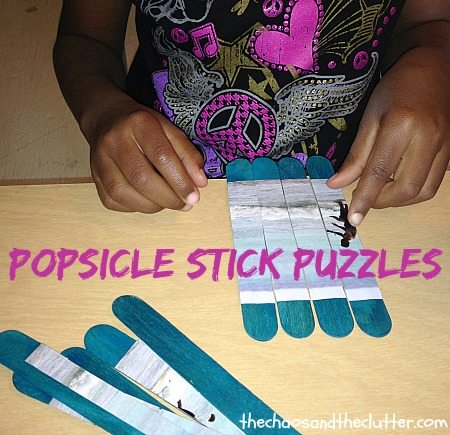 Kids love these because they can be personalized. They get especially excited when they include pictures of people they love or treasured family memories. On most of ours, I used pictures from past family vacations. This way the kids can relive those memories while they put together their puzzles. They can also put the puzzles in chronological order.
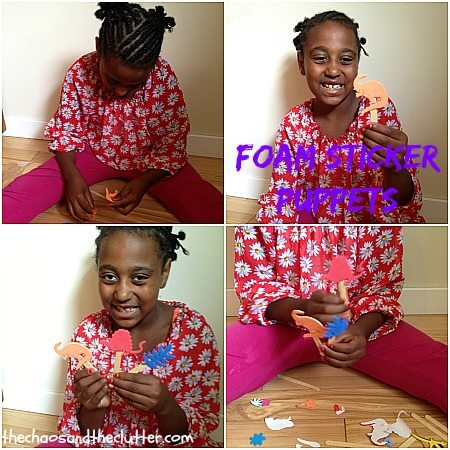 The great thing about this busy bag is that it lends itself to all kinds of creativity. All you have to do to prepare this activity bag is to place popsicle sticks and foam stickers in a resealable bag. This is a great way to use up all the extras from other foam sticker activities or you can choose to use ones of a particular theme.