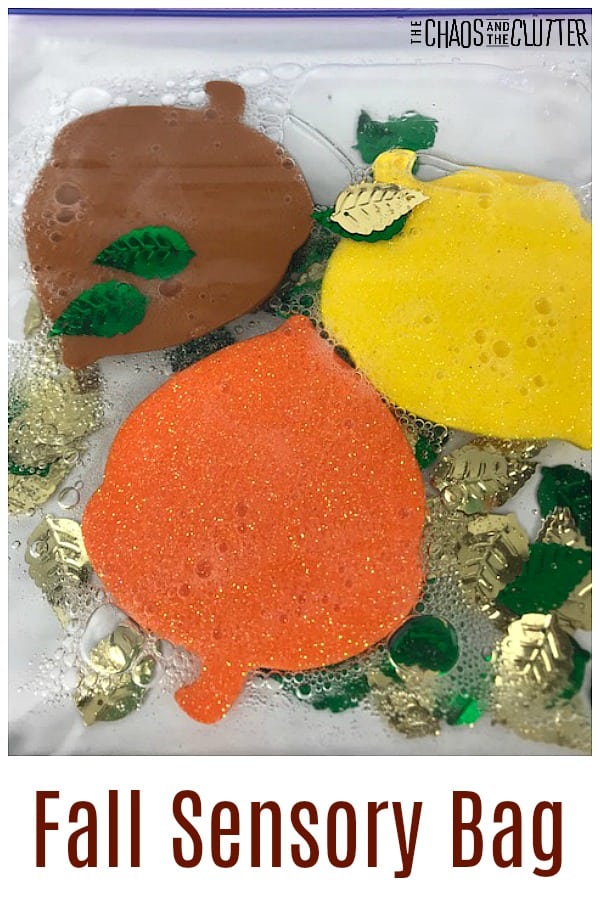
I love the colours of autumn. I wanted to bring that into this activity. With just a few items, you can create a simple Fall sensory bag. This is great for a sensory station or easy busy bag.
 Sensory bags engage the senses while containing the mess.
Of course, if you have little ones, you’ll want to seal the bag and make sure that they don’t put it in their mouths. To seal the bag, simple fold duct tape over all the edges. You can use duct tape in fall patterns or fun colours.
How to make a Fall Sensory Bag:
- foam acorn shapes
- confetti leaves
- hand sanitizer
- resealable plastic bag
- glitter (optional)
- duct tape (optional)
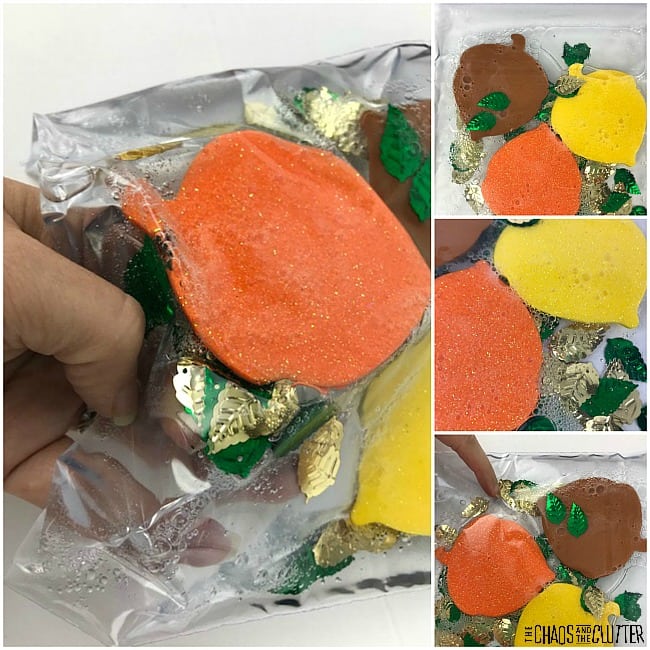
Place two or three of the foam shapes in a medium sized or sandwich sized resealable bag. Add in the confetti leaves. Squeeze some hand sanitizer into the bag and begin to seal. Remove as much excess air as you can and completely seal the bag.  If you’re using the sensory bag with babies, toddlers, or preschoolers, I recommend sealing the bag with duct tape. Fold duct tape over all sides of the bag. You can find all kinds of fun coordinating prints and colours.
Some of the foam shapes we used had glitter on them, so I didn’t feel it necessary to add glitter to our sensory bag, but you could add in some glitter in gold or brown.
We also made a Fall Sensory Bottle and a Fall Sensory Bin to play with.
Check out some of our other sensory bags for kids:

