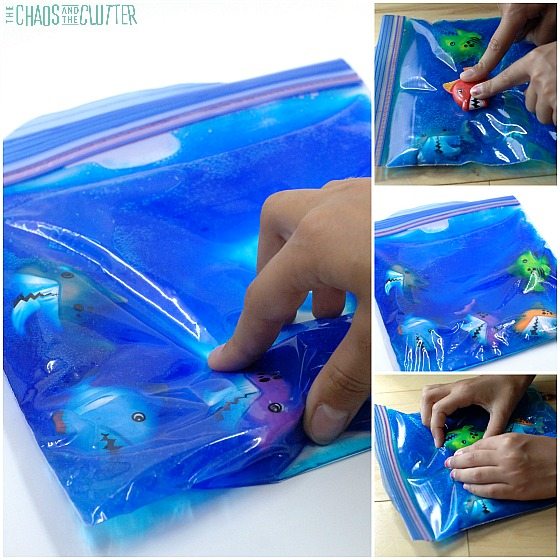
One of my driving goals as a parent is making sure that my children know how to process, deal with, and function with big emotions. We all have them, and we all need to know how to work with them. I want my kids to be able to identify their emotions and work through them instead of stuffing them down. And one of the. best ways to get to that point is to use sensory feedback to explore emotions and make connections in the brain. Our Emotions Sensory Bag gets your little ones talking about emotions, exploring the concept of emotion, all while experiencing the vast benefits of fun sensory play. Everyone wins when you make this easy activity for your kiddos.

It’s such a super easy game to make, and so much fun to play with! Whether you tape it to the bathtub wall or a maybe window so the light comes through, or just play with it at the table, its a sensory feast.
How to Make an Emotions Sensory Bag
Supplies Needed
- Emotion stickers
- clear plastic zipper bags
- Clear gel
- Food dye
- Water
- Tape
Step-By-Step Instructions
- Mix some water and food coloring. You want it to be dark so it’s hard to see the stickers.
- Then, mix the water with the gel. For a small clear plastic zipper bag, I used about ½ cup of gel and 1/8 cup of water.
- Add stickers to the inside of the clear plastic zipper bag.
- Then, add in the gel mixture. Close the bag and seal with tape so it doesn’t come open.

Ideas to Take It Further
Increase the benefits of this sensory play activity by adding these additional ideas.
- You can make an emotion card and laminate it so your kids can check off each emotion as they find it.
- Encourage talking. Ask your child to tell a story, give a definition, or write a simple poem about the emotion you are exploring or the emotions you see in the bag. The younger your child is, the simpler this can be — from naming the emotion and talking about it to more elaborate stories.
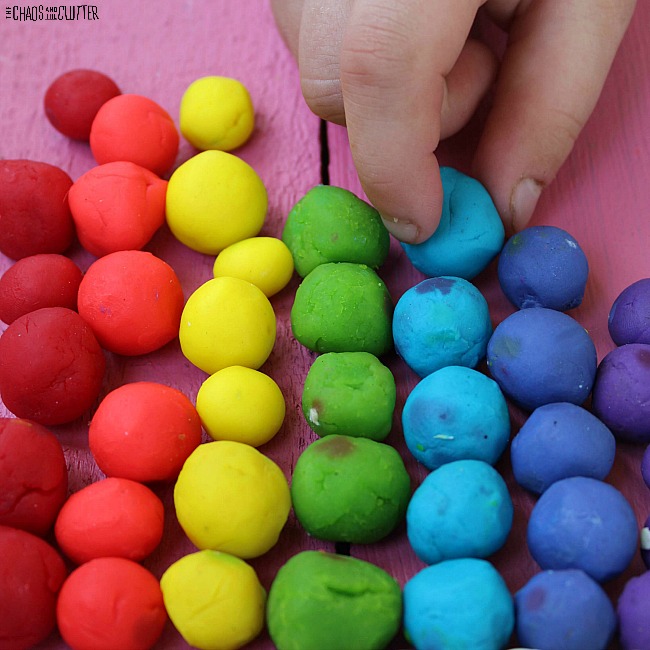
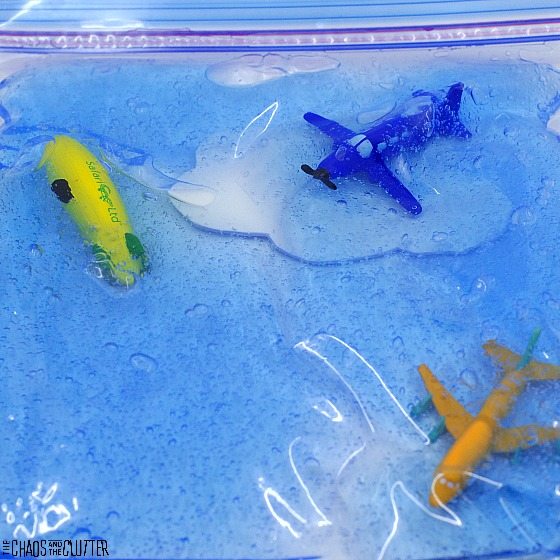
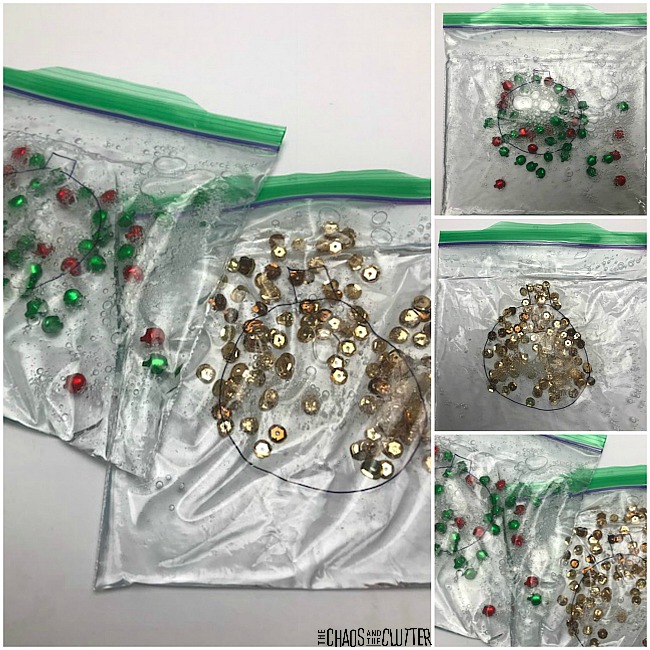
- Additional items in the bag can add fun, sensory interest, and more gaming opportunities. Water beads, regular beads, alphabet or number beads, googly eyes, buttons, marbles or small pebbles, glitter, and confetti are all fun additions.
- Count items in the bag from sticker faces to add-ins. Fun fact: left-brained activities like counting are a great way to move yourself out of a hyper emotional state.
- Include the alphabet beads needed to spell various emotions, and try to move the beads around in the bag to spell out the words “mad”, “sad”, “happy” etc.
Kids Books to Read About Emotions
Reading about emotions is a great way to teach your kids how they are supposed to work through and respond to emotions. It’s also a great go-along for the emotions sensory bag activity. We have a big list of books about emotions you can check out. Here are a few of our other favorites to add to your list.
- How Do You Feel by Lizzy Rockwell
- Kids, Let’s Talk About Feelings by Priscilla Zayas
-
The Feelings Activity Book for Toddlers by Stacy Spensley
-
The Mood Flip Book from Peter Pauper Press

Teaching Activities to Help Kids Process Big Emotions
You are going to love how much amazing content we have to help you as you and your kids explore emotions. For starters, we have monthly printables you can use to introduce and review concepts. You can find those here:
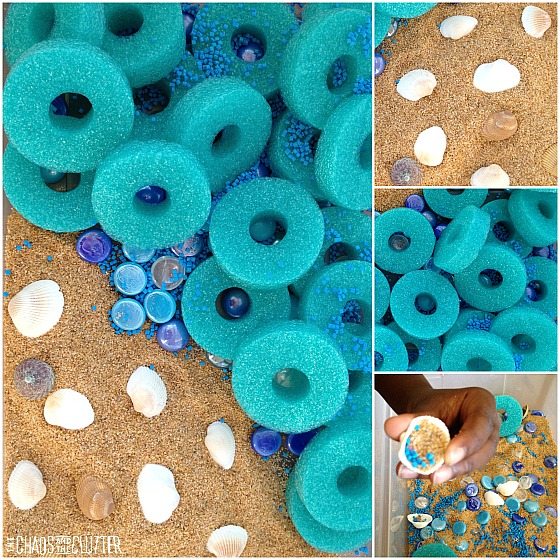
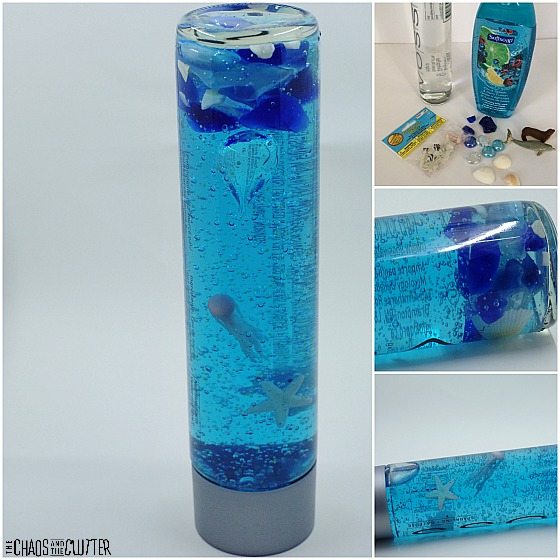
In addition, we have fantastic activities like this Emotions Sensory Bin or these fun Emotions Sensory Bottles. You’ll also find this informative and helpful article: How Can I Help My Child Control His Emotions? Don’t forget to make these Squishies too! They are so fun to play with! You’ll also love this fun Understanding Your Emotions Birthday Party.
More Great Ways to Play
Use puppets, people toys, plastic animals, or stuffies to talk about and act out emotions and events from the day where big emotions came into play.
While everyone is calm and happy, practice different ways of responding to big emotion. Practicing before the storm is a fantastic way to help prepare your child! You can practice deep breathing, box breathing, humming a short song, sticking your hands in a cup of ice (helps stop anxiety), redirecting to a left-brained activity (counting objects for instance), or any other coping skill that works. Making these fun and interesting to practice throughout the week will make it more likely your child will be ready when coping skills are needed.
Enjoy exercise together. Exercise is an excellent way to lower stress, process emotion out of our bodies, and calm down when needed. It’s also a great pre-learning activity since it warms up the brain and helps prepare it to receive new information. Planning exercise into your day is a win for everyone!
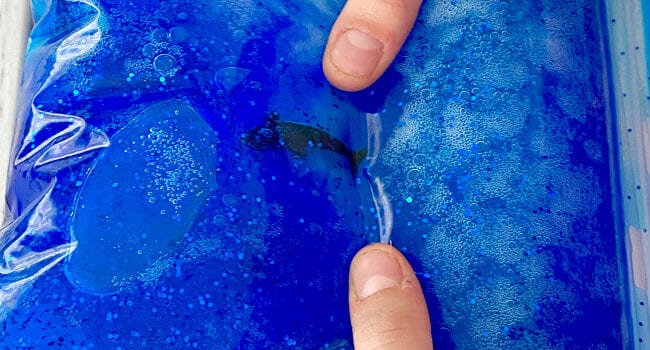

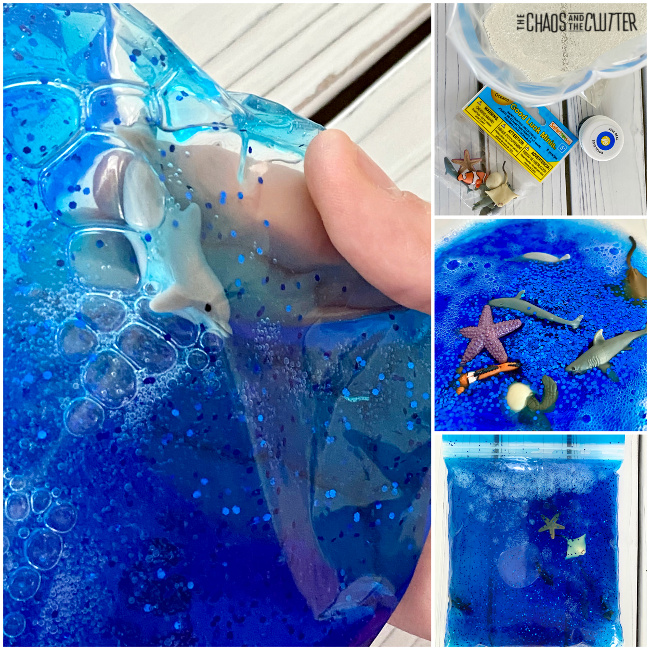 Whether or not you secure the bag with duct tape, adult supervision should be used as this contains small parts that could present a choking hazard.
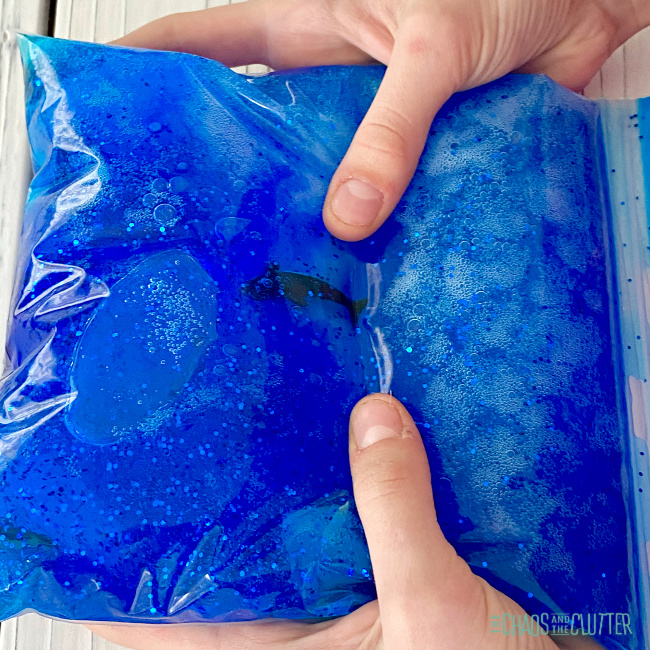
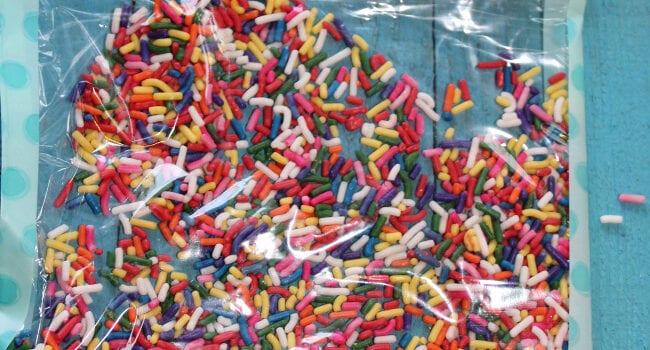
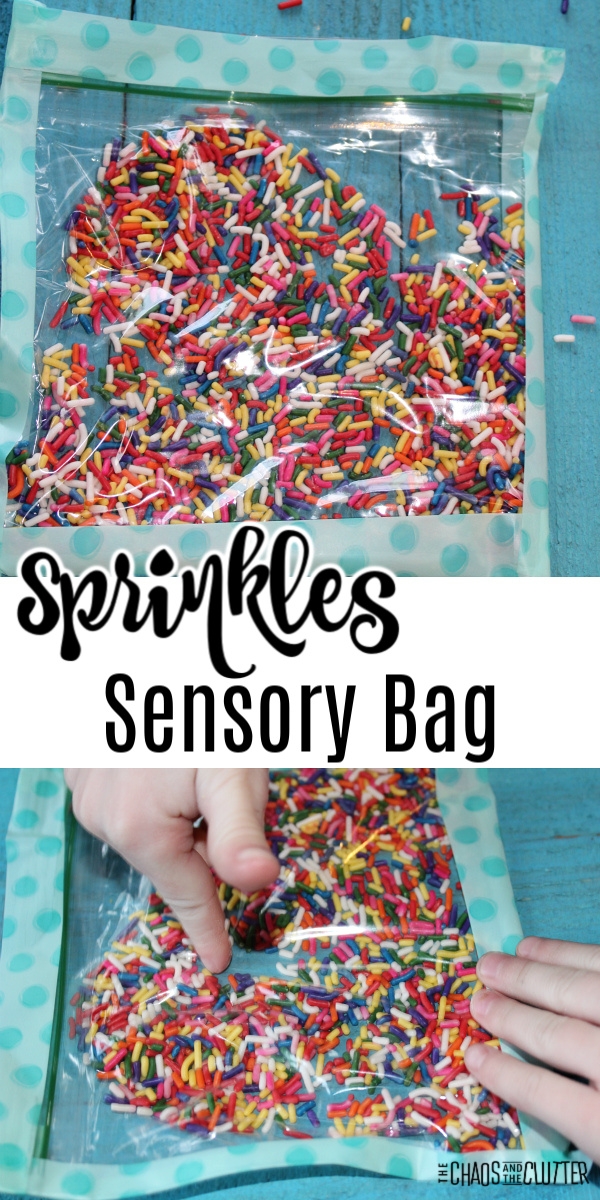
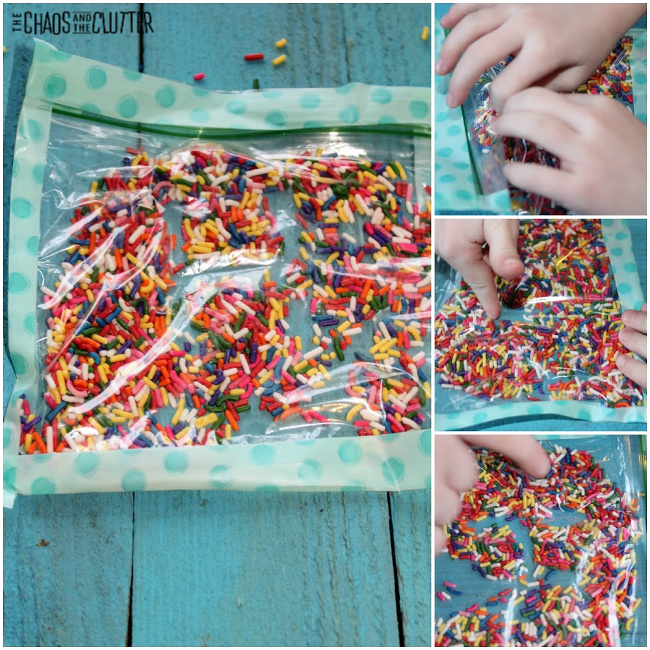 Your child can trace letters, numbers, or shapes in the sprinkles with their finger. This will help reinforce learning and also give them fine motor practise.
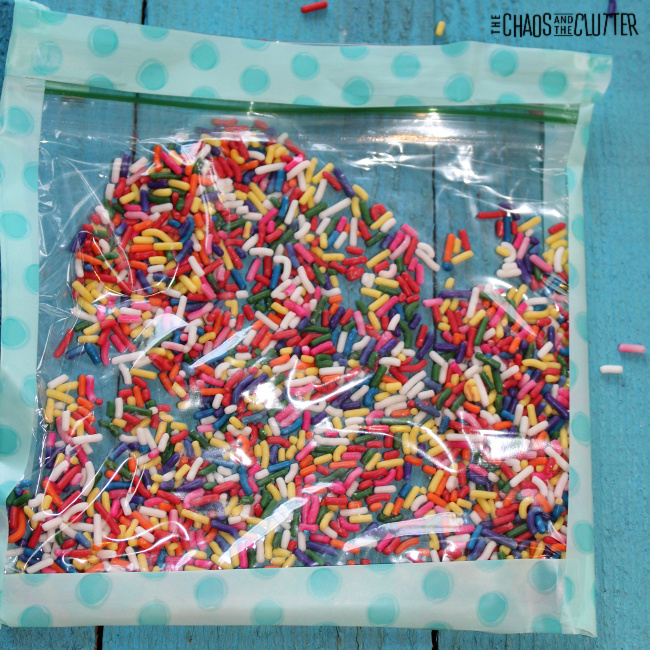 One of the things that’s nice about this is that it is safe for preschoolers and even toddlers because even if they are able to get the bag open, the sprinkles are edible. Of course, adult supervision should be used with all kids’ activities.

 Directions:
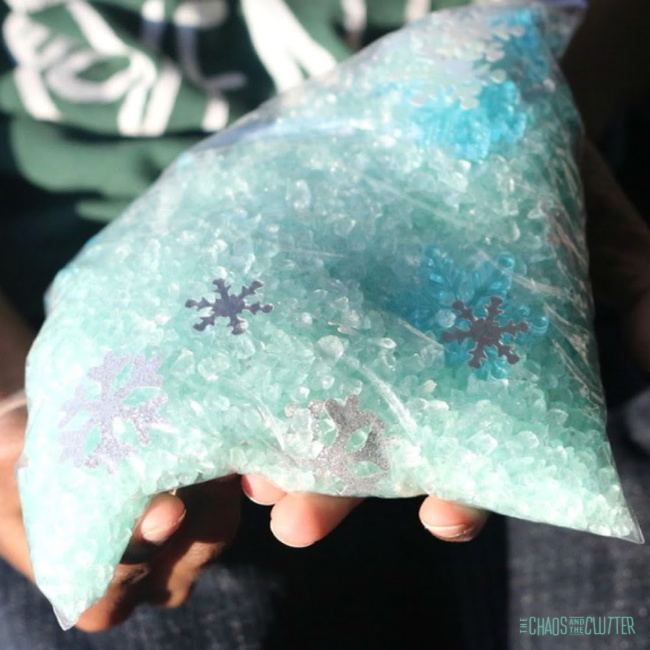
 Are you looking for more easy sensory play ideas like this one? Join us for a five day email series on Sensory Activities and Solutions and get a free sample of our Sensory Play Recipes eBook.
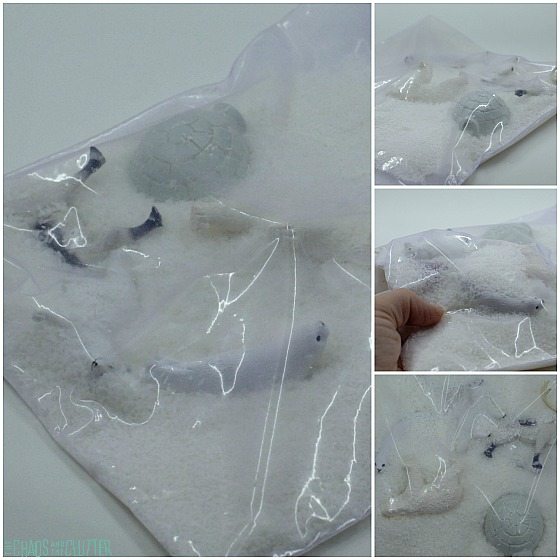
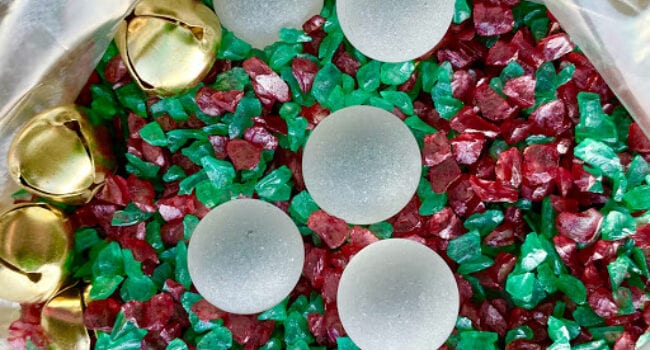
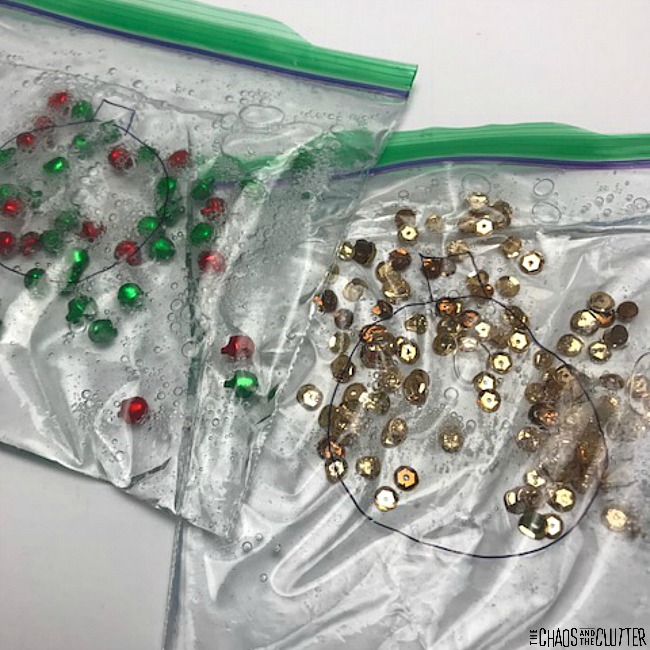
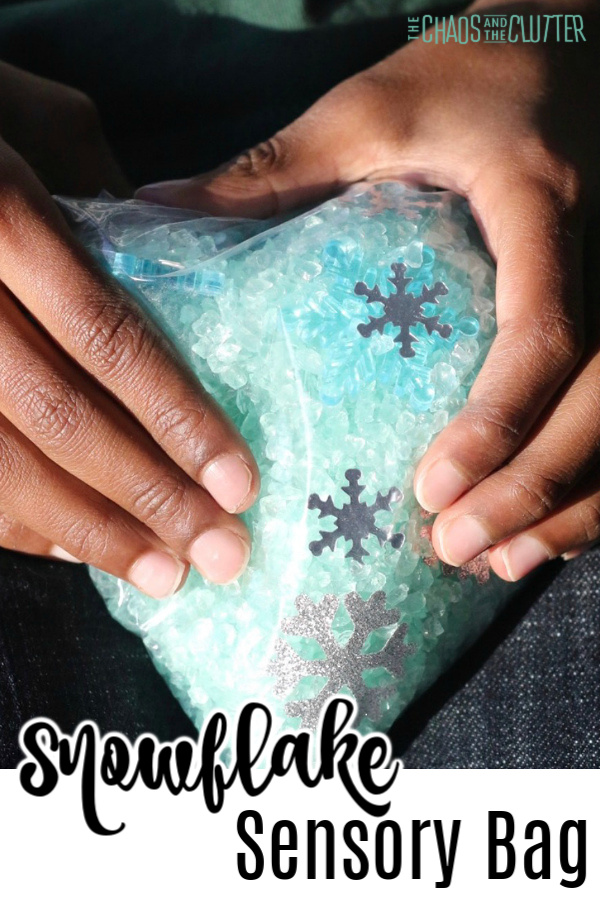
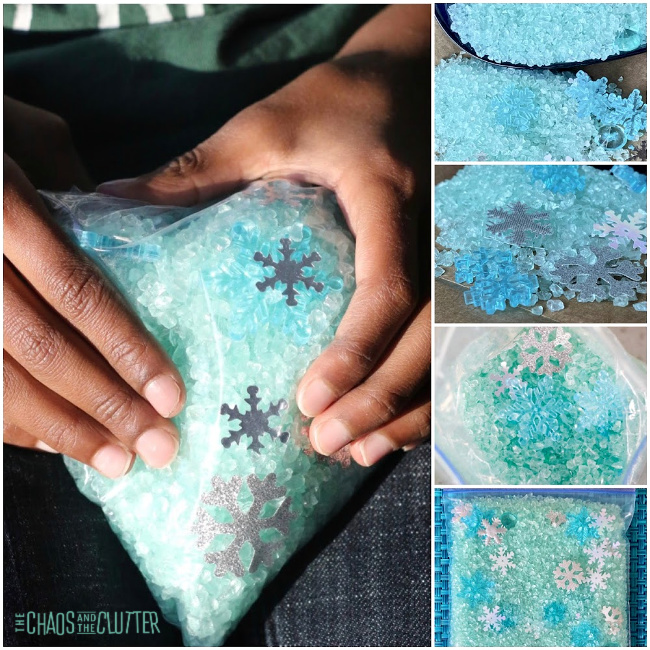
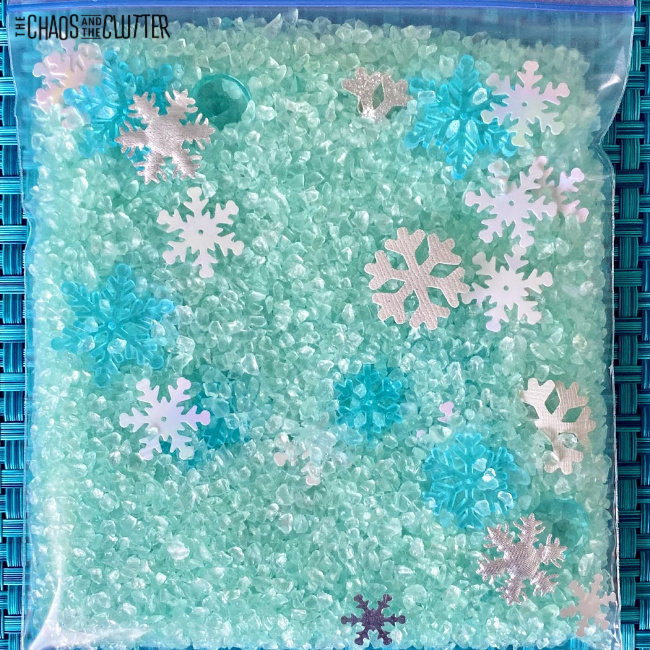
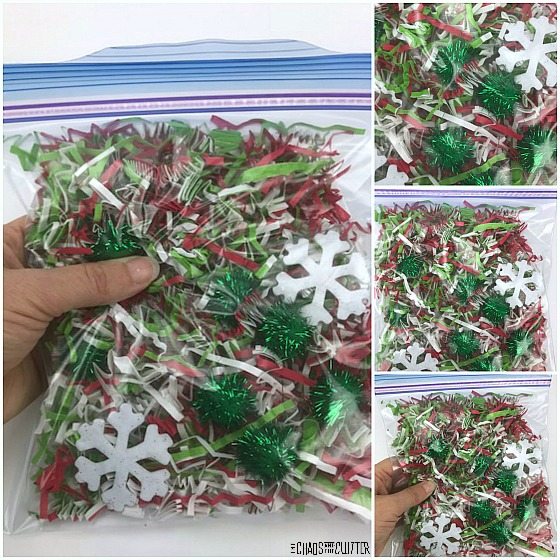
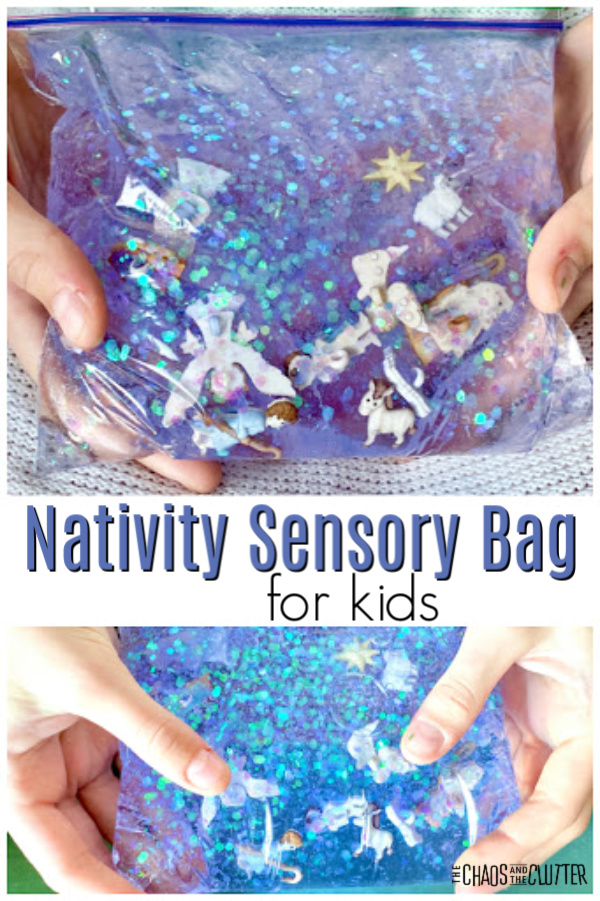
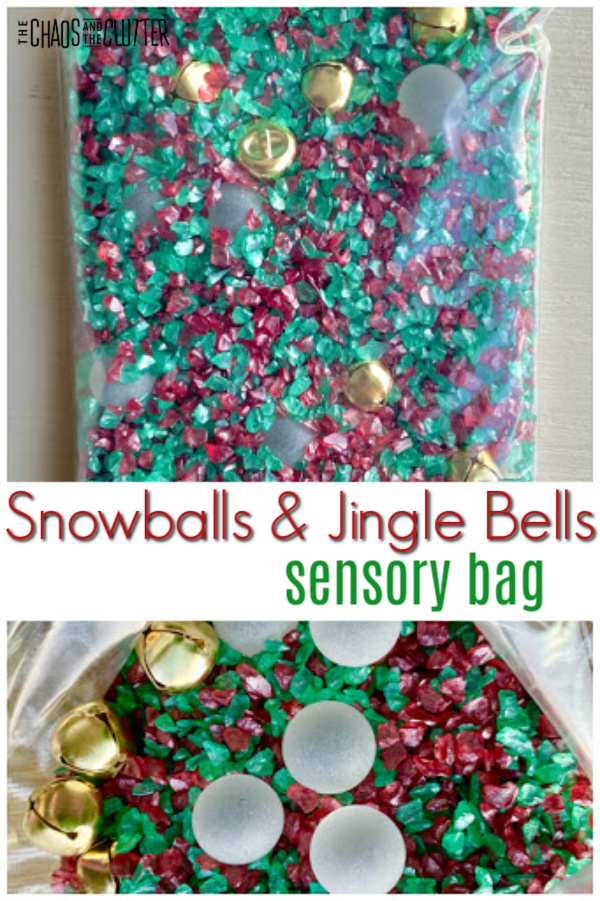 Snowballs & Jingle Bells Sensory Bag:
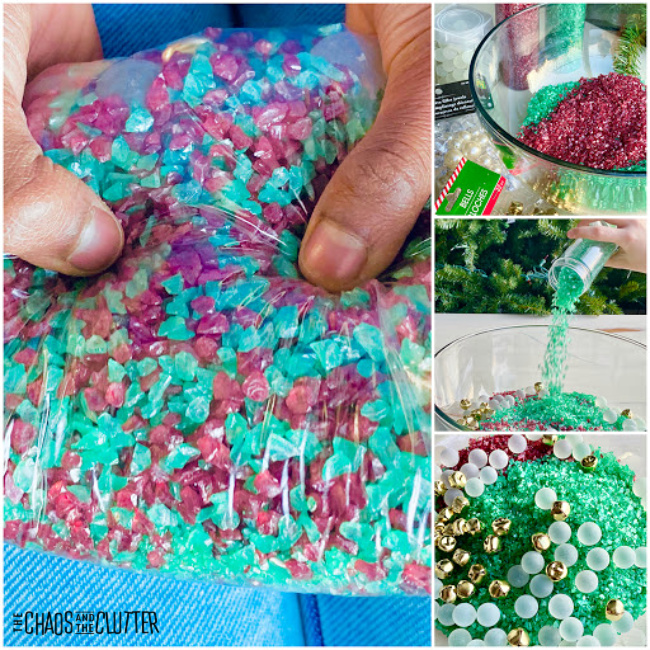
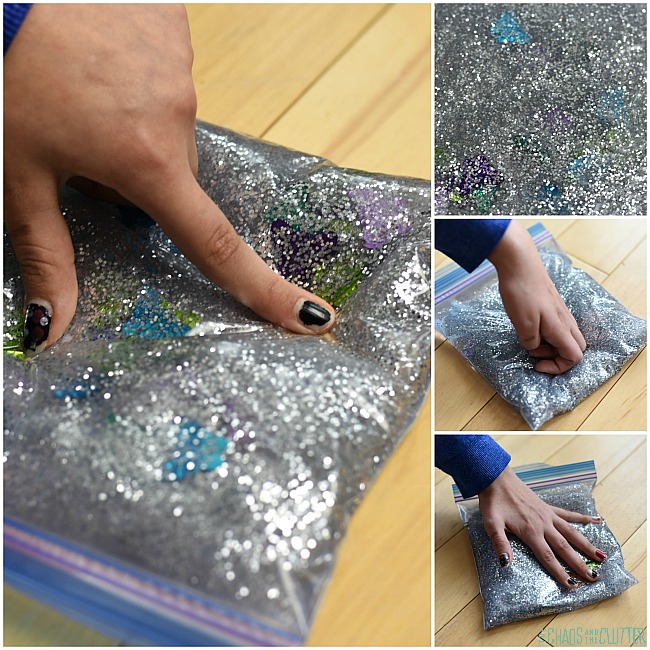
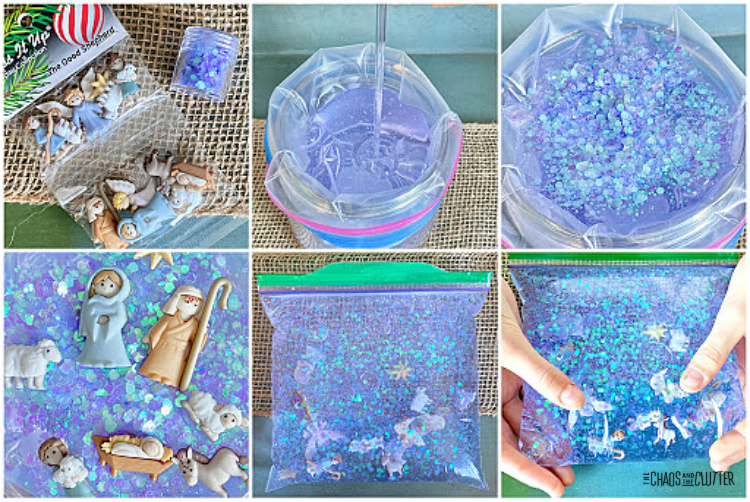
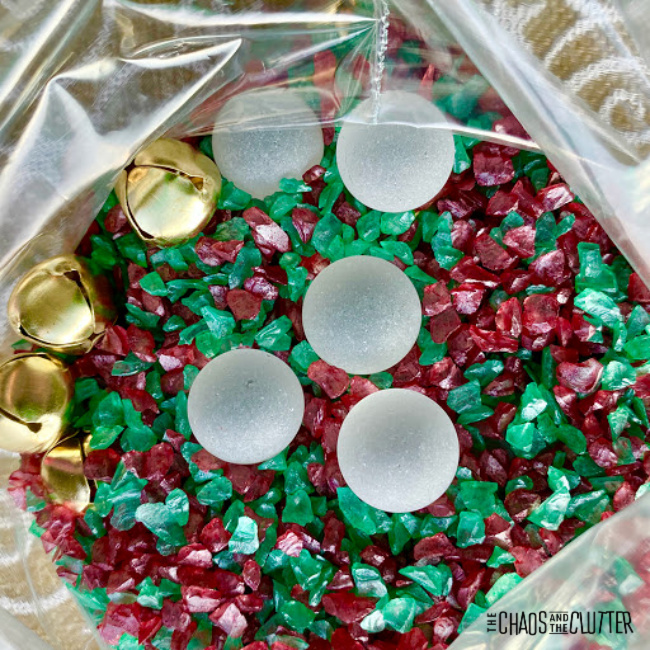 Important note: As with all sensory activities, adult supervision should be used at all times even if you’ve sealed the edges shut. Note that the glitter gravel can have sharp edges and can sometimes cut through the bag.
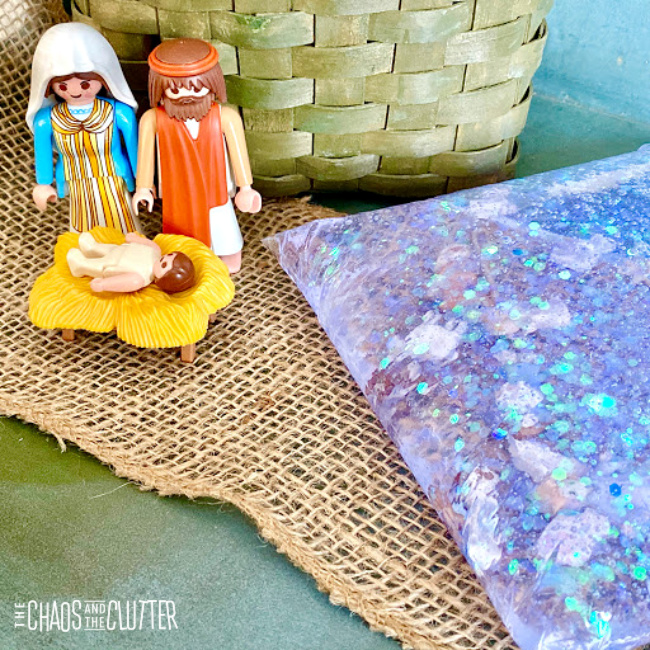


 Remember that as with all sensory activities, adult supervision and common sense should be used.