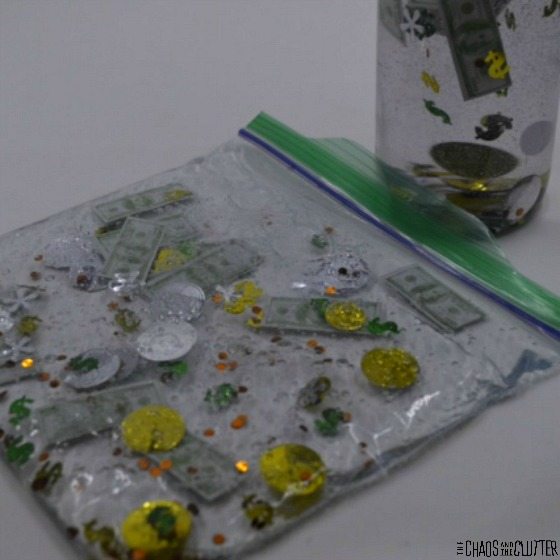
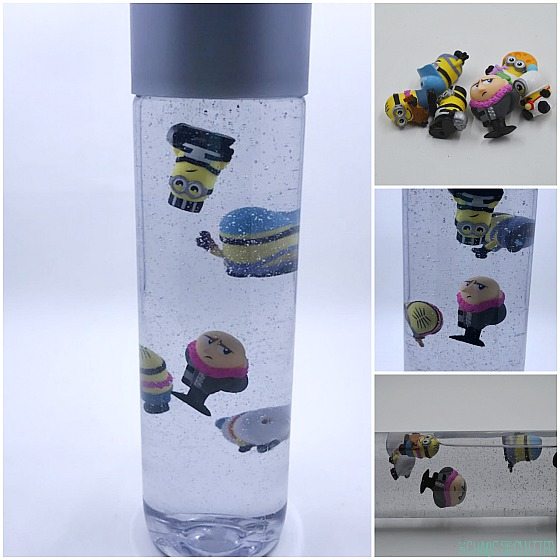
I like to create sensory activities to go along with some of our homeschool unit studies. When it comes to subjects such as science or social studies, it’s easy to come up with a sensory play idea, but math is a bit harder. When I saw a package of money confetti, I knew immediately that I could use it to finally create a math themed sensory activity. I was able to create a Money Sensory Bottle and this Money Sensory Bag.
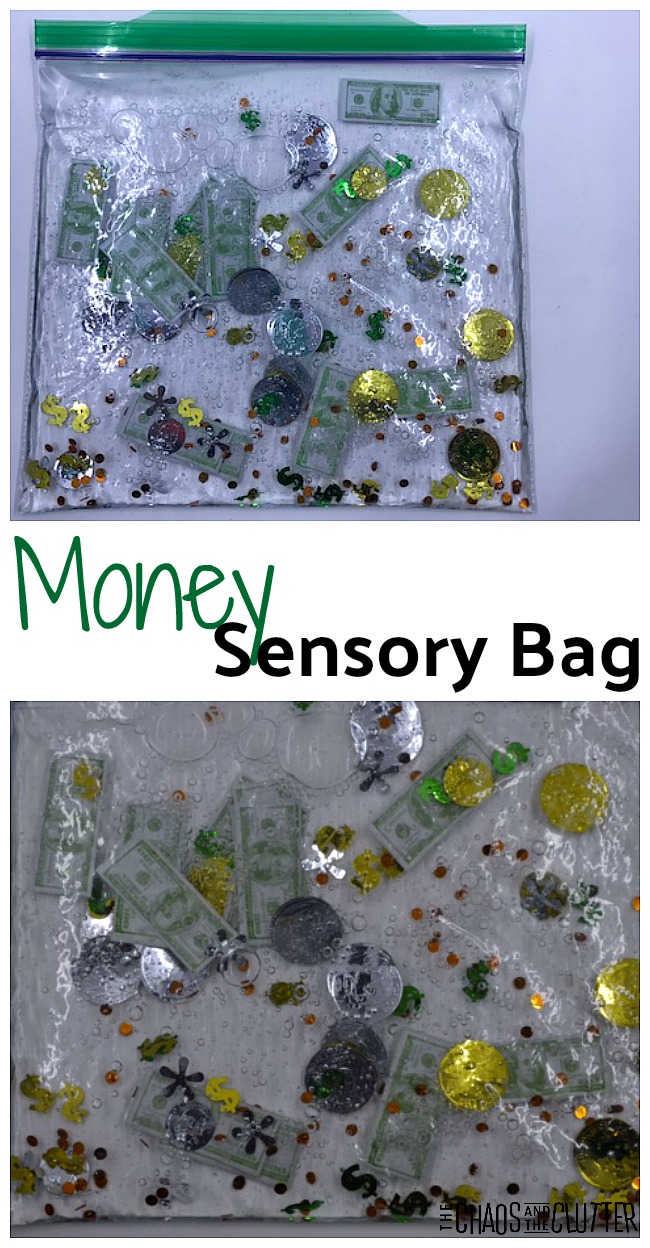 Money Sensory Bag
Materials needed:
- resealable plastic bag
- liquid hand soap
- money confetti
- optional: duct tape
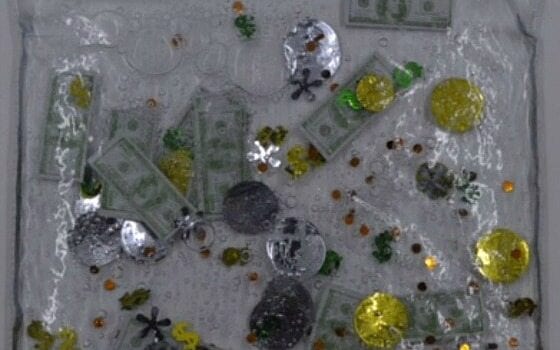
This money sensory bag would be a great compliment to a math unit study on money.
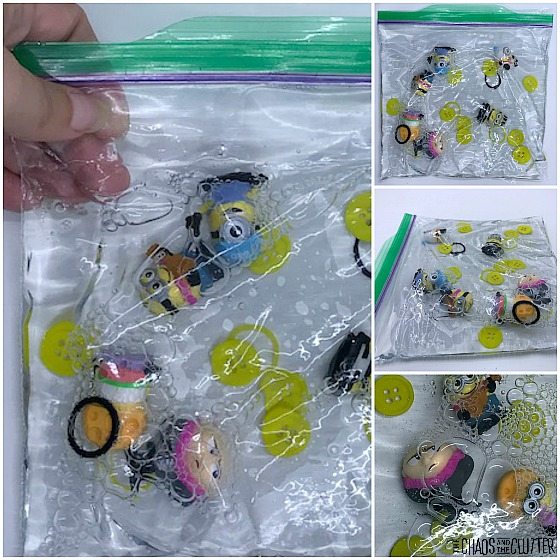
To assemble the money sensory bag, fill a plastic bag half full with liquid hand soap. Dump in some of the money confetti. Take the extra air out of the bag and seal.
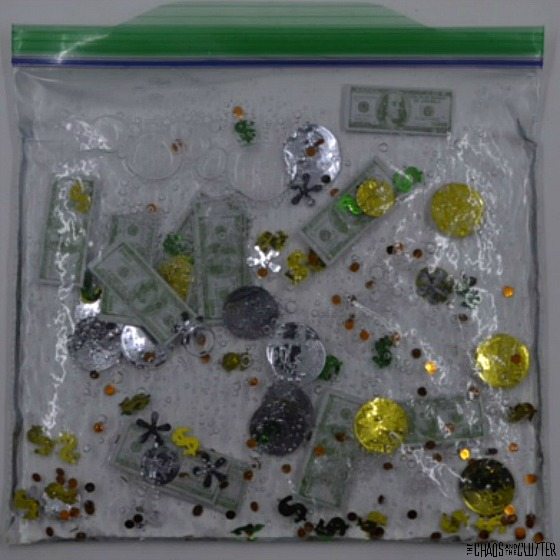 You can also seal the bag fully by using duct tape such as this green duct tape around all the edges. This is especially good to do if younger children will be playing with the sensory bag. Just like with all sensory activities, adult supervision is recommended at all times.
You can use some of the other money confetti to create a money sensory bottle or a money sensory bin. This will enable you to have many sensory options or a little math money sensory station in the classroom or at home.
 Join me for a free 5 part email series Sensory Solutions and Activities and get your Sensory System Behaviours Easy Reference Cards.

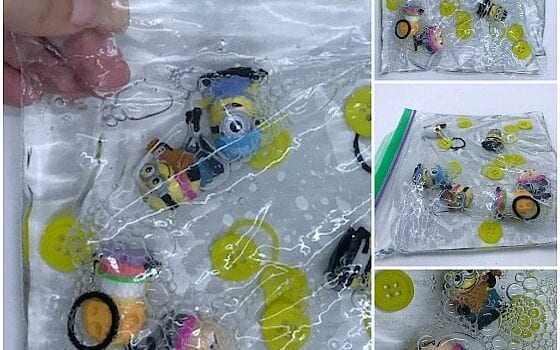
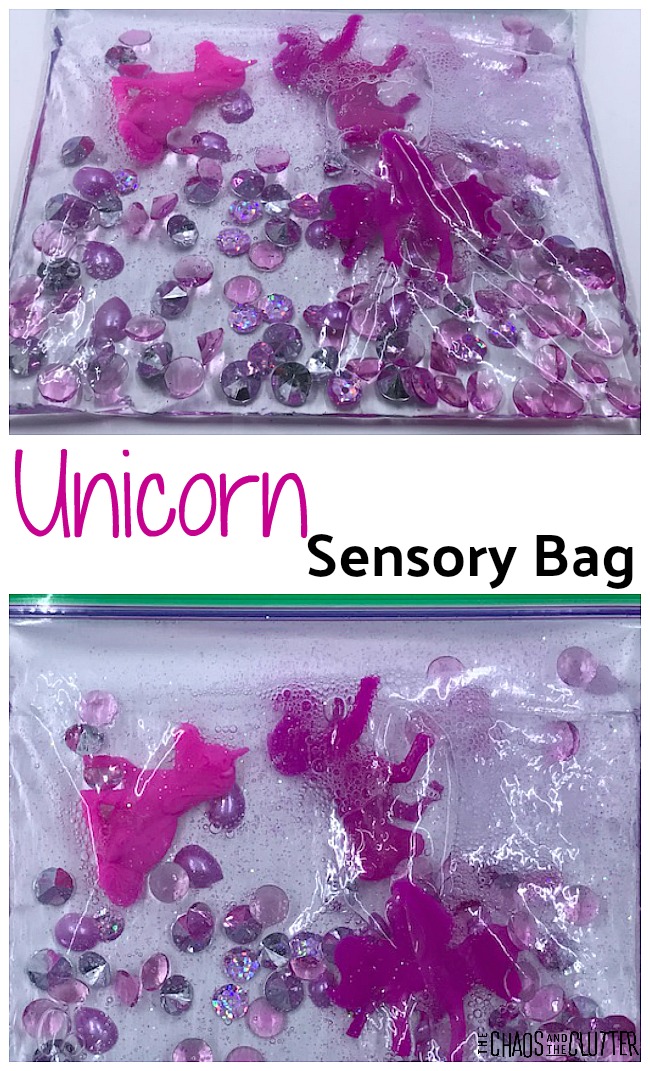
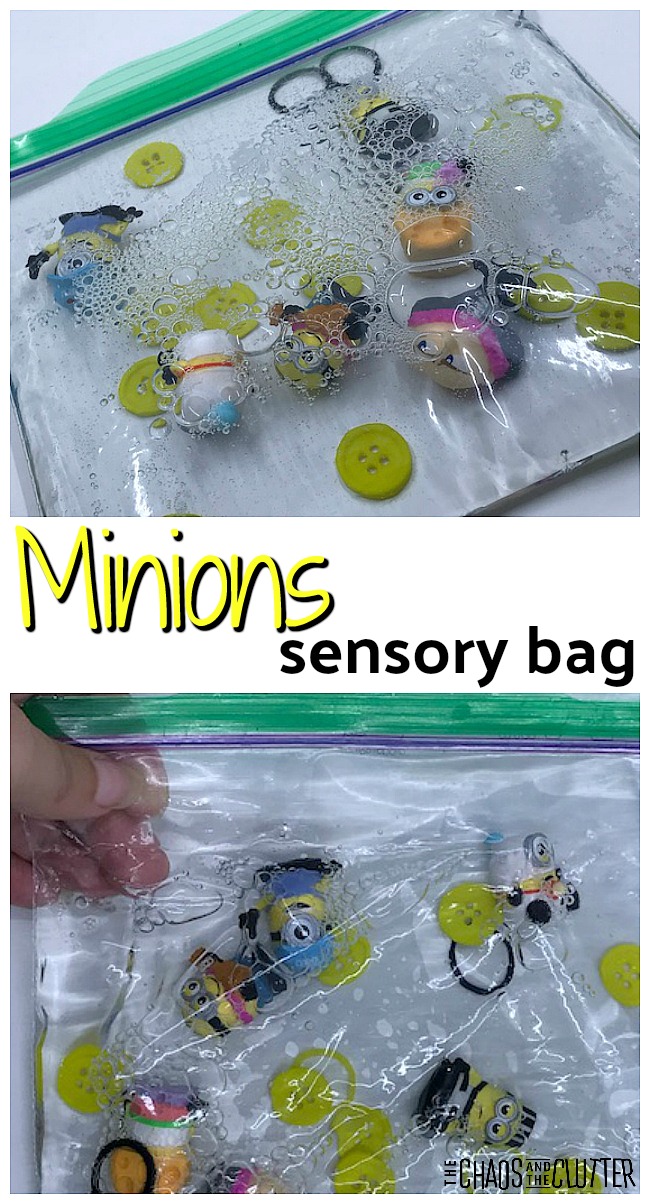 It’s funny how when you take exactly the same items and put them in a new format, it breathes new life into the activity. I added a few extra things to the sensory bag just to change it up a bit. I think it turned out really cute!
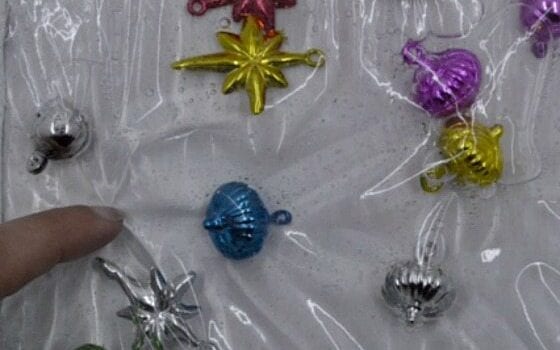
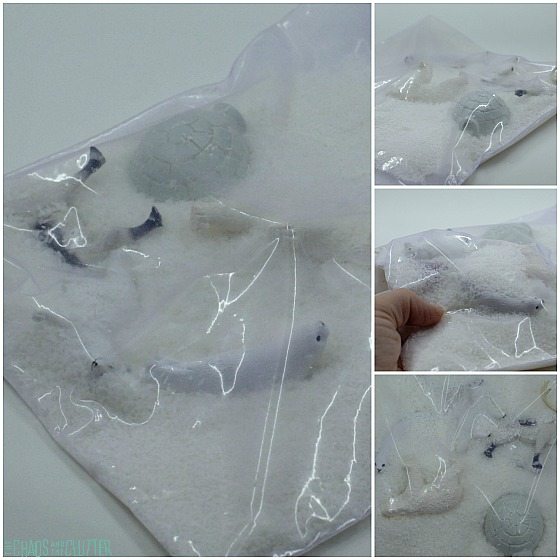
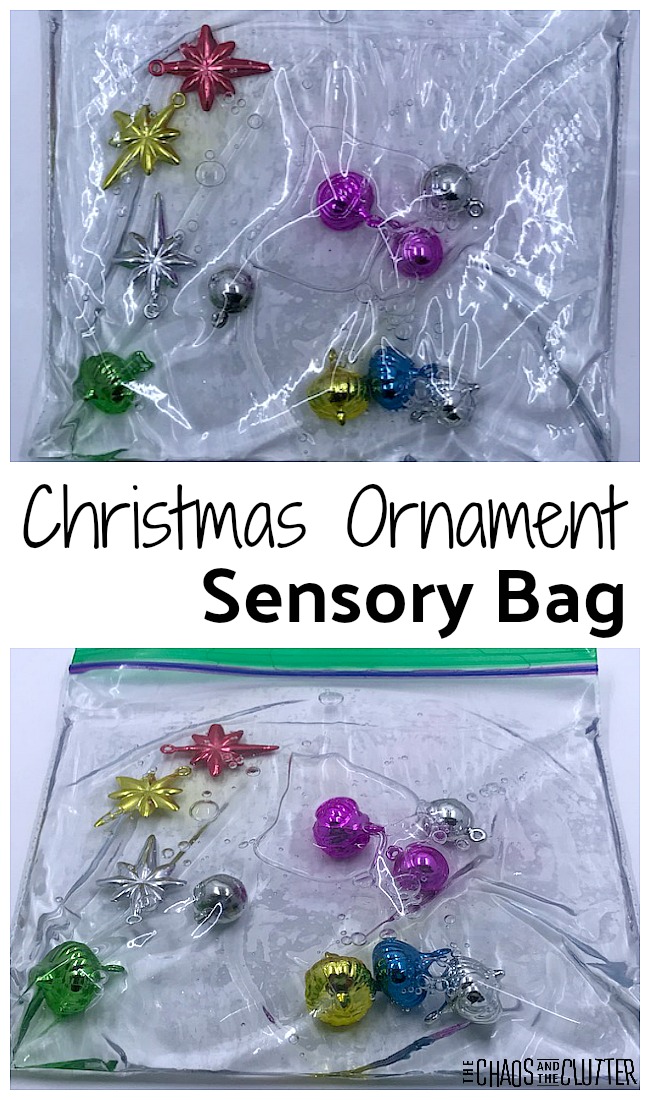 Christmas Ornaments Sensory Bag
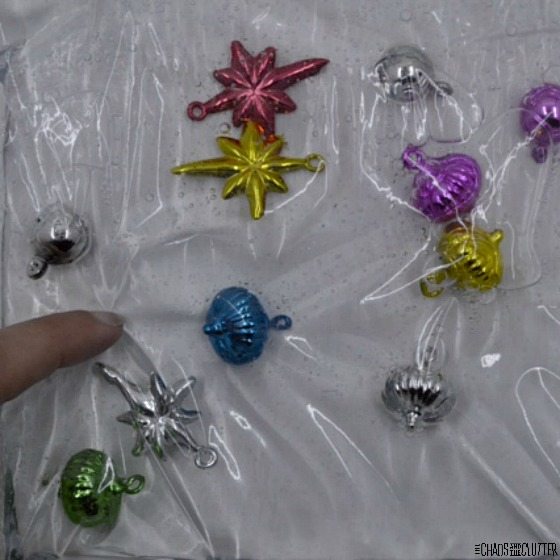 To make the sensory bag, fill the resealable plastic bag about half full with the hand sanitizer. Add in the ornaments. Remove the excess air from the bag and seal.
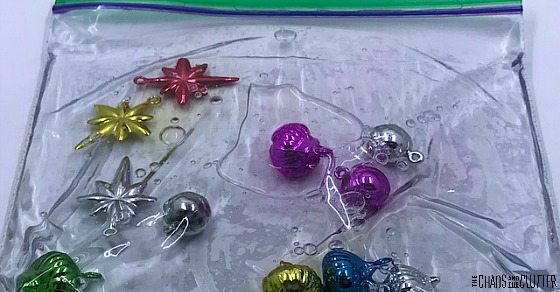


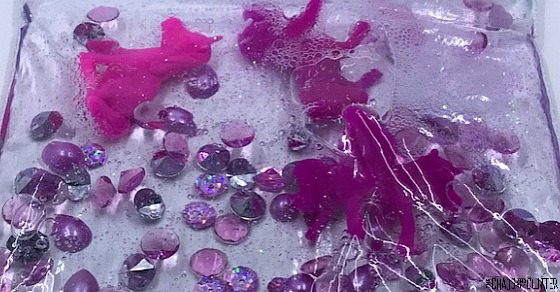
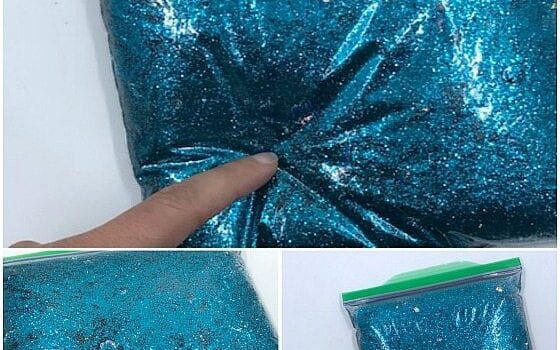
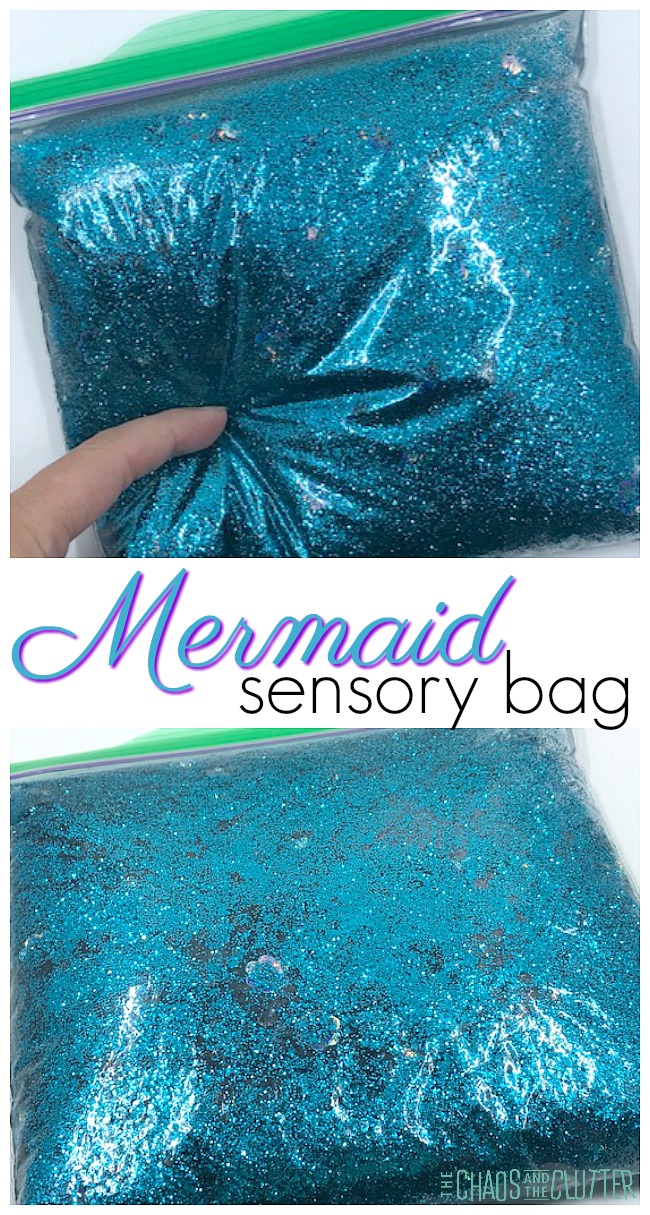 Making this mermaid sensory bag couldn’t be easier. With just a few items, you can create a sensory experience that your child can squish and poke and knead and press.
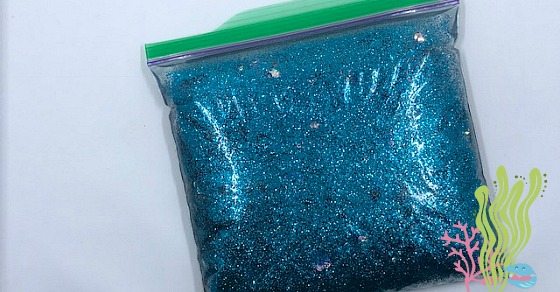 Looking for more awesome sensory activities that are easy to put together? Join me for a free 5 part email series
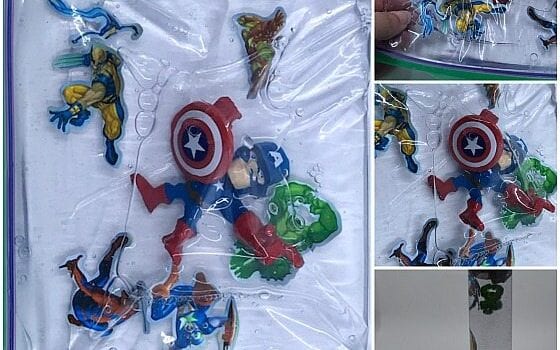
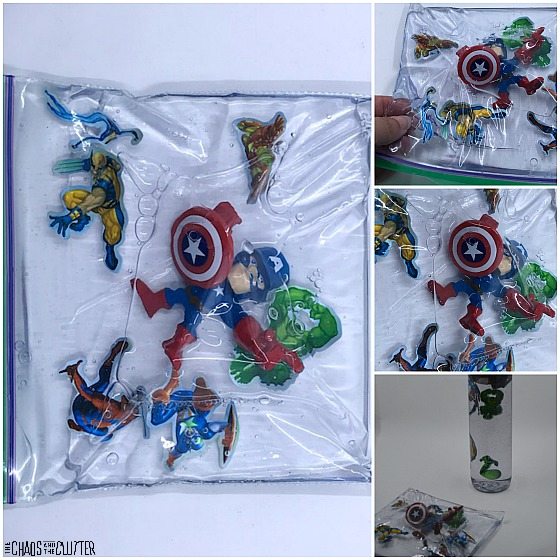
 I created this Superheroes Sensory Bag to encourage Superkids to celebrate the things that make them unique.