This craft was my friend Christie’s idea. I’m not sure whether to call them Pumpkin Turkeys or Turkey Pumpkins! One of the things I liked best about this activity was that it allowed the kids a lot of freedom of expression. Each of their turkeys seemed to have a different personality when they were completed! 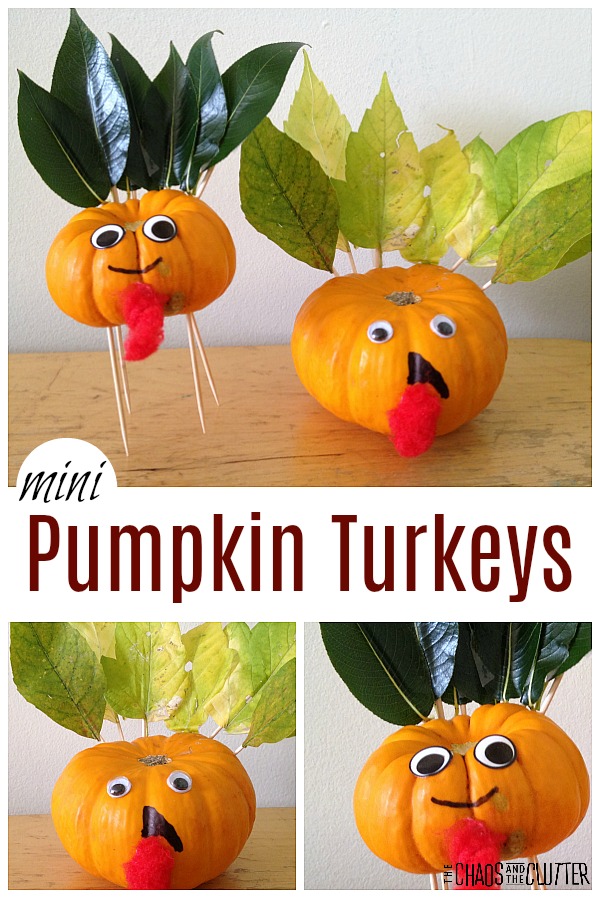 Supplies needed:
- mini pumpkin
- toothpicks
- leaves
- tape
- glue
- things for decorating (googly eyes, permanent markers, felt or pompoms, stickers…)
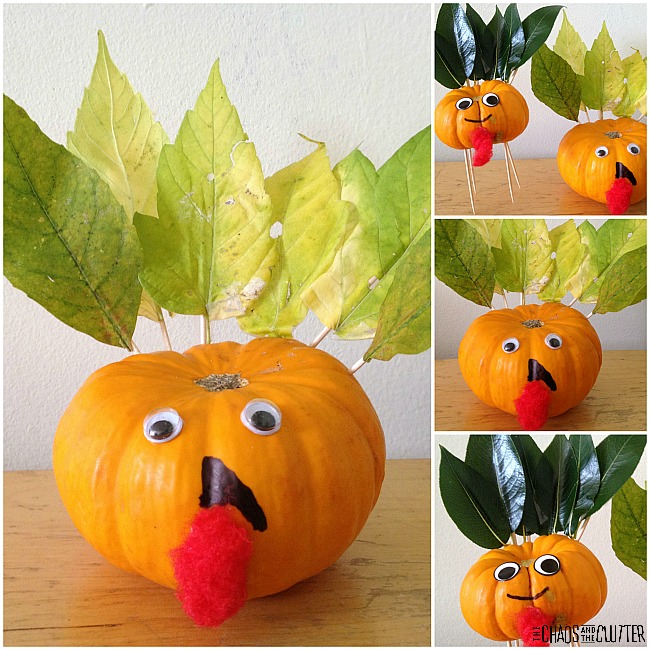 The original plan was to make holes in the mini pumpkins and insert the leaves by their stems but that didn’t work at all! I considered gluing the leaves or taping them to the back of the pumpkins but none seemed like great solutions. I was still in the kitchen trying to work out a solution to the leaf attaching dilemma when I heard that Miss Optimism had solved the problem and was already at work attaching leaves to her pumpkin! I’m proud of my little problem solver!
Miss Optimism had attached the leaves onto toothpicks with tape and then inserted the toothpicks into the pumpkin to create the look of tail feathers.
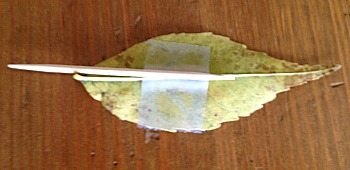 Once the turkey “feathers” were in place, the kids decorated their turkeys. For eyes, some of them used google eyes, some used sticker eyes and others drew them with permanent markers. For the turkey’s wattle, we cut red pompoms in half and glued those on. You could also use felt pieces or thick paper. The kids drew on other features with permanent marker.
Some of my kids decided that they wanted to use toothpicks to give the turkeys legs. They turned out to be quite cute!
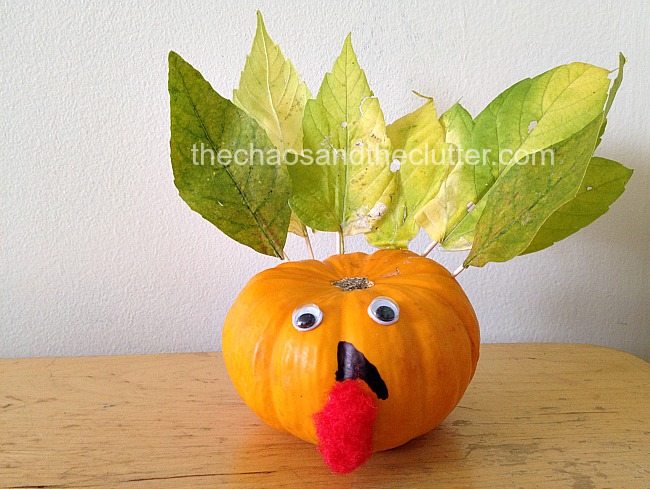 You could also add names using permanent marker and use these mini pumpkin turkeys as place cards at your Thanksgiving dinner table.
Check out these other Fall activity ideas:
