Every year, The Husband travels to Moab, Utah to go mountain biking. The kids are always full of questions about what it’s like there and I had planned to make them a special desert themed sensory bin while he was gone this past time but didn’t get it made until just last week. It may not have been in time for his trip, but it was in time for our official homeschool start and as always, the Sensory Bin was a very popular station!
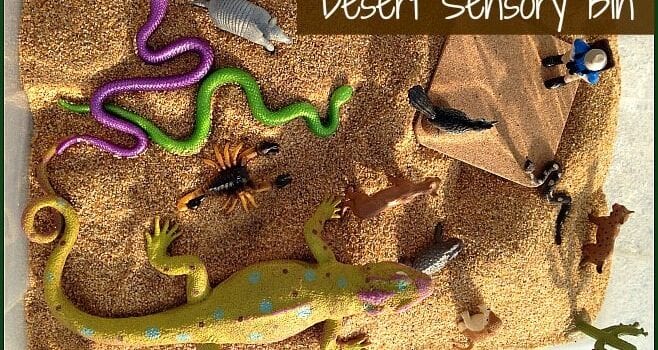
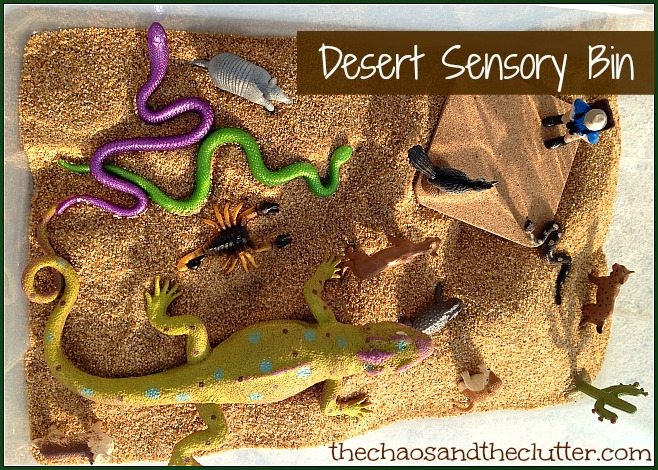 This was a very simple bin to create. For the base, I used sand. I added a Desert Toob which had in it the little tourist man, many different animals that can be found in the desert, and a cactus. I also added some stretchy snakes, a piece of cork in the form of a cork coaster and a large squishy lizard. I had also bought a large squishy orange snake for the purposes of this bin but it had mysteriously gone missing from my sensory bin storage before I made the bin. My curious kids must have happened upon it at some points and taken it somewhere to play with!
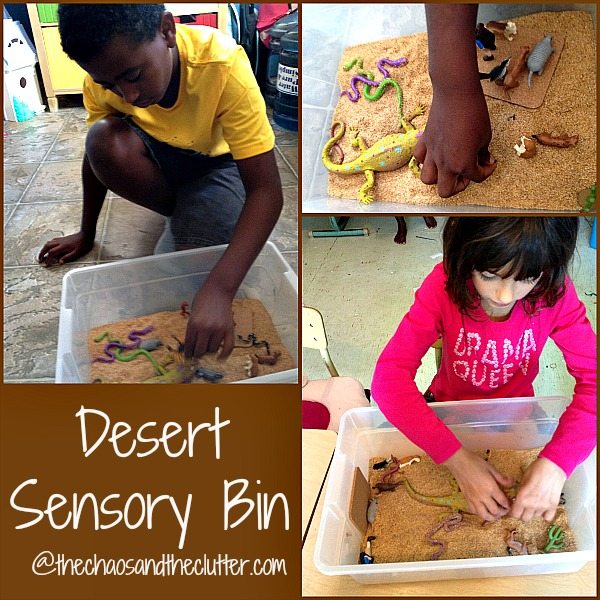 The kids liked all of the items in the bin but the squishy lizard and the stretchy snakes were among the favourites. They used the cork coaster as all kinds of things, they scooped with it, pushed sand with it, set things on it, made it a character in their story, and used it to cover animals from the sun. I had bought a pack of them at the dollar store for sensory bin purposes and it worked really well for this bin.
You can find many more sensory ideas in the Sensory Bins book.

Join me for a free 5 part email series Sensory Solutions and Activities and get your Sensory System Behaviours Easy Reference Cards.
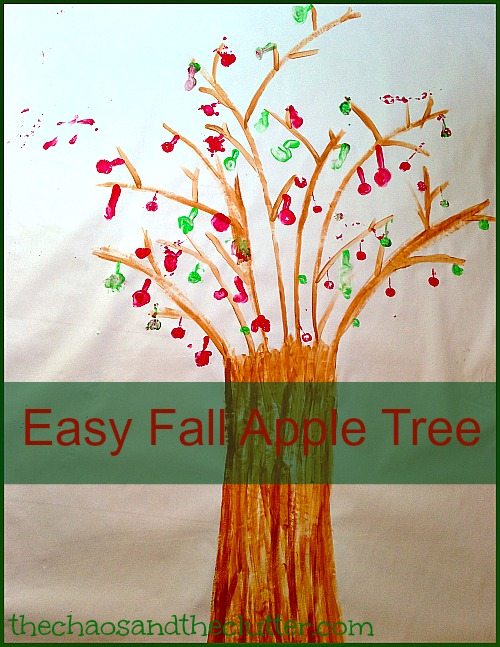
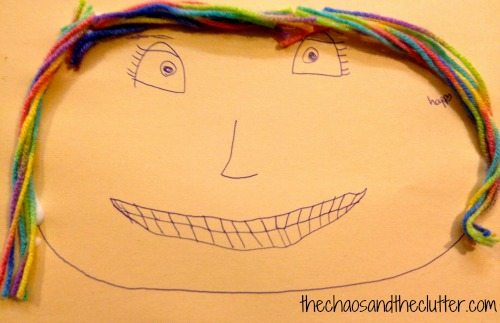
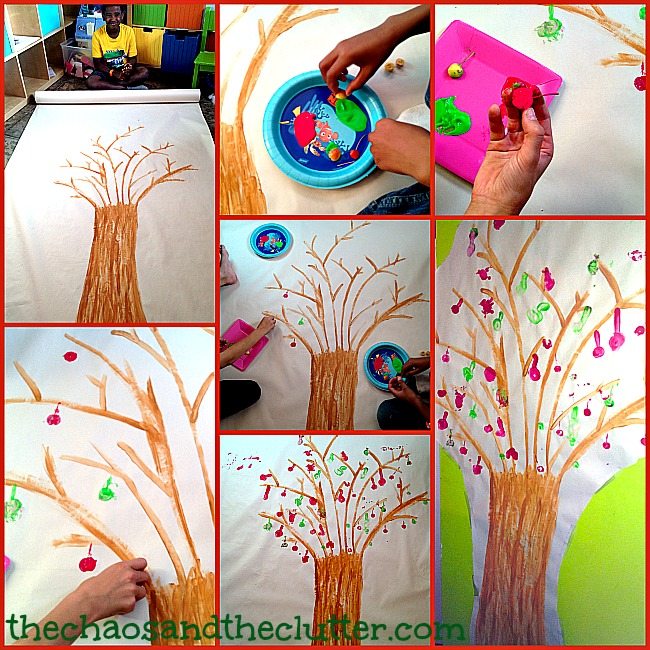 When the completed project was dry, the kids cut it out and taped it onto the wall. I think it makes great fall wall decor for our homeschool room!
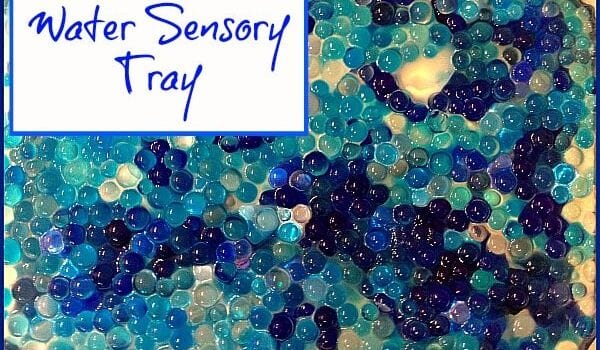
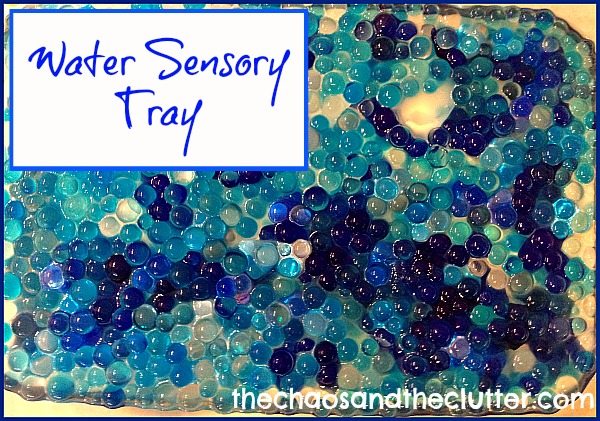 Please note that due to the potential for sea glass to be sharp and the potential choking hazards of the rest of the items, this tray is designed more for older children than for toddlers. Even with older kids, this is a tray that should be used with adult supervision.
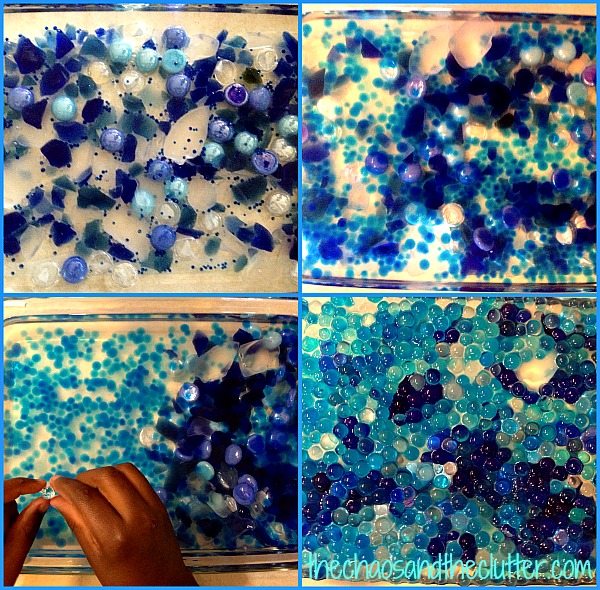 The kids loved watching the
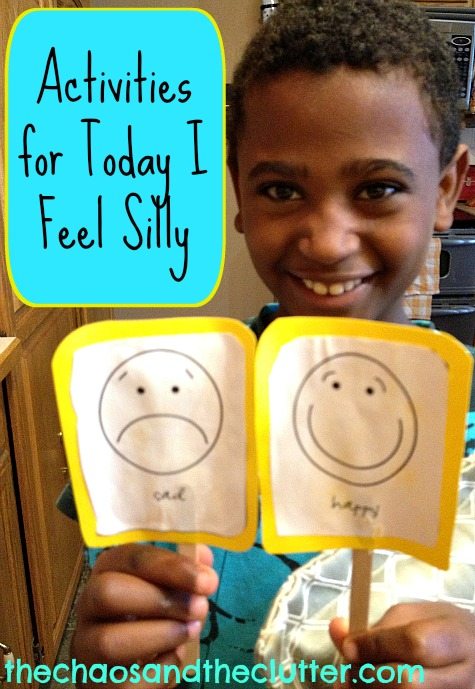
 I made emotion sticks using
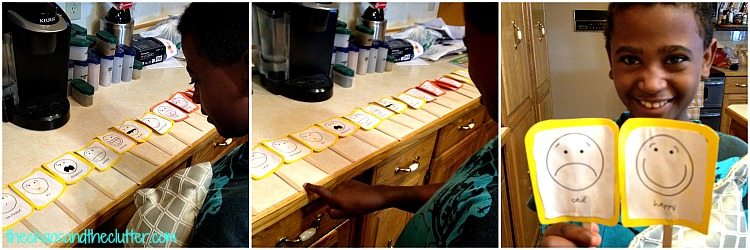
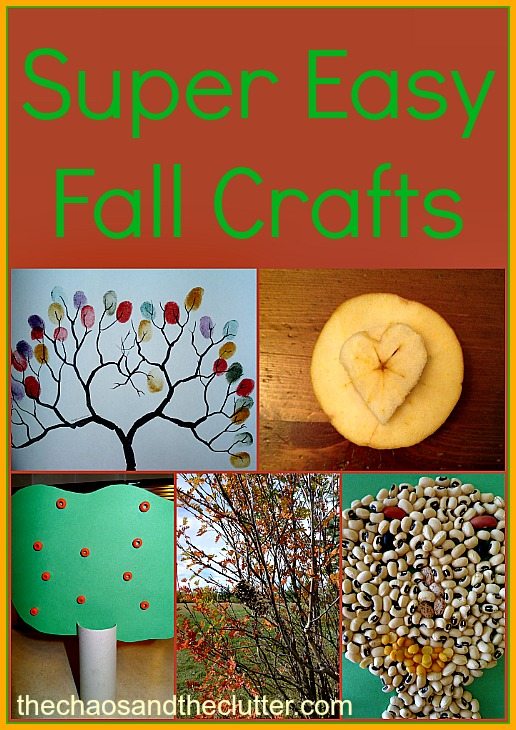
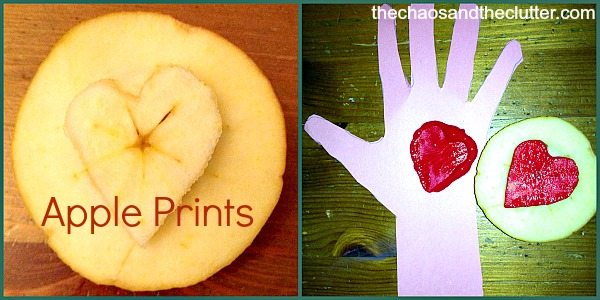
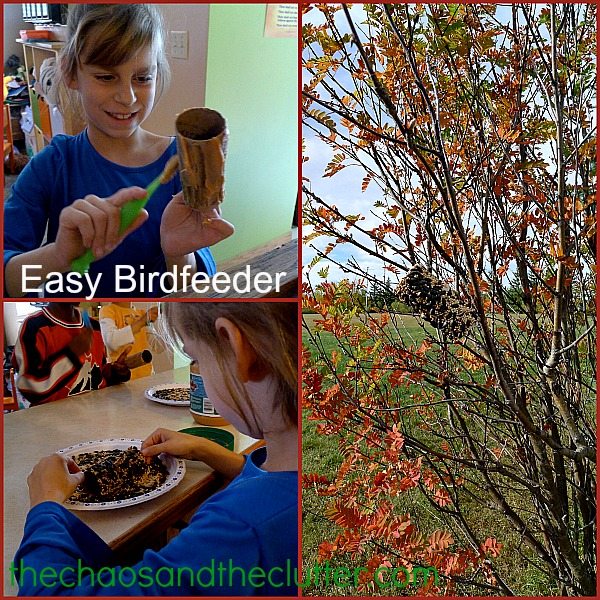 Spread peanut butter over the cardboard tube and roll it in the birdseed. You can then slip it right onto a tree branch or hang a string through it to hang it off a branch.
 Bean Mosaic
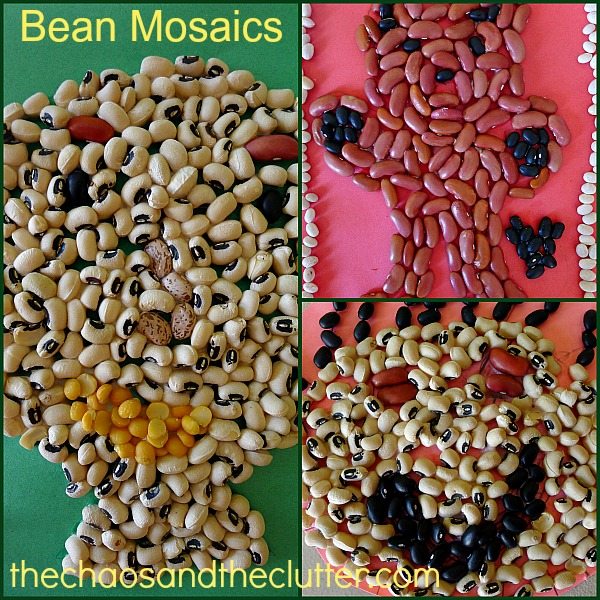 Fingerprint Trees
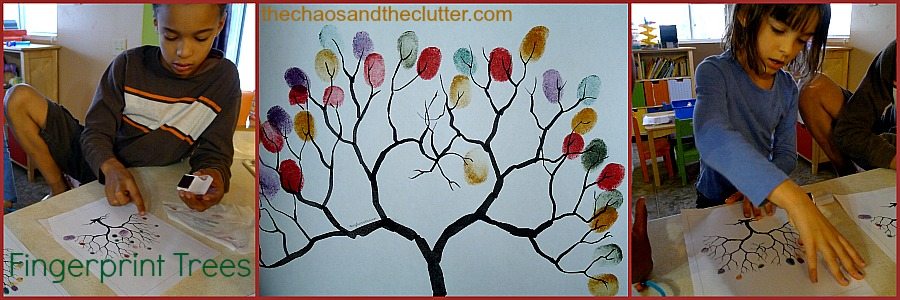

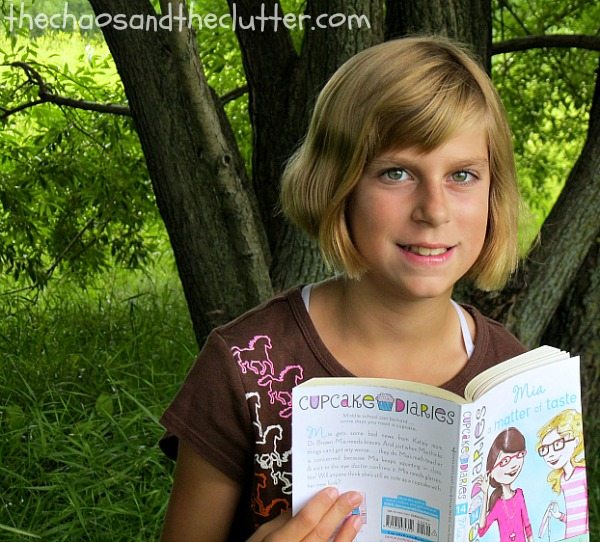 Miss Optimism is 11 years old. She chose the book
 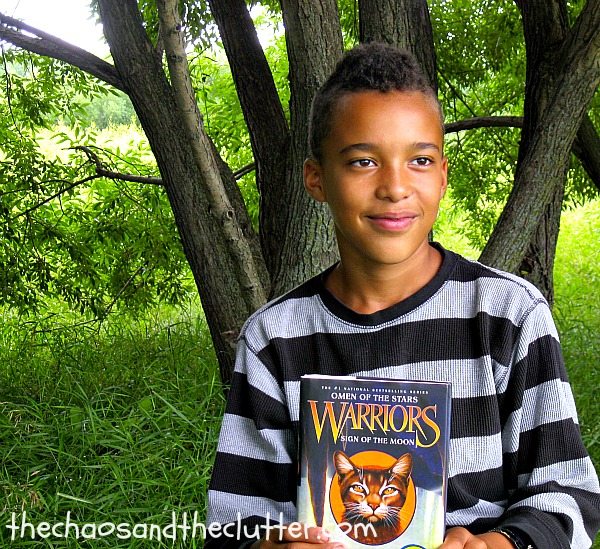 Einstein is 11 years old. He had a hard time choosing a favourite book. He is a voracious reader! He chose one of the
 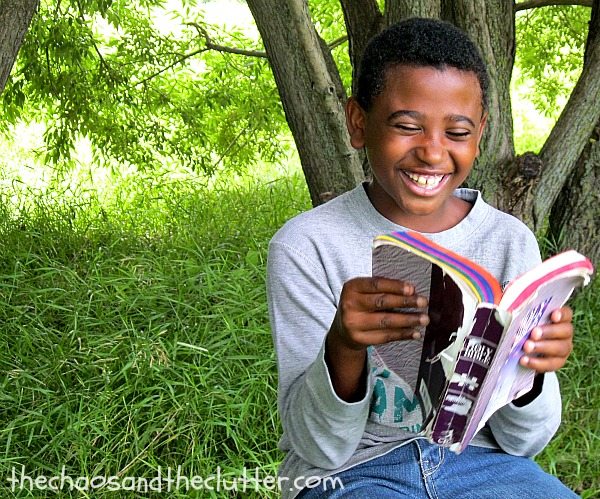 Snuggle Puppy will be 11 years old in less than a month. He chose the Bible as his favourite book which I have to say made my heart melt!
 Granola Girl is 8 years old. She really enjoys the Little Critter books and it came down to her choosing between the
 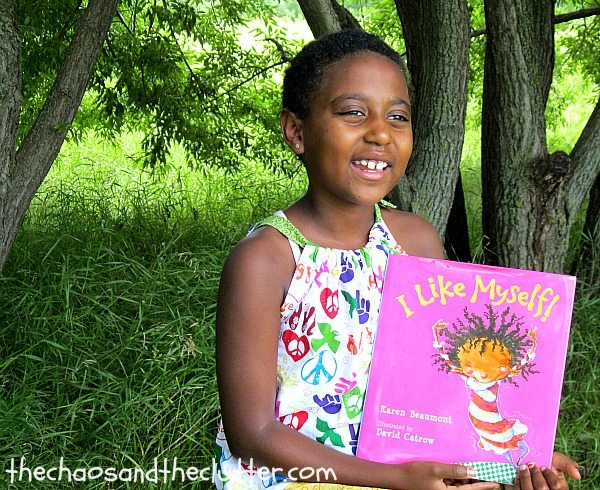 Dancing Queen is 7 years old. She loves the book