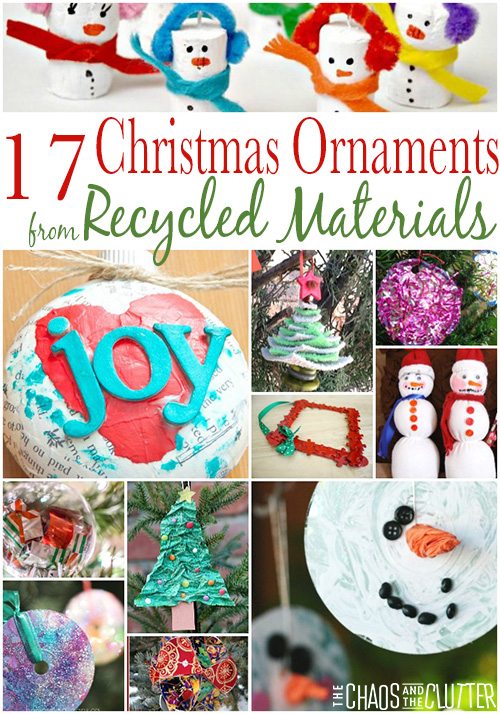
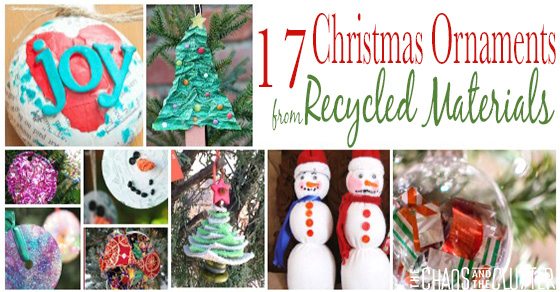
Making Christmas ornaments from recycled materials is a great way to use up things that you have around the house that you might otherwise just throw away. The list of items used in these projects includes things such as single socks (because we all have lots of single socks around the house!), old CDs, Christmas cards, used clothing, puzzle pieces, corks, can lids, and newspaper.
Christmas Card Ornaments
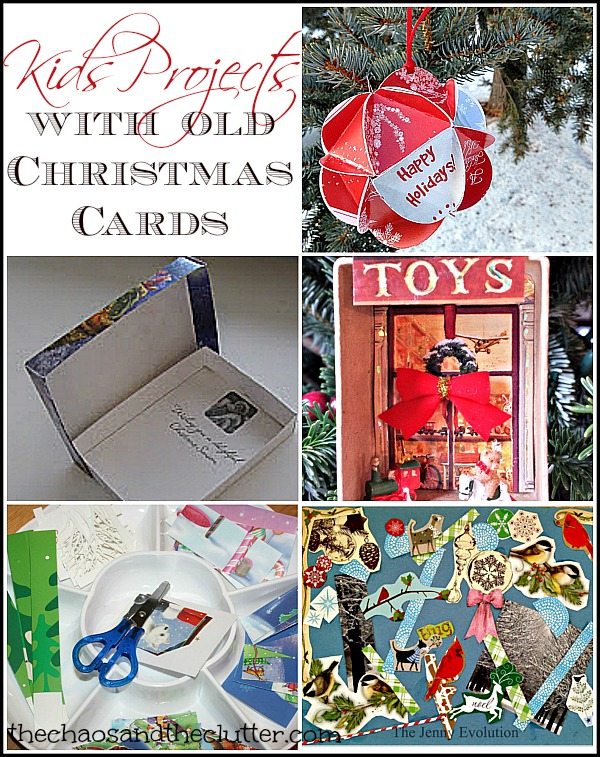
Christmas Card Ornaments use old Christmas cards and the outcome is worthy of giving as a holiday gift. All that’s needed for this is greeting cards, a pen or pencil, scissors, glue, a hole punch, and string or ribbon.

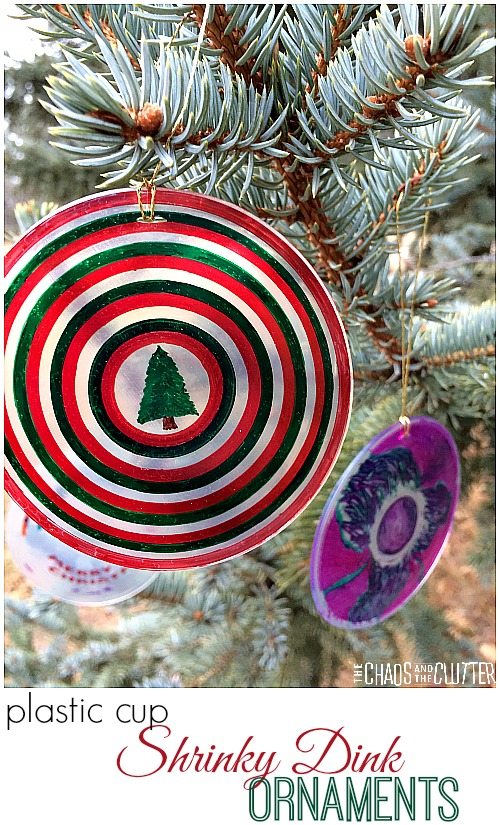
Plastic Shrinky Dink Ornaments
This viral activity has now been made by tens of thousands of kids. It’s easy to set up, extremely inexpensive to make, and the results are lovely. All that’s needed to make your own Plastic Cup Ornaments are clear plastic cups, markers, a hole punch, and some string or ribbon.
I love how each one is so unique. This craft is great for all ages from preschool up to adults.
More Christmas Ornaments from Recycled Materials:
Simple Ornaments made from Recycled Materials from Teaching 2 & 3 Year Olds
Cork Snowmen from Red Ted Art (pictured)
Paper Mache Tree Ornament from Buggy and Buddy (pictured)
Mixed Media Christmas Ornament from Sunshine and Hurricanes (pictured)
Christmas Tree Ornament made from Old Clothes from Teach Me Mommy (pictured)
Snowman CD Ornaments from Happy Hooligans (pictured)
Puzzle Piece Snowflakes from Red Ted Art (what a great thing to do with old puzzles that are missing pieces!)
Sparkly Tinsel Christmas Ornaments from Powerful Mothering (pictured)
Puzzle Piece Frame from Buggy and Buddy (pictured)
Button Snowflakes from Red Ted Art
Wrapping Paper Ornaments from Simple Fun for Kids (pictured)
Glittery CD Ornament from Happy Hooligans (pictured)
Cupcake Liner Christmas Tree Ornament for Kids from Raising Little Superheroes
Sock Snowmen from I Heart Crafty Things (pictured)
Recycled Can Lid Snowman Ornament from Things to Share and Remember
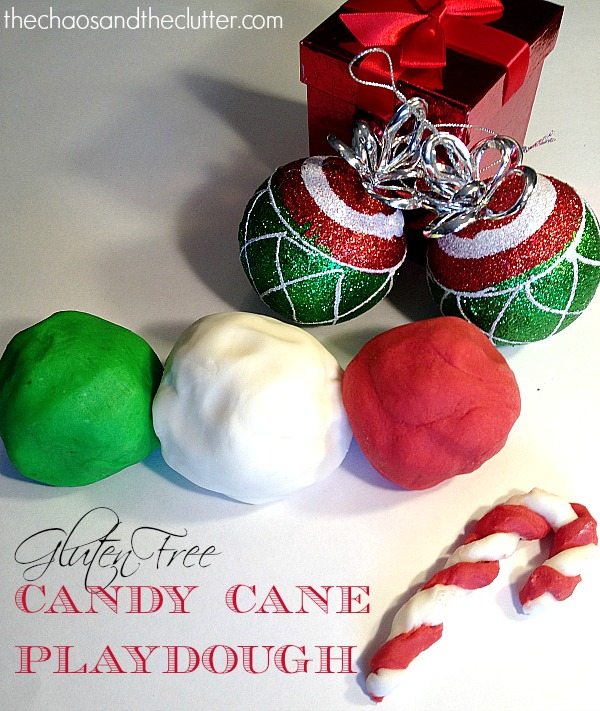
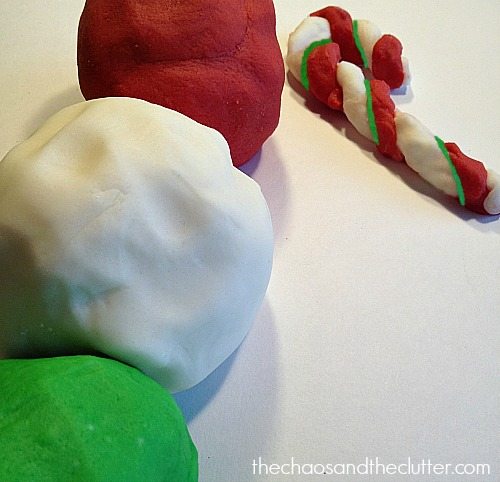 I only made one recipe and split it into three sections. I left one white, made one red and the other green. Between the colours and the peppermint scent, this dough is perfect for shaping into candy canes, candy sticks and holiday wreaths.
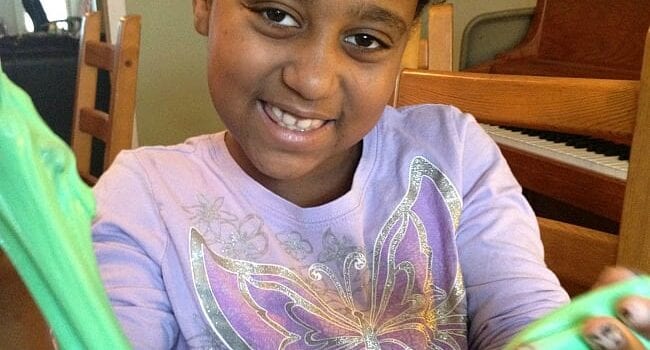
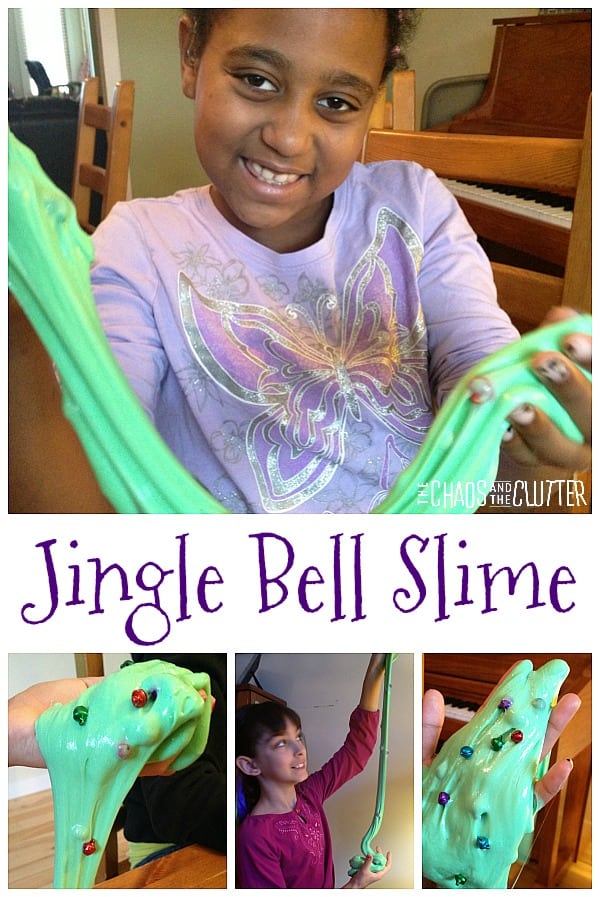 We love trying out all different kinds of slime recipes. When I came up with the idea to make holiday theme slime, the kids were all in!
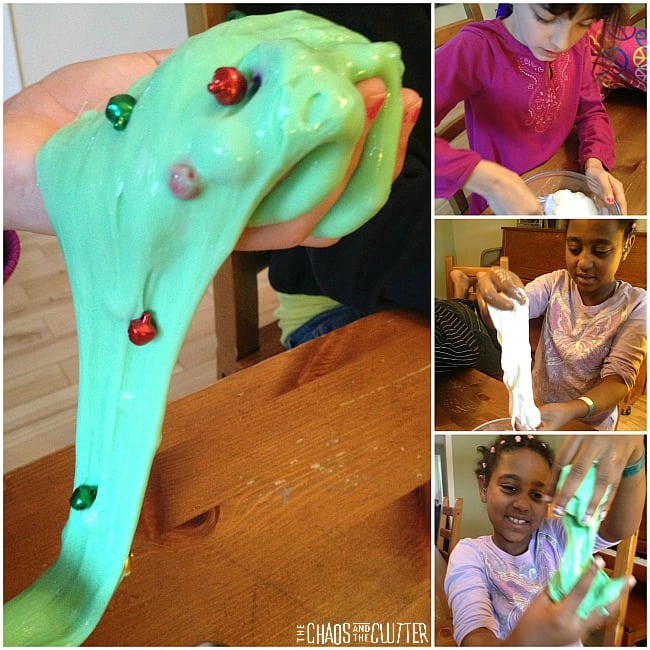 Pour the glue into a bowl. Add some drops of green food colouring and mix it well. With slime, I like to use wide craft sticks for mixing so that I can throw them out after.
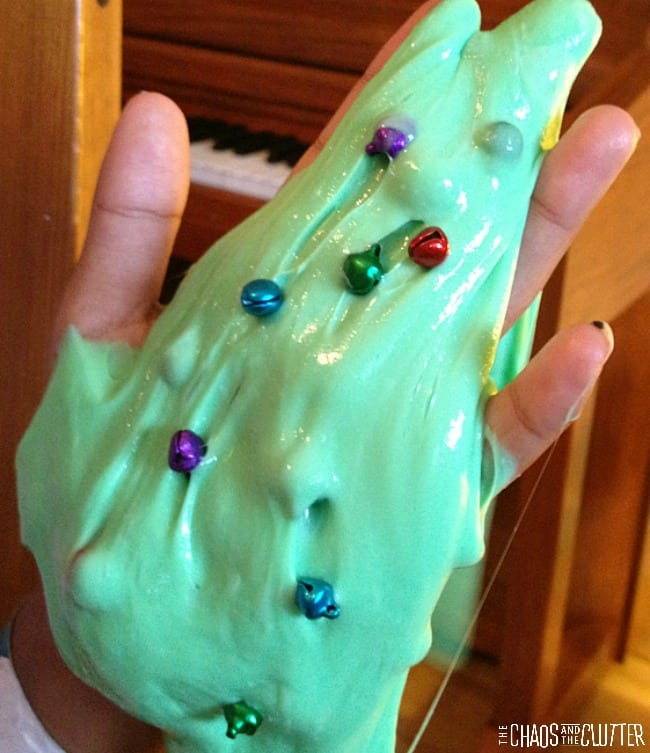 It adds a bit of difference and texture interest if you use different sizes of jingle bells.