This is a simple science experiment to do with items you likely already have in your kitchen. Our daughter wanted to do her Science Fair project on melting ice. She was curious about what would make ice melt faster.
 I thought it would be an easy at home science experiment that wouldn’t take too much planning or prep on my part, but be cool for the kids. It was pretty fascinating actually!
Melting Ice Science Experiment:
Supplies needed:
- small Dixie cups or mini Solo cups
- water
- scissors
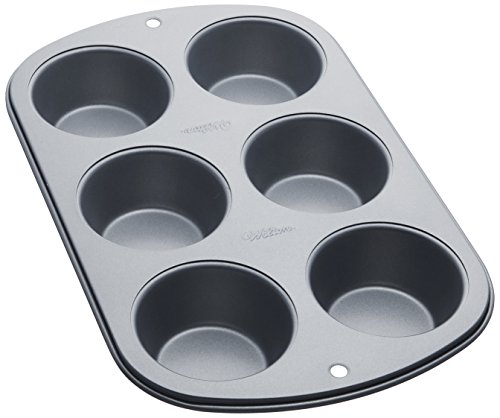
- 6 compartment muffin tin
- salt
- sugar
Directions:
- Before beginning the experiment, have students talk about what they expect the results to be. Ask them what variable will melt the ice fastest. If you want, you can have them write down their hypothesis.
- Fill 6 small Dixie cups or mini Solo cups with water. Place the cups on a baking tray and place the tray in the freezer.
- Freeze overnight.
- Cut the frozen water out of the paper cups (adult help may be required for this step). If using Solo cups, you won’t need scissors as you should be able to just pop the ice out.
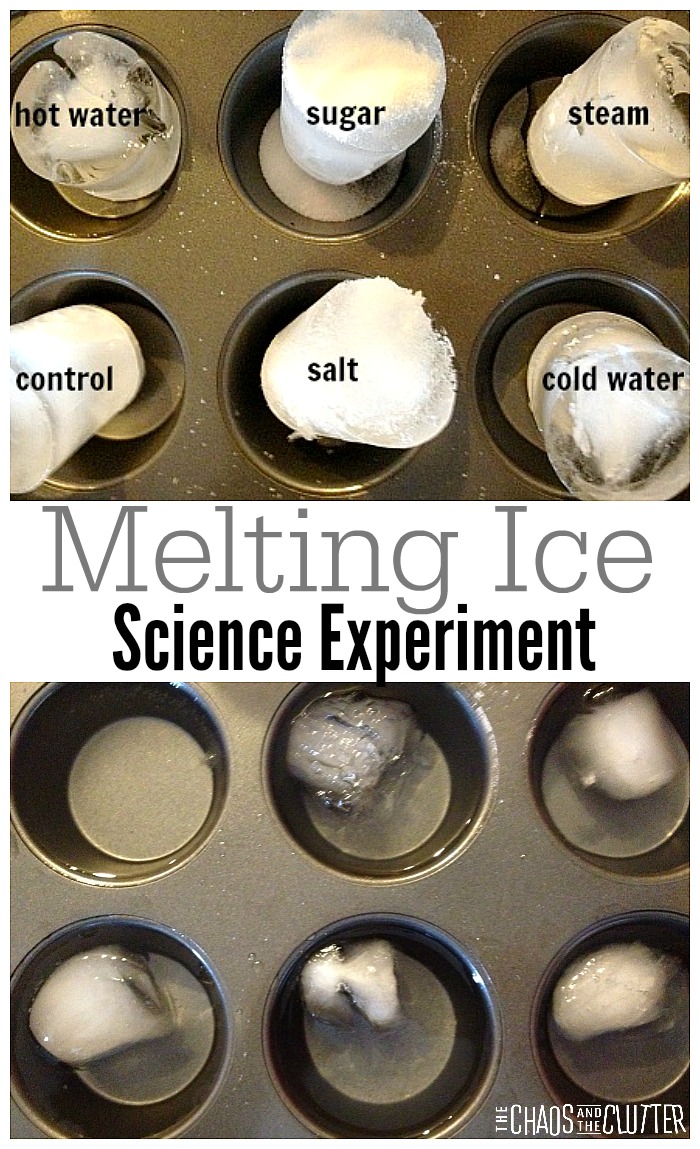
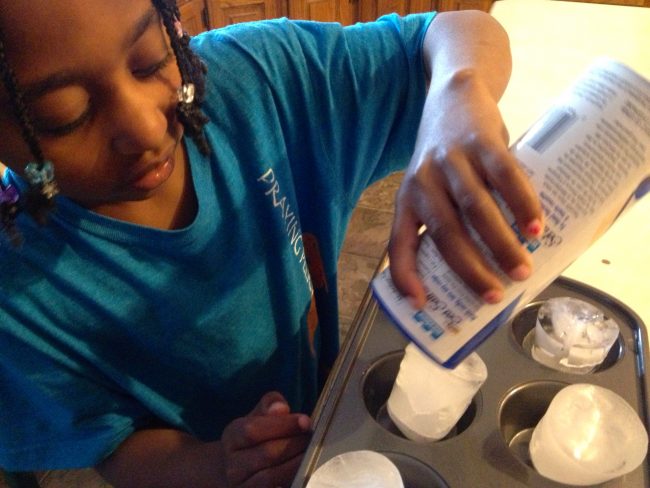
- Place one ice cup in each of the compartments in the muffin tin. Pour hot water on one, cold water on another, steam on another, salt on another, and sugar on another.* Leave one alone so that it can act as the control.
*Adult supervision is important, particularly with the steam and hot water.
Students can document the progress through taking pictures or journalling observations at one minute, five minutes, half an hour, and one hour after adding the variables.
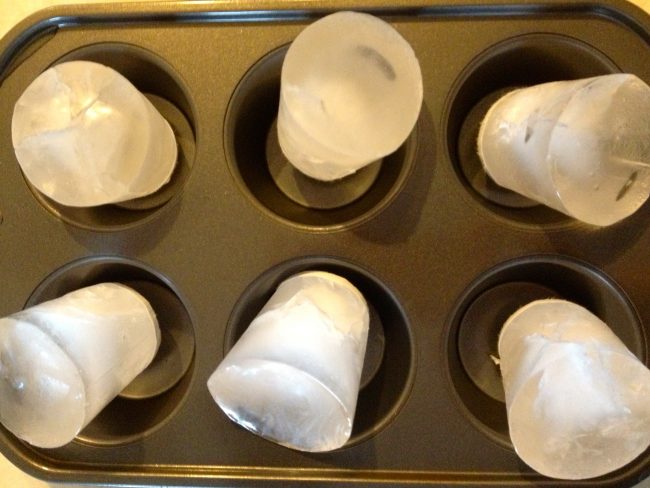
Here is a picture before we added anything to the ice:
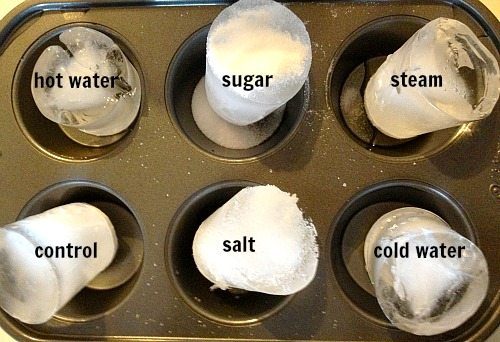
 This is immediately after adding the variables to the ice:
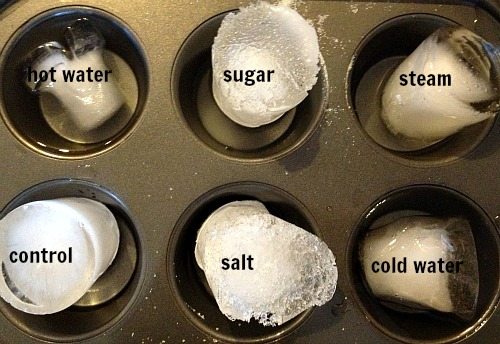
 Here is the ice after just five minutes:
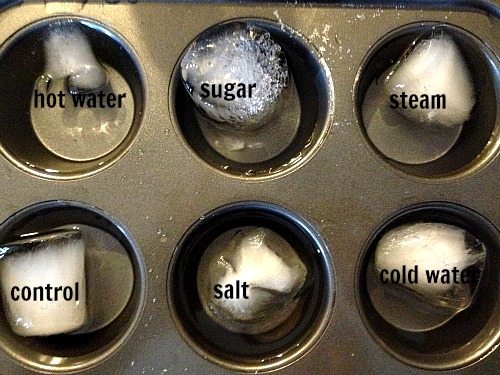
 This is after half an hour:
 Here is what our ice looked like after one hour:
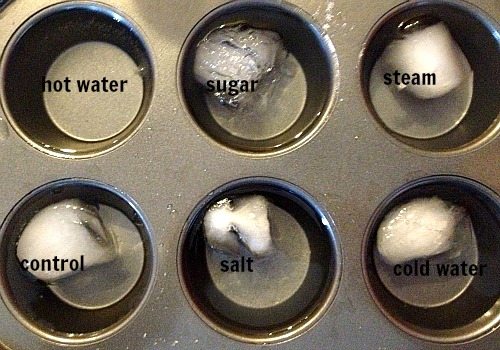 As you can see, the control did melt slower than any of the others. Hot water melted the ice the fastest.
Dixie Cups Wilton 6 Cup Regular Muffin PanMorton Morton Salt

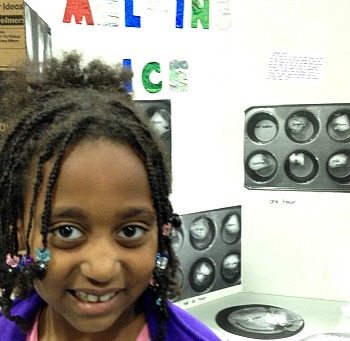
Our daughter dictated to me what she had observed during the experiment and we included that as well as a picture she drew of the process and the photographs on her display board for the Science Fair. She loved presenting and explaining her findings to the judges.
Here are some other simple science experiments using common household items that you may enjoy doing at home or in the classroom:
 How Fold Mountains are Made
 10 Jello Science Experiments