• Skip to primary navigation
  • Skip to main content
  • Skip to primary sidebar
  • Home
  • About
  • Contact
  • Privacy + Terms
  • Affiliates

The Chaos and the Clutter

  • Facebook
  • Twitter
  • Pinterest
  • Google Plus
  • RSS
  • Email
  • School at Home
  • Sensory
    • Sensory Processing Disorder
    • Awesome Sensory Play Activities
      • Sensory Bins
      • Sensory Bottles
      • Sensory Bags
  • Family Games
    • Minute to Win It Games
  • Special Needs Parenting
    • Childhood Anxiety
    • Reactive Attachment Disorder
    • Sensory Processing Disorder
  • Store
  • Course Login

Archives for 2011

Condensed Milk Edible Paint

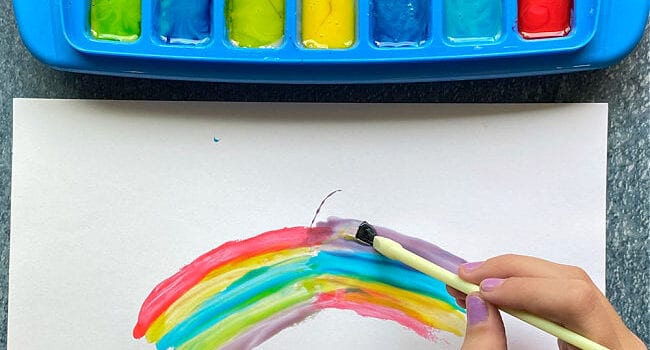
ice cube tray with paint while a hand paints a rainbow with a yellow brush

By Sharla Kostelyk

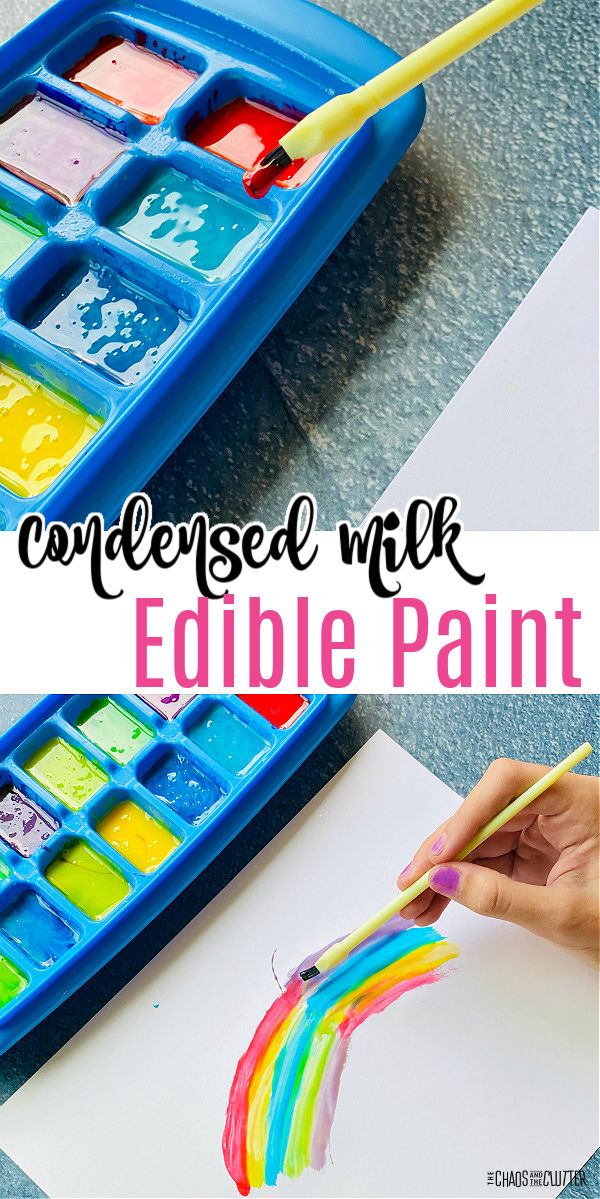
We had so much fun with this condensed milk painting. The edible paint produces beautiful glossy art. Your kids will love the end results and the process to get there!yellow paintbrush dipped in red paint in ice cube tray as a rainbow is painted below. Text reads "Condensed Milk Edible Paint"Condensed milk paint was something I stumbled upon. A week or so ago, I opened up a can of condensed milk for a recipe only to discover that the recipe actually called for evaporated milk!
This left me with an opened can of condensed milk sitting in my fridge. I was going to just throw it out until I came across an idea to do condensed milk painting!

Making this edible paint is so easy.

Condensed Milk Edible Paint Recipe:

  • 300 mL or 415 mL can sweetened condensed milk (10 – 14 oz.)
  • food colouring
  • ice cube tray
  • toothpicks (optional)
  1. Fill an ice cube tray with condensed milk.
  2. Add one or two drops of food colouring in each cube.
  3. Use toothpicks to stir them.
  4. The paint is now ready to use.
  5. Use paintbrushes (or fingers) to paint on paper. You can use regular paper, card stock, or finger paint paper.
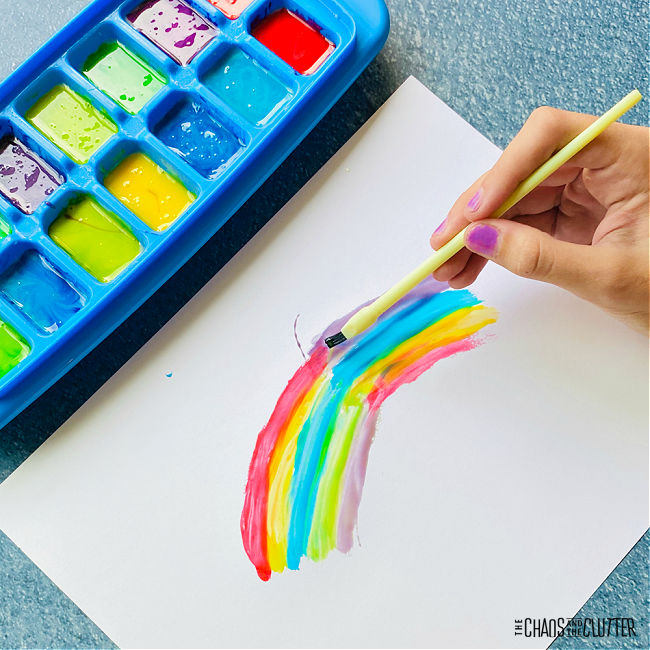
a blue ice cube tray is filled with paint colours and a rainbow is being painted on a white paper

This edible paint recipe is included in the Sensory Play Recipes eBook. You’ll find so many easy sensory ideas inside. You can get a free sample using the form below.

My kids really enjoyed using this paint to create pictures. The pictures turned out so well. The paint gave a shiny, glossy finish. The kids were really pleased with the cool effect of that.

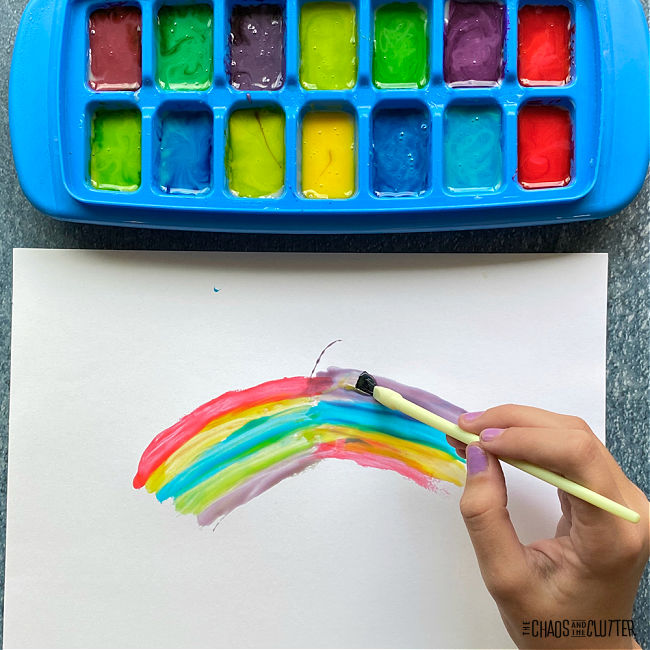
Even after the paint dries, it maintains its shiny look.ice cube tray with paint while a hand paints a rainbow with a yellow brush
Each of the kids wanted to try tasting the paint. Snuggle Puppy ate almost as much as he painted with! Condensed milk painting is a simple sensory activity. It engages the visual, tactile and gustatory (taste) sensory systems.
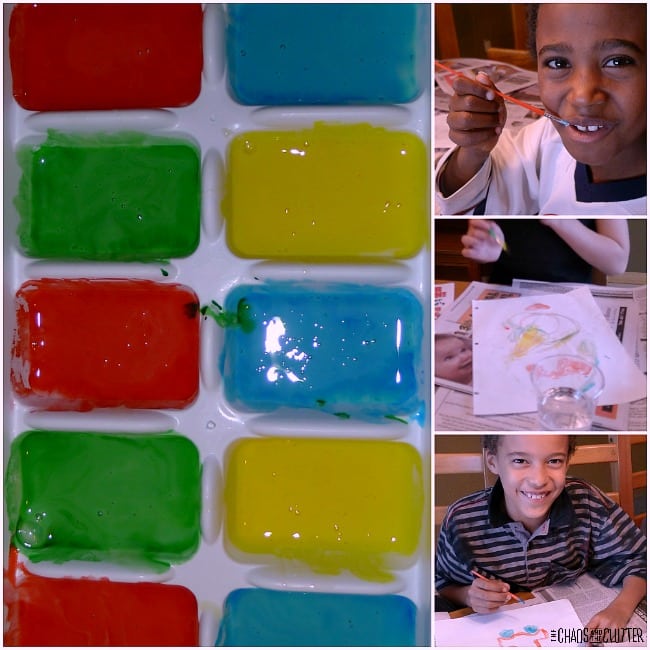
I love suggesting this activity to other moms because most people already have the ingredients needed in their kitchens. This makes it an easy last minute or rainy day activity.

Because it is taste-safe, condensed milk paint is also great for toddlers and even babies to play with. It can also be used as finger paint.

Other easy homemade sensory recipes you might want to check out:
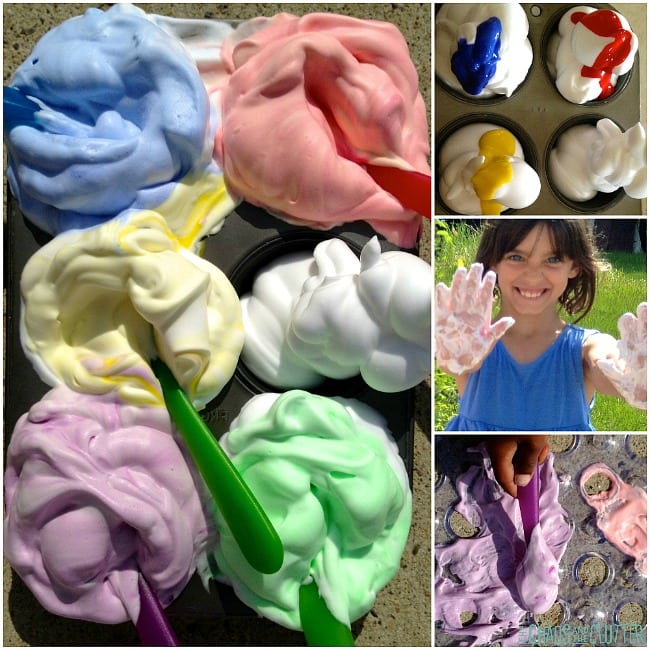
Shaving Cream Painting Lavender Scented Bubbles 

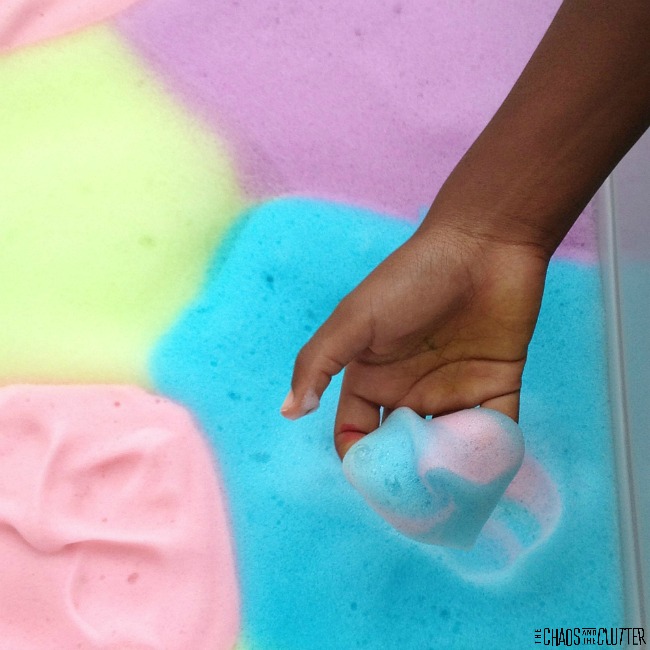
Soap Foama black child's hand is reaching up from a bin of soap foam holding blue and pink soap foam. The bin contains areas of pink, blue, purple, and yellow soap foam.

Textured Butter Slime

Filed Under: Crafts and Activities, Sensory Tagged With: sensory play

Workboxes and Activities for “A”

By Sharla Kostelyk

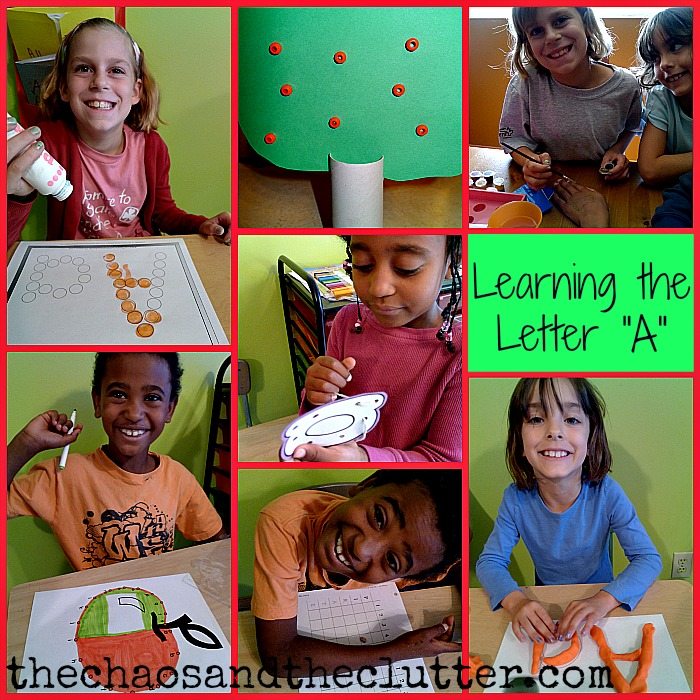
Learning the Letter AWhat better way to start learning the alphabet than at the beginning?!These toilet paper tube apple trees are so easy to make. I made slits in toilet paper rolls and the kids were able to slip their green tree formed card stock into it after they had glued on red beads. Cute and super easy!
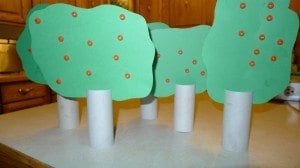
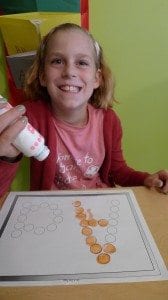
The Do a Dot in the picture, the apple sizing, and the Aa lacing activity are from the Letter of the Week Curriculum at Confessions of a Homeschooler.
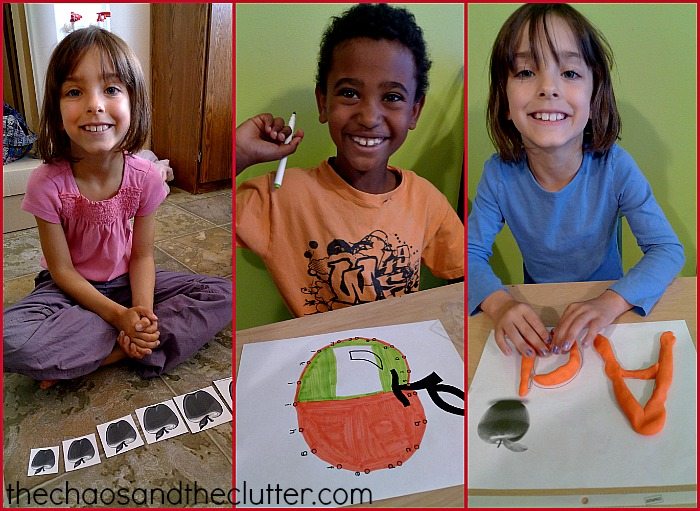
apple activitiesThe playdough mat is from Homeschool Creations and I printed them for every letter. I love how they incorporate the picture (phonics, spelling) and the sensory aspect. We also used a letter A word search, an “A is for Astronaut” Do a Dot, many of the other activities from the Letter of the Week curriculum, and we did some apple picking.

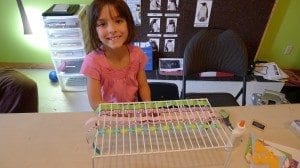
A completely unrelated to “Aa” workbox activity that was the hands down favourite of the week was ribbon weaving. Using a dish divider from the cupboard, the kids wove ribbon through the slits.

Filed Under: Crafts and Activities, Homeschooling

Penguin Sensory Bin

Penguin Sensory Bin

By Sharla Kostelyk

Since we are studying penguins right now, it seemed only fitting that we make a penguin sensory bin this week.  Also, Granola Girl has been crazy about penguins for years now. She is obsessed!

This sensory bin was the easiest one to make to date and the least expensive. I only used things I already had in the house.

Penguin Sensory Bin

Penguin Sensory Bin:

Materials:

  • cotton balls
  • penguin TOOB
  • penguin puppet
  • stuffed penguin

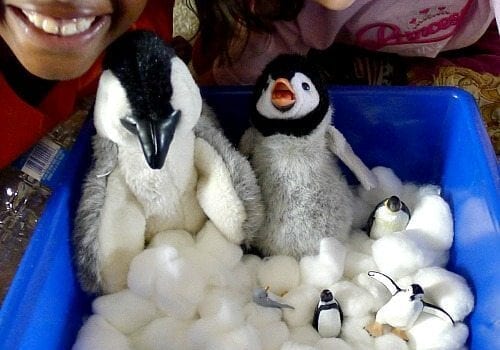
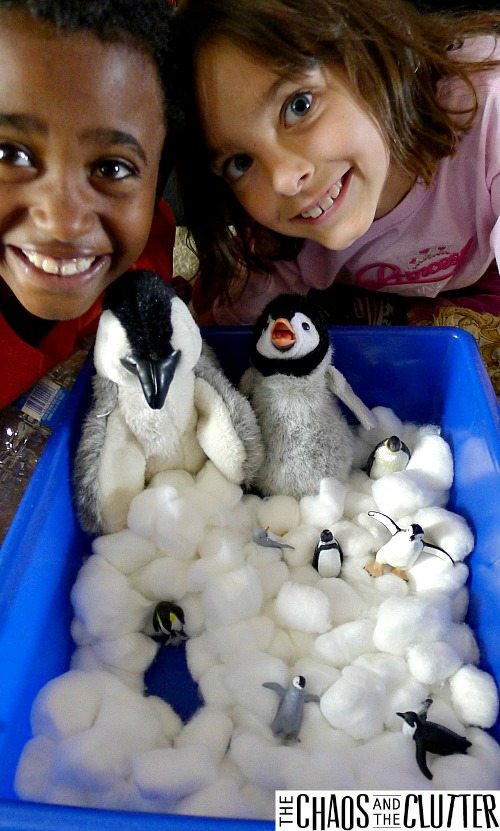
I used a blue tub so that it would look like water. I filled it with a bag of cotton balls, creating one hole in the cotton balls for a swimming area for the penguins. Then I added some toy penguins from a Safari Penguin TOOB, a penguin puppet and one of Granola Girl’s stuffed penguins.

Even though this penguin sensory bin is about as simple as it gets, the kids got hours of play out of it. They created stories and even filled the puppet with cotton balls at one point. You just never know where their sensory play will take them!

The addition of the puppet gives extra opportunity for kids to create stories and use their imagination.

If you’re new to making sensory bins, this is a great one to get started with. It’s mess free. It’s easy to make and it’s super cute!

If you are looking for more sensory ideas or information, you may be interested in my book.

The Ultimate Guide to Sensory Bins

For more sensory ideas, grab a free sample of our Sensory Play Recipes eBook.

Filed Under: Crafts and Activities, Homeschooling, Sensory Bins

How We Use Workboxes in our Homeschool

By Sharla Kostelyk

This is our first year using workboxes and so far, the kids love it, I love it, and even though it does take more planning and preparation for me, it is worth it! Knowing that when they are done their workboxes, their schoolwork is over and they can go and play cuts down on the complaining and gives the kids a sense of control over their own learning.

I have found that using workboxes is a great way to keep the kids on task, keep myself organized and most importantly, to infuse more hands-on activities into our homeschooling.

How We Use Workboxes in Our Homeschool

How we use workboxes in our homeschool:

Using workboxes helps us to stay organized, allows the kids to know when their schoolwork is done, and gives me the opportunity to build more hands-on learning into our day.

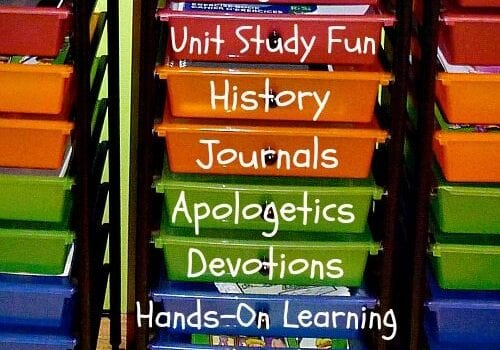
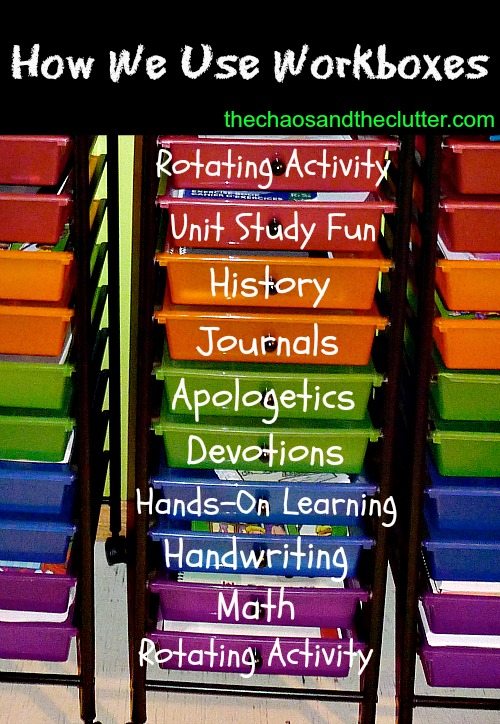
Each of the kids has a unit with ten drawers. I place one activity in each drawer for each of them at the end of the day so that they are ready for the following day. There are some things such as the sensory bin, auditory station, and unit study activities where only one child can participate each day, so I rotate those when I’m filling the bins each night.

To give you an example, this is a brief overview of some of what were in the workboxes this week as we worked on our Alphabet unit:

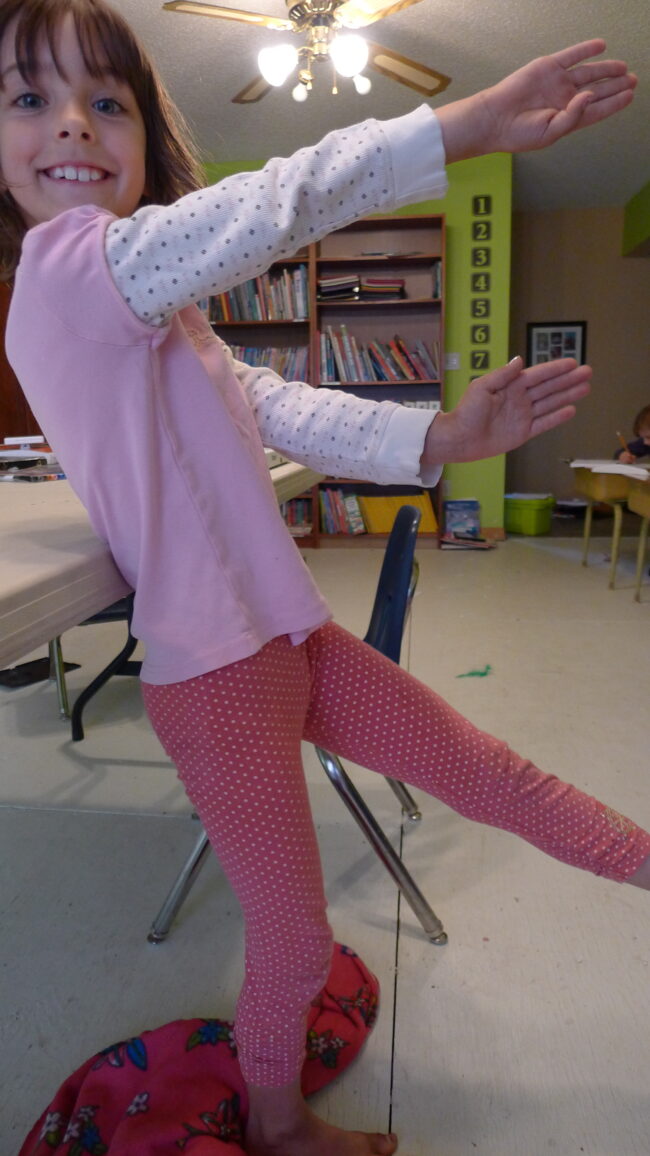
Granola Girl shaping her body into the letter “K”.  I found some great printable squares of activities such as “shape your body into each letter of the Alphabet”, “jump on the trampoline for 15 minutes”, “run around the house flapping your wings like a bird”, and “ride your bike for 10 minutes”.
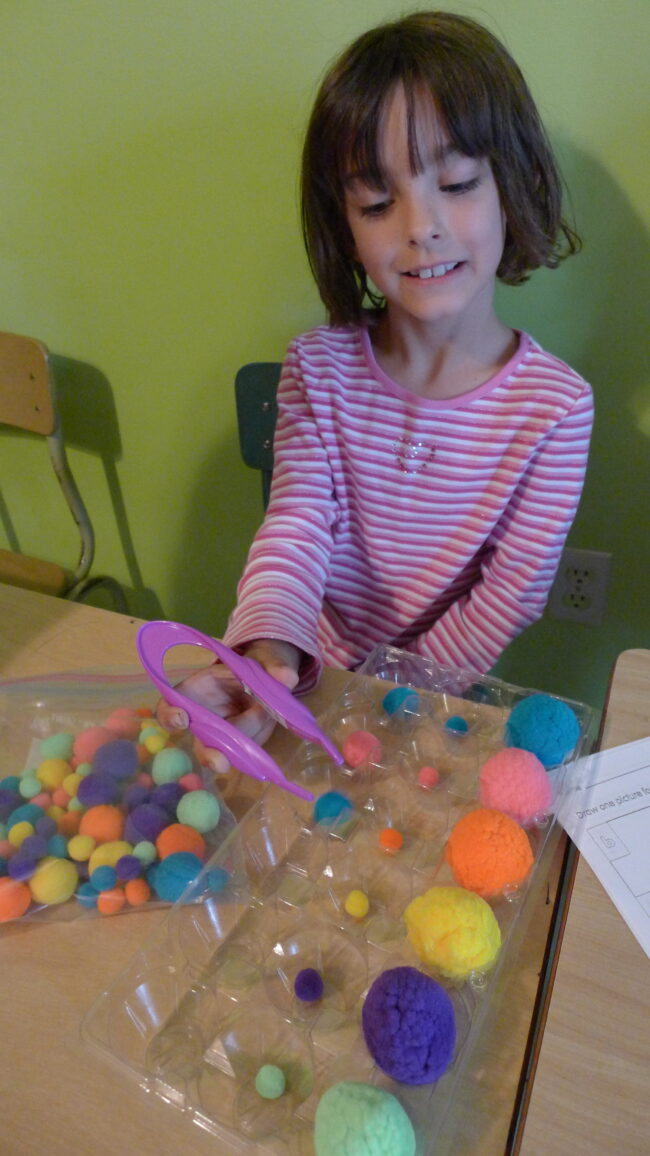
I found that adding in these active cards here and there in their workbox drawers boosted their energy level and gave them a bit of a break. You can read more about brain breaks and their importance (particularly for children with special needs or high energy) in the Ultimate Guide to Brain Breaks.

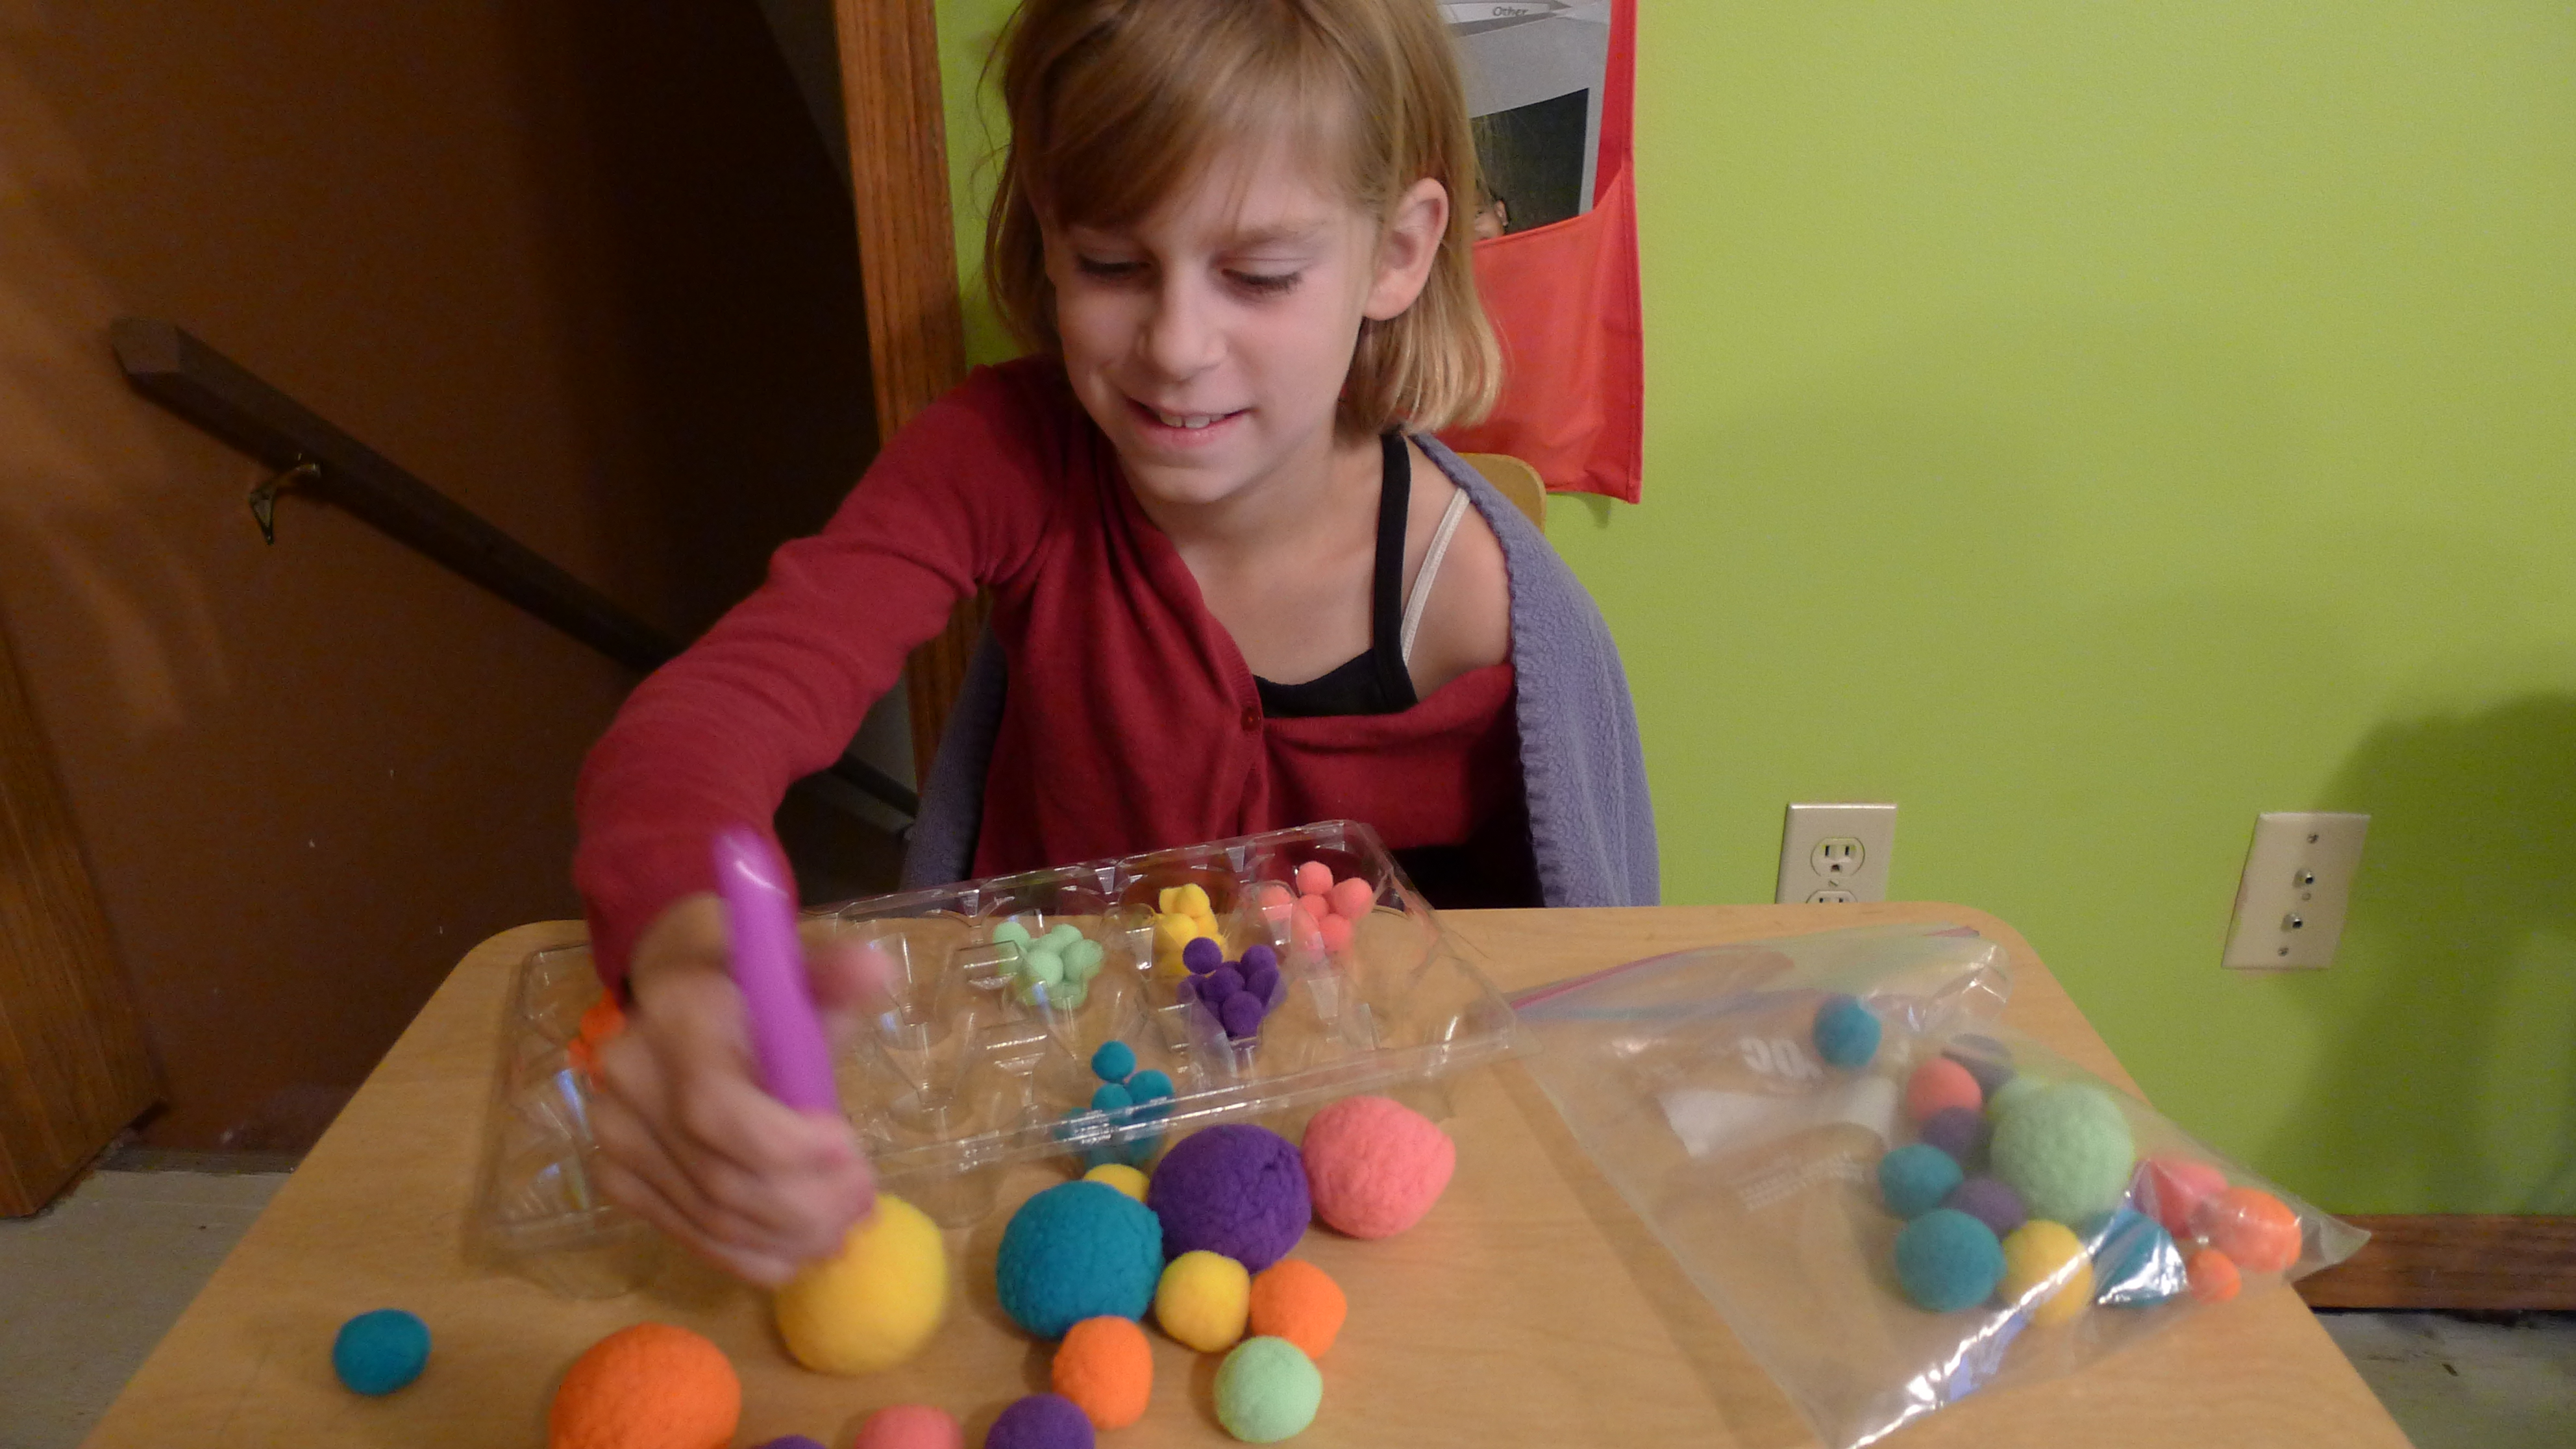
Pom pom sort – all that is needed is pom poms in various colours, an empty egg carton or ice cube tray, and tweezers, tongs, or chopsticks – this is fun and can reinforce learning about colours, patterns, and sizes.
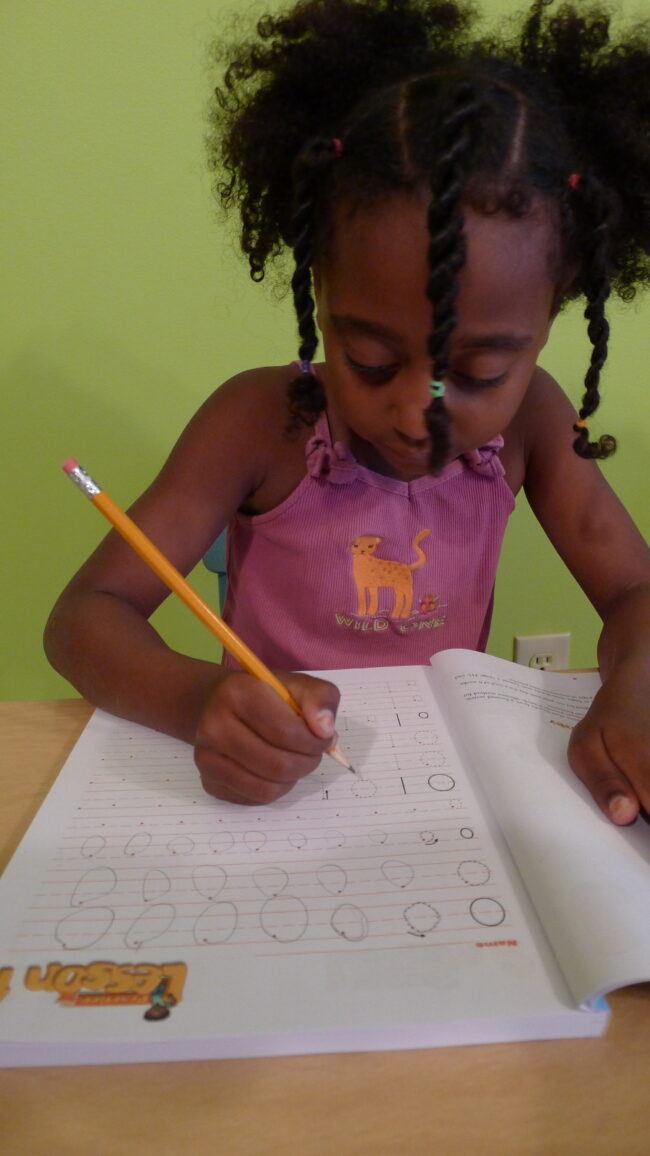
Dancing Queen working on her A Reason for Handwriting workbook.

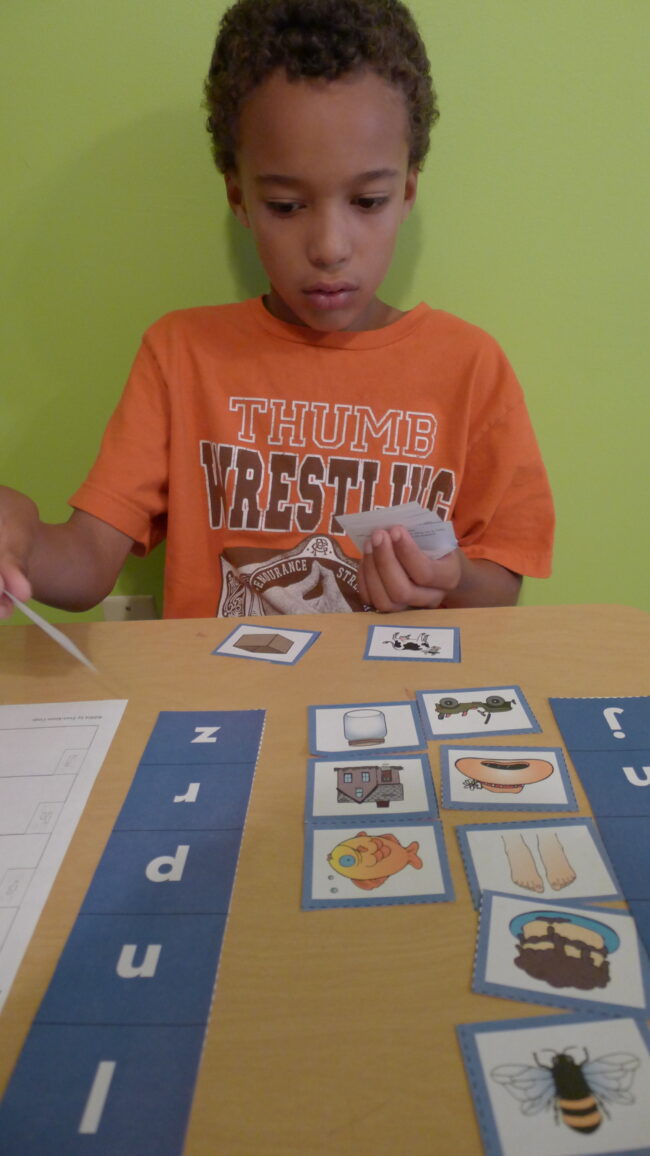
Einstein working on Beginning Sounds, an Evan Moor Take it to Your Seat Phonics Center
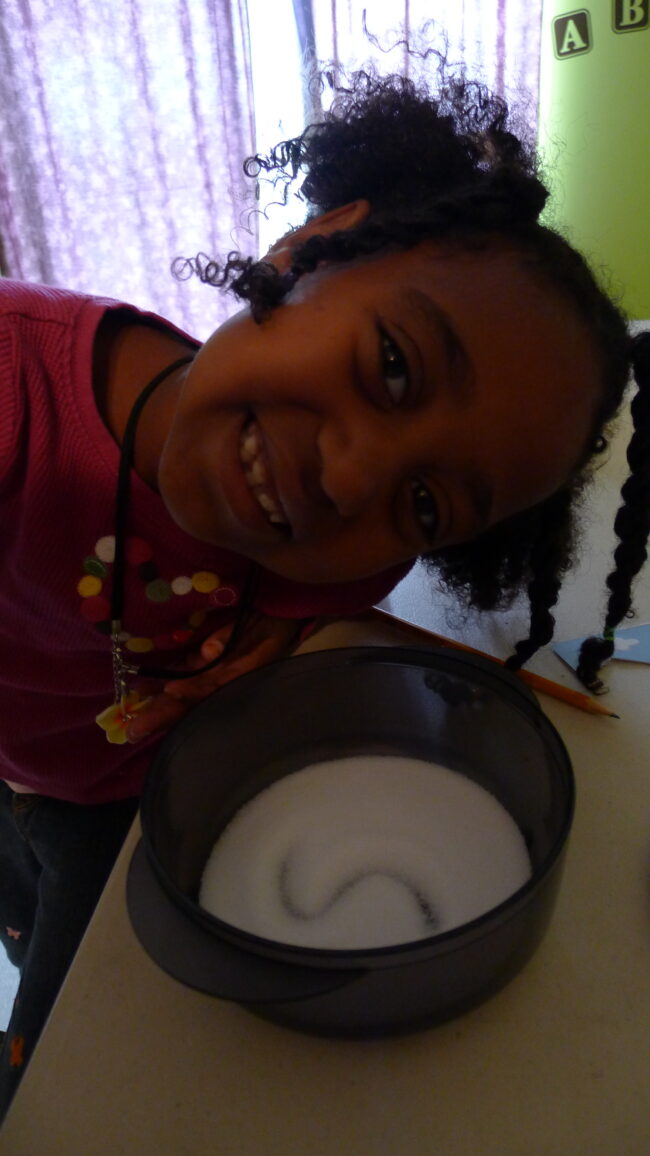
Salt Writing – this is so easy to make. I just put a layer of salt in the bottom of a black Tupperware container (it’s important that the bottom of the container is dark so that there is a contrast) and the kids could use their finger to shape a letter, give the container a shake, and then create another letter. It’s a great reinforcement activity and a good sensory activity as well.
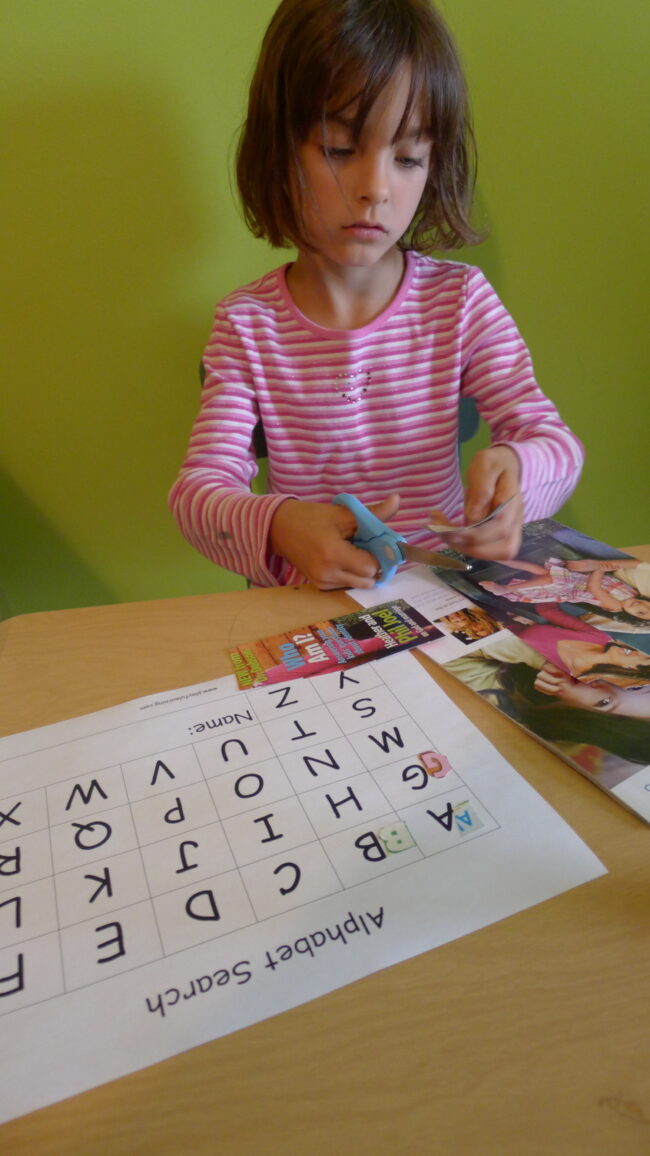
I loved this activity! It was perfect for our Alphabet theme! You can find this printable at www.playfulearning.com. I put it, along with a pair of scissors, a glue stick, and an old magazine in each of the kids’ workboxes. They then had to look through the magazines to try to find a match for each of the letters. There is one sheet for Uppercase letters and one for Lowercase letters.
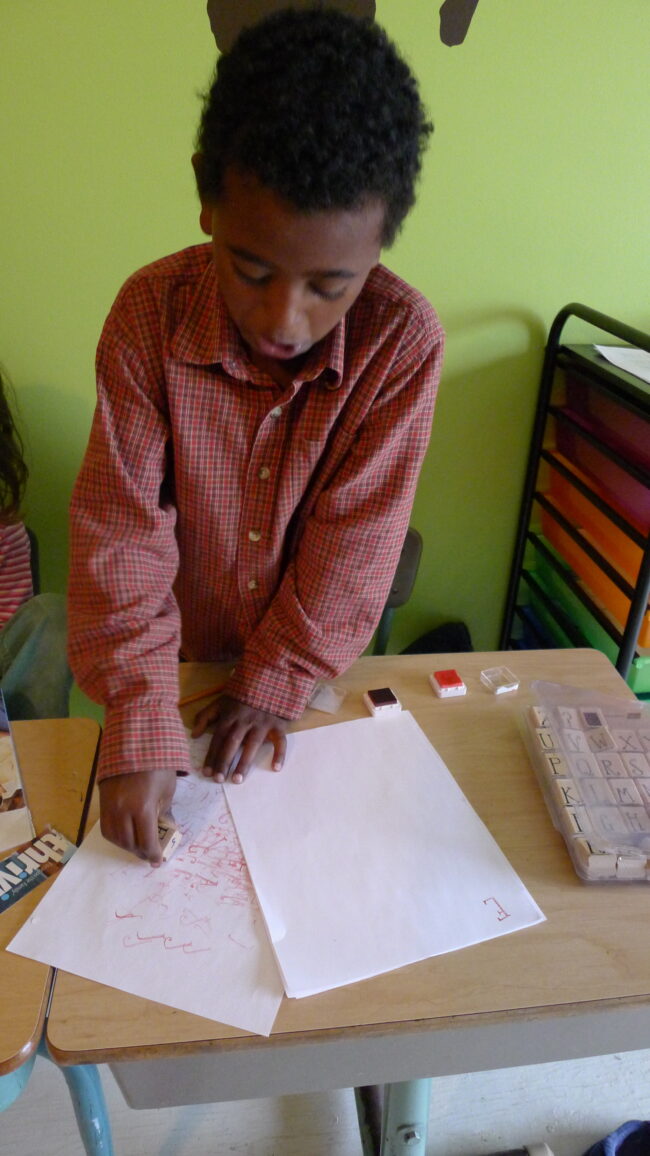
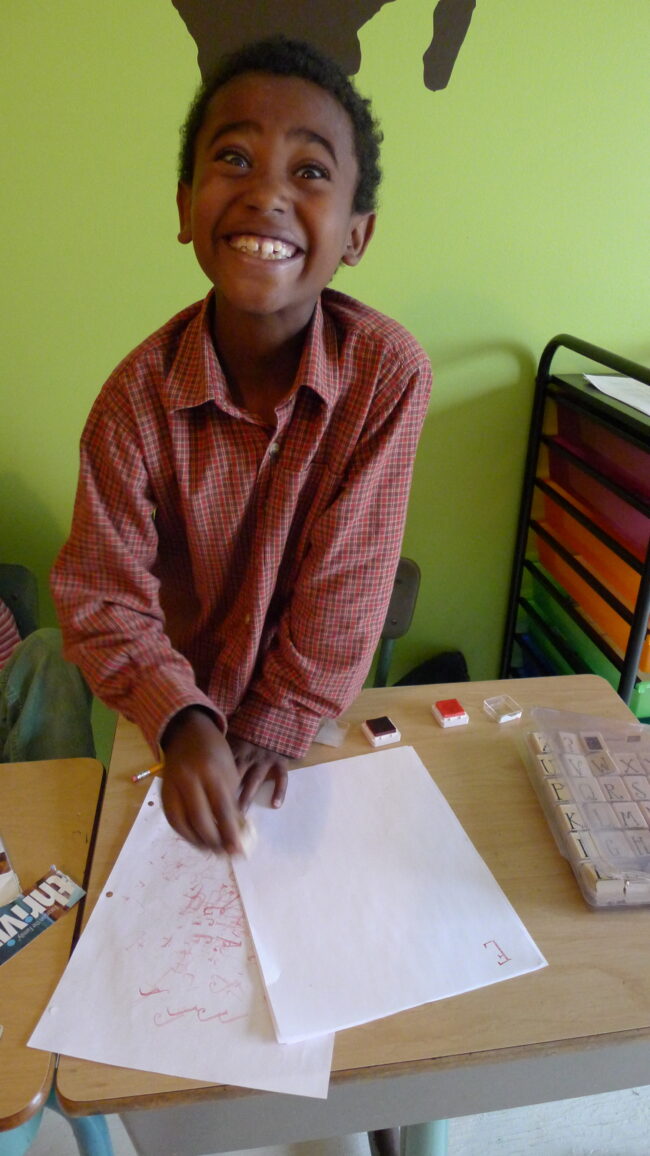
Snuggle Puppy enjoyed Alphabet Stamping!
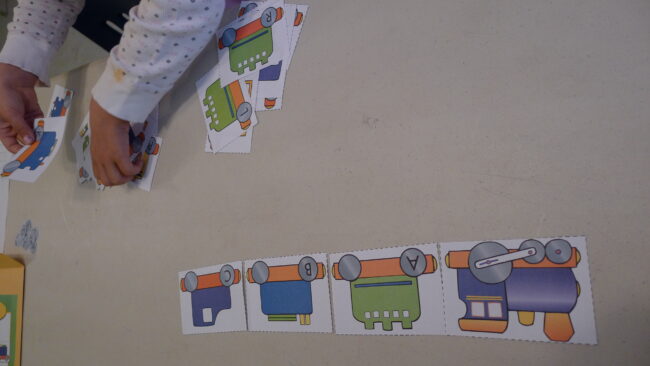
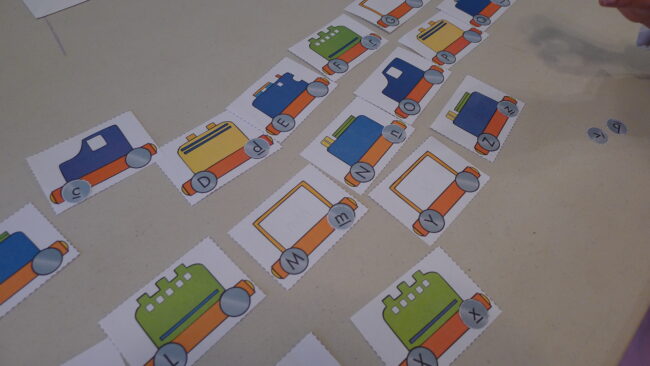
The Alphabet Train was another activity from Evan Moor. The kids had to line up the train and then match the lowercase letter wheel to the correct train car. There is also a correlating worksheet.
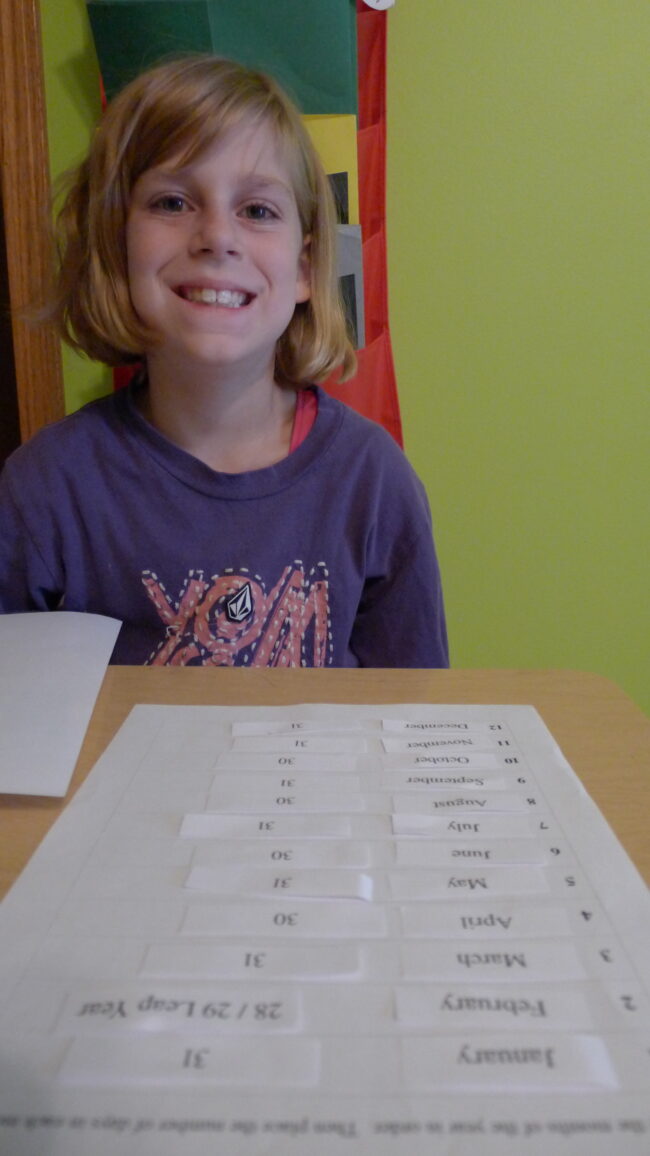
This Months of the Year activity enabled the kids to put the months in order and then add the corresponding number of days in the month.
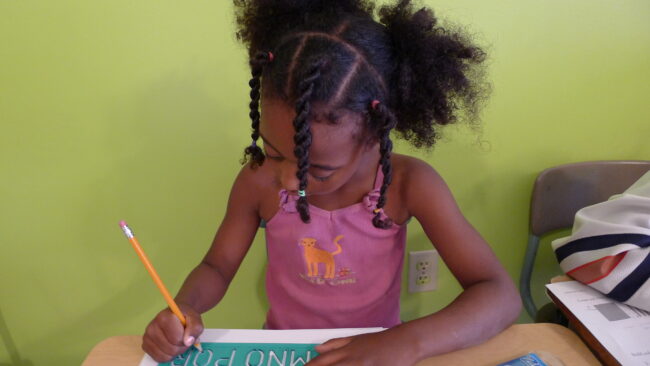
Several types of Alphabet Stencils along with paper kept Dancing Queen occupied for a time.
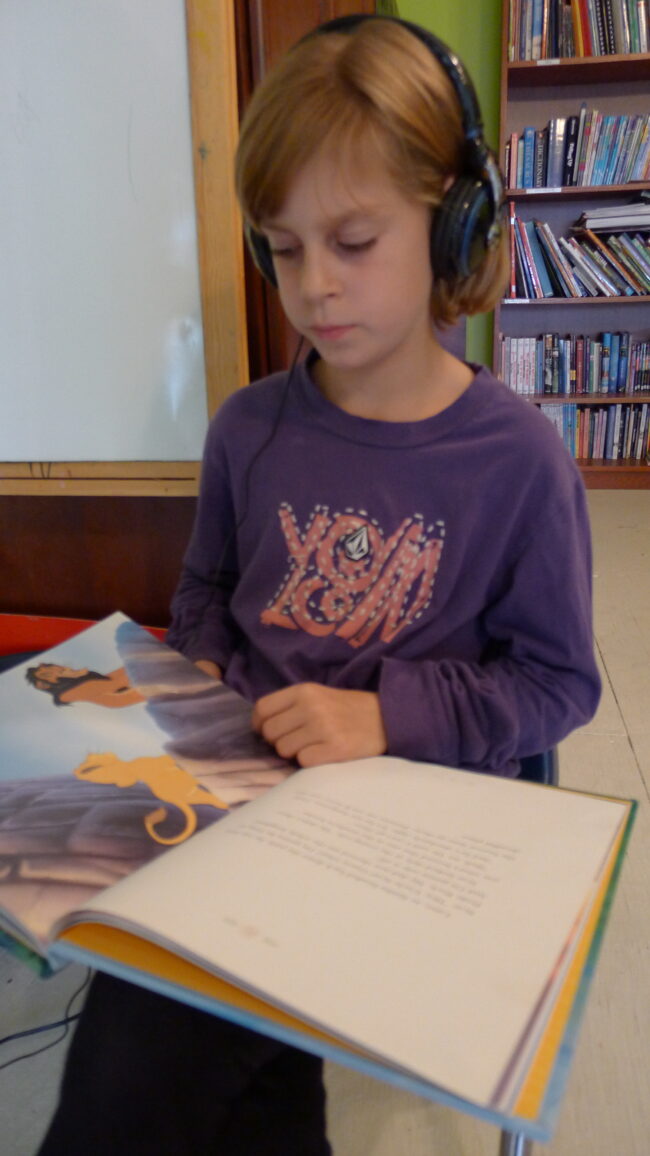
One of the biggest successes was the auditory station I set up with a CD player and pair of headphones. I rotated three audios in the bins for this week, a Lion King book with CD, a CD with 3 Disney stories and corresponding books, and the Math U See Skip Counting CD. I can see that this will be a great addition to our homeschool classroom.
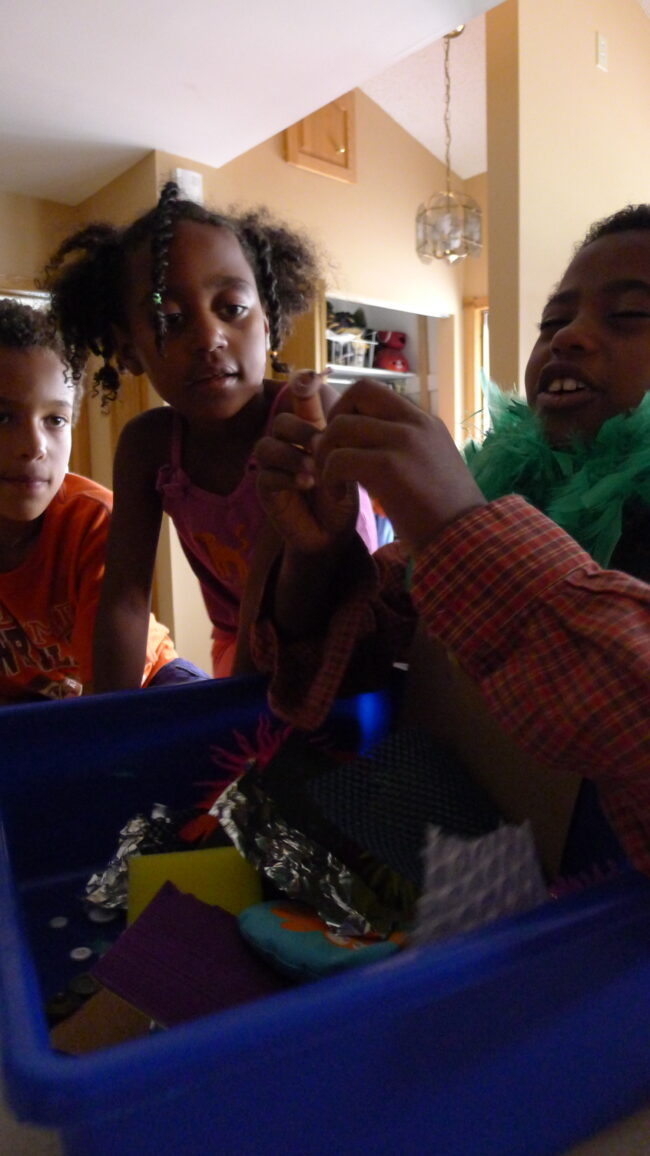
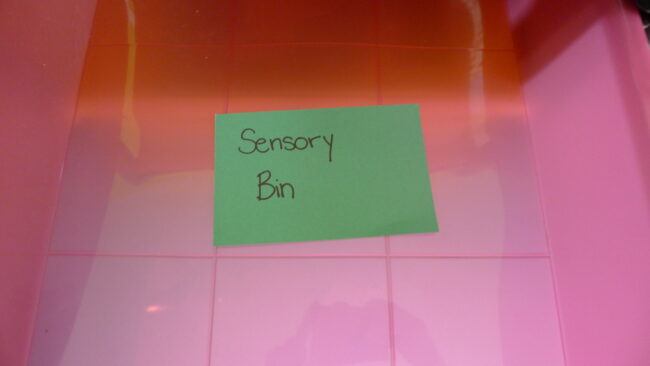
workboxes sensoryI made up a square on cardstock and wrote “Sensory Bin” on it and whichever child gets that card in one of their bins that day is able to go over and play in the sensory bin of the week for as long as they want to. That little card is a very coveted thing in our house at the moment! I am a bit surprised at how popular the sensory bins have been.
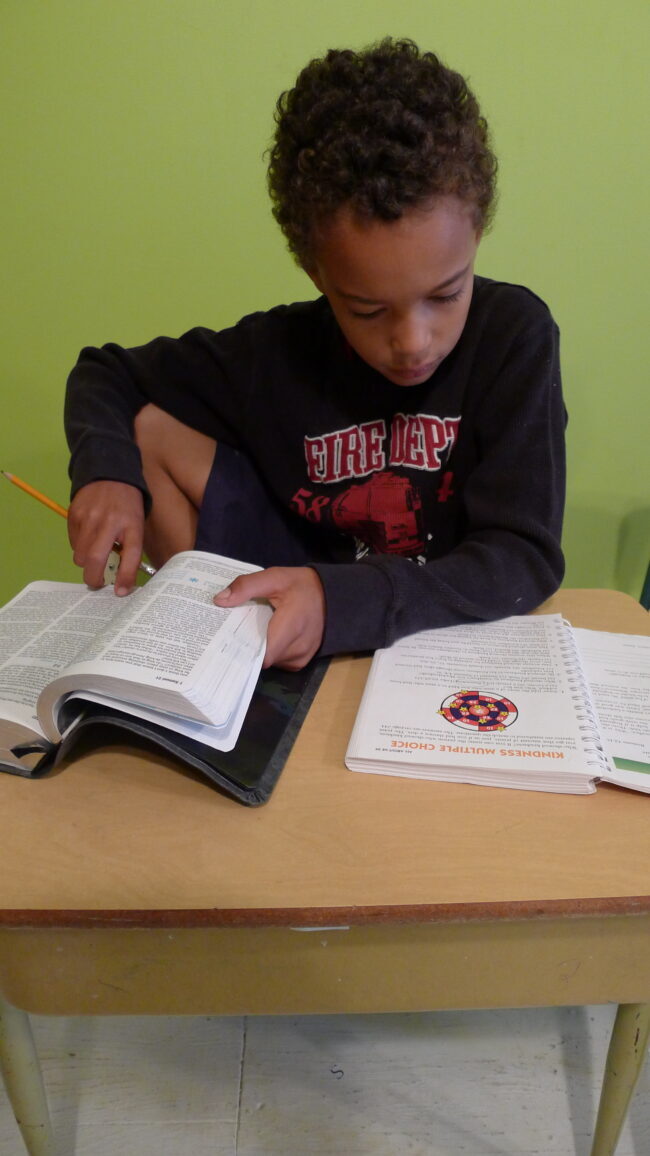
Einstein, working on his individual devotions.
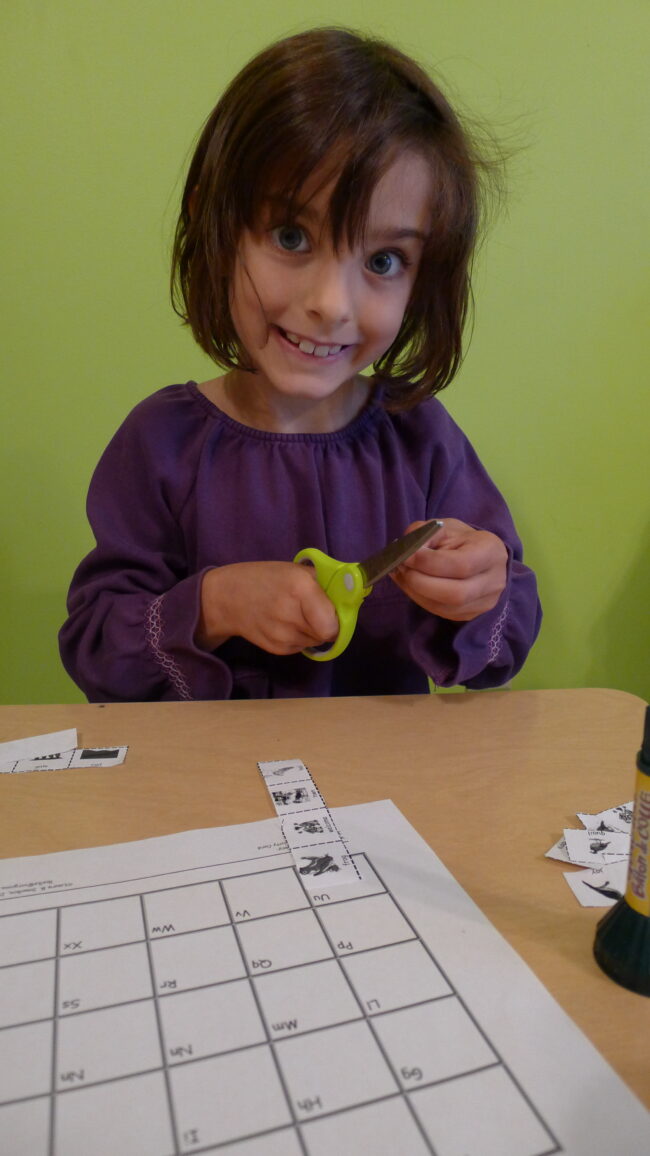
Granola Girl working on an Alphabet Activity card.
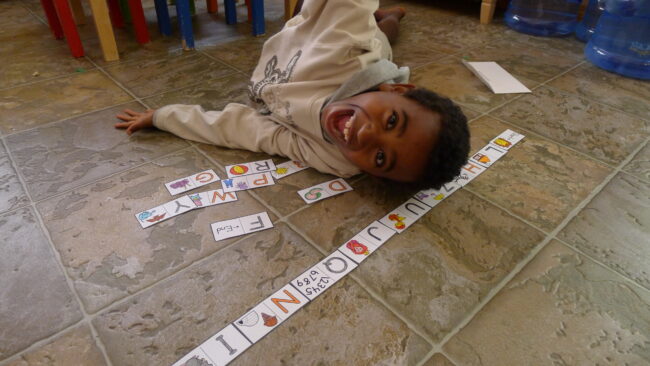
Snuggle Puppy obviously really liked the Alphabet Dominoes! I found these here and Miss Optimism helped me colour them and cut them out.
Some of the other things in this week’s workboxes:

  • penguin dot-to-dot
  • 4 steps to drawing a cat
  • Uppercase and Lowercase ABC Worksheet from www.ABCJesusLovesMe.com
  • activity sheets (map pages, colouring sheets, etc.) for Story of the World
  • my phone number is…worksheet from www.spelloutloud.com
  • mini books
  • Apologia notebooks
  • Math U See workbooks
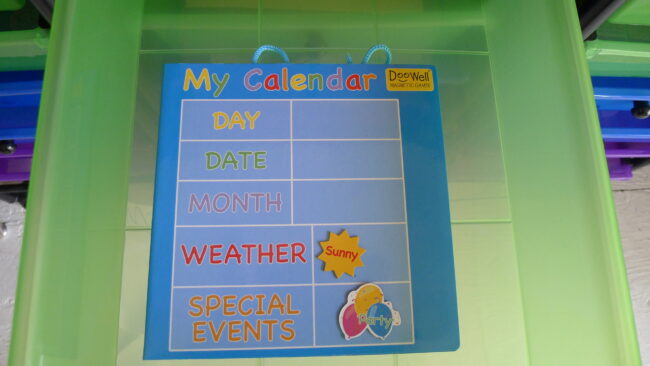
  • magnetic daily calendar

magnetic calendarThe workboxes really help the kids stay on task. I find them especially effective with my special needs kids as they like to know what will be coming next. I’ve made a little visual below to show some of the activities that we have included in the workboxes.
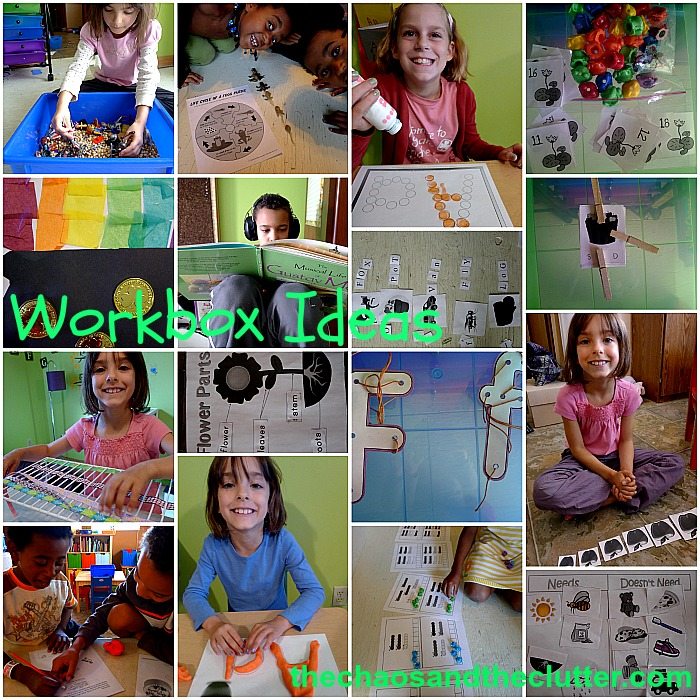
Workbox Ideas at The Chaos and The Clutter

Since I am homeschooling five of my kids and there are five days in a week, there are several activities such as the Sensory Bins card that rotate so that everyone gets them in their bin one day. Another example of rotating activities is the audio station. For the rotating activities, I also use a lot of learning centers for writing, reading, spelling, science, phonics, and math such as the Evan Moor ones and also file folder games.

Filed Under: Homeschooling

Bubble Painting!

By Sharla Kostelyk

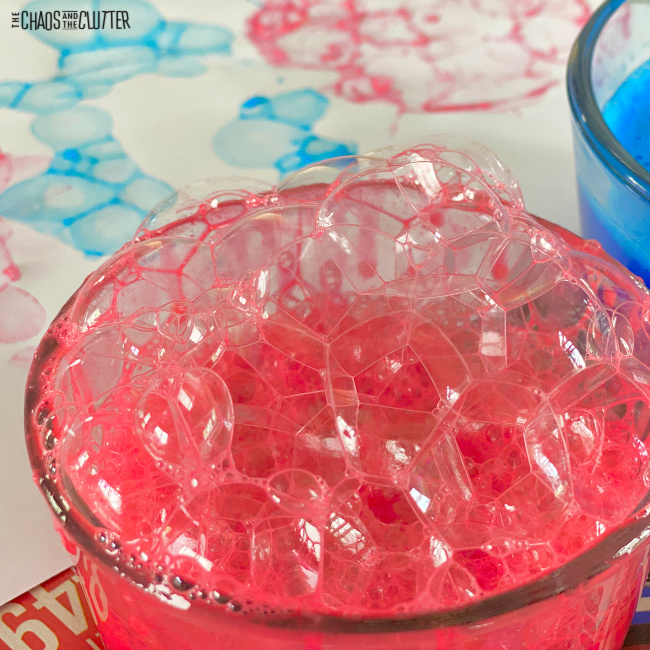
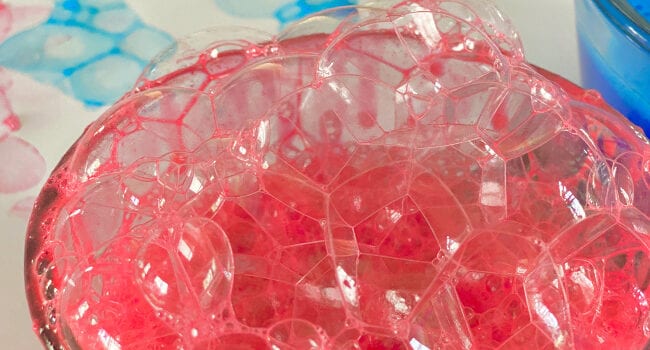
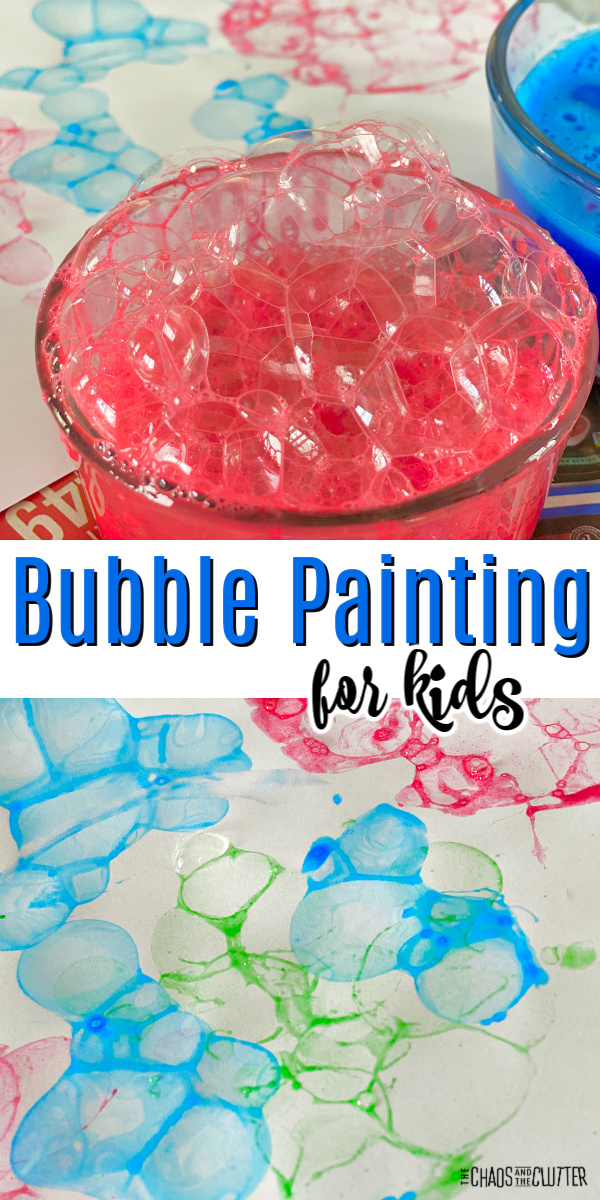
Bubble painting is something I’d been wanting to try for awhile, but it sounded complicated, so I wanted to wait for the right time. The right time came along one afternoon last week when only the girls were home. As it turns out, it was easy and I could have done it with all the kids!bowl of red bubbles and in the background, paper with coloured bubbles. Text reads "Bubble Painting for kids"

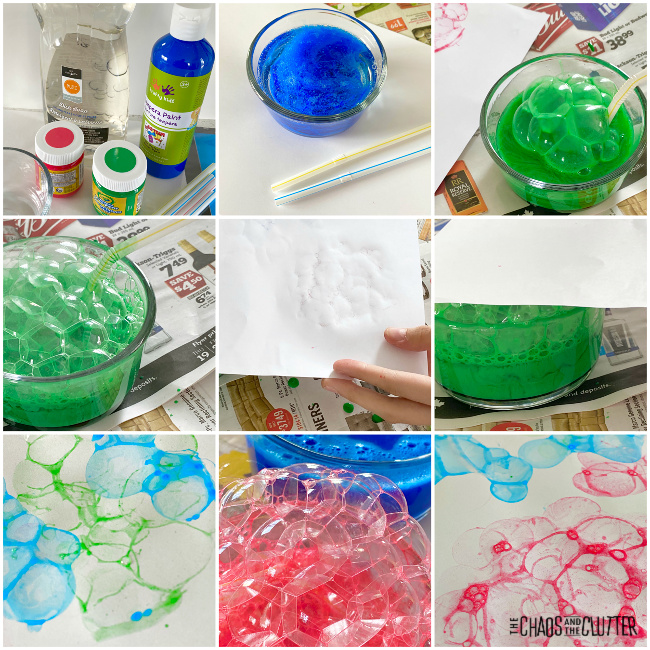
All you need are a few simple items. Most of them you may already have around the house. You can see in the video below how easy this project is to do.

Bubble Painting:

Supplies needed:

  • dish soap
  • washable tempera paint
  • straws
  • paper
  • newspaper or butcher paper 

Bubble Painting Recipe:

Use a ratio of 4 Tbsp. dish soap to 2 Tbsp. of the paint.

Directions:

  1. Put newspaper or butcher paper down on the table to protect it from mess.
  2. In shallow bowls, mix the dish soap with paint. Make up a separate mixture for each colour.
  3. Have your child blow bubbles in the paint mixture using a drinking straw until the bubbles are at the top of or above the bowl.
  4. Gently place a paper on top and allow the bubbles to pop before removing the paper. Do the same with other colours. The more coloured bubbles you create on the paper, the cooler the effect.
  5. Once the desired look is achieved, allow the paper to dry flat.

I was hoping that by using primary colours, we would also get some colour mixing, but even when overlapping, the colours don’t mix on the paper because the paint is so thin with it being created with a bubble.
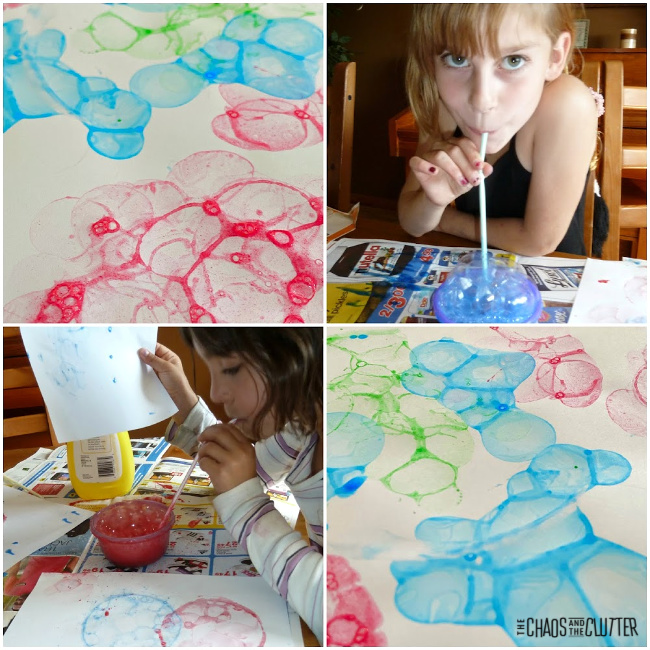
This was a fun and easy craft and used household items. It’s an inexpensive art project for kids. I wish we had done it sooner and I am sure that we will do it again soon because the boys want to try!There were lots of giggles while the girls were blowing the bubbles. This project incorporates visual, tactile, proprioception, and gustatory (oral) sensory input. 
As for all kids’ activities, adult supervision should be used.  

Join me for a free 5 part email series Sensory Solutions and Activities and get a sample of our Sensory Play Recipes eBook. 

Check out some of our other sensory play activities for kids:

Rainbow Soap Foama black child's hand is reaching up from a bin of soap foam holding blue and pink soap foam. The bin contains areas of pink, blue, purple, and yellow soap foam.

How to Make Coloured Moon Dough

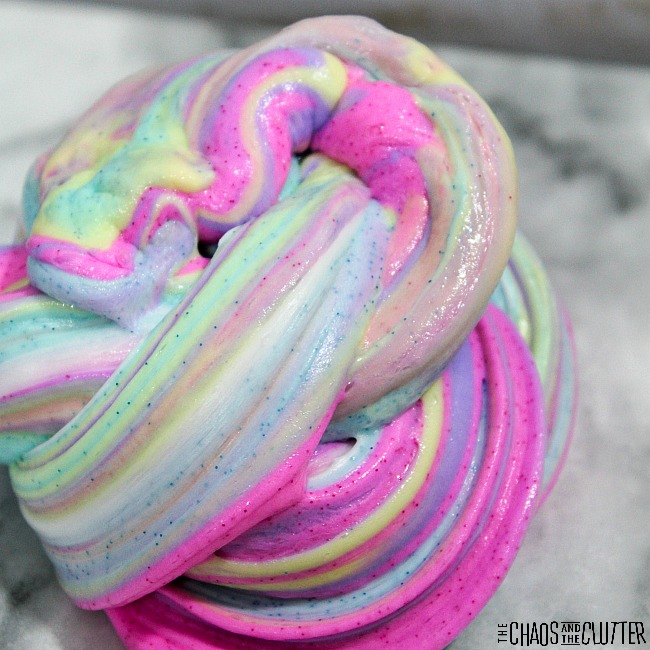
Unicorn Fluffy Slime

Filed Under: Crafts and Activities Tagged With: sensory play

Dollar Store Sensory Bin

By Sharla Kostelyk

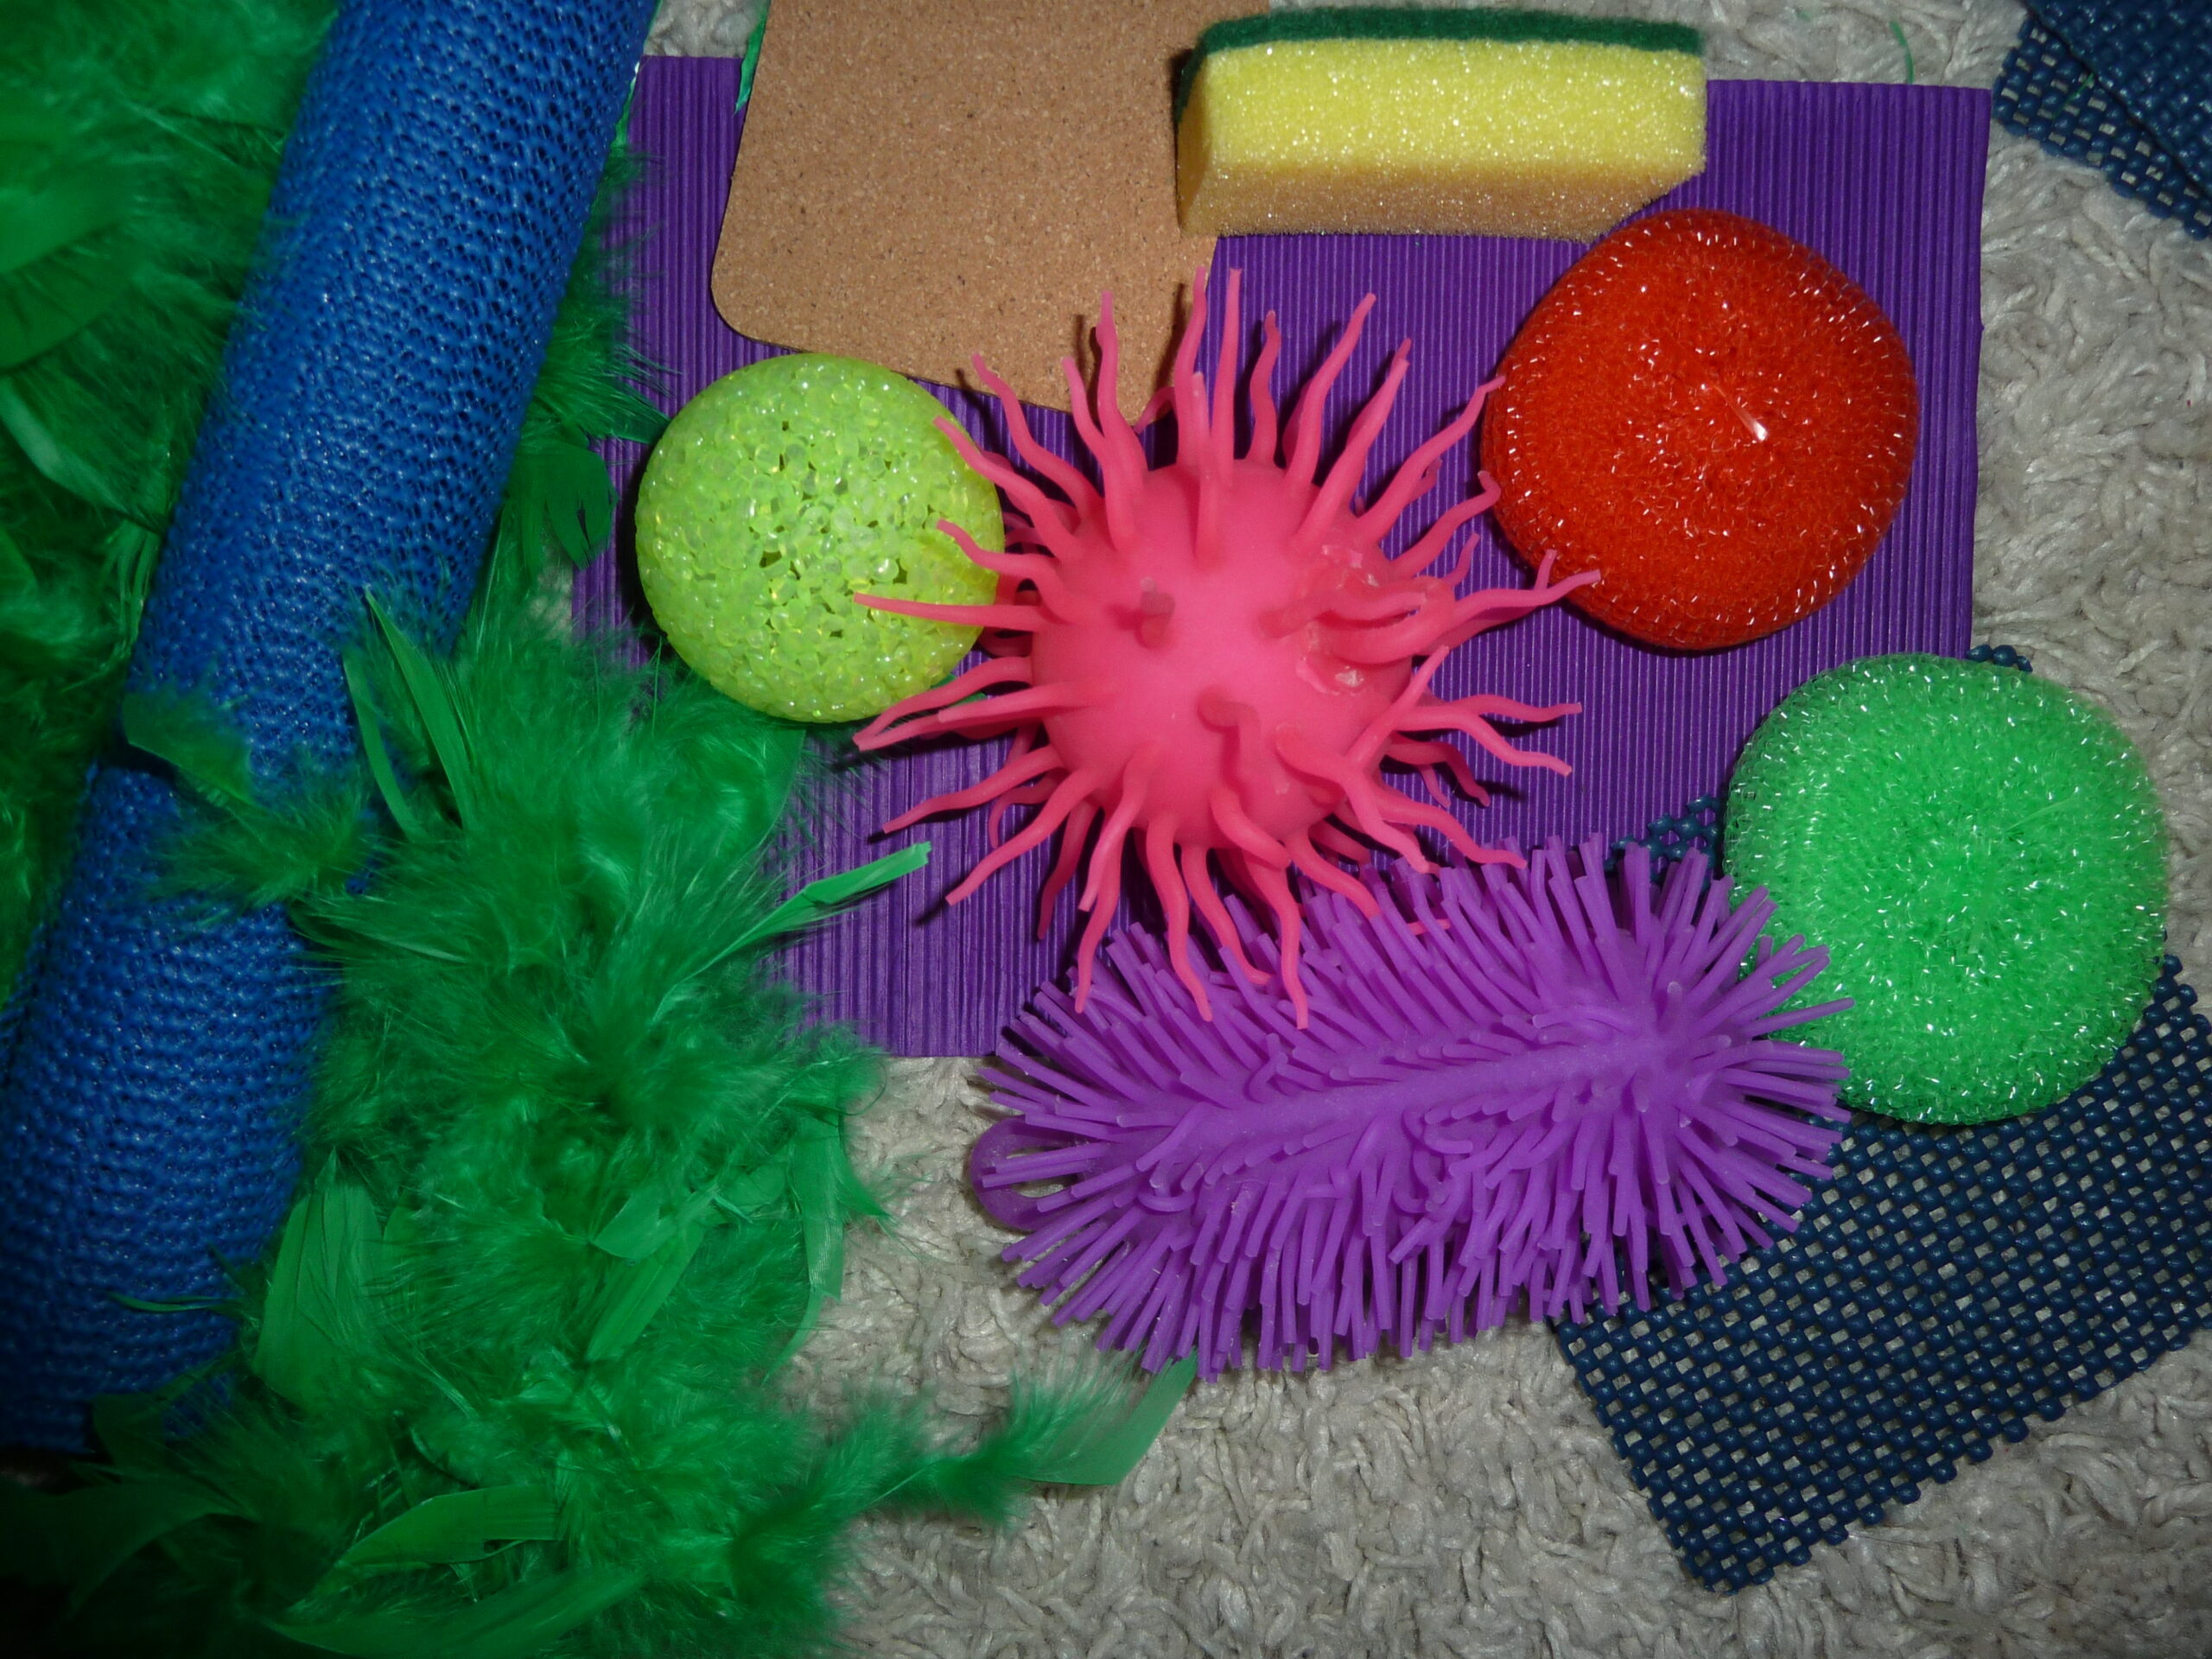
Sensory bins can be great fun for kids of all ages.  Though normally used for Preschoolers and kids with Sensory Processing Disorder (SPD), the bins are a big hit with all of my kids.  Four of my kids have SPD so I make them every week, but they can get expensive. Yesterday, I visited the dollar store and picked up these items:

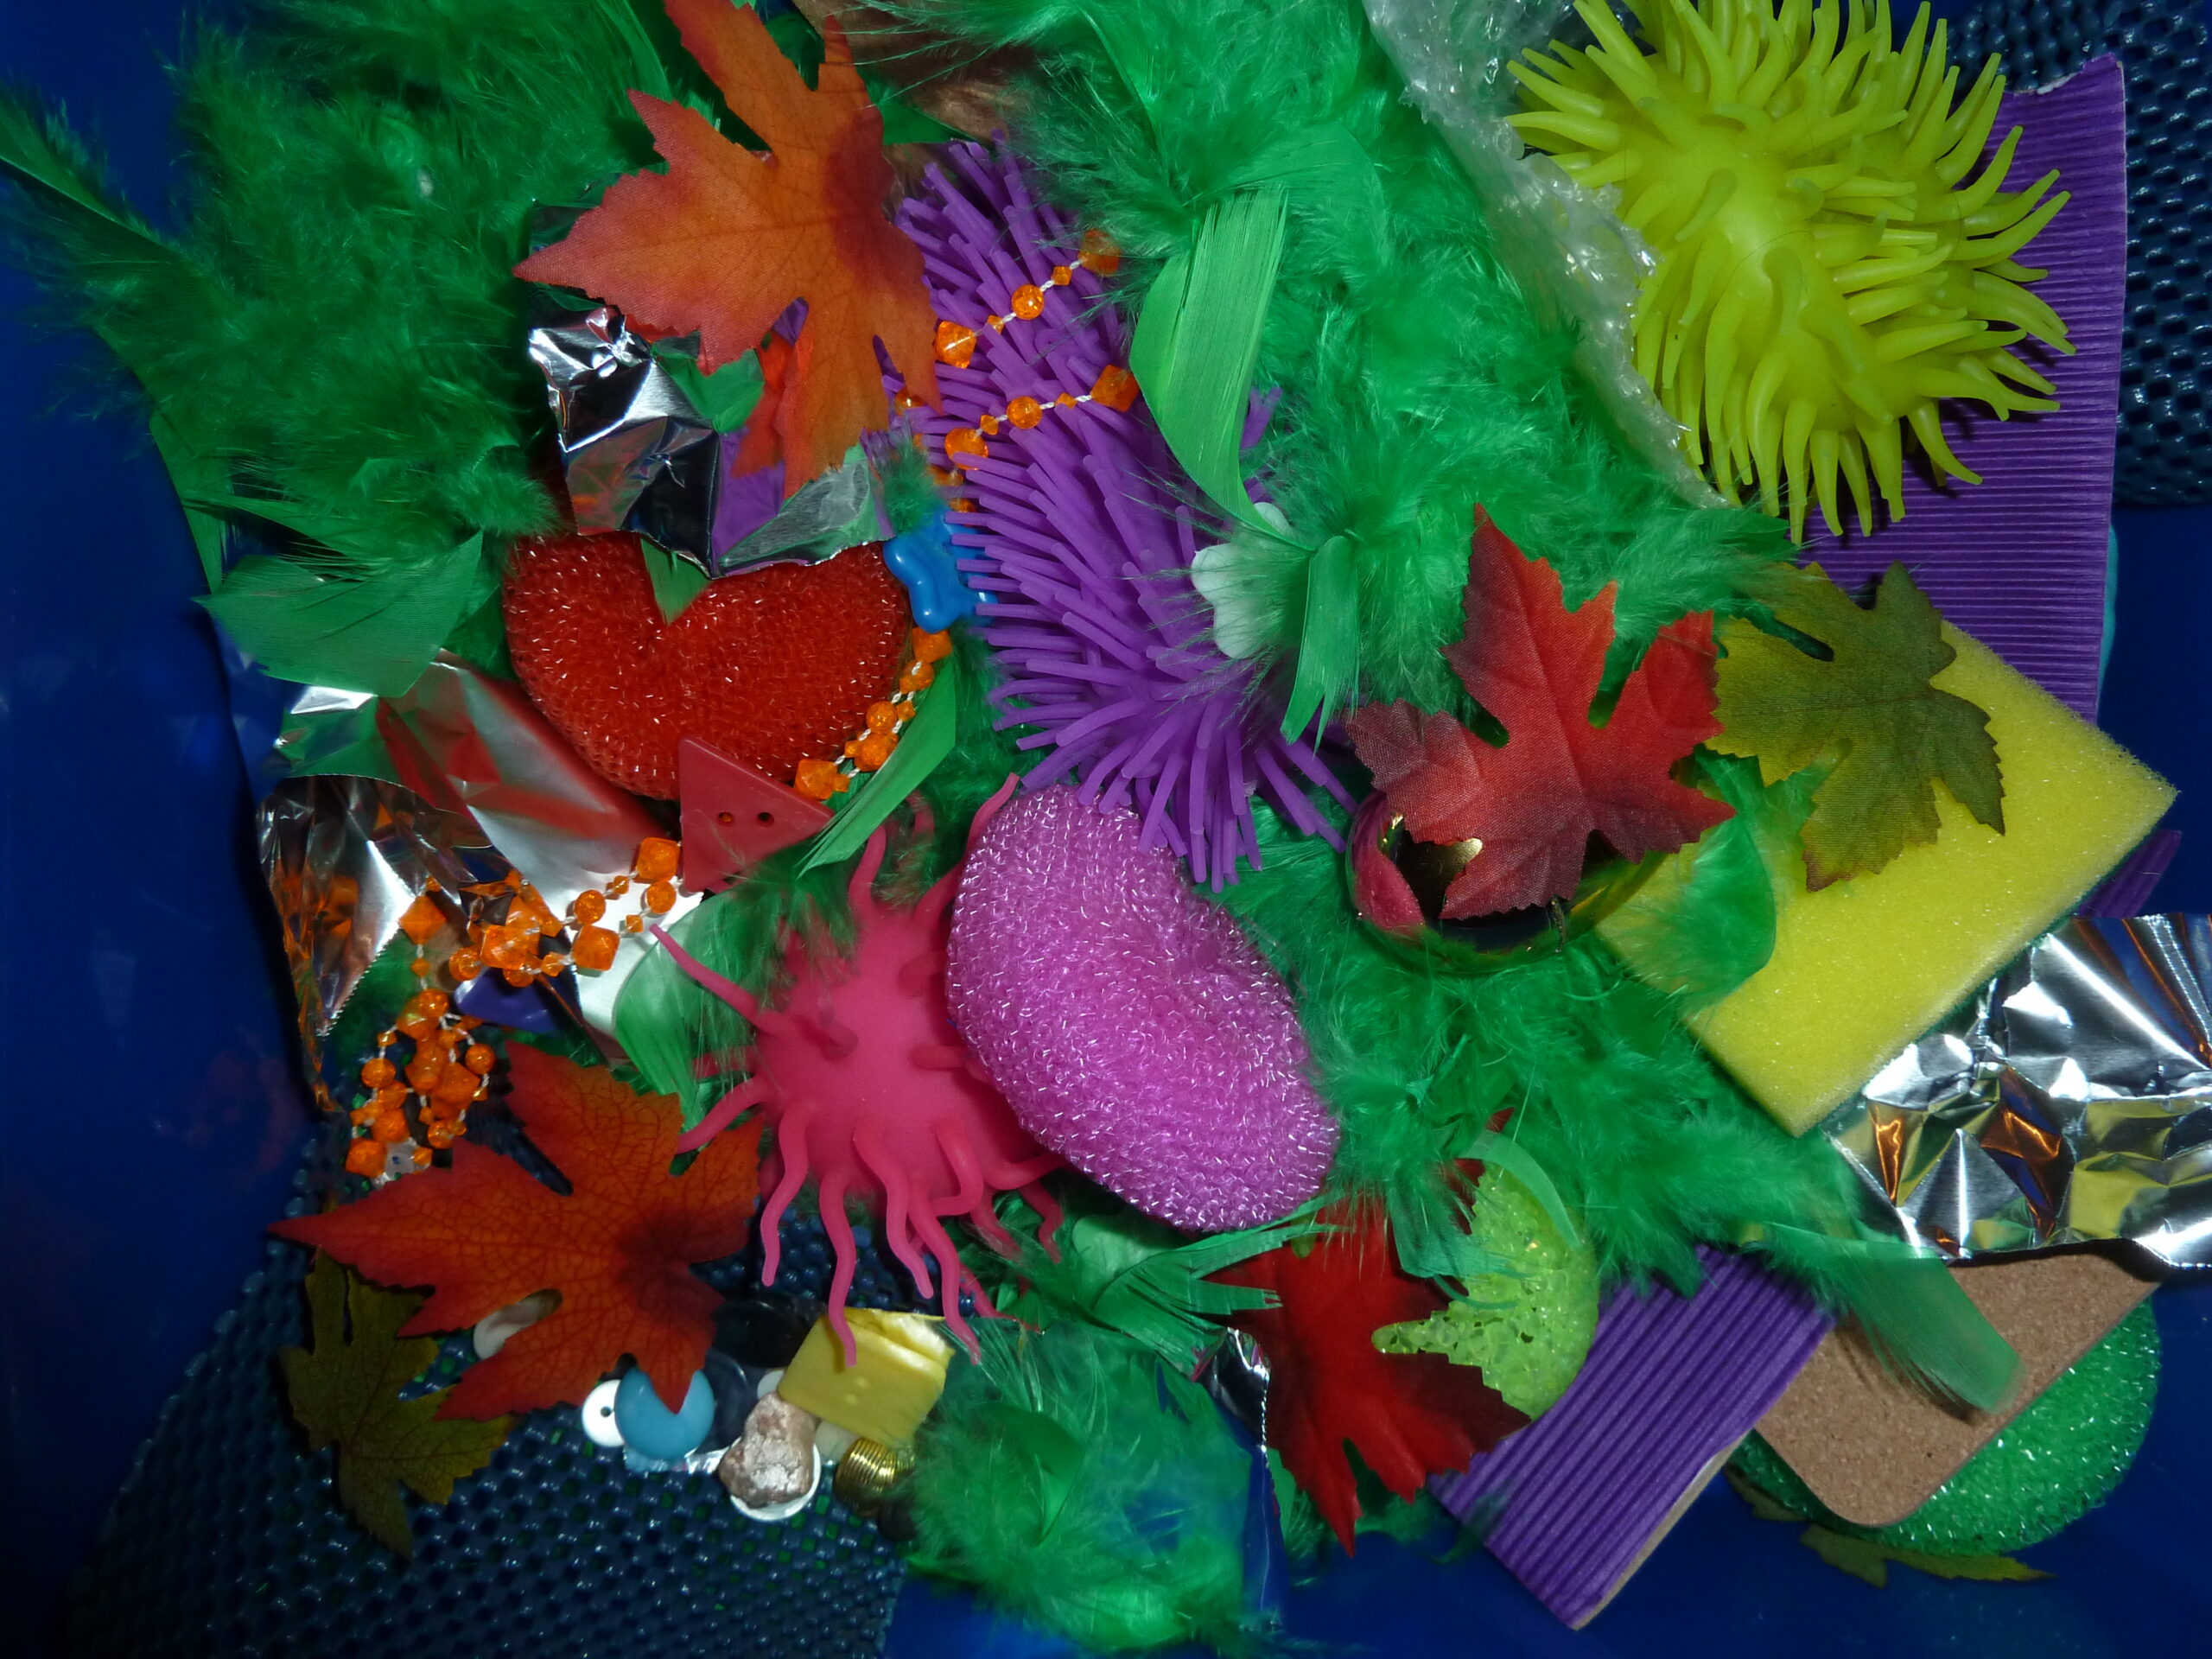
feather boa, cork coasters, brightly coloured scouring pads, sponges, non-slip pads, sandpaper, squishy balls, textured ball, netting, coloured corrugated cardboard

I paired those items up with things from around the house such as a beaded necklace, tin foil, bubble wrap, cotton balls, buttons, screws, rocks, beads, plastic leaves, dry pasta, sequins, velcro, and a few toys to make a sensory bin.

The bin ended up costing about $11 to make and most of the items can be re-purposed or re-used in future sensory bins.

You can find other great sensory bin ideas in my book and by following my Sensory Bins board on Pinterest.

 The Ultimate Guide to Sensory Bins

Filed Under: Crafts and Activities, Homeschooling, Sensory Bins, Special Needs Parenting

  • « Go to Previous Page
  • Page 1
  • Page 2
  • Page 3
  • Page 4
  • Page 5
  • Page 6
  • Go to Next Page »

Primary Sidebar

Categories

We are a participant in the Amazon Services LLC Associates Program, an affiliate advertising program designed to provide a means for us to earn fees by linking to Amazon.com and affiliated sites.

Copyright © 2026 • The Chaos and the Clutter • Site Design by Jeni @ The Blog Maven

Return to top of page

Copyright © 2026 · Chaos and the Clutter 2.0 on Genesis Framework · WordPress · Log in