Many of our Christmas crafts have been ones that I have given the kids a clear set of instructions on. Although there is always leeway and ways for them to express their creativity, this time, I wanted to give them a project that was more open-ended. I set out a variety of supplies and gave no instructions other than to create snowflakes. The results of this easy snowflake craft were amazing!
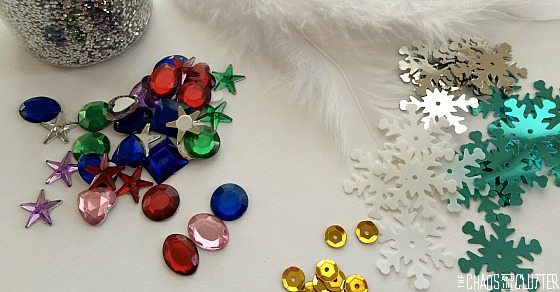
 I created a little craft station on the kitchen table for the kids. I set out white and blue paint, both regular and jumbo popsicle sticks, craft glue, glitter, glitter glue, white feathers, gems, large snowflake confetti, permanent markers, and sequins.
 It’s always interesting to sit back and watch my kids create. The girls went right away for the larger popsicle sticks while the boys chose the skinnier ones. I suspect it’s because the large ones allowed the girls to add a lot more STUFF, but I’m not sure!
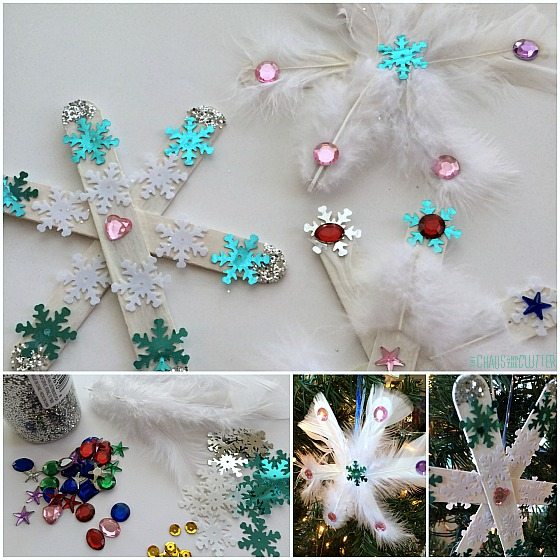
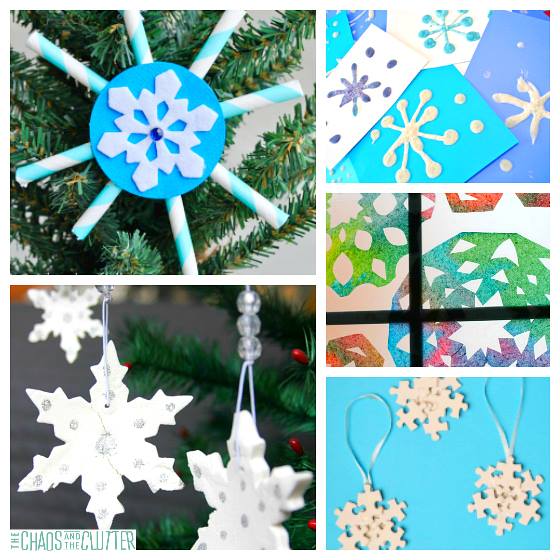
None of my kids chose to paint their sticks blue, which is also interesting. Once their white paint was dry, they glued their sticks into a snowflake shape and began to add embellishments. The boys went for simple (i.e.: permanent markers and/or glitter glue) while the girls really planned theirs out.
The girls placed items down on their sticks without adhering them at first to see what they would look like. They experimented with different patterns and a variety of looks before deciding which they liked best. They were very proud of their finished ornaments!
 How to Make a Snowflake Craft:
This snowflake craft is simple to set up and easy for kids of all ages to create. From toddlers to preschoolers to Kindergarten and beyond, this seasonal activity can be adapted for anyone.
Materials needed:
- regular or jumbo popsicle sticks (3 per snowflake)
- blue and white paint
- gems
- sequins
- craft glue
- large snowflake confetti
- feathers
- glitter glue
- permanent pens
- ribbon to hang (we used a sparkly blue wrapping ribbon, but any ribbon or string will do)
- Set out the craft supplies, glue and paint.
- Allow the kids to be creative in planning out their snowflake craft.
- If they want to paint the popsicle sticks, you will need to allow the paint to dry before continuing on to the decorating. For younger kids, you may want to start them off with the popsicle sticks already painted and glued together.
- Give your students time to create snowflakes however they want to.
- Once the glue has dried, you can attach a ribbon to the back of the snowflakes with tape or hot glue to hang it on the Christmas tree.
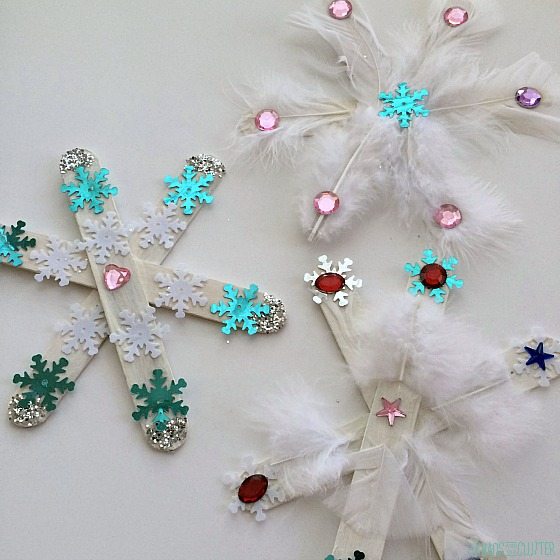 I love the uniqueness of each of the finished snowflakes. The sparkles of the gems and glitter catch the lights of the Christmas tree well. The ones with the feathers look lovely as well.
Adapting this snowflake craft for preschoolers and toddlers:
Paint the craft sticks ahead and allow them to dry. Glue them together into a snowflake. Use paper plates or small squares of tin foil to pour a bit of white glue for each child. Set out the supplies to decorate the snowflakes.
Let the kids use their creativity to create their own snowflake ornaments.
Edited to note: Thank you to everyone who has sent me pictures of this snowflake craft that you have made with your own kids, students or kids in your Sunday School or art class after seeing ours on Pinterest. It has been so neat to see how this simple craft idea has spread!
Here are some other simple Christmas crafts you may enjoy:
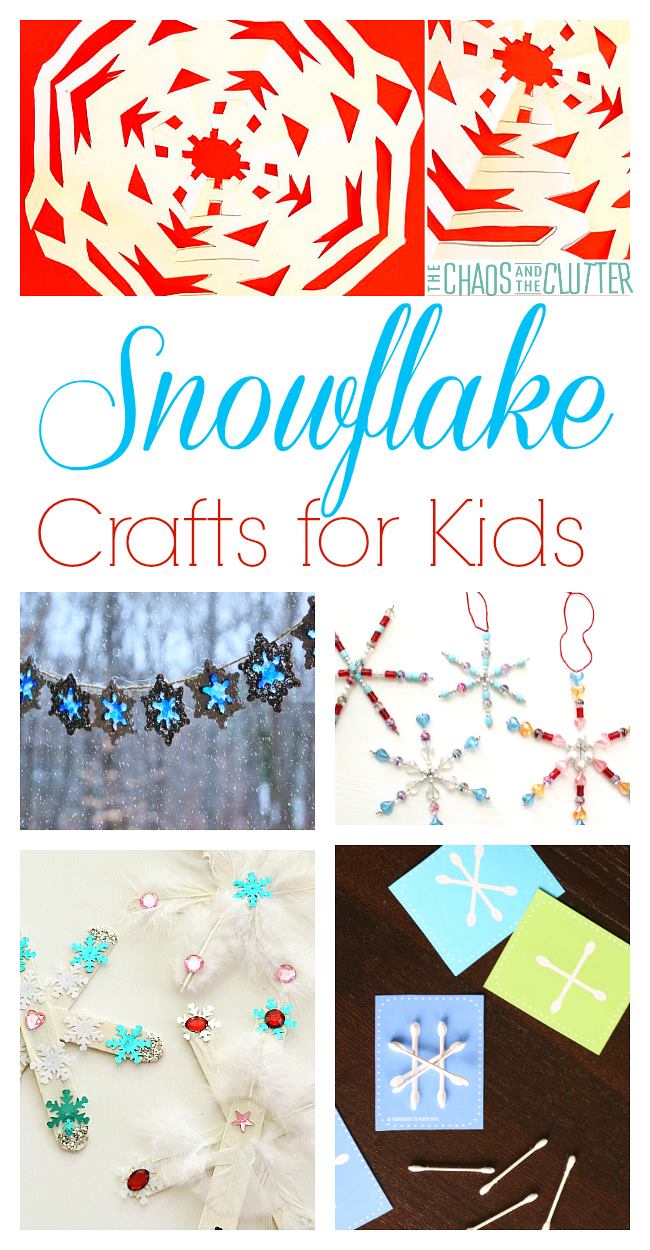
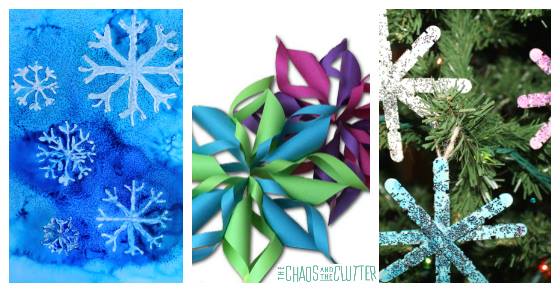 Snowflake Crafts and Activities for Kids
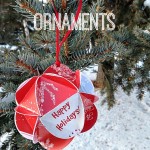
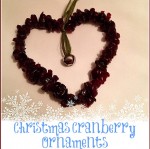
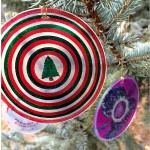
 Ornaments made from Christmas Cards
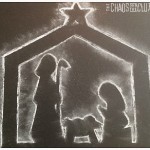
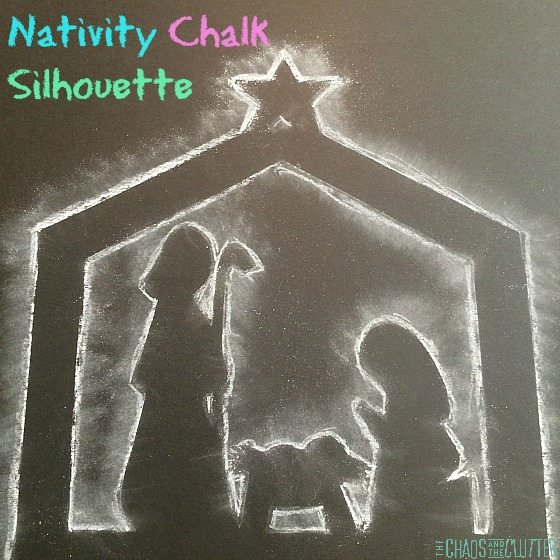 Nativity Chalk Silhouette
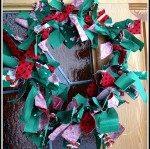
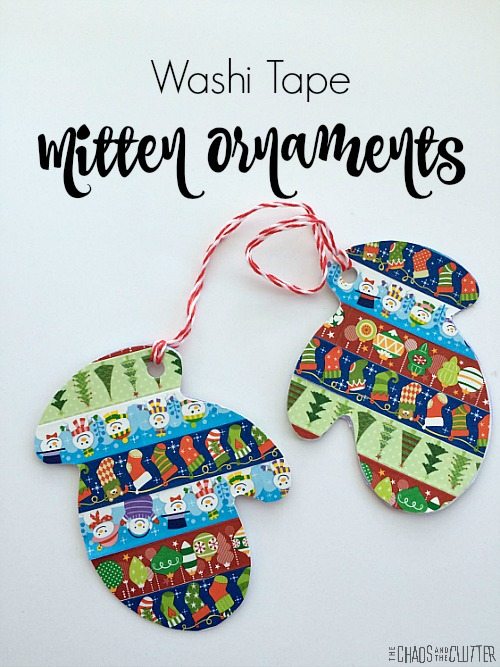 My girls are really into washi tape this year so I picked up four rolls of holiday washi tape when I saw it at the dollar store, knowing that we would find lots of things to create with it. We used it to decorate Christmas gift bags, embellish cards and to make these adorable mitten ornaments.
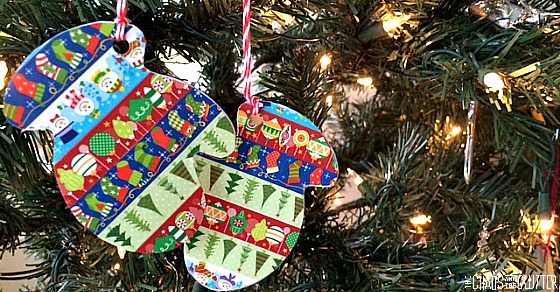 Materials needed:
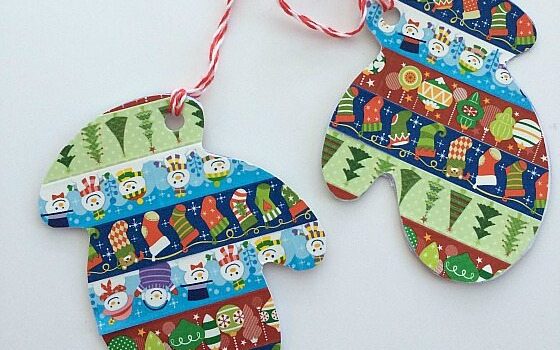
 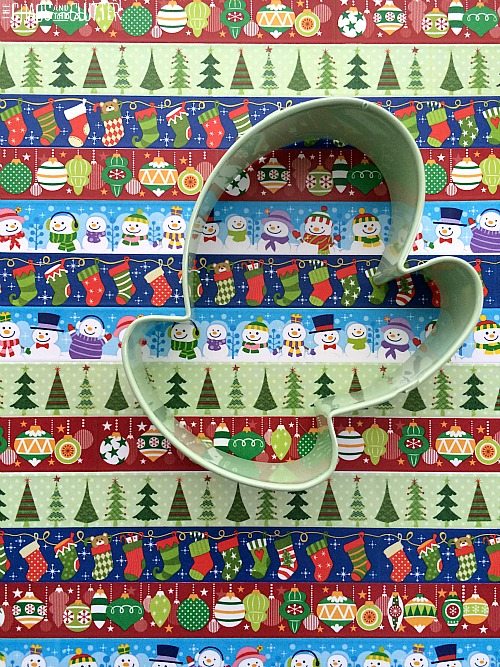 Cut the mitten shapes out. Place the mitten pieces back to back so that the washi tape side is facing out and glue them together. Make another mitten in the same way to create a pair.
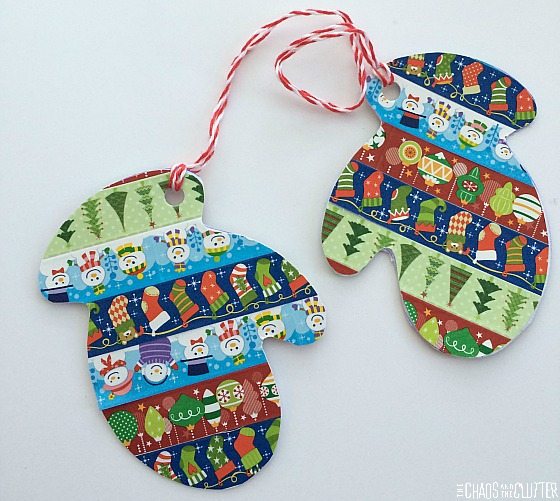 These ornaments are so cute hung on the tree!
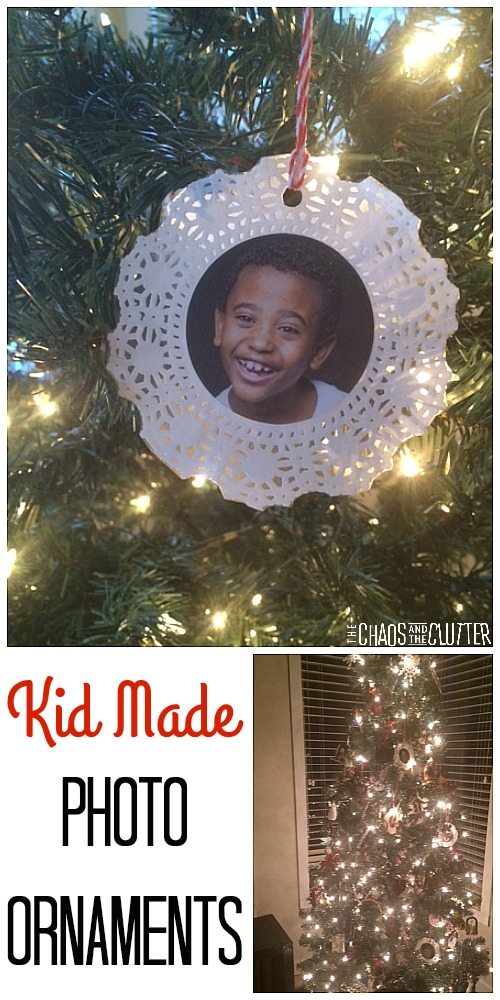 My kids completely LOVED making these. We chose pictures of them from a few years ago because I had copies of those on hand and they went on and on about how cute they were. I was using older pictures for convenience reasons, but it ended up having a positive effect because the kids felt freer to comment on how cute they were. I saw them light up about the compliments they were getting from each other. I feel like it actually was a good self-esteem builder.
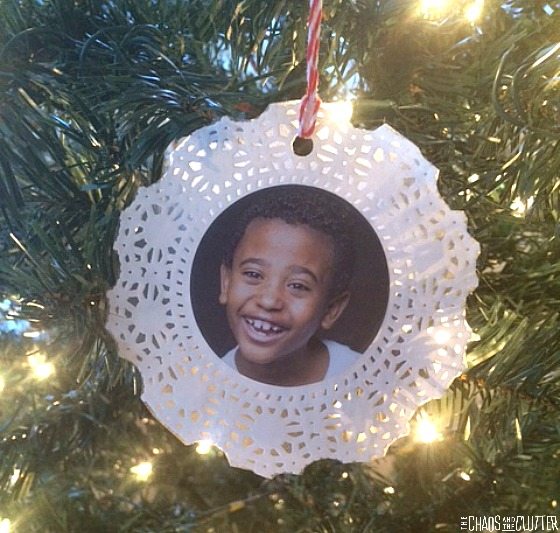 Materials needed:
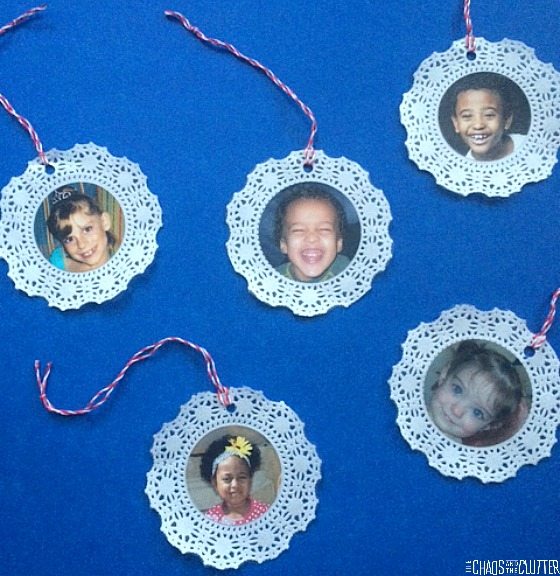 These photo ornaments are easy enough for even young children to make on their own (though they may need some help with the cutting) and make perfect grandparent gifts. They look so pretty on a lit-up Christmas tree!
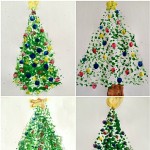

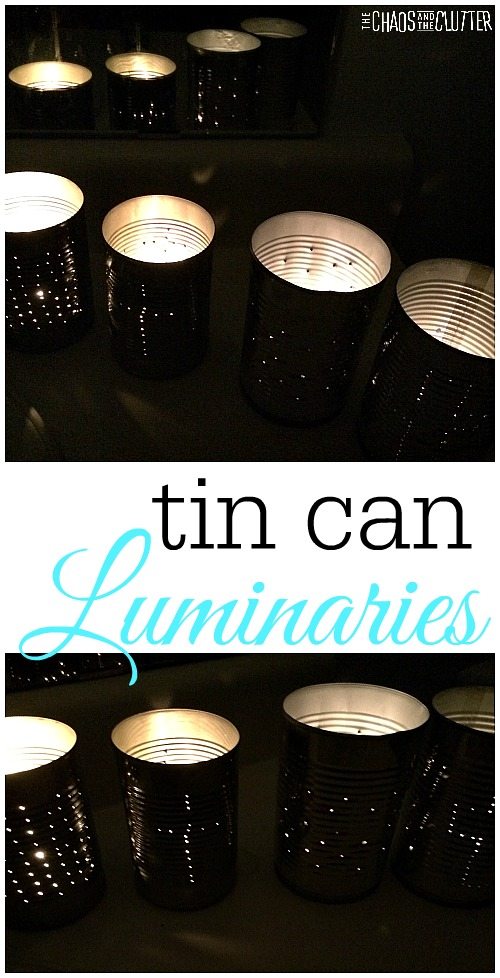 How to Make Tin Can Luminaries
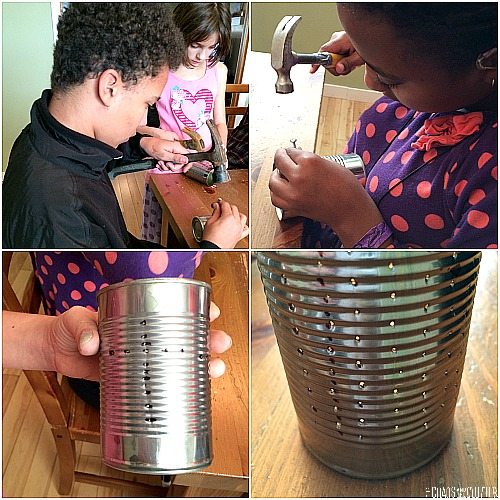 Use a
Use a 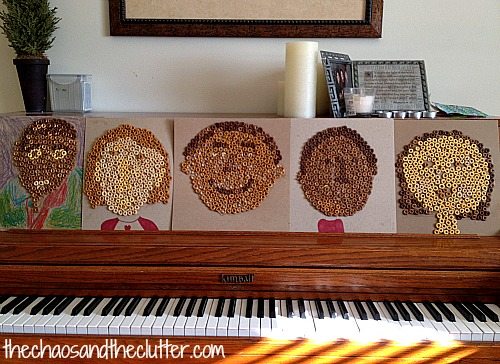
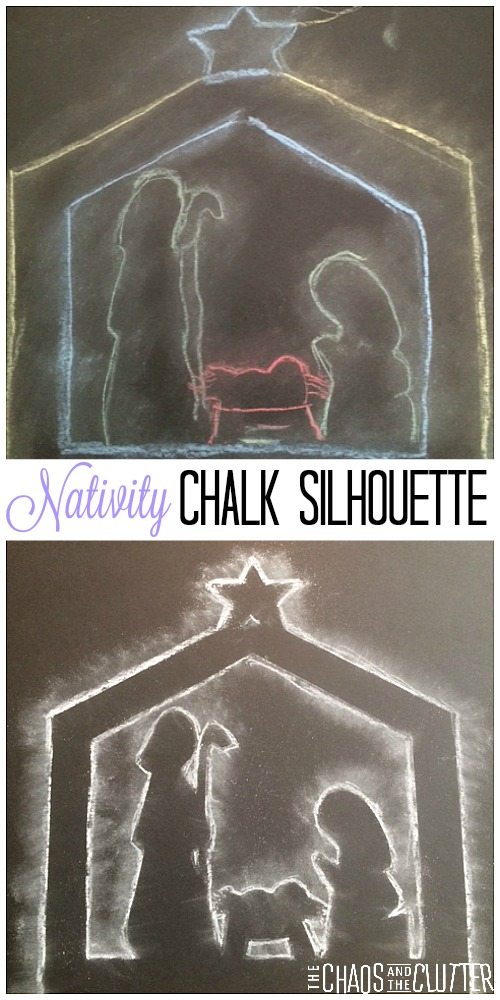 The process was simple but it lent itself to all kinds of variations. I love projects that let the kids explore their creativity and put their own spin on things. I set out both white and coloured chalks for this purpose.
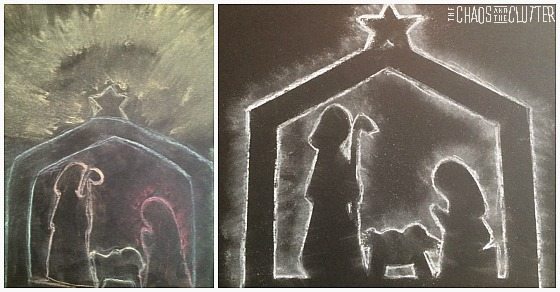 Regardless of which style they chose, all of them were absolutely beautiful! One of the kids wrote the word “Jesus” in chalk to his and added some embellishments to the star. I had to cut those out in the pictures because in them he had also written his full name. My kids of course don’t sign their artwork with their blog pseudonyms!