My kids had been playing some games with plastic cups and one night, I noticed a huge stack of them leaning up against a wall in the living room. I was debating if I should wash them out and put them back in the cupboard to use at a gathering but that seemed like a fair bit of work given that the stack almost reached the ceiling. I started to think about what kind of craft we could make with them and the idea to make shrinky dink ornaments started to form.
 I was really determined to make this idea work but it wasn’t as simple as I had imagined. Through a fair bit of trial and error, I was able to figure out how to make this concept actually turn into something and I’m so excited with how they turned out.
Before I get to how to make these, I will explain how NOT to make them so that you can learn from my mistakes. Initially, I just grabbed some clear plastic cups from the giant stack and brought out a pack of coloured Sharpie markers and asked the kids to draw or decorate them however they wanted. Then we put them on a cookie sheet and baked them. The picture below shows how they went into the oven and how they came out of the oven:
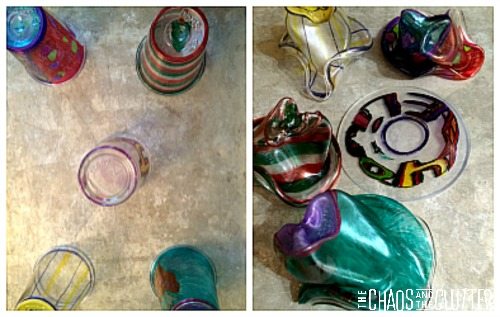 As you can see, four of the five cups shrunk down into funny little hat-looking-things. One of them flattened into exactly what I had pictured when I had thought up this project. At first, I thought maybe it was because that cup had been the one in the center of the cookie sheet but on closer inspection, we discovered that the one that flattened was a different brand of cup. The Dixie brand cups shrivelled into hats but the Polar brand plastic cups shrunk into flat circles.
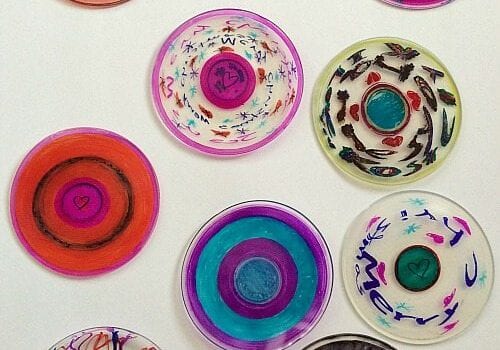
The kids got to work decorating just the Polar brand cups and the next tray worked really well. All of the cups flattened into lovely little disks. That is when we discovered problem #2.
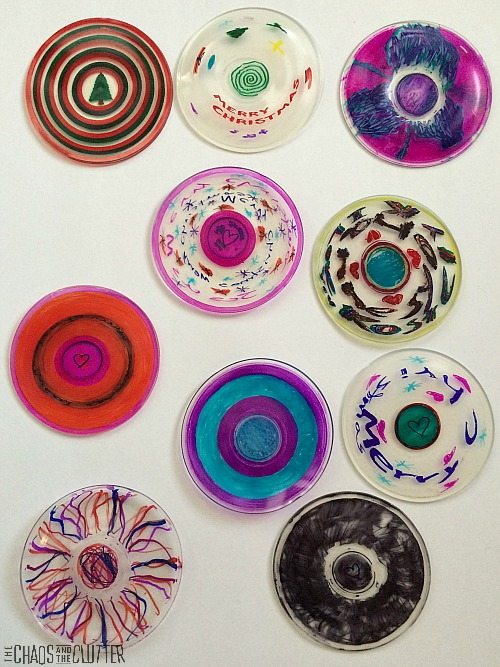 I was not able to hole punch them after they had shrunk because the plastic had hardened too much. So those disks did not become ornaments.
Thankfully, my kids really loved colouring the cups and they happily coloured many more cups. I hole punched them prior to putting them in the oven this time!
Shrinky Dink Ornament Instructions:
Materials needed:
- permanent markers
- Polar brand clear plastic cups (we used 10 oz.)
- hole punch
- string for hanging
 How to make shrinky dink ornaments:
- Draw with permanent markers on plastic cups. (Remember that they have to be Polar brand!)
- Hole punch the cup.
- Place on cookie sheet and put in 250° oven.
- Turn the oven light on and watch until the cup shrinks down to a flat circle. Note that only the ornament in the middle of the cookie sheet will be completely flat.
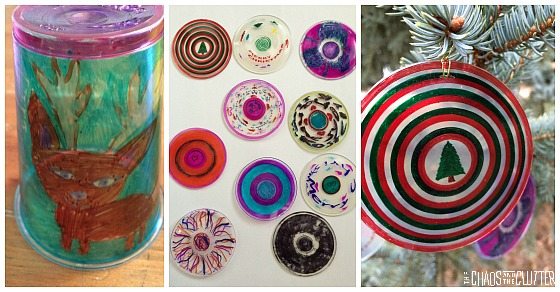
- Thread a string through the hole and hang.
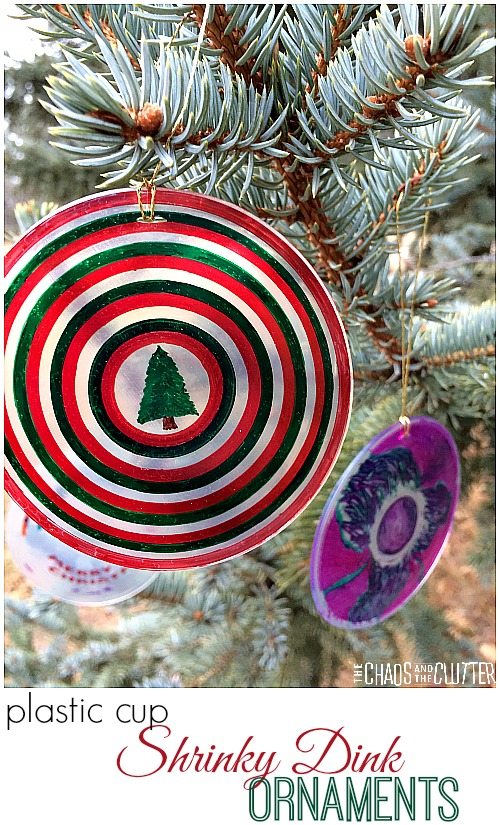
I’m very pleased with how these turned out and glad that I didn’t give up when the first few batches didn’t go well because they are really lovely. It was fun to see my kids’ creativity come out in their ornaments.
 Our project was inspired by a
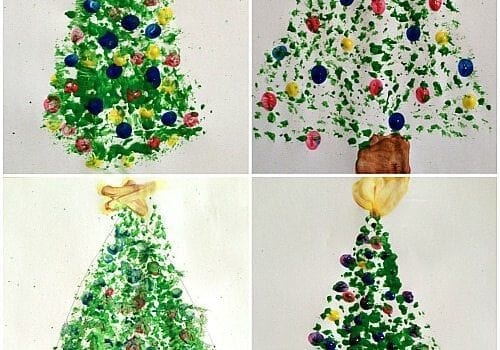
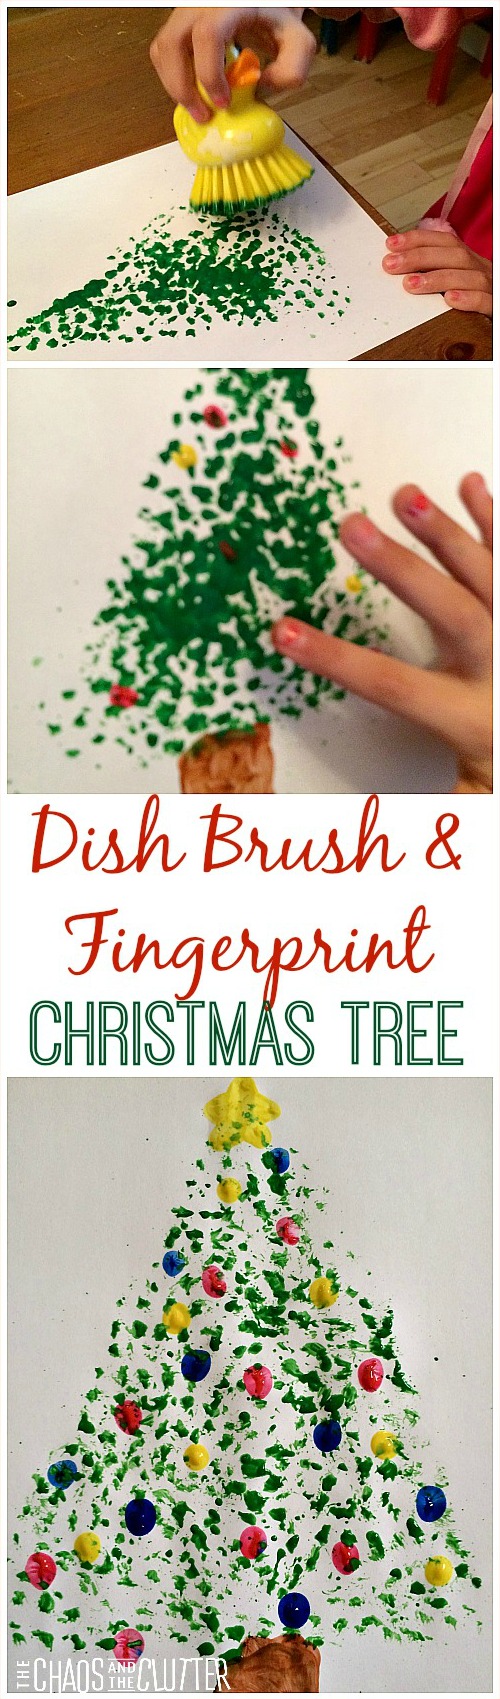
 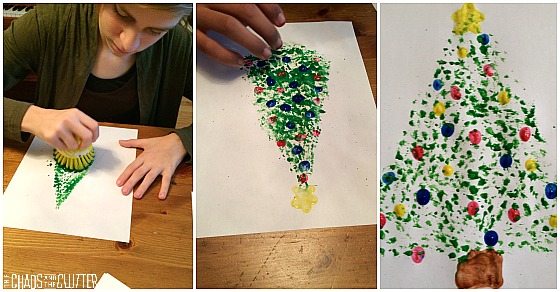 Pour green paint onto a plate and dip the dish brush into it. Form the tree using the dish brush and green paint. On a separate plate, put dollops of other paint colours. The kids can use these to dip their fingers in to make ornaments on the tree with the tips of their fingers. They can also use their fingers and brown paint to create the tree trunk.

 Finally after 4 sons and many, many birthday party themes that I thought I would impress them:
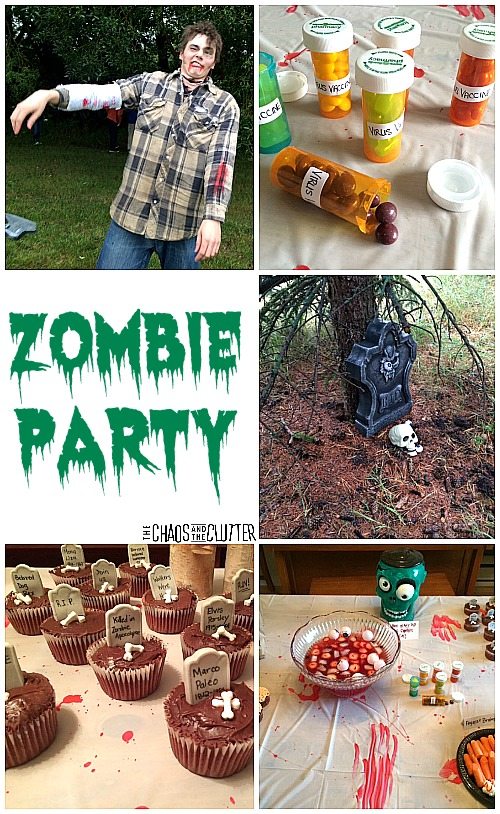
 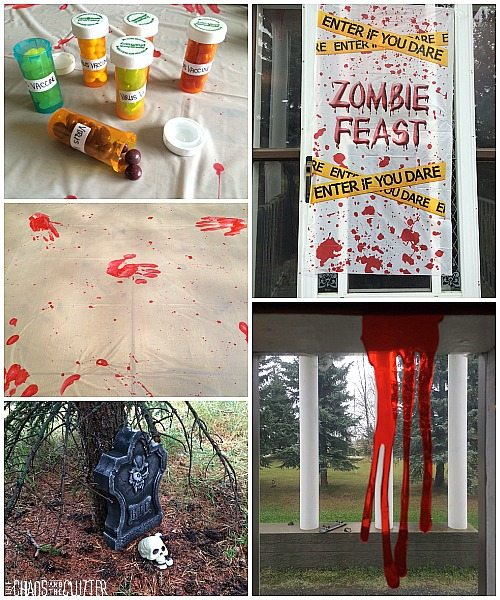 We made a themed tablecloth by using a white plastic tablecloth and adding handprints, streaks and splatters with red paint.
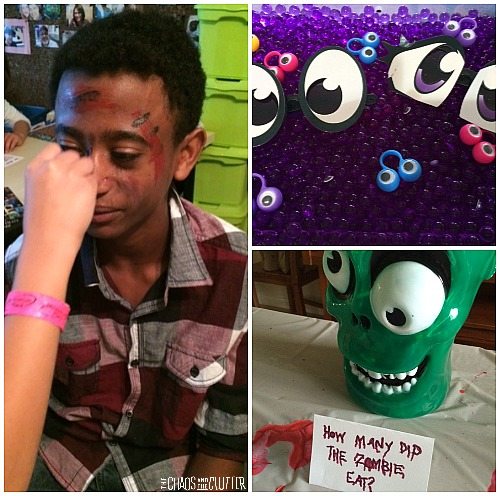
 To make the punch, I mixed frozen red fruit punch with 7-Up and then added
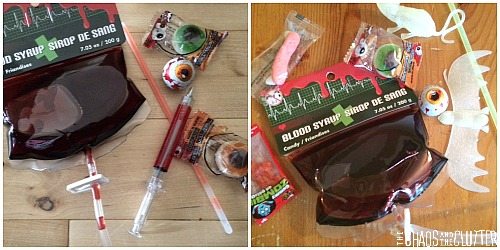 This Zombie party would be great for not only a birthday but for a Hallowe’en or Night of the Living Dead or Fear the Walking Dead kickoff or finale party.

 It is one of the most versatile items out there (right up there with duct tape!). Did you know you can even buy
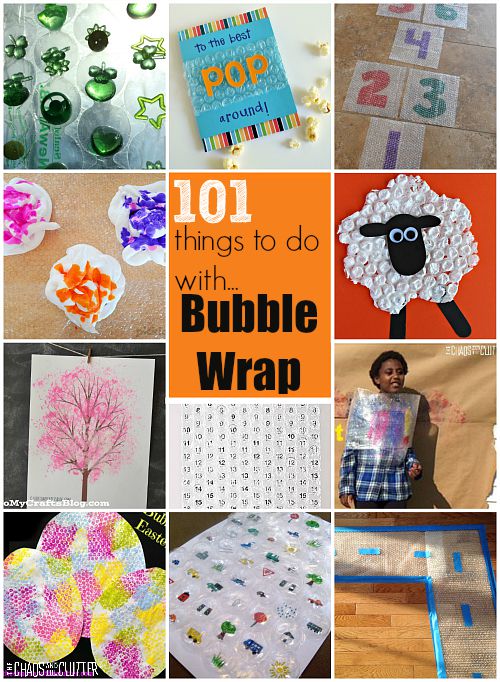
 What is your favourite use for bubble wrap?
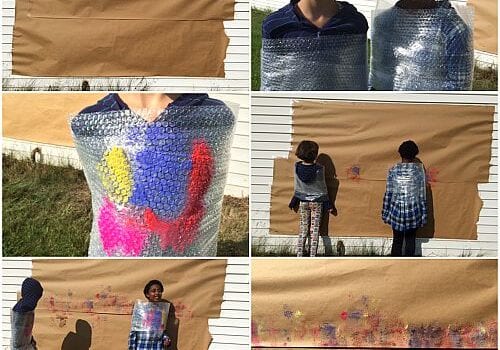
 Materials needed:
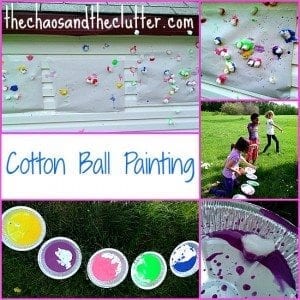
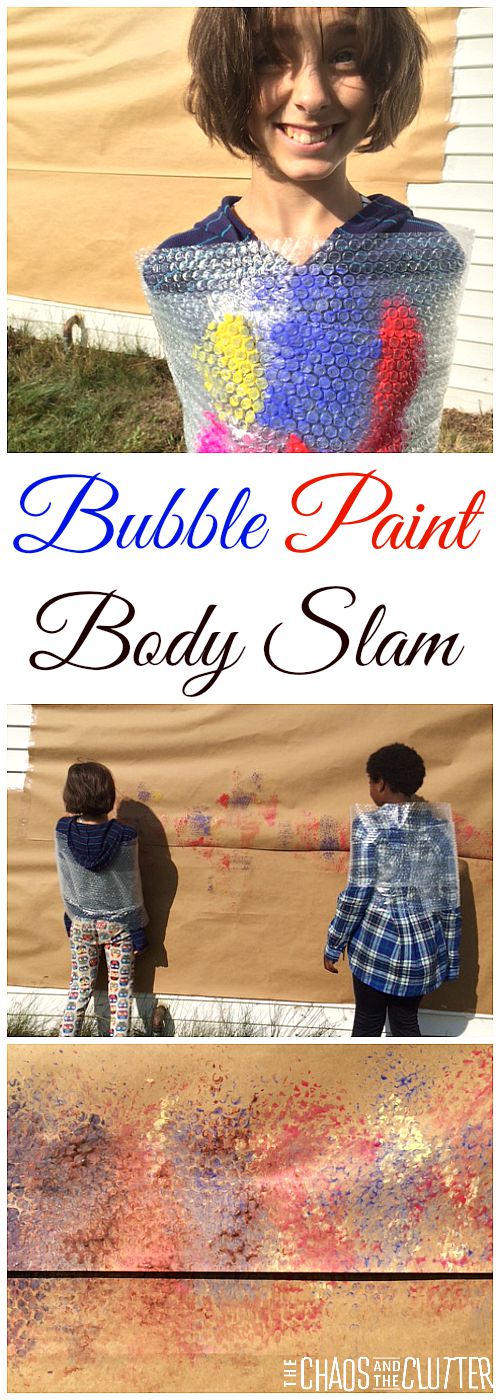
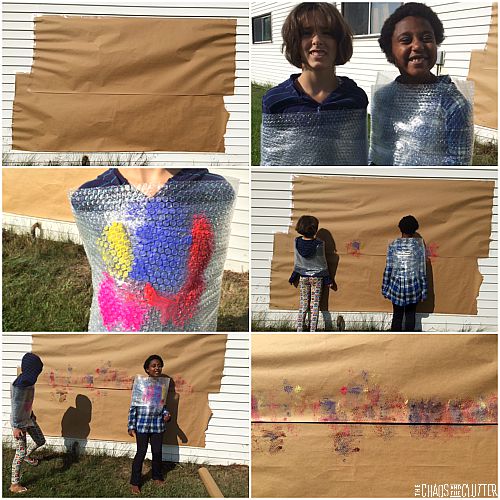 I would suggest that you used your child’s height to eyeball what level to tape up the paper. Our finished results would have looked better had they been on one paper instead of two but regardless of how the final artwork turned out, the kids had a great time and got in some good exercise!
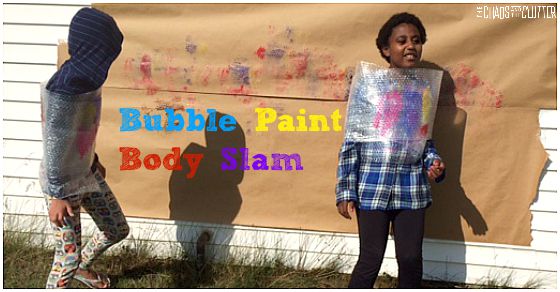 This kids’ activity is great for sensory work, but Granola Girl did need to have her bubble wrap put lower down because having it up near her face was not something that she could handle with her type of sensory needs. Thankfully, my kids are all really good at expressing what their sensory needs are so it wasn’t an issue. She also wanted to be wrapped up tightly and loved the feeling of that.