• Skip to primary navigation
  • Skip to main content
  • Skip to primary sidebar
  • Home
  • About
  • Contact
  • Privacy + Terms
  • Affiliates

The Chaos and the Clutter

  • Facebook
  • Twitter
  • Pinterest
  • Google Plus
  • RSS
  • Email
  • School at Home
  • Sensory
    • Sensory Processing Disorder
    • Awesome Sensory Play Activities
      • Sensory Bins
      • Sensory Bottles
      • Sensory Bags
  • Family Games
    • Minute to Win It Games
  • Special Needs Parenting
    • Childhood Anxiety
    • Reactive Attachment Disorder
    • Sensory Processing Disorder
  • Store
  • Course Login

Sensory

Basic Homemade Playdough Recipe

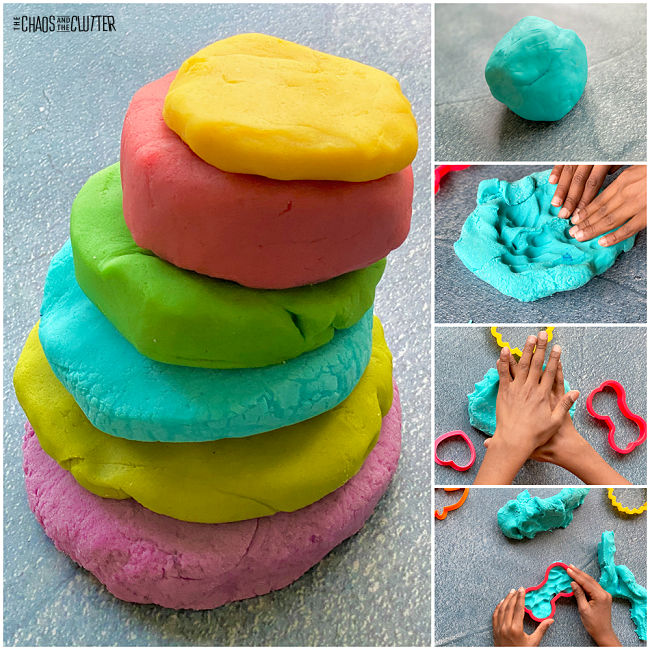
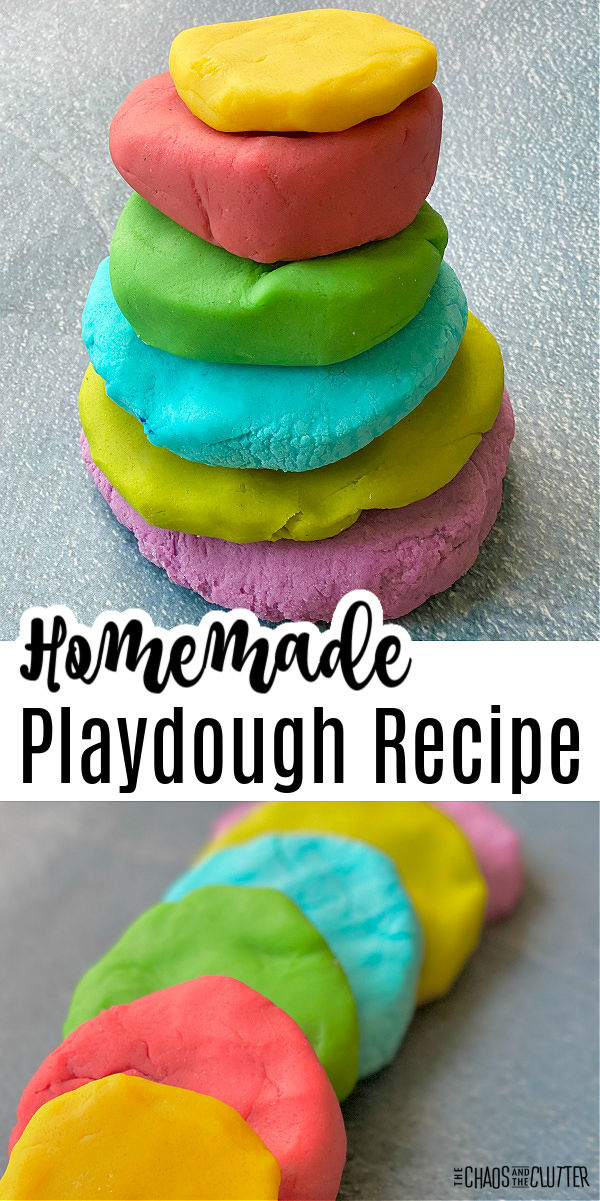
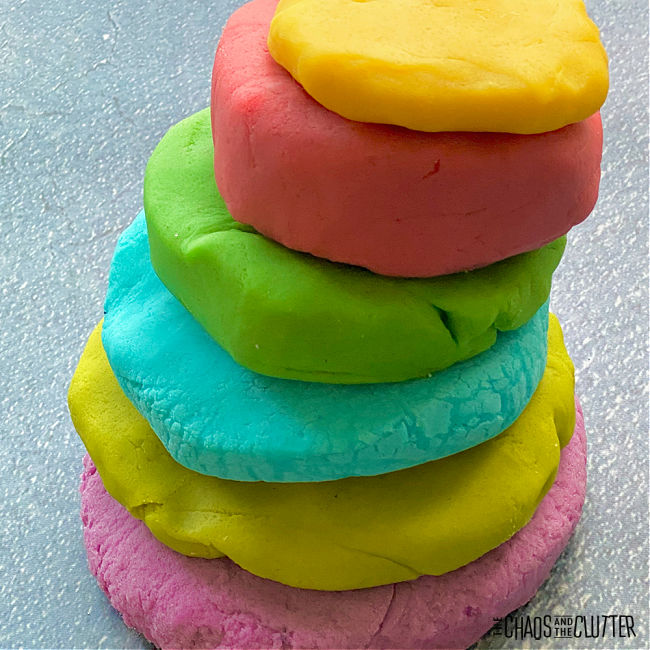
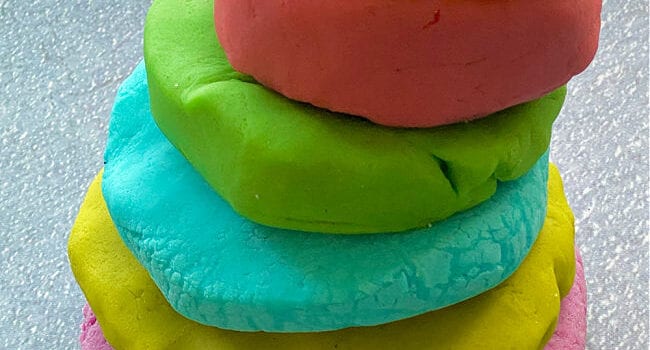
balls of playdough in 6 colours stacked on top of each other

By Sharla Kostelyk

  • Total767
  • Facebook0
  • Twitter0
  • Pinterest767
  • Mix
  • Yummly0

Homemade playdough is so much better than store bought. It’s softer, less crumbly, easier to play with, and it lasts far longer. Making your own is easier than you might expect. 6 different colours of playdough balls stacked on top of each other. Text reads "Homemade Playdough Recipe"When I was growing up, my mom made homemade playdough. For some reason, our playdough was always green. I’m not sure why she never made it another colour, but when I think of homemade playdough, a certain shade of green is what comes to mind!
My mom used a recipe she got from my Auntie Barb. When I became a mom myself,  I started with that same recipe. 

I’ve adapted it slightly, but this is essentially just a good old-fashioned homemade playdough recipe.

Of course, when I discovered that playdough could be made in the KitchenAid and I could avoid sore arms from all the stirring, I never went back to the stovetop method again. 

I’m including instructions for both the KitchenAid and stovetop methods below, but if you have a KitchenAid, that’s the method I recommend. 

<h2″>Basic Homemade Playdough Recipe using a KitchenAid:

Supplies needed:

  • 1 cup flour
  • 1/2 cup salt
  • 2 Tbsp. cream of tartar
  • 1 Tbsp. cooking oil
  • food gel or food colouring 
  • 1 cup boiling water
  • optional: glitter

Directions:

  1. Put dry ingredients (flour, salt, and cream of tartar) in the KitchenAid mixer. 
  2. Add the oil and food colour and begin mixing using the flat beater. 
  3. As it is mixing on the lowest setting, pour in the boiling water. 
  4. If you want to add glitter, add it at this point.
  5. Continue mixing until the playdough forms a ball and is the right texture.
  6. It is now ready to be played with. When not in use, store in a resealable bag or airtight container.collage of photos of child playing with playdough

Basic Homemade Playdough Stovetop Recipe: 

Supplies needed:

  • 1 cup flour
  • 1/2 cup salt
  • 2 Tbsp. cream of tartar
  • 1 Tbsp. cooking oil
  • food gel or food colouring 
  • 1 cup water
  • optional: glitter

Directions:

  1. Mix the dry ingredients together with the oil, food colour, and water in a pot on the stovetop.
  2. Stir over medium heat with a wooden spoon.
  3. Scrape the sides and bottom, stirring constantly.
  4. Keep stirring!
  5. Cook until the dough forms a ball.
  6. Remove from heat. 
  7. Place the dough on a piece of wax paper. 
  8. Knead. If you’re adding glitter, mix it in at this point.
  9. Allow to cool.
  10. When playdough isn’t being played with, store in an airtight container or resealable bag.

As with all sensory play activities, adult supervision should be used. Consuming large quantities of salt is dangerous for children so this playdough should not be eaten. balls of playdough in 6 colours stacked on top of each other
How to scent playdough:

There are several ways that you can add smell to playdough. You can add a few drops of essential oil, spices, or extracts. Scents are either alerting or calming, so you’ll want to choose a scent accordingly.

If you’re wanting to add it to a calm down kit, you’ll want to choose a calming scent whereas if you’re making playdough for a learning activity, you’ll want to add an alerting scent.

Essential oils to add:

  • lavender
  • peppermint
  • lemon
  • lime
  • wild orange
  • grapefruit
  • chamomile
  • frankincense
  • eucalyptus 

Extracts to add:

  • vanilla
  • peppermint
  • almond
  • caramel
  • coconut

Spices to add:

  • pumpkin spice
  • cinnamon
  • cloves
  • ginger

Add only one type of scent to each batch of playdough. Be sure to be mindful of allergies. 

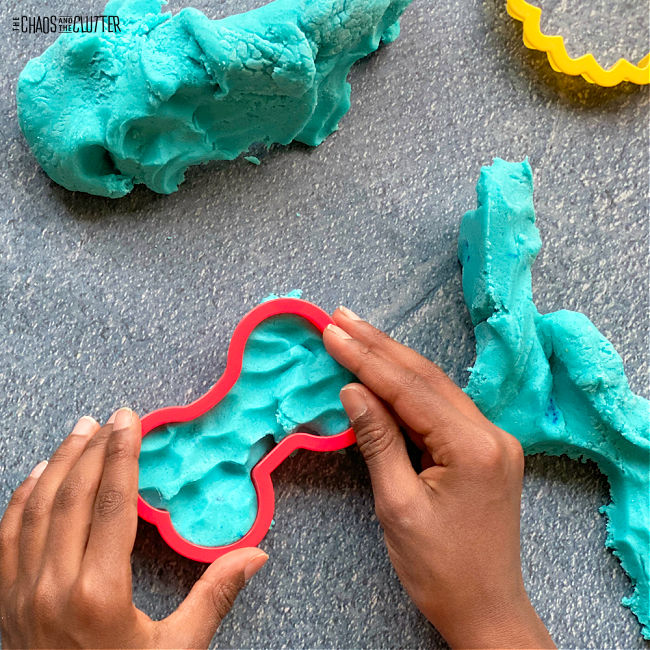
There are so many ways to play with playdough that go so far beyond play. Kids can work on their fine motor skills, hand-eye coordination, communication, shapes, colours, sensory input, and cognitive skills. child's hands press a dog bone shaped cookie cutter into blue playdough
Ways to play with playdough:

  • Use printable playdough mats.
  • Roll it into ropes and use plastic scissors to cut the ropes to practise cutting skills.
  • Play stuck in the mud (especially popular with little boys!).
  • Use cookie cutters to shape it. 
  • Squish it, pull it, scrunch it, knead it. (great for proprioceptive sensory input)
  • Apple Tree Game (for counting and colours)
  • Rainbow Colour and Counting Game
  • Alphabet Stamping using Lego
  • Dinosaur Fossils
  • Rainbow Fine Motor Activity
  • Add a few drops of essential oil to create an olfactory (smell) sensory experience.
  • Set out an invitation to play.
  • Seashell Fossils
  • Make playdough cupcakes.
  • Use spaghetti and cereal to practise fine motor.
  • Playdough letter mazes are great for letter recognition and hand-eye coordination.
  • Make faces.
  • Demonstrate the layers of the Earth.
  • Press household items into it to create prints. 
  • Make playdough Mr. Potato Heads.
  • Use leftover playdough to make butter slime.
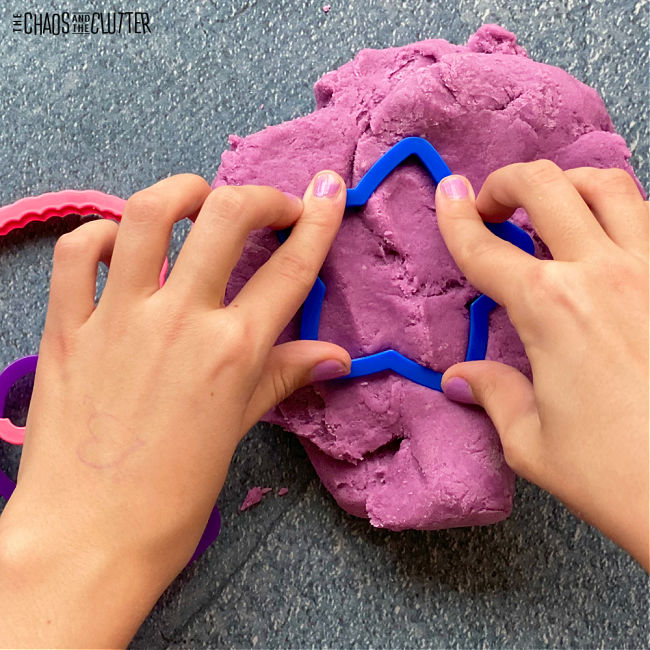
child's hands press a star shaped cookie cutter into purple playdoughGet an entire set of printable transportation alphabet playdough mats free by entering your email address below. You’ll also be signed up to receive our email series Sensory Activities and Solutions.

  • Total767
  • Facebook0
  • Twitter0
  • Pinterest767
  • Mix
  • Yummly0

Filed Under: Crafts and Activities, Sensory Tagged With: sensory play

Mask Wearing Tips for Kids with Sensory Issues

small teddy bear wearing a mask sitting on a large chair

By Sharla Kostelyk

  • Total467
  • Facebook324
  • Twitter2
  • Pinterest141
  • Mix
  • Yummly0

Wearing face masks is becoming mandatory in many public spaces as well as many schools around the world. While for some, this is a minor inconvenience, for those with breathing difficulty, hearing loss, or sensory issues, it is much more of a challenge. Below, you will find a comprehensive guide of mask wearing tips for kids with sensory issues.a teddy bear sits on a white chair wearing a face mask. Text reads "Mask Wearing Tips for kids with Sensory Issues"Important note: I know that there continues to be debate over mask wearing. Regardless of how you personally feel about masks, the fact remains that more and more regulations are being put in place requiring the use of masks. This article is not meant to debate the effectiveness of face masks or whether or not they should be mandated. It is meant to address the practicalities of having children wear masks, particularly children who struggle with sensory issues and may therefore find it more difficult. 
The Challenges of Wearing a Mask for Kids with Sensory Issues:

  • Texture or scratchiness of the fabric
  • Sensation or tightness against the face
  • Smell inside the mask
  • Heat and dampness inside the mask
  • Pulling or tugging on the ears or at the back of the head
  • Breathing out through the mouth can cause more dampness and the smell of recycled air.
  • Breathing in and out through the nose can feel restrictive.
  • Kids who struggle with oral sensitivities may suck on their mask, creating a wet patch. Experts say this renders the mask essentially useless.
  • Difficulty reading facial expressions on others who are wearing masks, particularly for kids who have poor visual perception skills.

You’ll want to play detective by observing and asking questions to determine what specific challenges your child is having with wearing a mask or keeping it on. This information will help you be able to address those issues and find solutions. 

Tips to help kids with face masks:

Be a role model.

Wear a mask yourself and do so without complaining to your child about how much you dislike it. Our kids are watching what we do more than listening to what we say. Regardless of how you feel about mask wearing, if you know it will be required, make the best of it yourself. This will speak volumes to your child. 

Practise, practise, practise.

Before going into a situation such as a public place or school where a mask has to be worn, allow your child to practise at home. Start with short bursts of time and increase the time gradually. 

Practise with the mask when the child has a distraction such as when they are watching a movie or playing on a tablet. Some children also find it easier to practise outside as they feel less restricted and there may be less other sensory stimuli to contend with. 

Plan low risk outings as practise where you can leave if need be and where there is not a lot of other competing stimuli. 

Reduce other sensory stimuli.

Remember that no matter what mask your child wears, it will be more sensory input. Sensory overload will happen more quickly due to mask wearing. Sensory overload may lead to sensory meltdowns. You may also want to read more on preventing sensory meltdowns from sensory overload.

You can cut back on sensory overload by reducing some of the other stimuli in your child’s environment. You may also want to talk to their teacher about reducing some of the distractions in the classroom as well. 

While reducing outside sensory stimuli is helpful, you’ll also want to ensure that your child also receives enough healthy sensory input during the day. Of particular importance is getting proprioceptive input. This helps with calming and self regulation. Using a calm down kit can be beneficial for children.

Ask for their input.

Allow your child to have a say in the fabric, print, and fit of their mask. Choosing a fun print on the fabric can help kids express their unique personality. If your child is old enough, you can even let them help make their own mask. There are many patterns for no-sew masks available online. Being part of the creation can make them feel more a part of this process. 

Be sure to also listen to their feedback about what struggles they may be having with keeping the mask on to give you clues as to how best to help them adjust. You may be surprised by what you learn. This can help tremendously in coming up with solutions.

When kids feel like they have a say in choosing their mask, they are able to feel as if they are at least able to control something in a world that can feel pretty out of control. 

Offer breath mints or gum.

Breath mints, hard candies, or gum help with the smell inside the mask. Gum can also give them oral sensory feedback and proprioceptive feedback which may help prevent them from licking or sucking on the inside of their mask.

Of course, hard candies or mints can be a choking hazard, so only use this tip with older kids and those who don’t have risk factors for choking. small teddy bear wearing a mask sitting on a large chair

Give those ears a rest!

Having a mask looped around the ears can cause discomfort for anyone and that discomfort is multiplied for those with sensory issues. Ear savers allow a mask to be attached behind the head instead of around the ears.

Provide ear savers, a headband with buttons for the mask to loop around, caps with buttons or snaps for the mask to attach to, or a mask that fits around the head rather than around the ears to alleviate the tugging on the ears. 

Clear your nose.

Prior to putting on a mask, have your child clear their nose well. This can be achieved by using a Neti Pot (if they can tolerate it) or steam from the shower. Doing this will help your child feel that they can breathe easier with the mask on. 

Mask brackets for the win! 

Mask brackets are a brace that fits snugly inside your existing mask. They prevent the gagging feeling some people feel when the fabric touches their face. It also helps the nose tickling that many kids complain about. For younger children, be sure to buy a children’s size. 

Play.

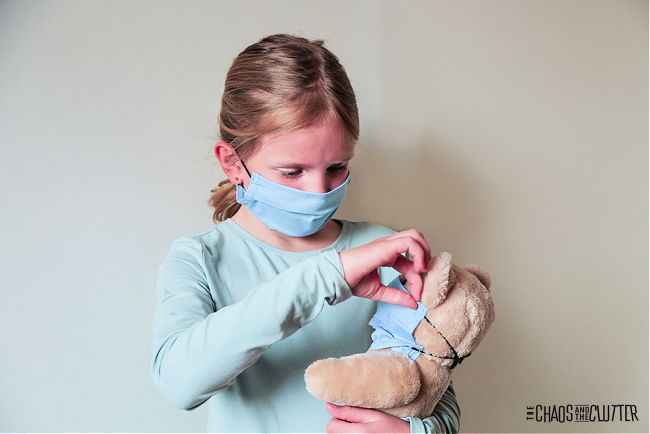
Help kids get used to the idea of face masks through play. Purchase or make a matching mask for your child’s doll or stuffed animal. This can help direct their play and they can even begin to work through some of their emotions as they role play different situations for themselves and their toy in regards to wearing a mask. child wearing a blue face mask putting a matching mask on a teddy bearInvite your child to draw pictures of themselves and their family or friends wearing masks. This can help them express some of the emotions they may have about this “new normal”. 

This poster shows some beloved children’s characters wearing masks. 

Completing a mask colouring book is another hands-on activity that can promote discussion. This free I Can Wear a Mask Easy Reader booklet is another good resource to use.

Keep hands busy.

One way to help kids resist the urge to remove their mask is to give them something else to do with their hands. Provide fidgets to keep their hands busy and to get their sensory needs met.

Explain the reason behind wearing a mask.

There are some resources that can help you talk to your child about why we’re wearing masks. We Wear Masks is a video social story that explains things very simply for younger kids. Note that the video does mention not being in school and that may no longer apply in your area.

This Face Mask Social Story is a really good way to explain things to kids and address some of their related worries.

Listen and empathize.

Even if you do everything in your power to make this easier, this big change will likely cause a mix of emotions. It is going to take a lot of adjustment for kids. Be there for them. 

Be sure they know that they can share their feelings about these new rules. Acknowledge how hard this must be for them. Do not minimize their emotions. While this is something they may have to get used to doing, that doesn’t mean it will be easy and it’s okay for them to express that to you.

Create a safe place for them to say “this is hard. I feel frustrated.” mom comforting her son while he's wearing a face mask

Choosing a mask:

Invite your child to be part of the decision about the type of mask they are most comfortable with.

Find a fit and fabric that your child can tolerate. Ensuring a comfortable fit will reduce the amount your child fidgets with their mask. It should fit over the mouth and nose and secure under the child’s chin. It should allow your child to breathe easily while worn. 

Mask Types:

Reusable Fabric Masks

Choose a fabric that is most comfortable for your child. Soft cotton may be the most comfortable fabric for most, but some kids may prefer seersucker, satin, or synthetic fabric. Some parents add a softer layer as a liner as this will be what touches the skin.

Allow your child to pick a fun pattern as this can help them get more excited about wearing the mask.

Some fabric masks allow you to add a filter. For one of our daughters, the flap inside for the filter insert was driving her crazy, so we sewed that flap shut. 

Disposable or Surgical Masks

Some people find that the disposable masks allow more air flow while others find them more restrictive than cloth. This is something you will have to experiment with to see what your child prefers. 

I find personally that the 3 ply surgical style masks get less hot inside than the fabric ones. However, in winter, the warmth of a cloth mask may prove quite welcome!

Masks with a Built-in Filter

Masks with a built-in filter tend to be made of a heavier material and be a bit bulkier. They may, therefore cause more distress for kids with sensory issues. If you choose to go this route, be sure your child has rest periods where they can remove the mask for a time. 

Clear Masks

One of our daughters is deaf and relies on lip reading to “hear”. As you can imagine, mask wearing, particularly by her teachers, therapists, and family members has made her life much more difficult, so we have instead used different versions of clear masks. 

Cloth masks can be sewn with a clear window using clear shower curtains or clear page protectors. My neighbour and friend sewed some for me using this clear mask pattern. 

You can also purchase clear masks or the type that are cloth with a clear window.

To keep the clear window from fogging up:

  1. Add some Dawn dish soap or shaving cream.
  2. Spread all over the window.
  3. Allow it to sit for a time.
  4. Rinse off and dry.

Face Shields 

If masks are required at your child’s school, be sure to ask about the allowability of face shields as an alternative. Our school district will only allow face shields if a mask is worn underneath. 

If your school will allow them, face shields are proven to be the easiest for those who are hard of hearing to be able to both hear and lip read and some kids find them much less restrictive than masks. You can purchase face shields in children’s sizes or adult face shields.

Neck Gaiters or Buffs and Bandanas

While many school districts do not allow the use of bandanas or neck gaiters in place of masks, some do. Again, some kids find these easier or at least more familiar to wear while others find them to be worse as they are bothered by the feel of it on their neck. It comes down to your child’s sensory preferences and what works best for them. 

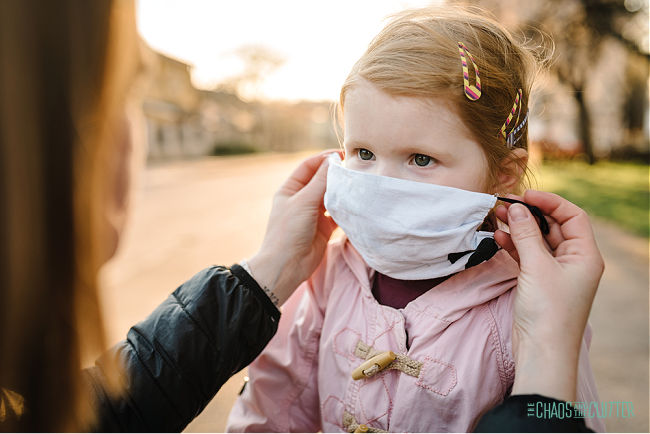
This is a possible alternative option to try if you haven’t been able to find a mask that suits your child’s sensory needs. Mom putting a mask on her young daughter

Mask fit:

The other important consideration is the fit of the mask. Some children prefer a more snug fitting mask, while others like there to be as much space as there can be.

Some masks fit around the ears while others tie or secure behind the head. Ear Savers can make around the ear masks fit more like behind the head masks. 

Mask brackets help eliminate the side gaps and give a better overall fit.  

Safety tips:

Be sure to follow safety guidelines such as not wearing a mask for children under 2, while exercising, while eating or drinking, or when in the water. 

According to the CDC, children under age 2 or anyone who has trouble breathing, is unconscious, incapacitated or otherwise unable to remove the mask without assistance should never use a cloth face covering.

I am not a doctor or medical expert. The tips in this article are designed as suggestions to help you and your child but are not meant to replace medical or expert advise. 

What things have you found helpful when it comes to your child wearing a mask?

Enter your email below to get a free copy of the Pandemic Journal for Kids, printable pages to help them process their emotions and better express themselves. 

You may also be interested in reading:

The Complete Guide to School at Home

Surefire Signs Your Child has Sensory Issues

50 Awesomely Simple Calm Down Strategies

  • Total467
  • Facebook324
  • Twitter2
  • Pinterest141
  • Mix
  • Yummly0

Filed Under: Sensory, Special Needs Parenting Tagged With: parenting through pandemic

Mermaid Tail Sensory Bottle

By Sharla Kostelyk

  • Total62
  • Facebook0
  • Twitter2
  • Pinterest60
  • Mix
  • Yummly0

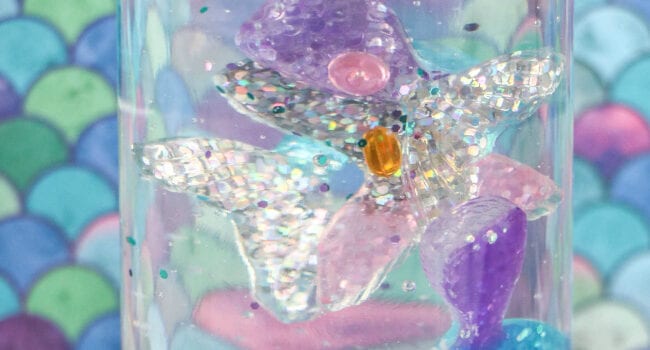
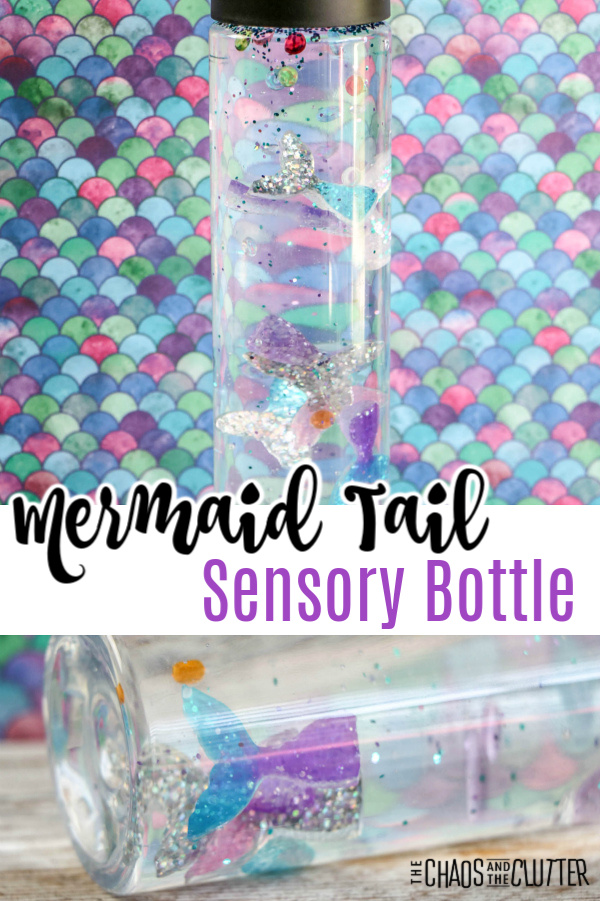
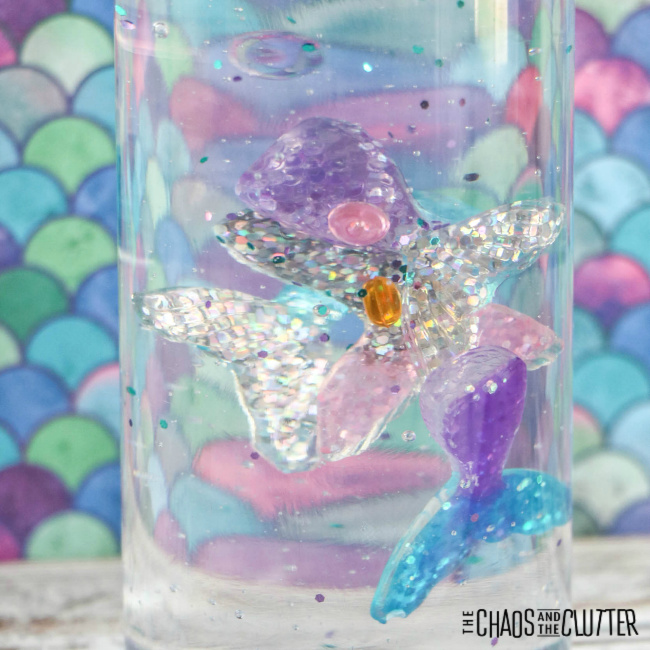
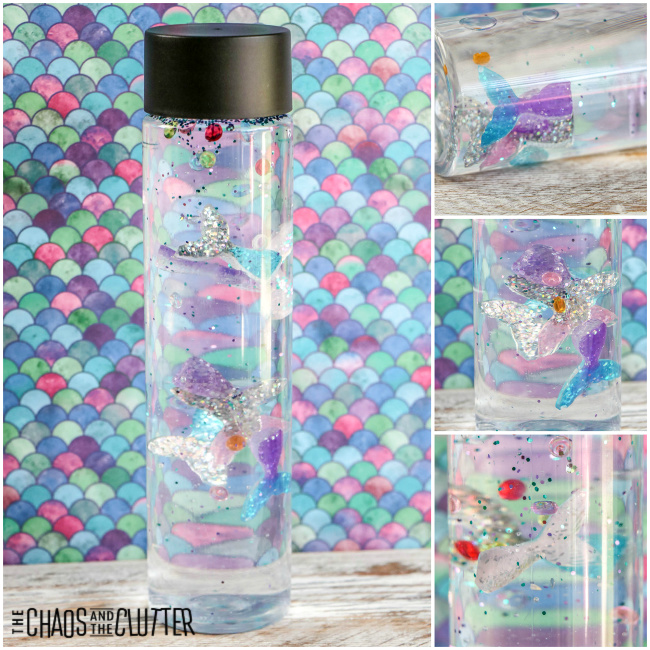
My girls sometime wish they were mermaids. They all love the water. They even have those full sized mermaid tails that really work! So it’s really no surprise that they love this Mermaid Tail Sensory Bottle.multicoloured background with a clear bottle with glitter and foil and text that reads "Mermaid Tail Sensory Bottle"The glitter falls slowly through the glue and water mixture, creating a calm down effect. This sensory bottle also provides tactile, proprioceptive, and visual sensory feedback for kids.
Mermaid Tail Sensory Bottle:

Supplies needed:

  • empty plastic water bottle (I prefer to use the sensory bottles from craft stores or the Voss brand)
  • Elmer’s Clear School Glue
  • warm water
  • teal and purple glitter
  • mermaid tail toys
  • small coloured gems
  • optional: Superglue or hot glue to seal

Directions:

  1. Pour clear glue to about the halfway point in the empty water bottle.
  2. Fill with warm water almost to the top, replace the lid, and shake well to combine.
  3. Add glitter, a few gems, and the mermaid tail toys into the glue mixture.
  4. Seal the jar and shake well. If the glitter or confetti does not move easily, add more warm water. If the glitter or confetti moves too quickly, add additional glue.
  5. Replace the lid. If you are going to be using with young children, Superglue or use hot glue to secure the lid which will avoid spills and keep this play activity safer.

As with all our sensory activities, adult supervision should always be used. Even if you have glued the lid in place, kids can sometimes get it off and the contents have small parts that could potentially be a choking hazard.

Are you looking for more easy sensory play ideas? Join us for a five day email series on Sensory Activities and Solutions and get a free sample of our Sensory Play Recipes eBook.
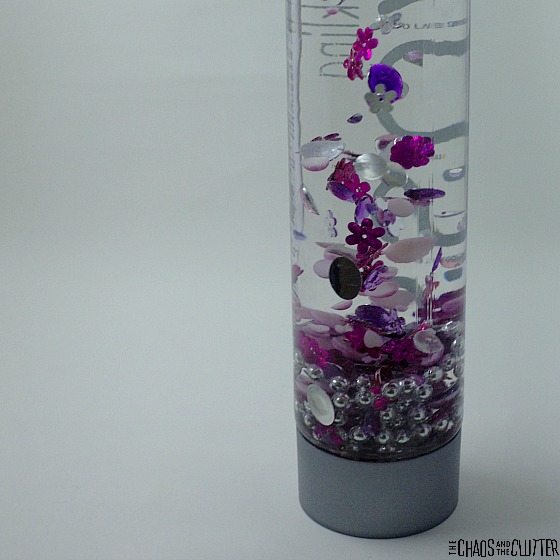
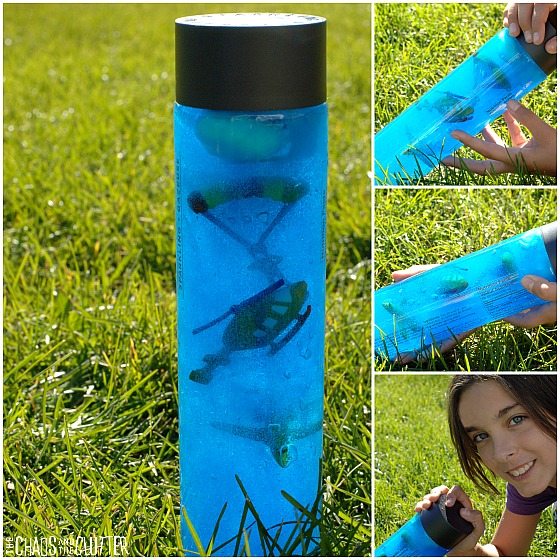
Check out these other easy to make sensory bottles:

Pretty Princess Sensory Bottle

Sky Sensory Bottle

Rainbow Rainfall Sensory Bottle

  • Total62
  • Facebook0
  • Twitter2
  • Pinterest60
  • Mix
  • Yummly0

Filed Under: Sensory Tagged With: sensory bottles, sensory play

Easy Outdoor Sensory Activities at Home

By Sharla Kostelyk

  • Total166
  • Facebook27
  • Twitter1
  • Pinterest138
  • Mix
  • Yummly0

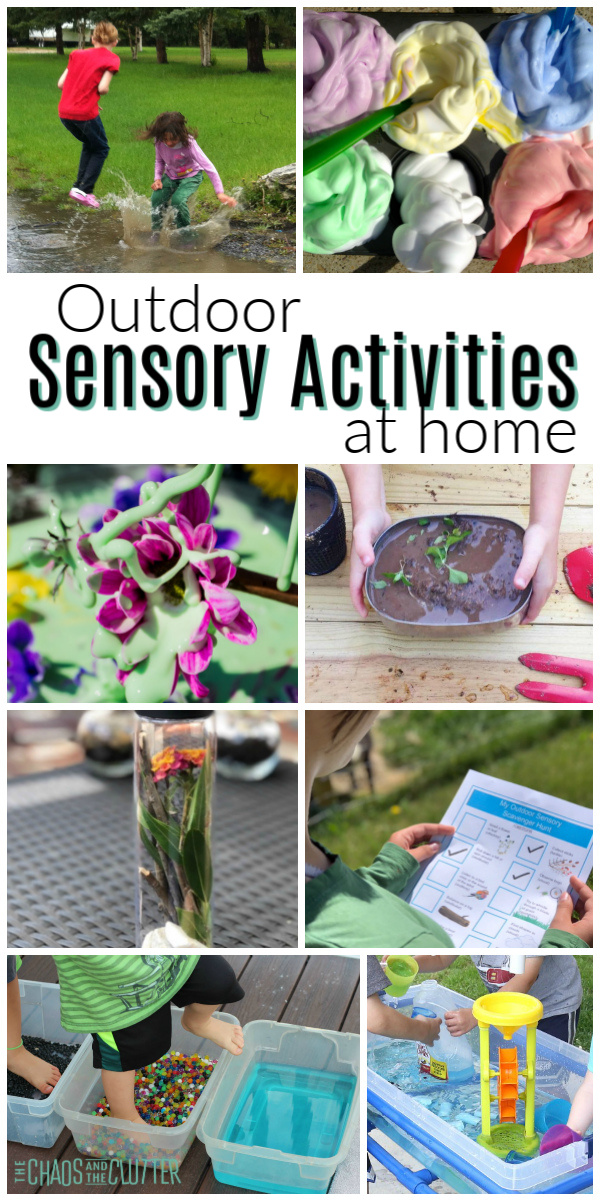
We’ve been stuck inside only able to do indoor sensory activities but now it’s finally warmed up enough to spend some time outside. That means we can finally add these easy outdoor sensory activities to our days. We are so looking forward to getting some fresh air.collage of images of kids playing. Text reads "Outdoor Sensory Activities at home"The kids have already begun exploring in the trees and enjoying the sunshine. It has done wonders for their mood now that they aren’t as cooped up anymore.

Easy Outdoor Sensory Activities at Home

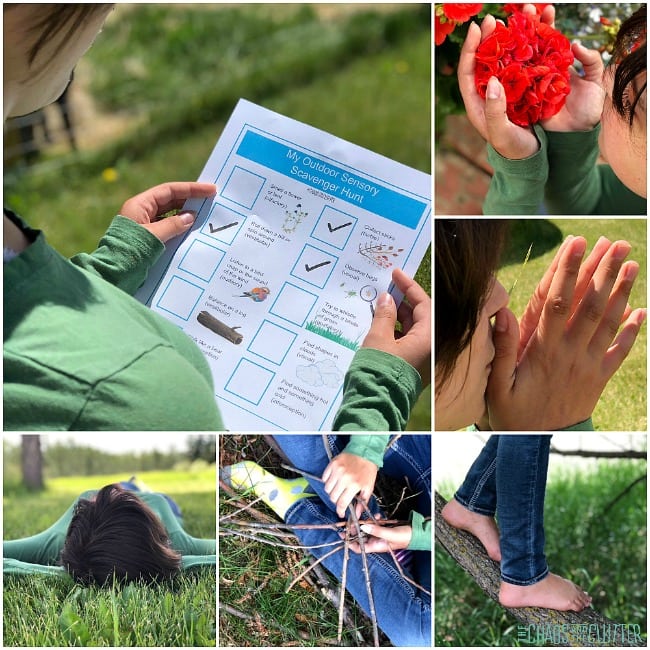
Outdoor Sensory Scavenger Hunt for Kids

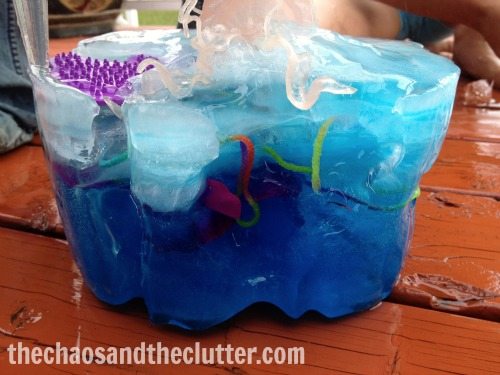
Frozen Treasure Find

This is one of my favourite activities as it keeps the kids busy for hours.

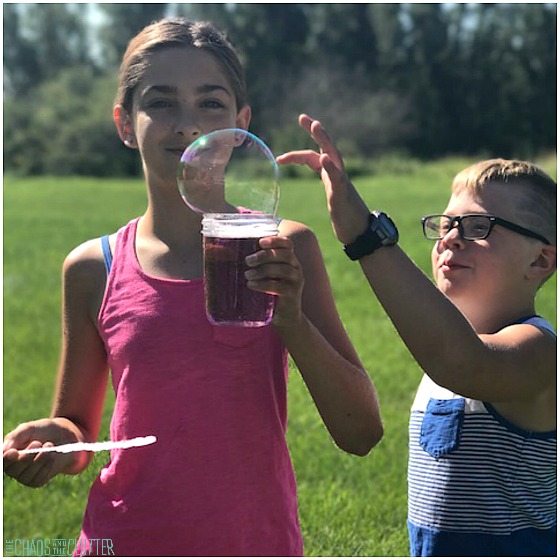
Scented Bubbles: Calming Lavender Bubble Recipe

There are so many fun ways to play with bubbles and this is a great homemade recipe to use.

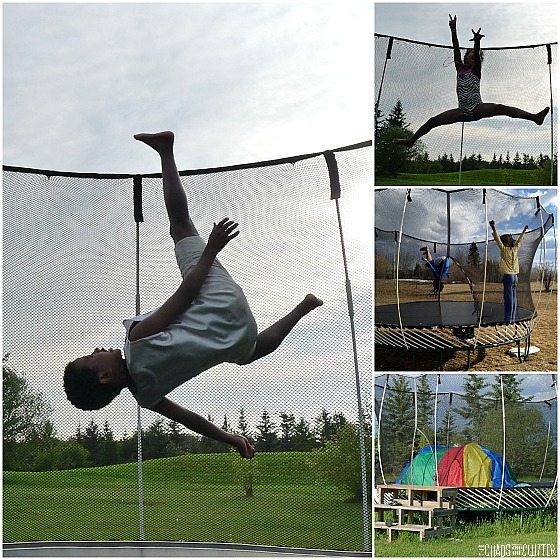
5 Trampoline Games

Playing on a trampoline is good for kids' moods and health. These trampoline games are great fun.

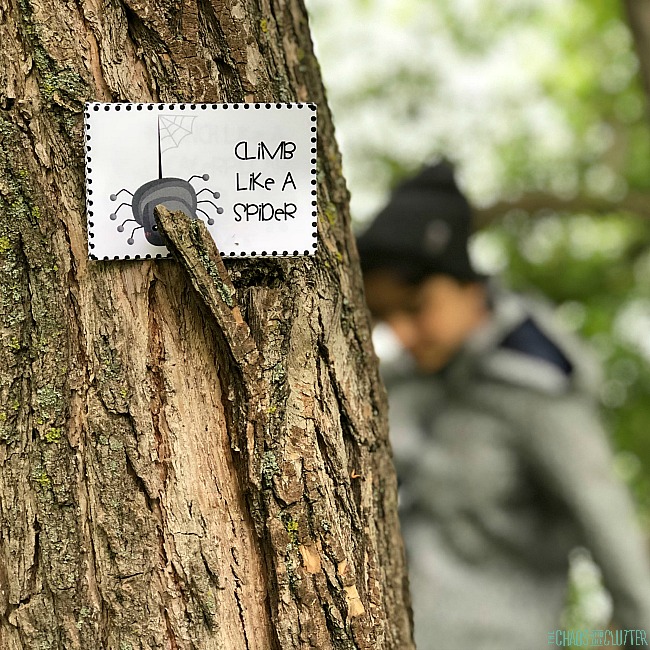
Bug Action Cards for Kids

These bug action cards give kids ideas for practising their gross motor skills while getting fresh air.

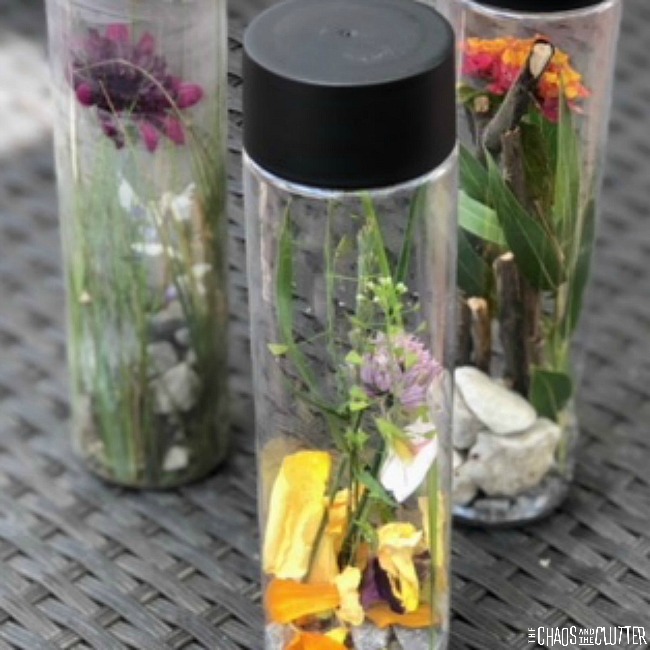
Nature Sensory Bottle

As kids explore outside, they can collect items to create their own unique sensory bottle.

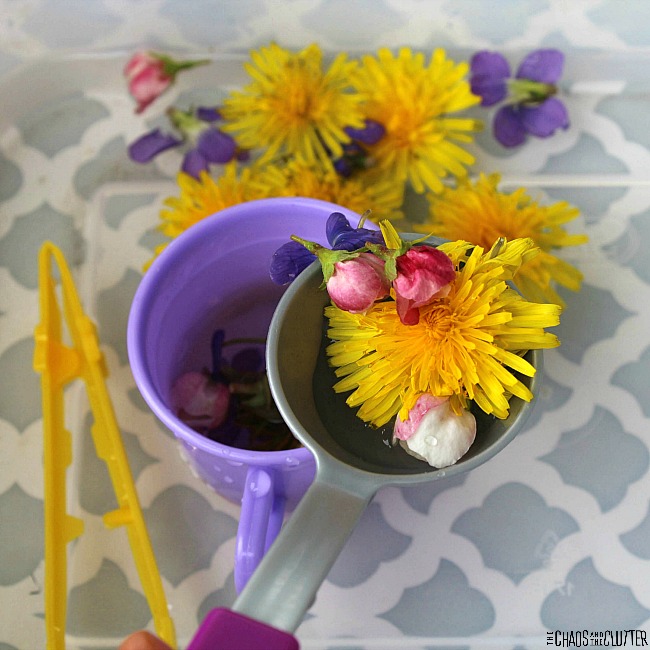
Nature Inspired Spring Sensory Soup

Pour, dump, scoop, and stir with this sensory soup.

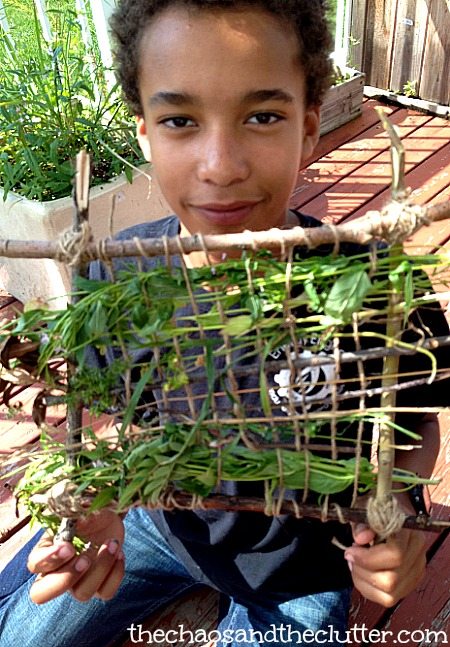
Nature Weaving

Nature meets art in this sensory rich weaving project.

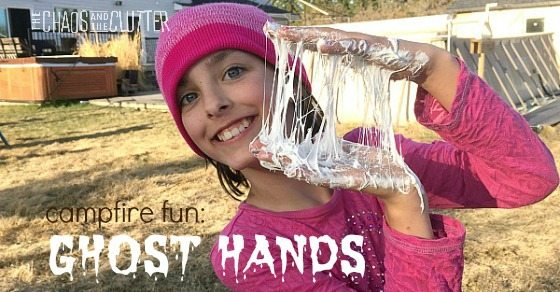
Ghost Hands Campfire Fun

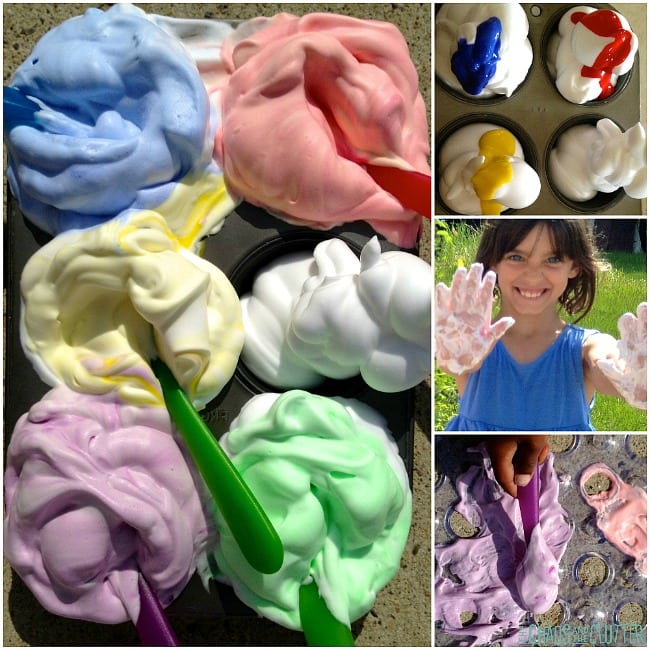
Ewwww! This is so sticky and messy, but kids completely love it!

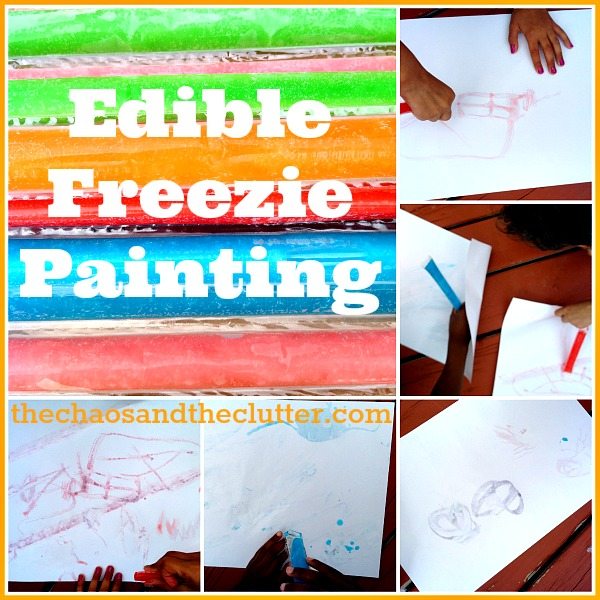
Edible Freezie Painting

Even toddlers can participate in creating art with this taste-safe "paint".

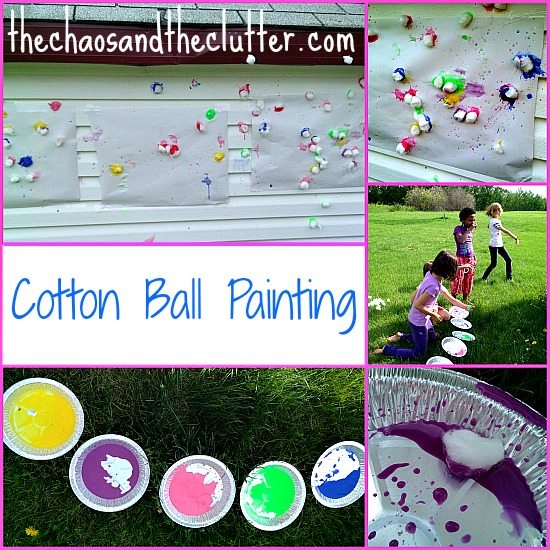
Cotton Ball Painting

Big movements and lots of interaction is required for this cool art activity.

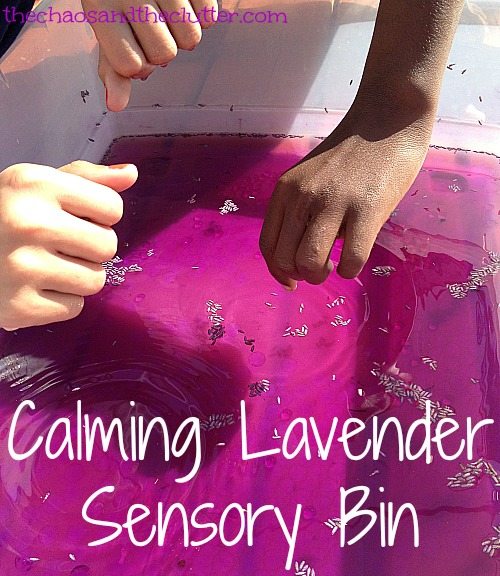
Calming Lavender Sensory Bin

There are only a few simple supplies needed to make this calming sensory bin for kids.

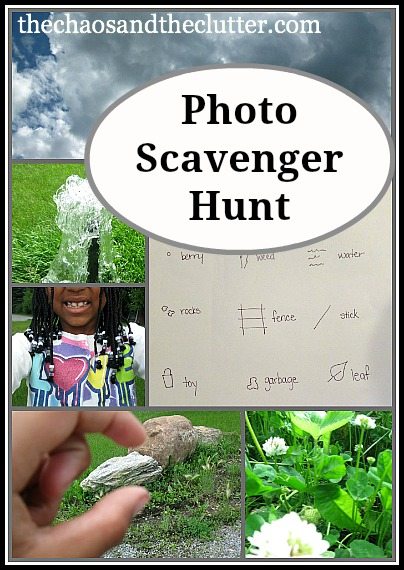
Photo Scavenger Hunt

Older kids will enjoy exploring outdoors in a photo scavenger hunt.

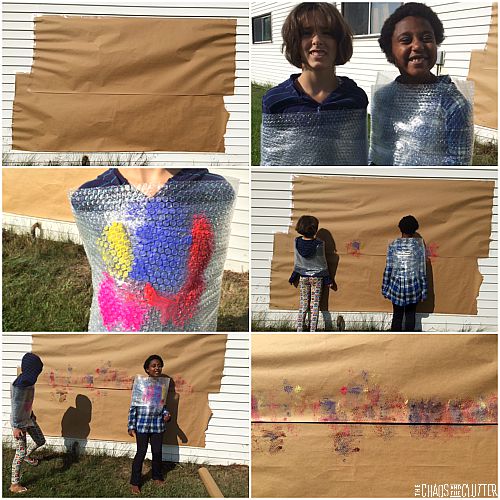
Bubble Wrap Body Slam Painting

Bubble wrap body slam painting is as hilarious to watch as it is to do. Great proprioceptive sensory input too!

Shaving Cream Polka-Dot Sidewalk Painting

Shaving cream painting is a neat alternative to sidewalk chalk.

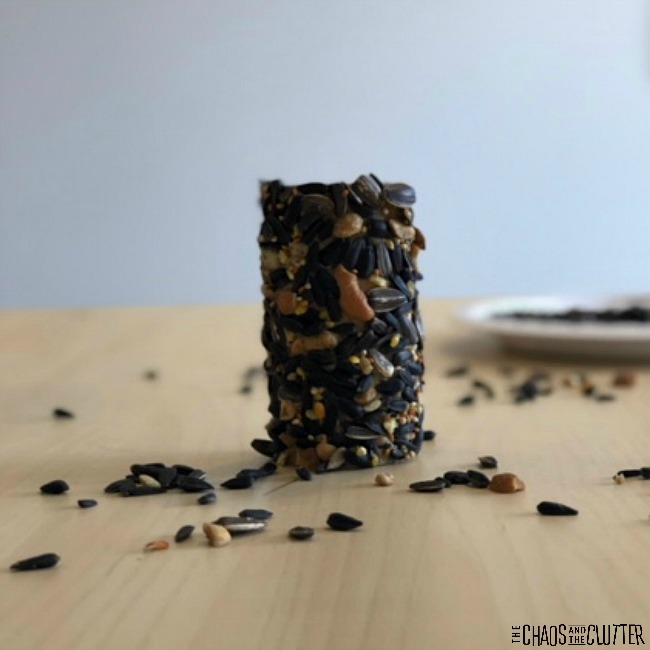
Toilet Paper Roll Bird Feeder

Use your empty toilet paper rolls to create a bird feeder. Then watch as the birds come to eat.

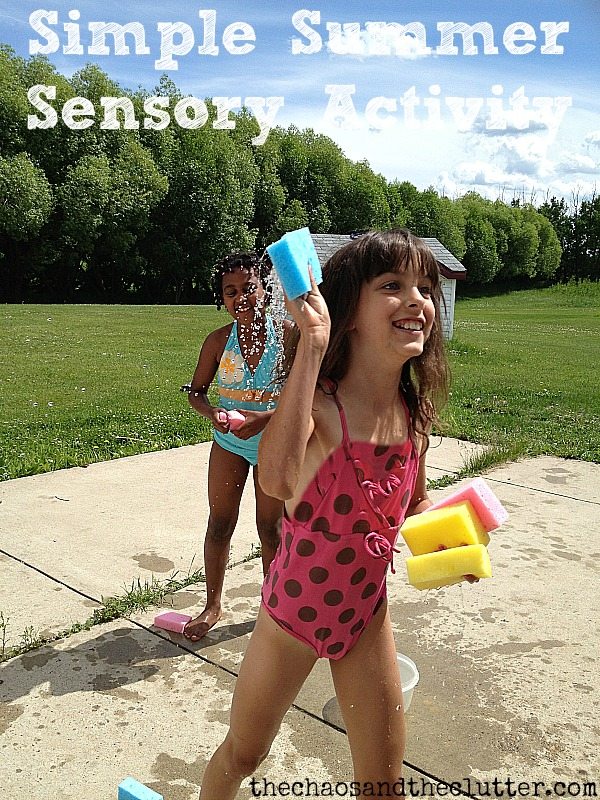
Simple Summer Sensory Activity

This is so easy to set up, but the best ideas usually are. My kids always love this game.

Photo Credit: www.steampoweredfamily.com

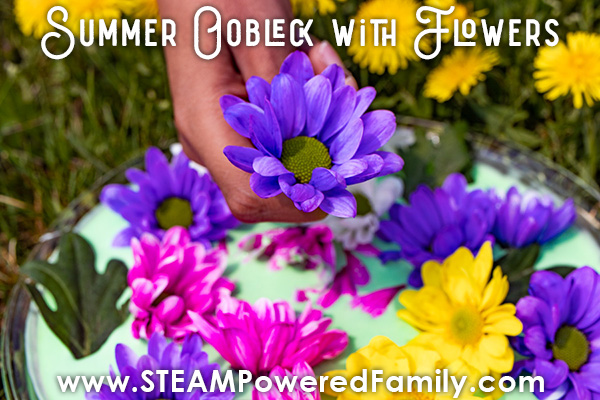
Flower Oobleck

Summer, sensory, and science combine for this ooey-gooey gorgeous flower oobleck.

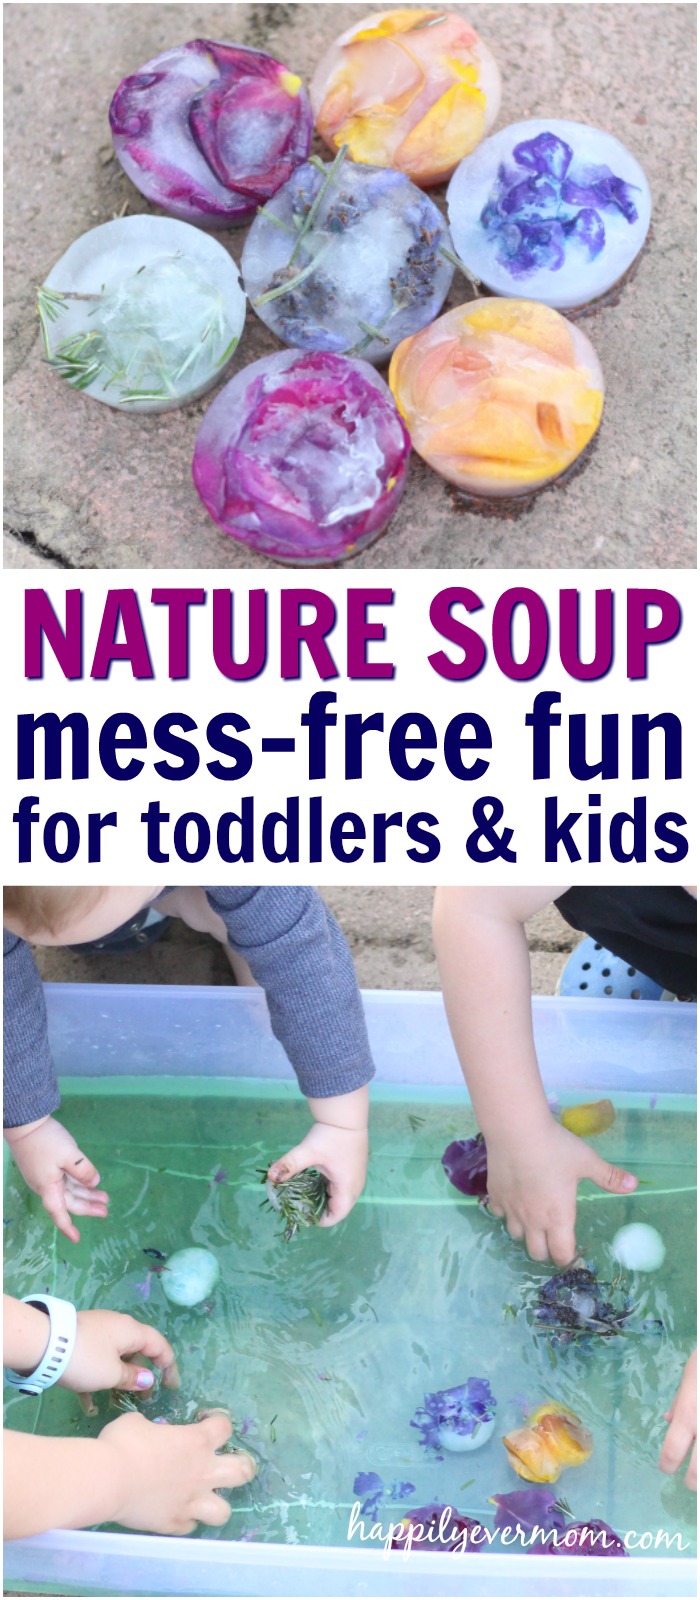
Photo Credit: happilyevermom.com

Nature Soup

A mess free nature sensory bin for toddlers and siblings to do together. Gather materials outside, freeze them, and make a nature soup that will help kids cool down on a hot day as they mix their nature soup together!

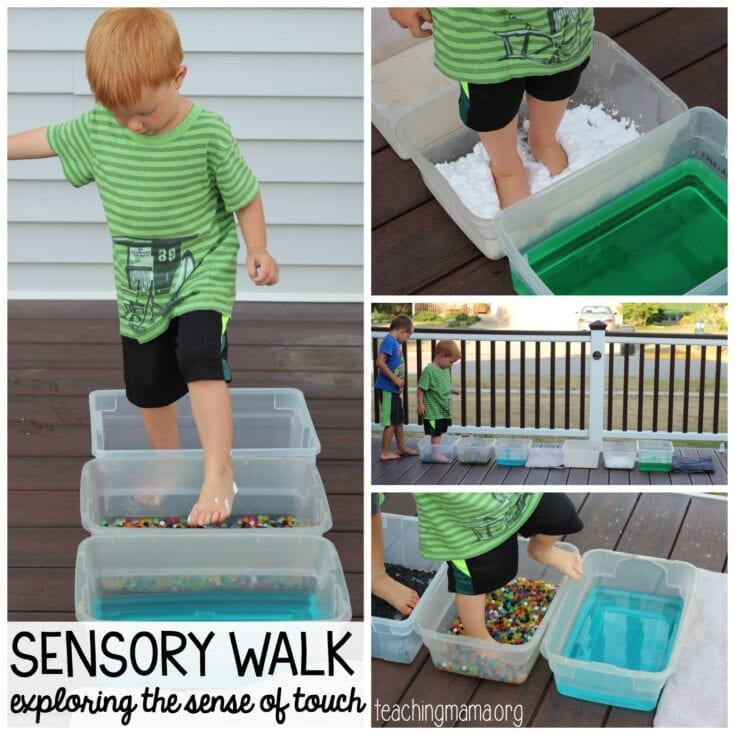
Photo Credit: teachingmama.org

Sensory Walk

Exploring the sense of touch with the toes in a sensory walk!

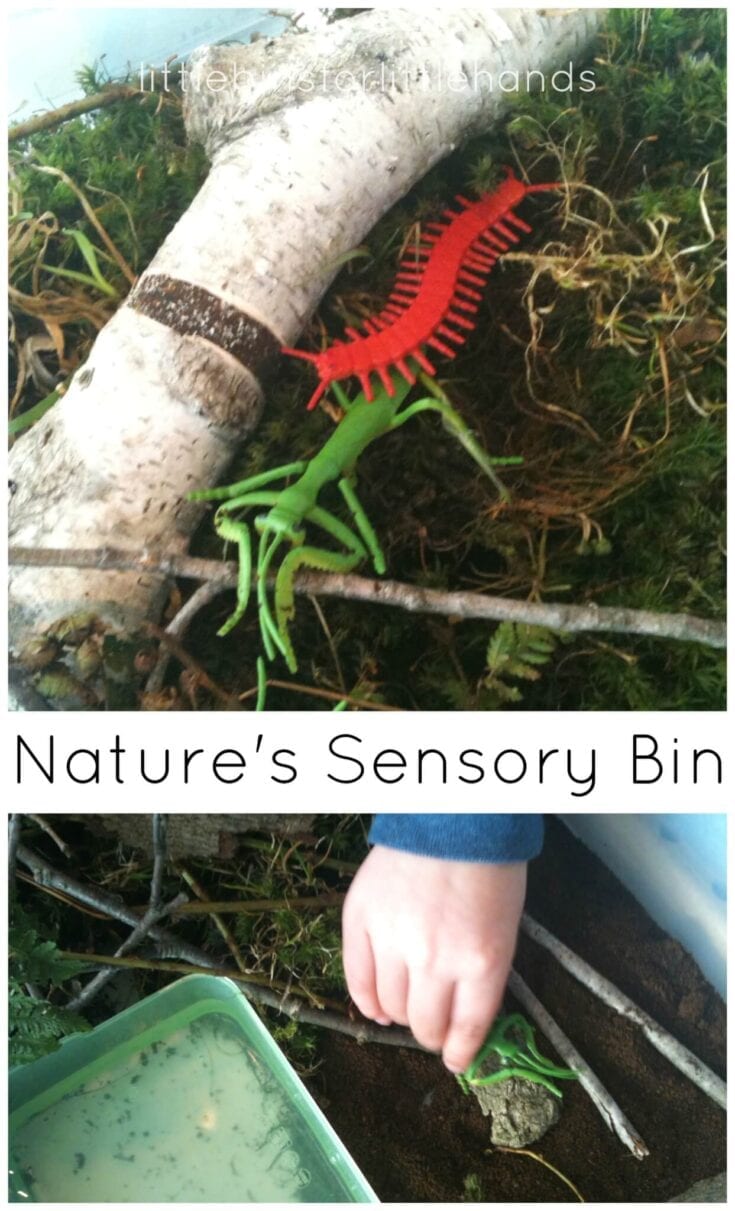
Photo Credit: littlebinsforlittlehands.com

Nature Sensory Bin Outdoor Explore and Discover

Create a real nature theme sensory bin to explore the senses! Go on a nature hunt and collect materials to build an outdoor sensory bin. Make sure to talk with your kiddo about all the smells, textures, and items found in nature.

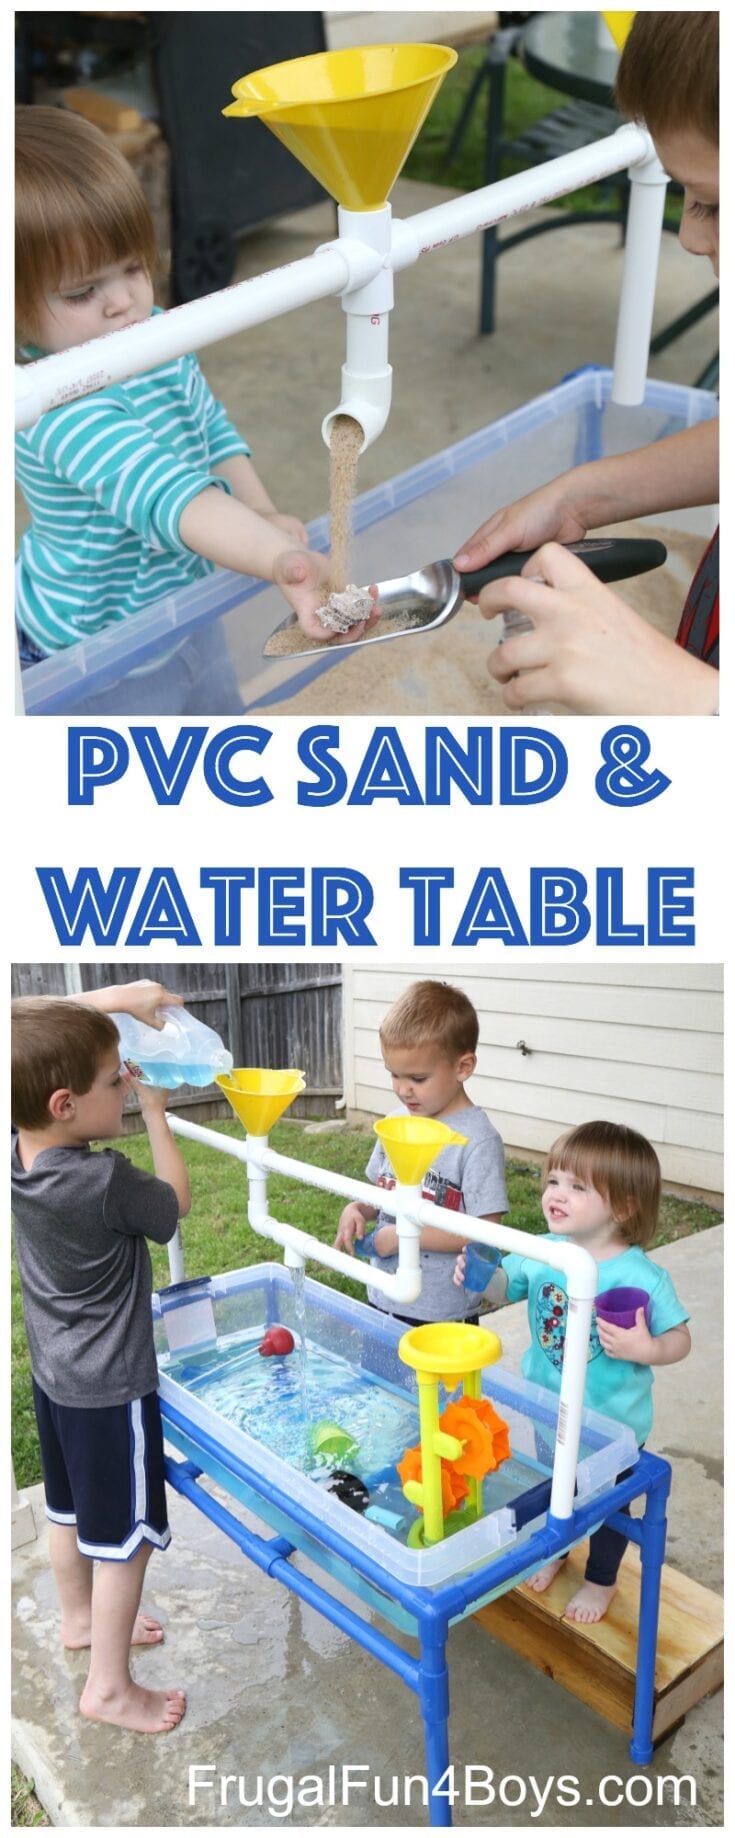
Photo Credit: frugalfun4boys.com

How to Make a PVC Pipe Sand and Water Table

Make your own sand or water table using PVC pipes. There are so many play opportunities with this.

Photo Credit: handsonaswegrow.com

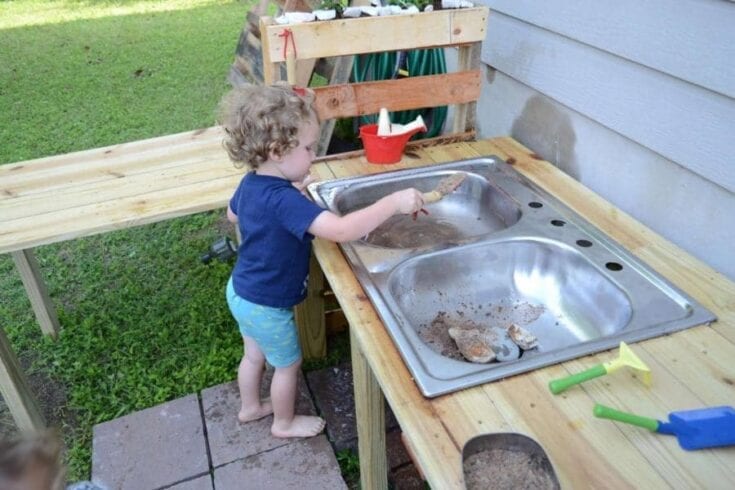
DIY Mud Kitchen in One Weekend

Make your own outdoor mud kitchen for messy exploration.

Photo Credit: happyhooligans.ca

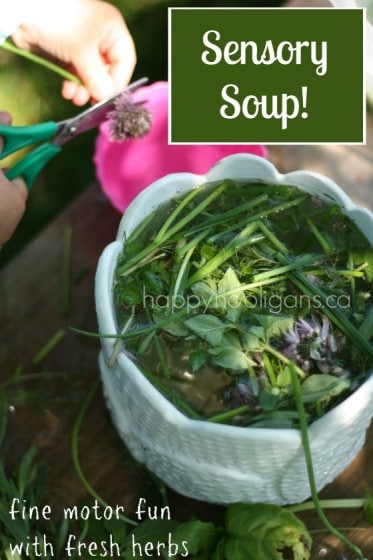
Outdoor Sensory Play - exploring herbs

Make some "homemade" sensory soup using weeds or herbs from the garden.

Photo Credit: www.notimeforflashcards.com

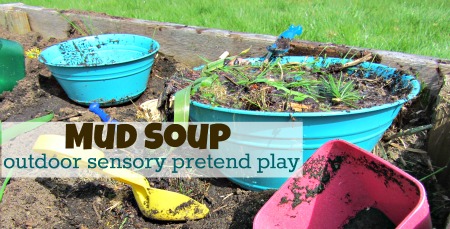
Mud Soup

Pretend play doesn't have to be complicated. How about some good old fashioned mud soup?

Not all activities have to be planned out. There are other things that can be done more spontaneously in the yard. 

Other easy ideas for outdoor sensory activities you can do at home:

  • make mud pies
  • water balloons or an old fashioned water fight
  • obstacle course – Use anything you have on hand such as hula hoops, slides, wood, pallets, tunnels, pool noodles, chairs, and tires. 
  • jump rope
  • relay races
  • sprinkler, kiddie pool, or Slip ‘n’ Slide
  • tag
  • yard work – Great for proprioception and for teaching good work ethic! Think raking, mowing (for kids who are old enough), picking rocks, and carrying firewood or bricks.
  • dig in the sandbox
  • gardening – digging, planting, pulling weeds, and picking are all great tactile sensory input.
  • bike rides
  • hikes or nature walks
  • family campfire
  • tree climbing
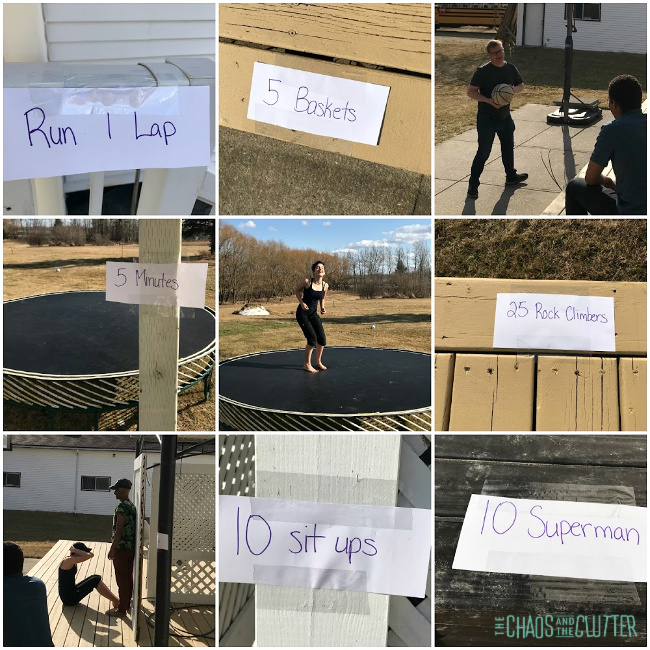
  • interval circuit – set up exercise stations in the yard with signs like “10 Jumping Jacks”, “1 Run Around the Yard”, “10 Supermans” (my kids loved this activity!)

Of course as with all sensory activities, adult supervision should be used. 

In case the weather doesn’t cooperate, you can find a great list of indoor sensory activities for home here.

  • Total166
  • Facebook27
  • Twitter1
  • Pinterest138
  • Mix
  • Yummly0

Filed Under: Crafts and Activities, Sensory, Summer Sensory Activities Tagged With: parenting through pandemic

Easter Fluffy Slime

By Sharla Kostelyk

  • Total77
  • Facebook3
  • Twitter0
  • Pinterest74
  • Mix
  • Yummly0

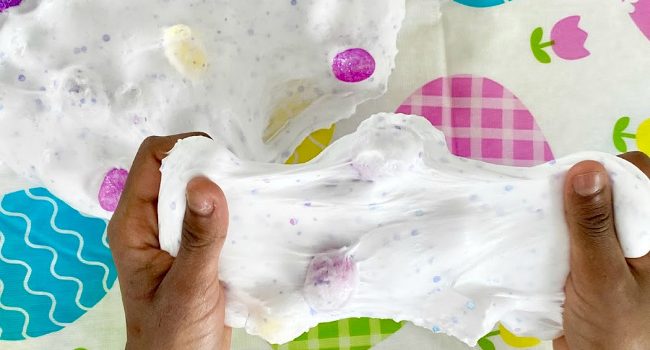
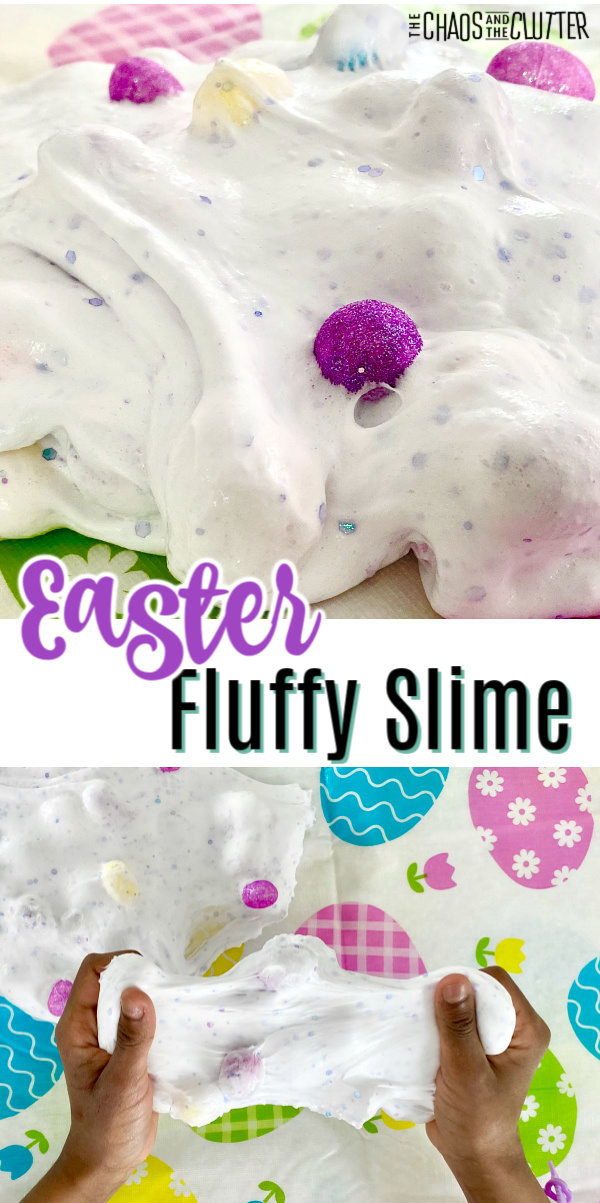
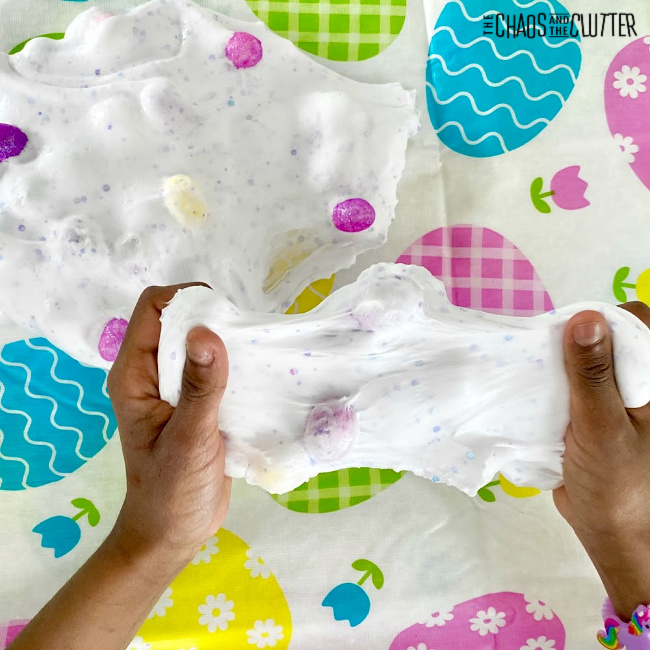
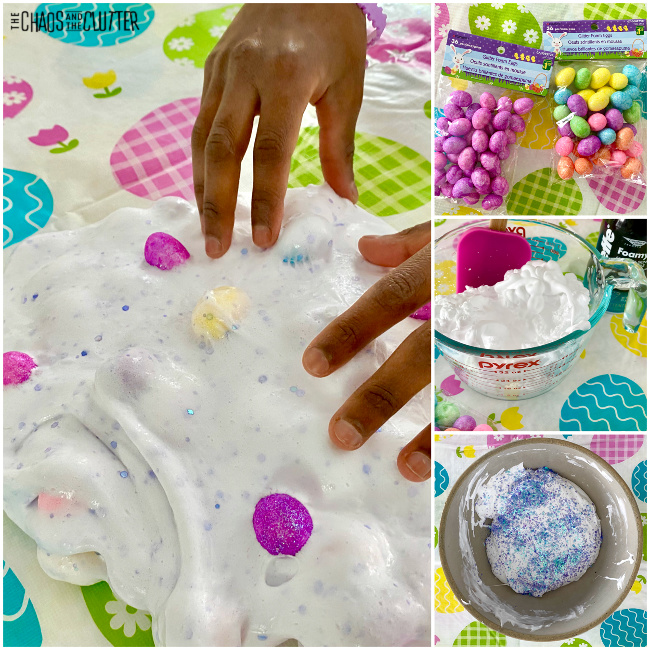
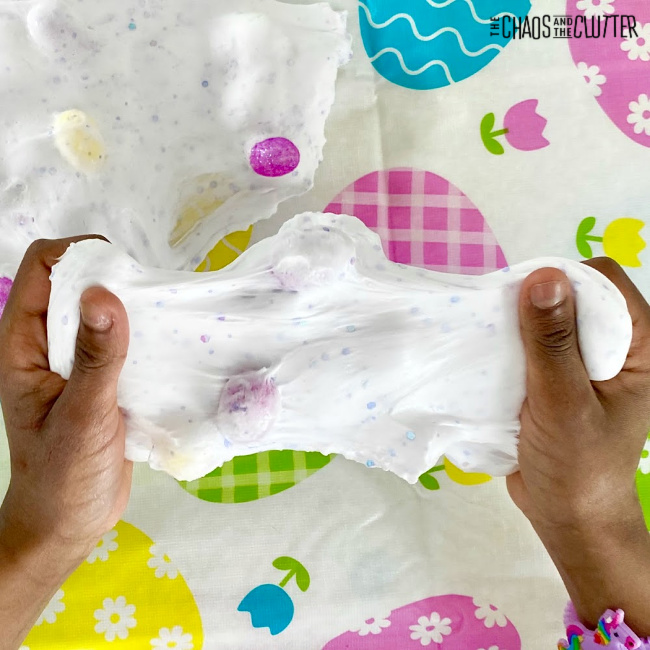
Bring on Spring with this feathery Easter fluffy slime. Its texture is so soft, making it perfect for celebrating this Spring holiday. I am wanting anything that makes that feel closer. white puffy goo with small colourful eggs. Text reads "Easter fluffy slime"Full disclosure: I’m dreaming of Spring right now because where I live, it is still below freezing and snow blankets the ground a week into April. So I am all about thinking about baby chicks, green grass, and colourful flowers right now! And of course Easter.

This Easter fluffy slime is soft and downy-like in its texture which reminds me of those Spring things. Watch the video below to see just how easy it is to make your own Easter fluffy slime. 

Easter Fluffy Slime:

Ingredients:

  • 2/3 cup of Elmer’s white School Glue
  • 1/2 teaspoon baking soda
  • 1/4 cup water
  • 2 1/2 cups shaving cream
  • 1 1/2 Tbsp. contact lens solution
  • blue or purple glitter
  • mini glitter foam eggs (I found mine at the Dollar Store)

Directions:

    1. Add glue to a bowl.
    2. Mix in water and baking soda.
    3. Add shaving cream and mix.
    4. Stir in food colour.
    5. Slowly add contact solution. Mix.
    6. Add the glitter.
    7. Knead.
    8. If it’s still too sticky, add a drop more of contact solution and knead some more.
    9. Fold in the mini glitter foam eggs. Continue to knead.
    10. Store in an airtight glass or plastic container.

Fluffy Slime Troubleshooting Tips:

You need an activator in order to create the slime’s texture. In this recipe, we used contact solution as the activator. Without that, the glue and shaving cream would just be a bowl of gunk.

Fold in extra shaving cream if you want your slime to be fluffier. 

If the slime isn’t stretchy after days of play, try to add a bit of hot tap water or a small amount of lotion.

If you find that the slime is too sticky, add a drop or two more of the contact solution or a small amount of baby oil and knead. The real key here is the kneading.

These tips will help you to get the right consistency with your slime.

Looking for more easy sensory play recipes to inspire creativity year-round? Join me for a free five day email series on Sensory Activities and Solutions and get a complimentary sample of our Sensory Play Recipes eBook.

Check out some of our other Easter sensory activities:

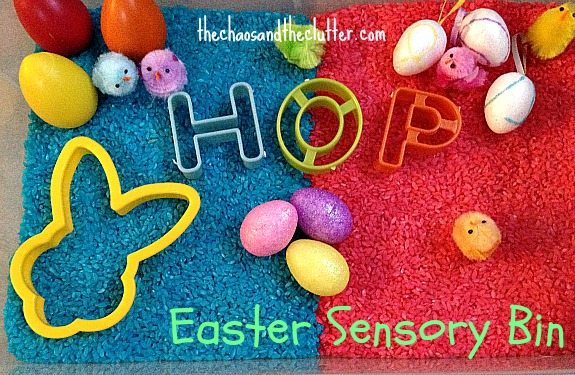
Easter Egg and Bunny Sensory BinEaster Egg and Bunny Sensory Bin

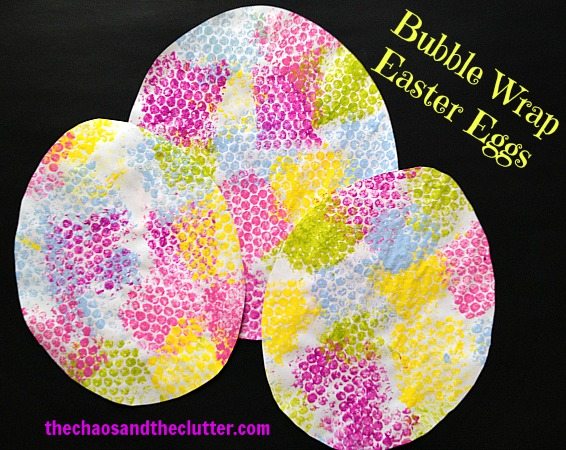
Bubble Wrap Easter Egg PaintingBubble Wrap Easter Eggs

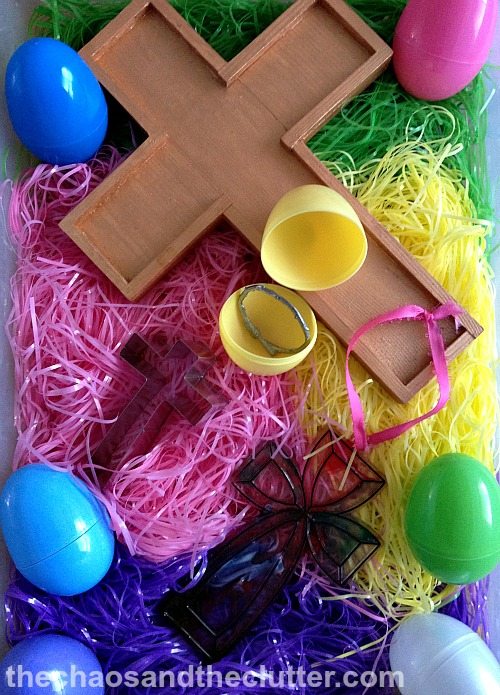
Christ Centered Easter Sensory Bin

  • Total77
  • Facebook3
  • Twitter0
  • Pinterest74
  • Mix
  • Yummly0

Filed Under: Crafts and Activities, Sensory Tagged With: sensory play, slime

Baseball Mini Sensory Bottle

By Sharla Kostelyk

  • Total62
  • Facebook0
  • Twitter2
  • Pinterest60
  • Mix
  • Yummly0

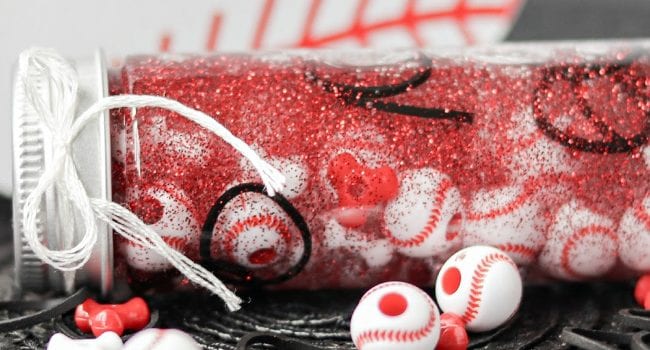
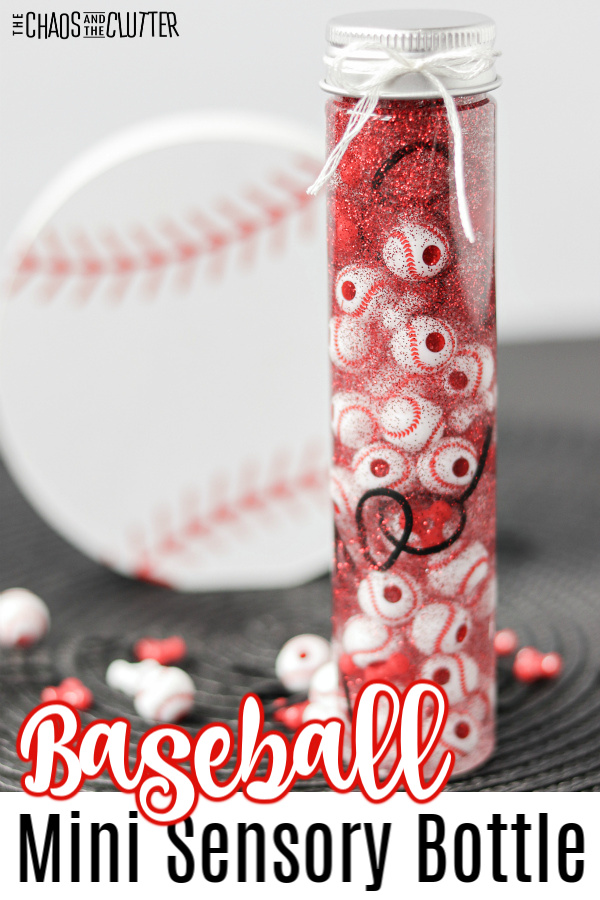
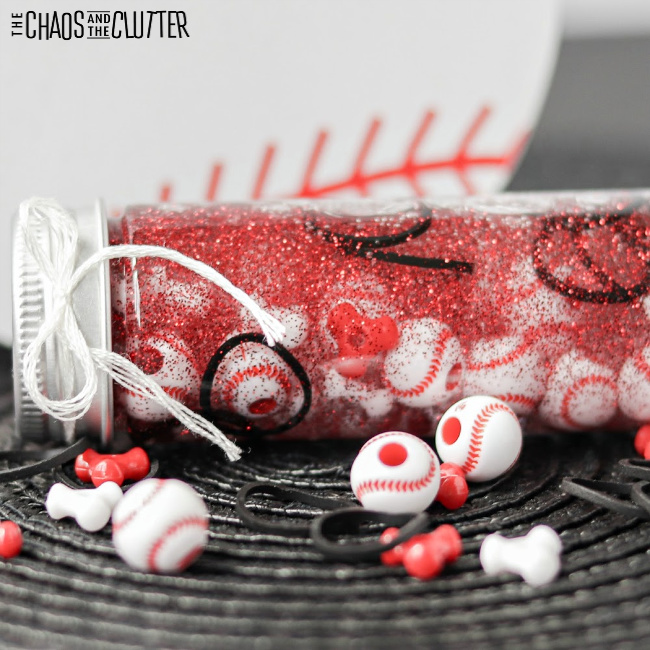
Lately, we’ve been changing it up a bit with our sensory bottles by making some of them in tiny test tubes. This Baseball Mini Sensory Bottle is one of those. baseball in background and small clear bottle filled with liquid and mini baseballs and text that reads "Baseball Mini Sensory Bottle"

You can customize the colours of this baseball sensory bottle to show your support for your favourite team! Whether it’s a professional team, collage, or school team, show your team pride. You could even take it with you to cheer on your team at their games.

Baseball Mini Sensory Bottle:

Supplies needed:

  • mini bottle (we used these plastic test tube treat containers)
  • clear dish soap
  • mini baseball beads
  • red and white tri beads (or choose a colour for your favourite team)
  • red glitter (or choose the colours of your favourite team!)
  • black mini elastics (like the Rainbow Loom ones)
  • optional: hot glue

Directions:

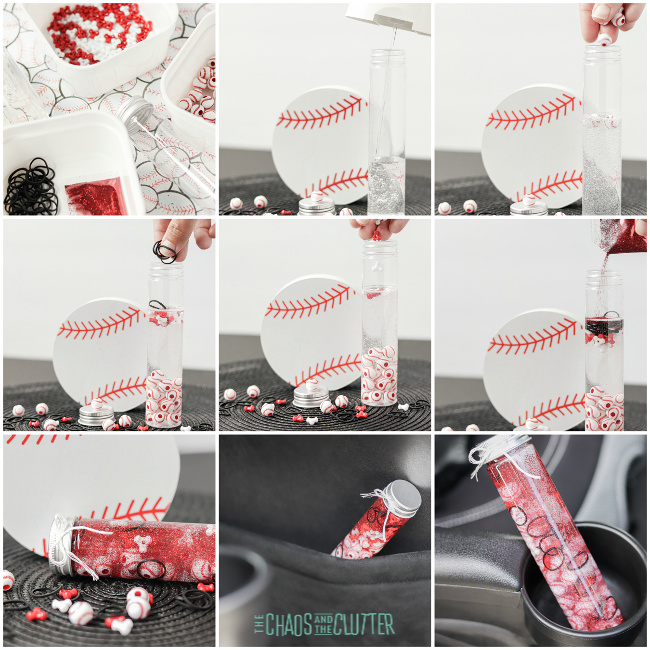
  1. Pour clear dish soap into a mini bottle until it’s about half full.
  2. Drop in some mini baseball beads.
  3. Add in the beads and glitter. Drop in the small elastics.
  4. If there’s any room left in the bottle, fill the the top with water.
  5. Replace the lid. If using with small children, you can secure the lid with hot glue.

With this or any other sensory play activity, adult supervision is recommended. Even with the lid secured, it can be opened by determined kids or when the glue gets old and the bottle contains small parts that could be a choking hazard.

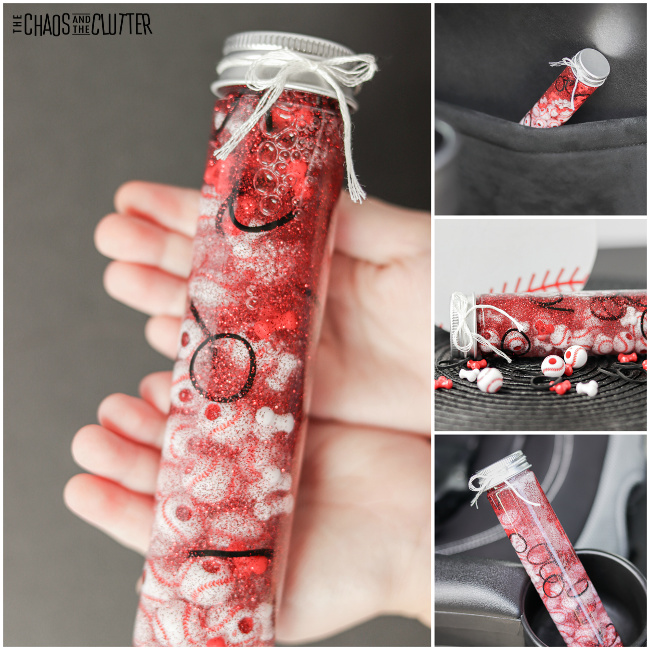
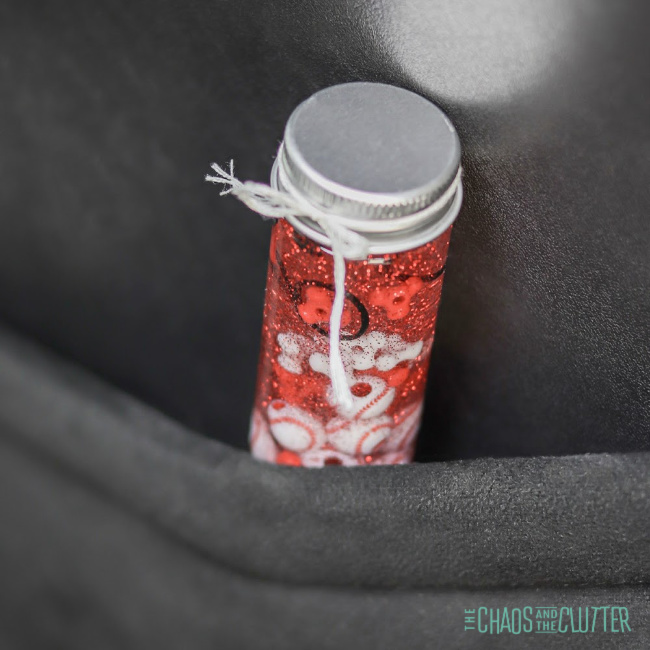
With its tiny size, this mini calm down bottle can be brought anywhere. You can tuck it into the seat pocket of the vehicle, place it inside your child’s backpack, or you can include it in their calm down kit.  This adorable mini bottle incorporates both the visual and tactile sensory systems. Because the glitter and beads stay suspended in the dish soap and fall slowly as it is turned  or flipped over, this can also serve as a calm down bottle. Children can watch the glitter slowly fall as they focus on regulating their breathing. Are you looking for more easy sensory play ideas to use with kids? Join us for a five day email series on Sensory Activities and Solutions and get a free sample of our Sensory Play Recipes eBook.
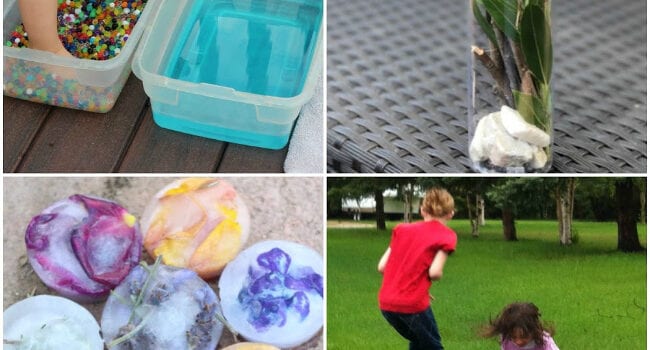
 

Sensory Play Sample

Sign up to receive your free Sensory Play Recipes Sample. You’ll also be in our free Sensory Solutions and Activities email series and receive a weekly newsletter.


Yes, Get Me In!

We hate spam too. Unsubscribe at any time.

Powered By ConvertKit

You may also be interested in these mini sensory bottles:

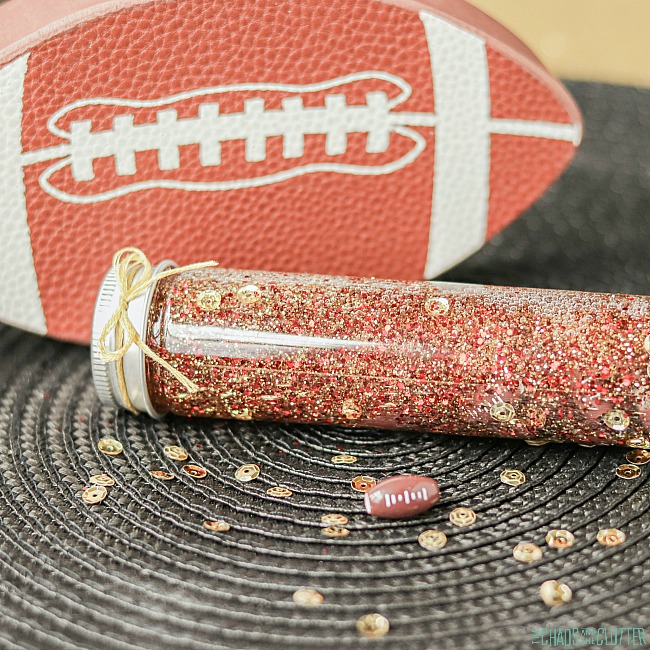
Football Mini Sensory Bottle

Zoo Animals Mini Sensory Bottle

  • Total62
  • Facebook0
  • Twitter2
  • Pinterest60
  • Mix
  • Yummly0

Filed Under: Sensory Tagged With: sensory bottles, sensory play

  • « Go to Previous Page
  • Go to page 1
  • Go to page 2
  • Go to page 3
  • Go to page 4
  • Interim pages omitted …
  • Go to page 47
  • Go to Next Page »

Primary Sidebar

Categories

We are a participant in the Amazon Services LLC Associates Program, an affiliate advertising program designed to provide a means for us to earn fees by linking to Amazon.com and affiliated sites.

Copyright © 2023 • The Chaos and the Clutter • Site Design by Jeni @ The Blog Maven

Return to top of page

Copyright © 2023 · Chaos and the Clutter 2.0 on Genesis Framework · WordPress · Log in

Enter your email to receive this set of Sensory System Behaviours Easy Reference Cards!