I find that having themes makes creating a sensory bin much easier and often, the themes are easy to think of such as near a holiday or when we are doing a unit study on a particular topic. Sometimes, themes are a bit harder to think of. In those times, doing something a bit more generic such as using items that all start with a certain letter or everything in one colour can be an easy way to create a sensory tub.
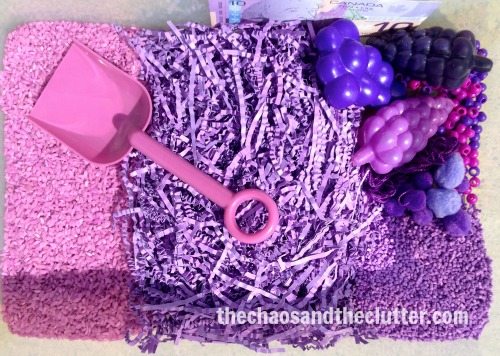
 I decided on a purple themed bin because I had some great things on hand that just happened to be purple! For the base, I used crinkly purple paper shreds for crunch, rice that had been dyed purple, purple foam bits that were nice and soft, beads, and pompoms. I added a purple shovel as a scoop, string, plastic grapes in different shades of purple, and a (fake) Canadian $10 bill.
 To create a sensory bin around a particular colour is as easy as having a look around your house to see what you may have on hand that would fit the bill and throwing it all into a container for the kids to explore! The ideas are endless…for a blue themed bin, water with a few drops of blue food colouring could serve as a base as could blue jello or glass beads. For a white bin, cotton batting or cotton balls make an obvious choice for a base, but foam packing pellets, white rice or shaving cream could also be used.
Creating a bin using your child’s favourite colour will make your child feel special. Of course, finding the items to add to the bin can be a great learning experience, especially for children who are just learning their colours. Involve your child in choosing what to add to the bin and in brainstorming what items in that colour may already be in your house.
I will be featuring sensory activities every day this week in celebration of the launch of my new eBook, Sensory Bins. Buy your copy today for just $2.99.
 For more sensory bin ideas, you may want to follow my Sensory Bins Board on Pinterest or check out our family’s favourite sensory bins.
Join me for a free 5 part email series Sensory Solutions and Activities and get your Sensory System Behaviours Easy Reference Cards.
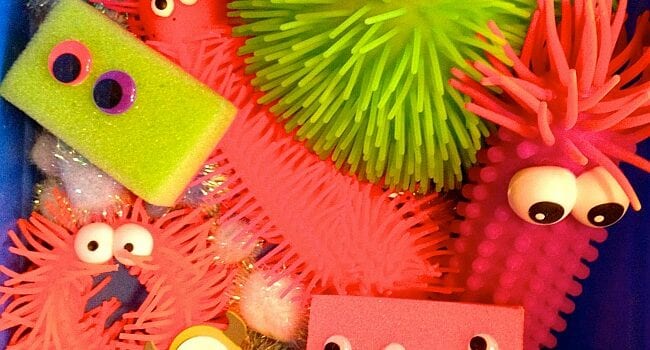
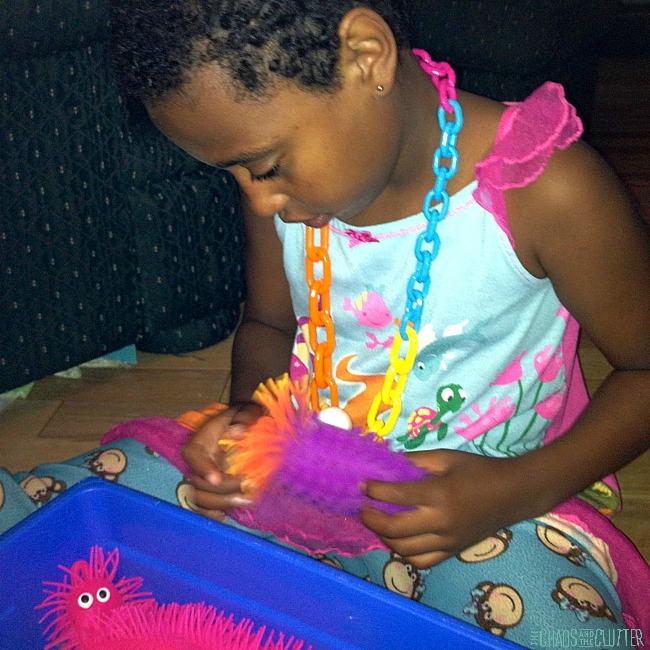
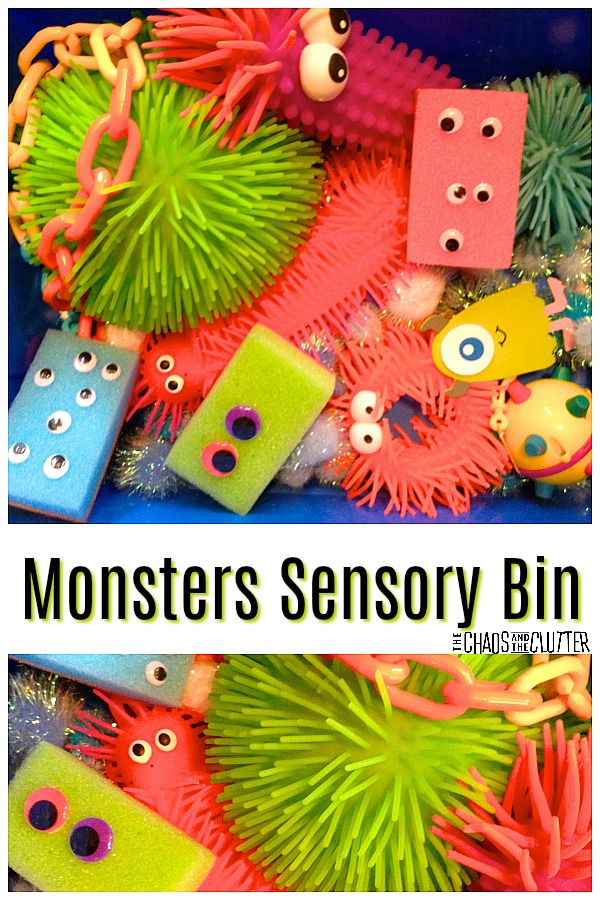 Last week, I made a Monsters themed sensory bin. This was such a fun bin to create and for the kids to play with.
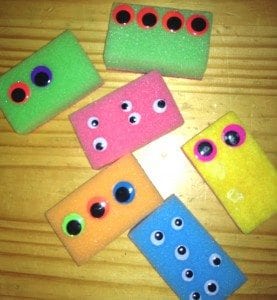
 There are a variety of textures includes because of the squishy sponges, the hard plastic on the links and the Bumbleball. There are also lots of other textures to explore with the wood, the fuzzy bits on the pompoms and on some of the sensory balls.
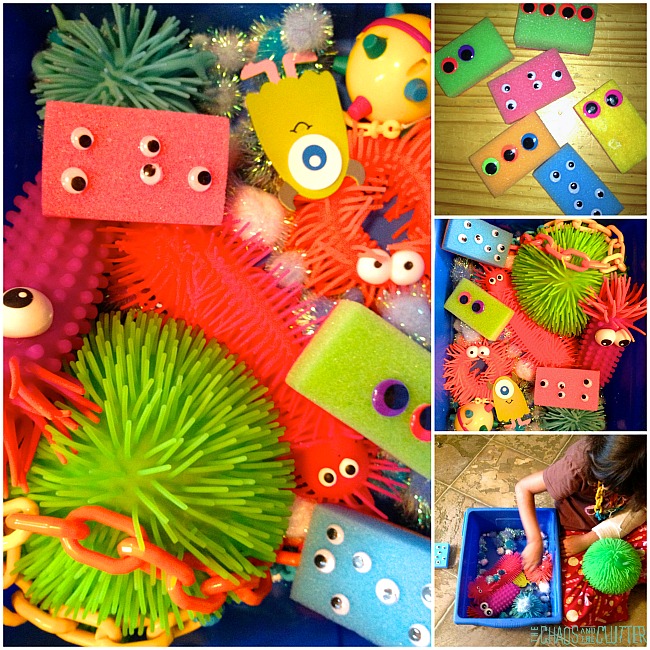 Be sure to use caution if making this sensory bin for little ones. The googly eyes can come off the sponges, especially if they chew on them and that could pose a choking hazard. As with all sensory play, adult supervision is recommended.