I find that it’s so much easier to think of fun sensory activities when the weather is nice! While this activity did require some prep work on my part, it was so worthwhile because this kept the kids occupied for a very long time!
 I actually made one big frozen treasure find for the kids all to work on together and then little ones for each of them just for fun.
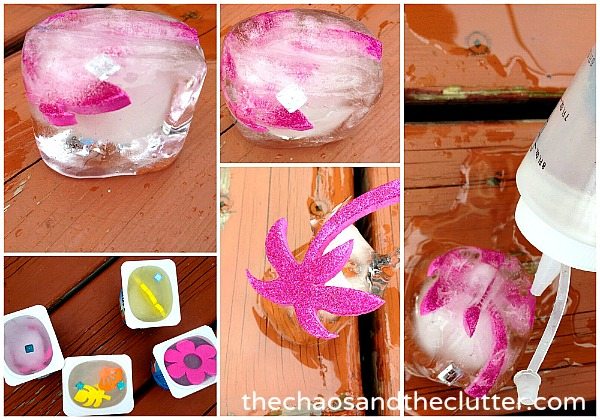
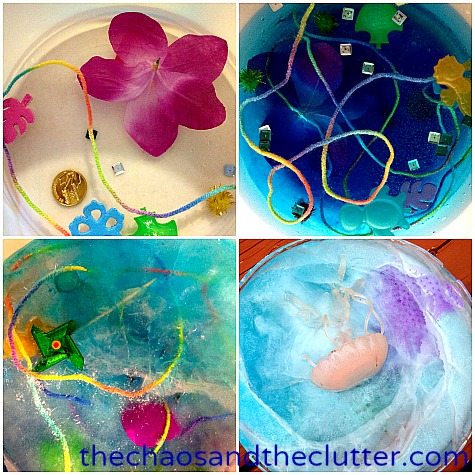
For the individual ones, I used empty yogourt containers and put a few small items in each. I used glittery foam stickers, sequins and pompoms. I then filled them with water and froze them. The little ones were much more challenging to unmold than the big one was, but after having them sit in water for a minute, they came out easily.
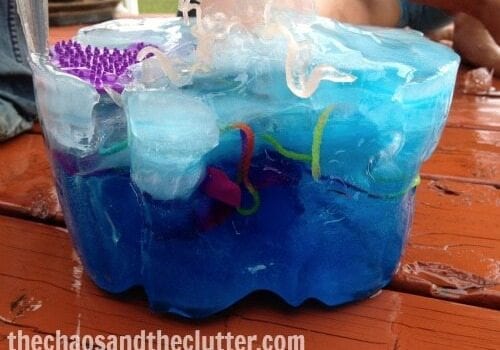
 The larger one took more time to make as I made it in layers. I used an empty ice cream bucket and placed some items at the bottom before adding a layer of water. I then put that in the freezer and when it had set, I added a few more items and a layer of water that I had added some blue food paste to so that it created layers of blue. The interesting thing is that the layers of regular water I added afterwards each took on a bit of the blue but less with each layer, creating a really cool effect that was completely unintentional!
The weather hadn’t been great, so I wasn’t in a rush to complete this and took a few days of adding layers here and there and keeping it in the freezer in between.
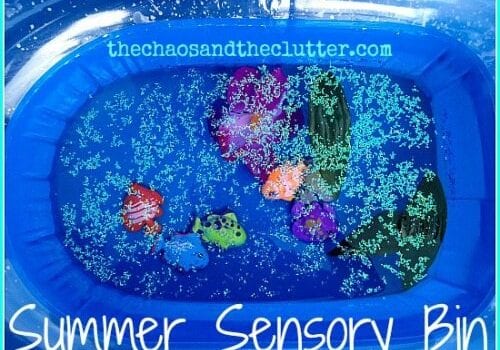
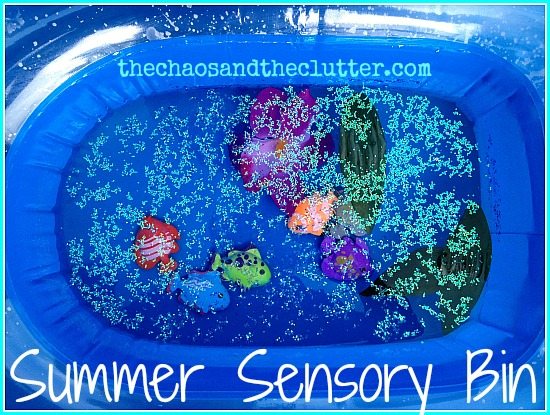
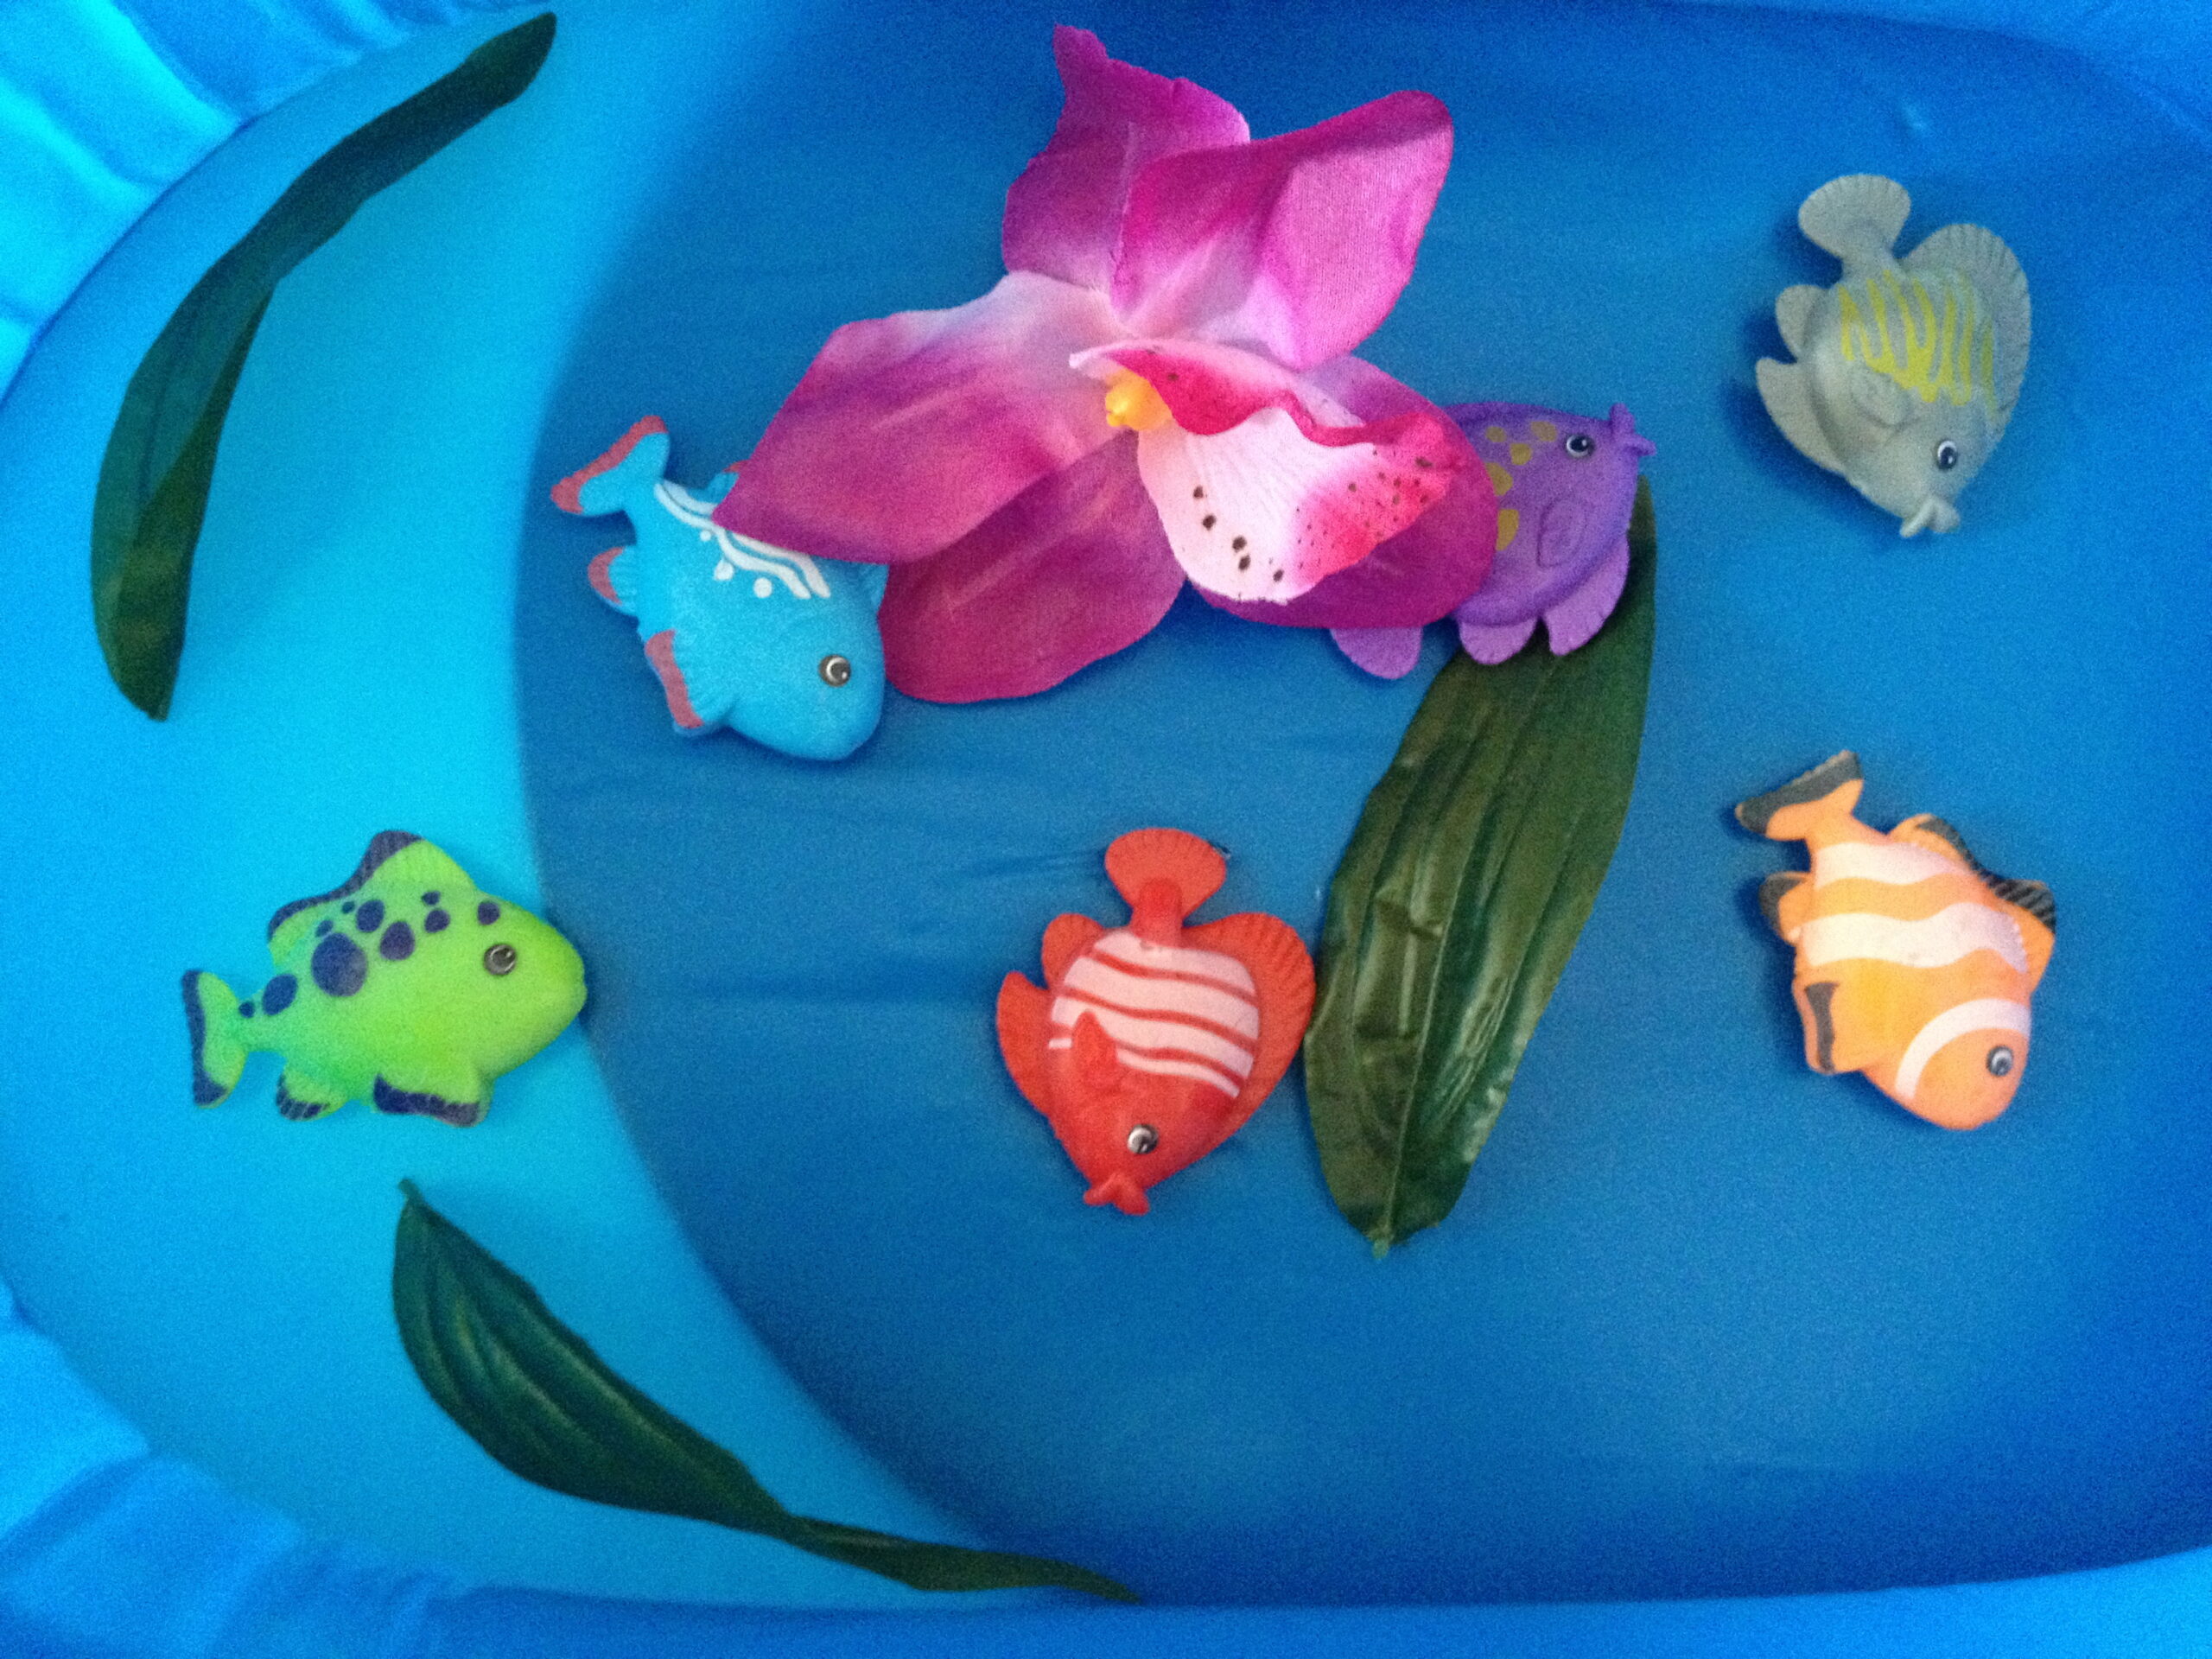
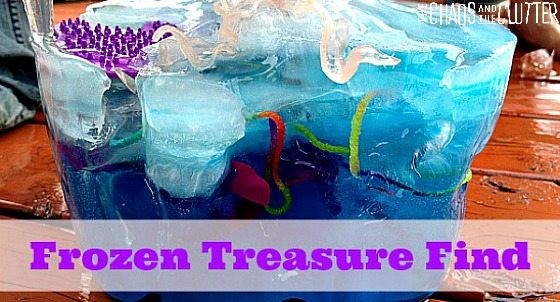 For the “treasures”, I used a few play coins, sequins, ocean life shaped ice cubes, pompoms, silk flowers, foam stickers, string that I wound through the layers, toy fish, and mini pinwheels. I tried to stick with a summer theme.
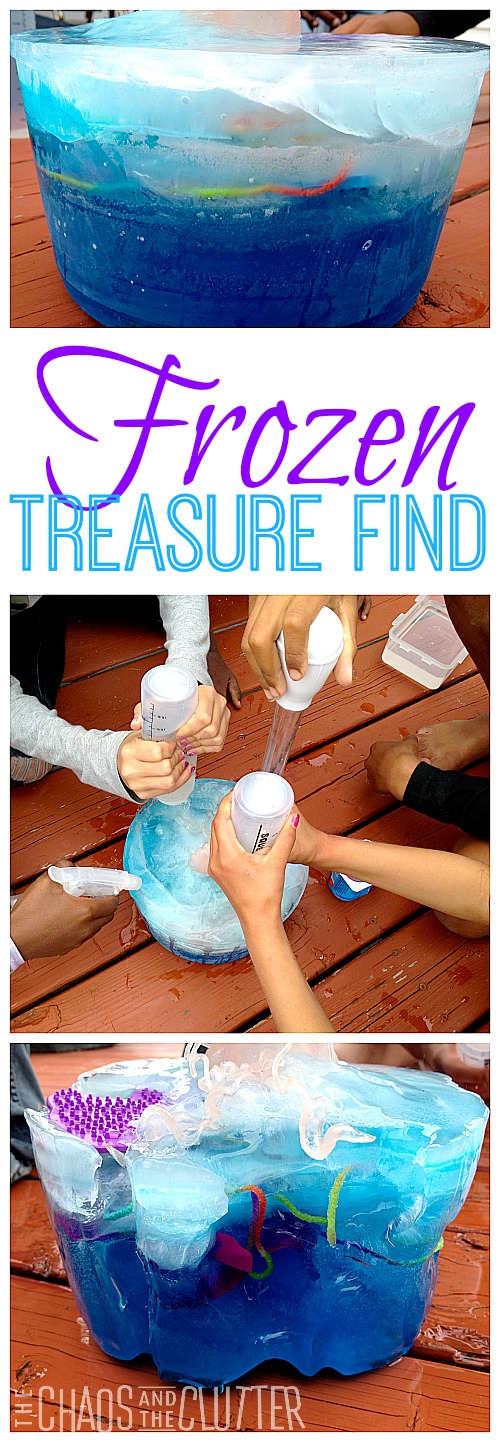
 I ran the bucket under the water for a few seconds to release the ice creation from the ice cream pail and set it outside for the kids to play with. They used spray bottles, squirt bottles, a turkey baster, and plastic spoons to try to release the treasures from the ice.
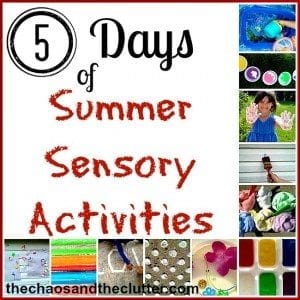
This occupied them for a long time and it morphed into a bit of a science project as they decided to experiment with different temperatures of water in their bottles and with different techniques. It was also a good way to cool off on a hot summer day!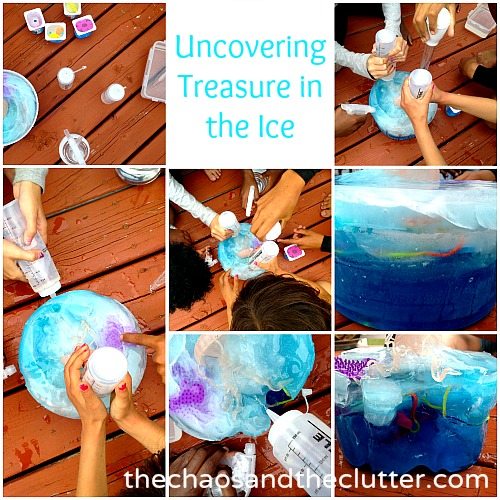 This project is part of my series on Summer Sensory Activities.
 If you are looking for information on making sensory bins, you may be interested in my book.
Join me for a free 5 part email series Sensory Solutions and Activities and get your Sensory System Behaviours Easy Reference Cards.
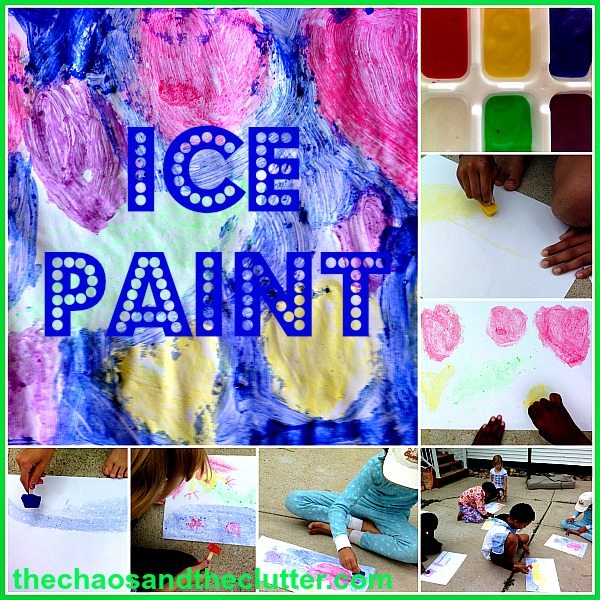
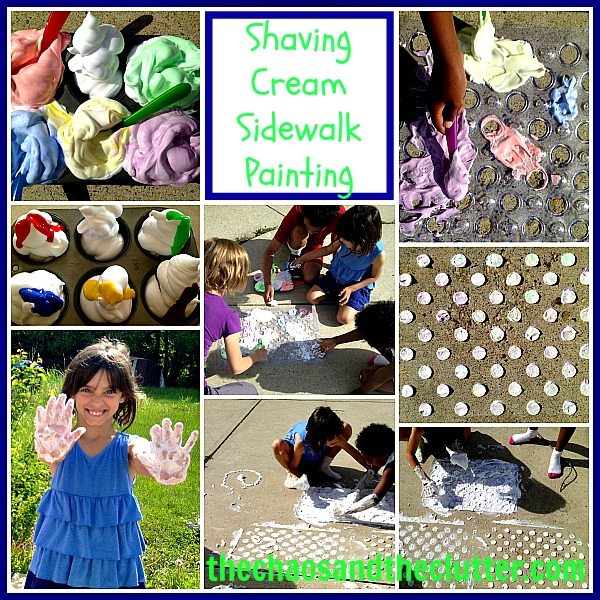

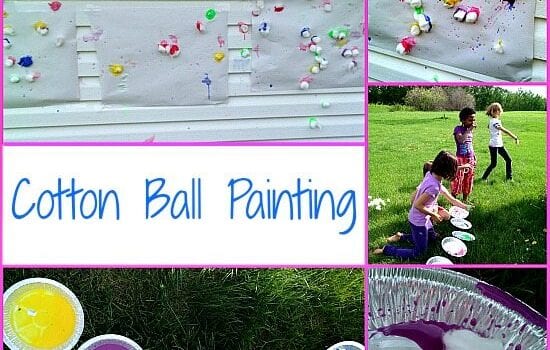
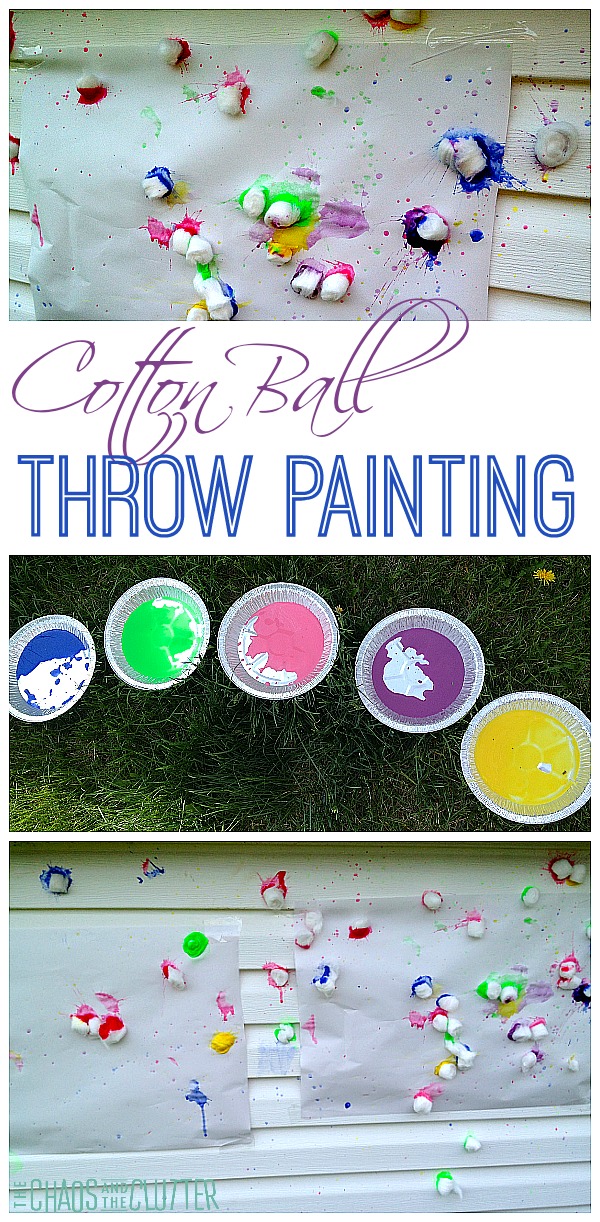 Cotton Ball Painting Instructions:
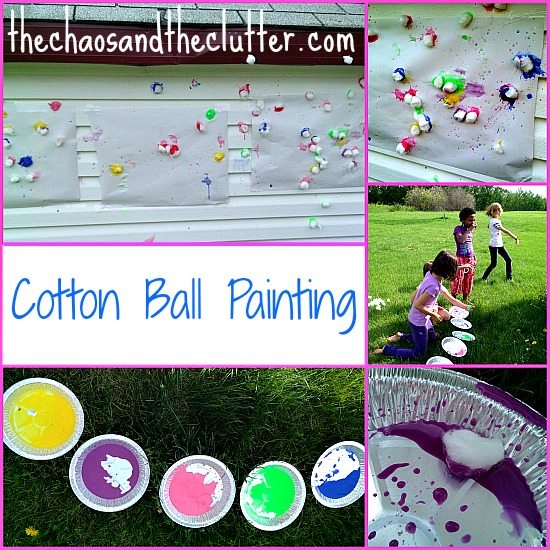 All the kids had to do was to dip a cotton ball in paint and throw the