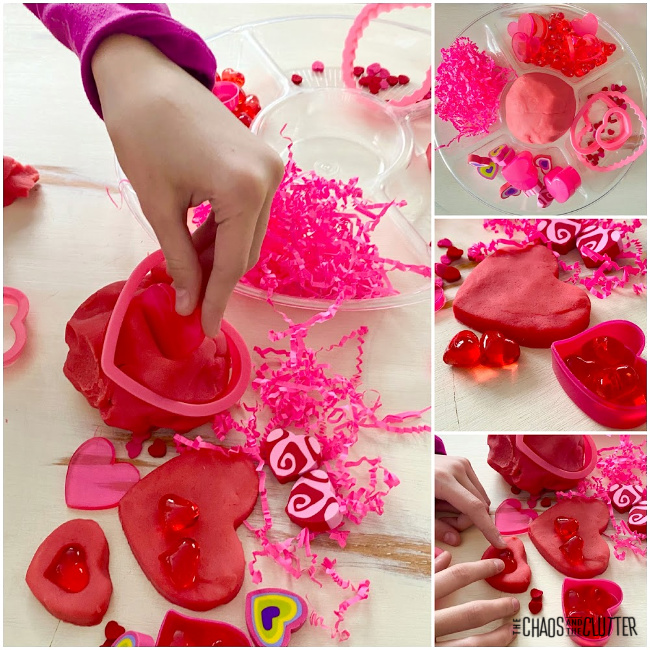
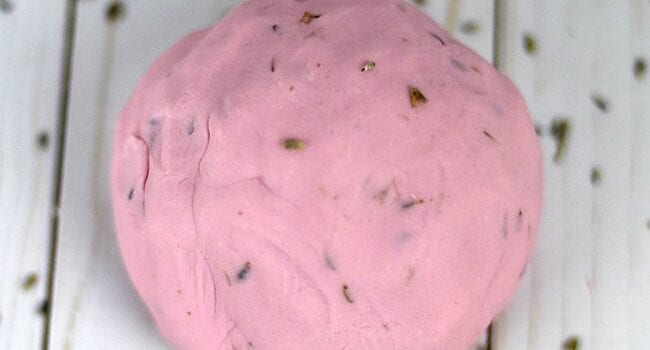
Create a sensory station at home or in your classroom with this open-ended Valentine’s Day playdough invitation to create. Kids are free to explore and use their imaginations as they engage their senses.
One year to celebrate Valentine’s Day, we made Chocolate and Strawberry Playdough for the kids to create with, but this year, we stuck to something a bit more basic.
Valentine’s Day Playdough Recipe:
Supplies:
- 1 cup flour
- 1/2 cup salt
- 2 Tbsp. cream of tartar
- 1 Tbsp. oil
- pink food gel
- 1 cup water (boiling if making with KitchenAid)
- red glitter
- optional: a few drops of essential oil in rose or lavender*
*a note about choosing scents: Some scents are calming while others are alerting. If you want this activity to be a calming one, be sure to choose a calming scent as opposed to choosing a more alerting scent if you are wanting to create an activity that helps keeps kids focused.
KitchenAid Directions:
- Put the dry ingredients in a KitchenAid mixer.
- Add the oil and colour and begin mixing with the flat beater.
- As it is mixing on the lowest setting, pour in the boiling water.
- Add in the red glitter. If you want to scent the playdough, add a few drops of essential oils. Mix until the playdough texture you want is achieved.
- Store in an airtight container or resealable bag when not being played with.
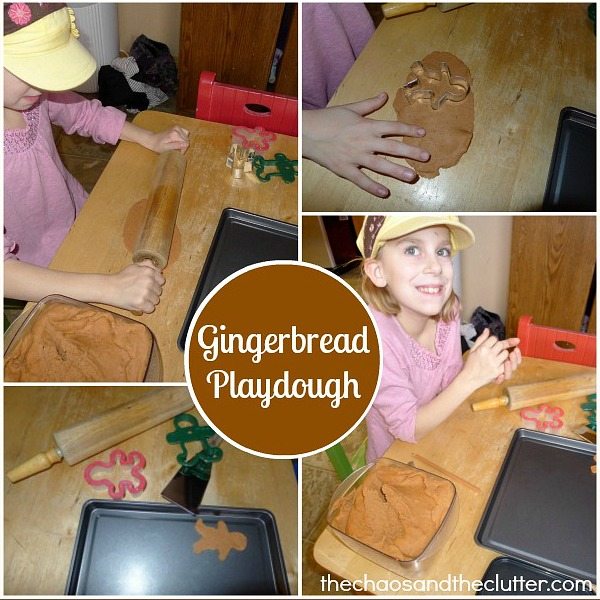
 Stovetop Directions:
- Mix the dry ingredients together in a pot and stir in the oil, water and the food colouring.
- Cook over medium heat, stirring constantly, being sure to scrape the sides and bottom of the pot.
- Cook until the dough forms a ball. Remove from heat.
- Place it on a piece of wax paper. Knead. Add glitter in at this point and if you want, a few drops of essential oils for scent.
- Allow to cool. Store in an airtight container or in a resealable bag.
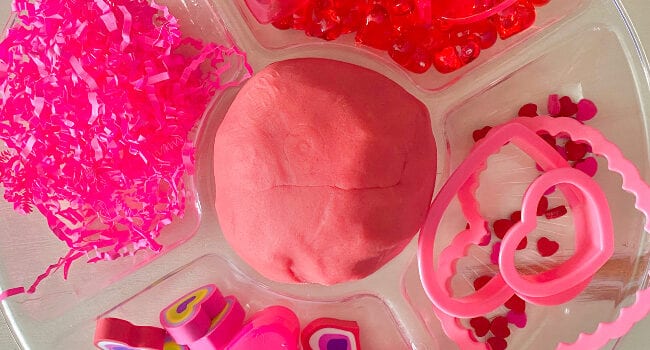
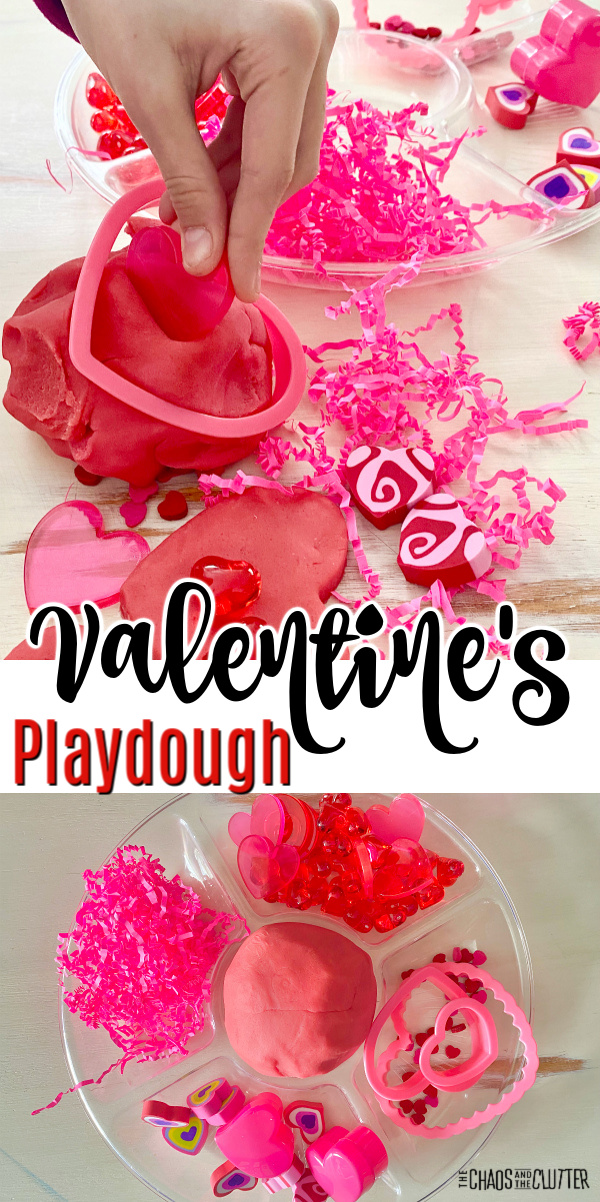
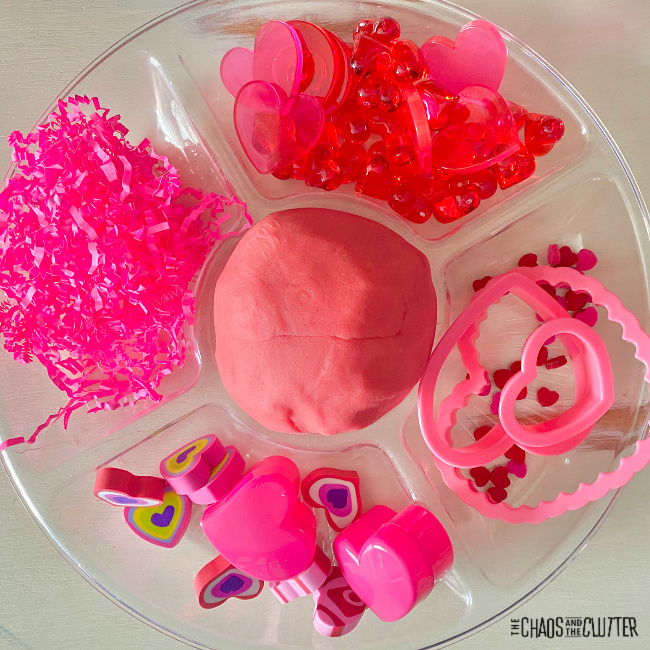
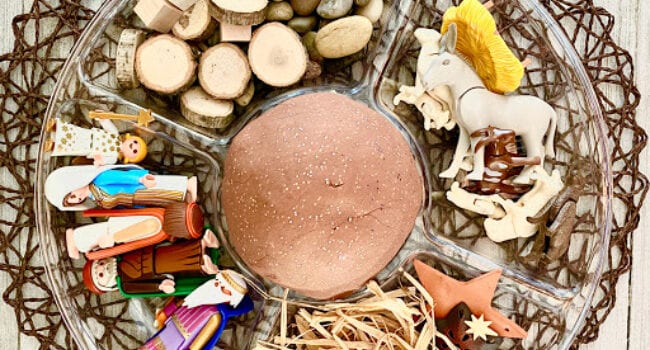
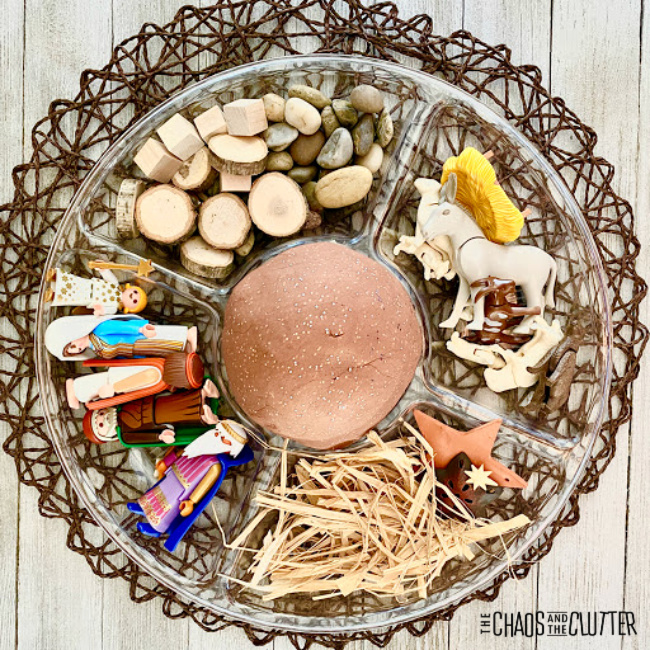
Valentine’s Playdough Sensory Station:
Supplies:
- tray with separated compartments
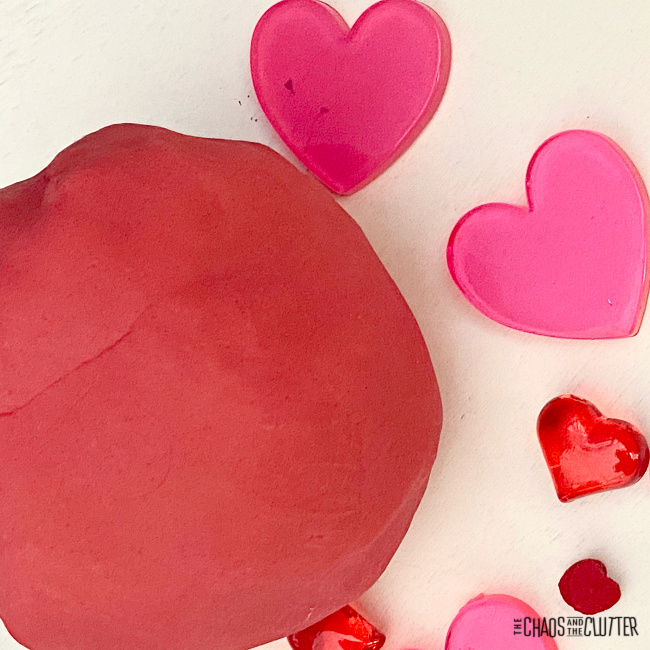
- playdough (recipe above)
- plastic hearts of various sizes
- pink Easter grass
- heart confetti
- heart shaped erasers
- cookie cutters in various sized hearts
- small plastic heart containers
I found most of my supplies at the Dollar Store.
 Directions:
- Set the playdough in the center of the tray.
- Place the other items in the compartments all around it.
- Invite your child to use their imagination to explore and play.
When kids interact with this playdough station, they engage their visual, tactile, and proprioceptive sensory systems as they push, knead, gather, roll, squish, and pull. If you use essential oils in the recipe, then their olfactory (smell) system is also involved.
 Are you looking for other easy sensory play recipes? Join us for a free five day email series on Sensory Activities and Solutions and get a sample of our Sensory Play Recipes eBook.
You may want to see some of our most popular playdough recipes:


 Sensory and Learning Opportunities:
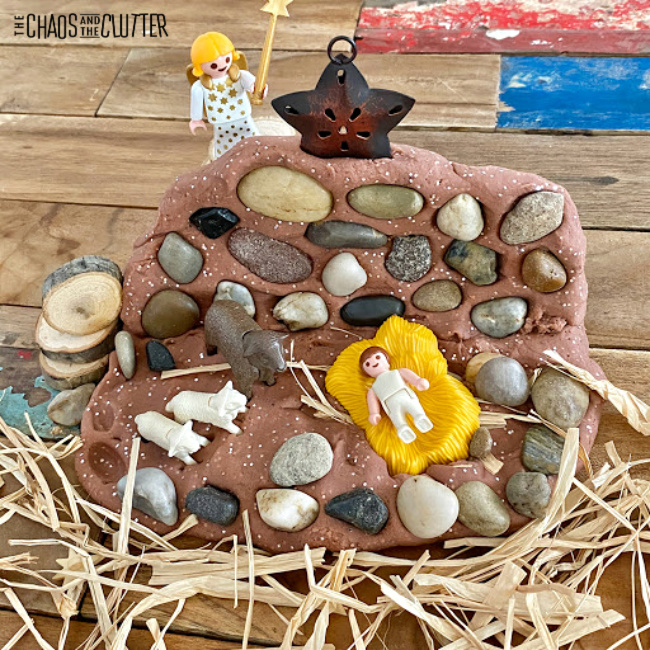 Playing with playdough also lays foundation for concepts of engineering by allowing children to build and design something that solves a problem. In this case, the problem is how to create a manger scene or tell a story using the materials in front of them.
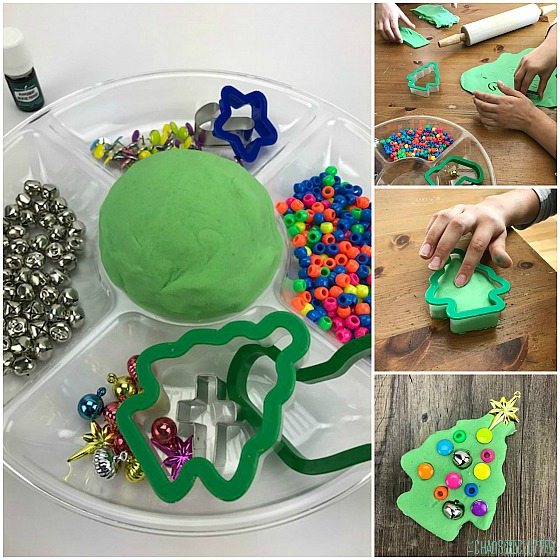

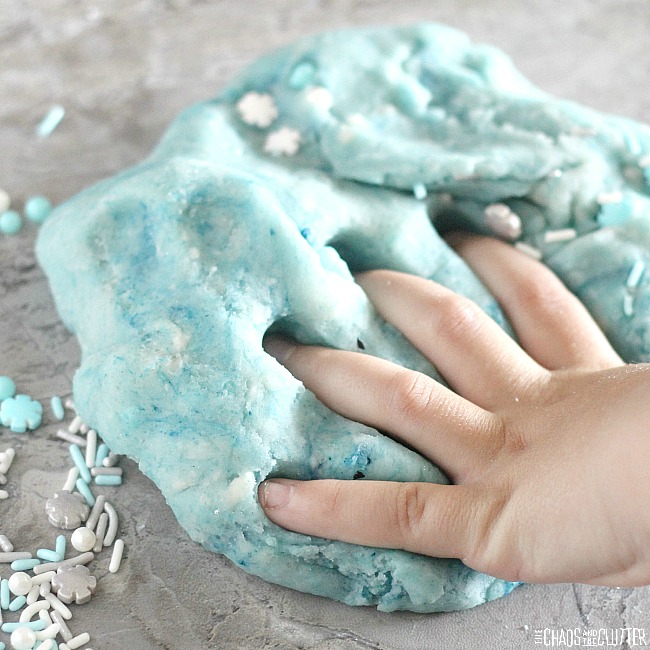
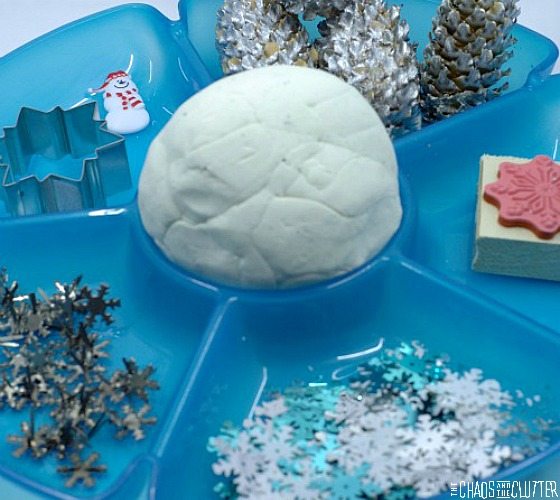
 This quick and easy taste safe microwave playdough recipe includes a variation in case you want to make it without cream of tartar. With all the buzz about the new Frozen movie, we’ve been on a bit of an Elsa kick when it comes to our sensory play like our
 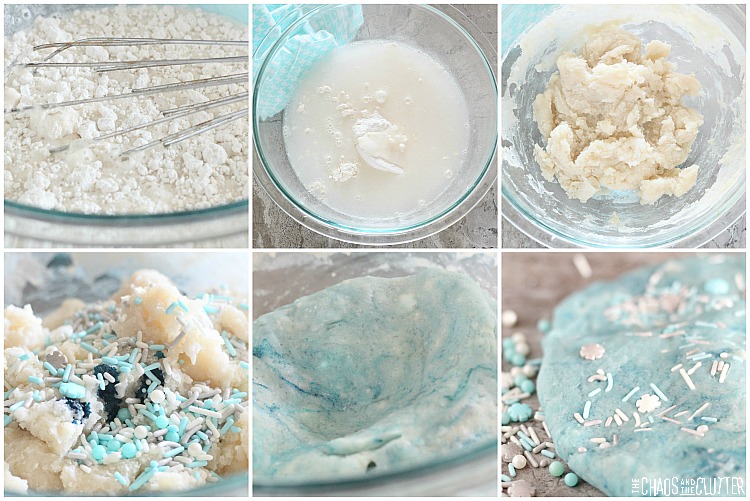 Directions:
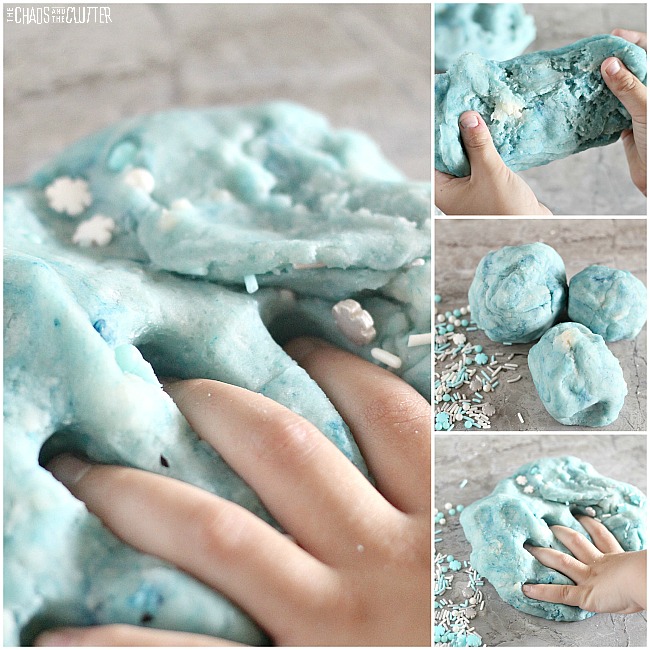 When you’re not playing with this dough, be sure to store it in an airtight container.
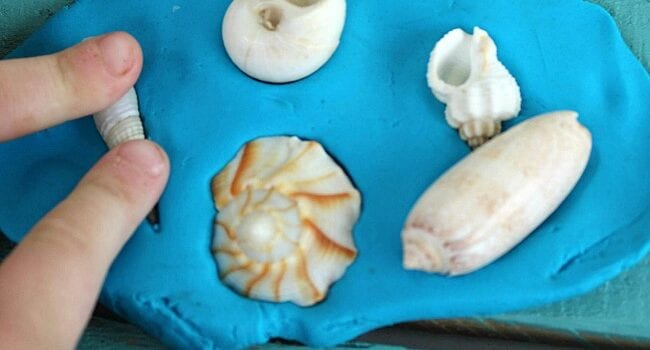
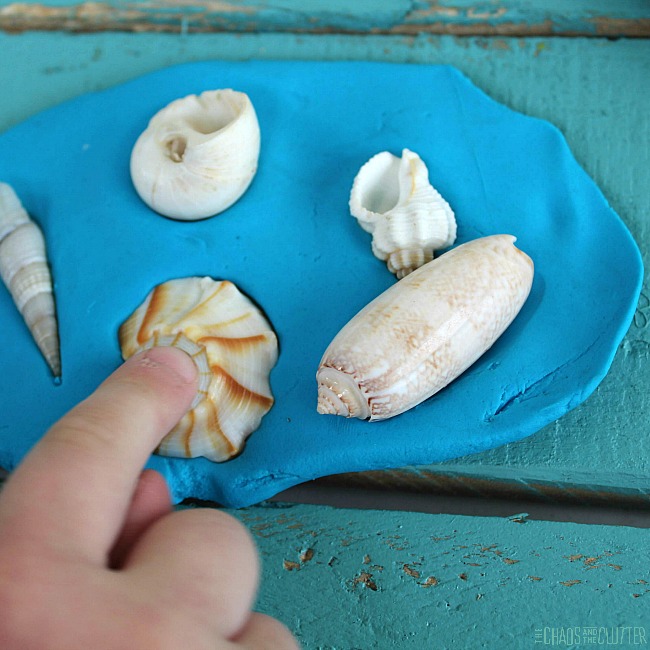
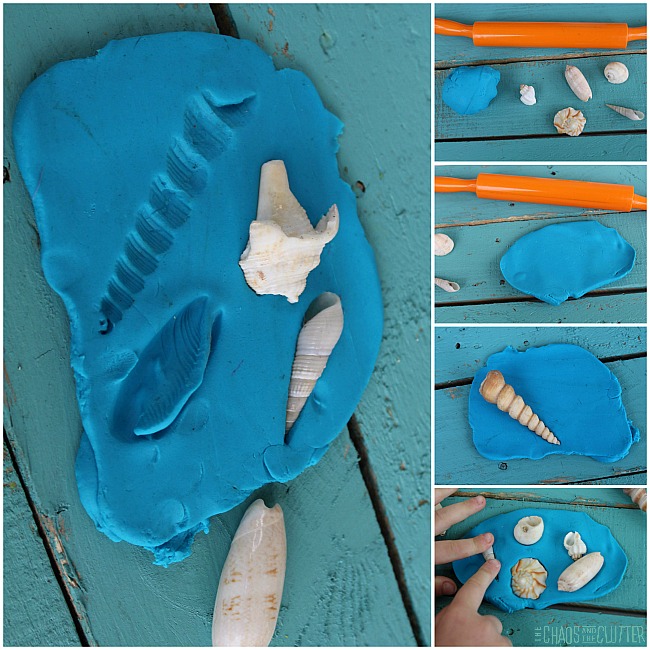
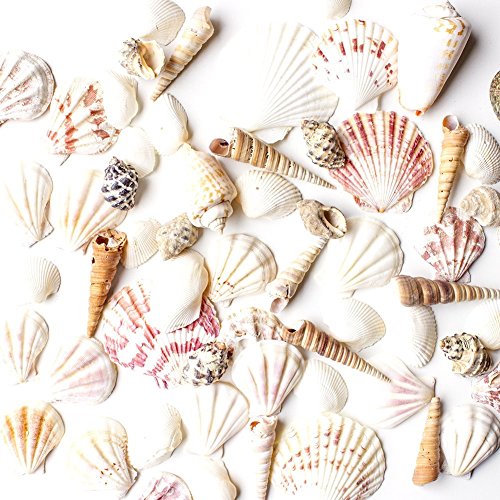
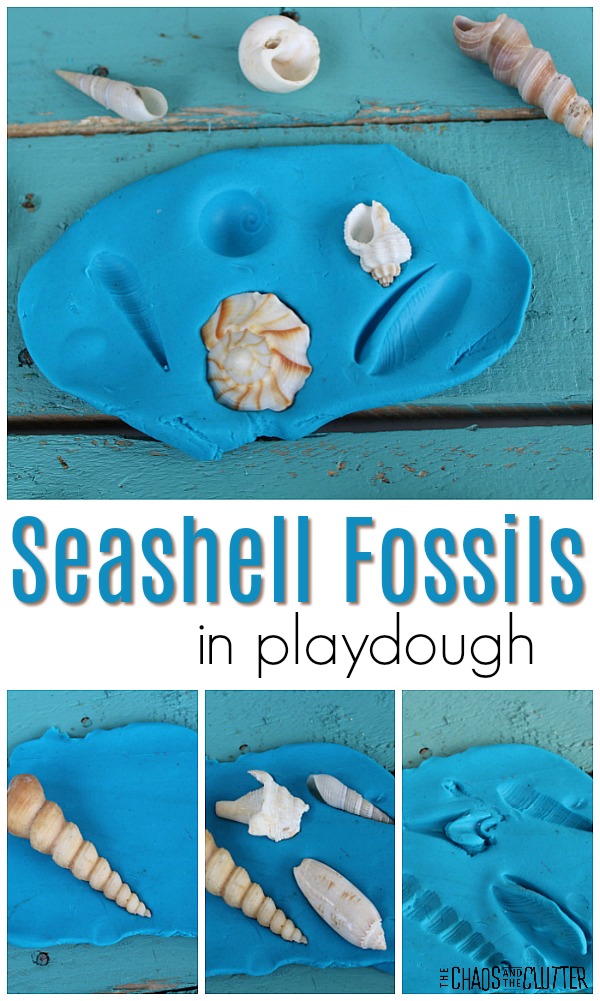 Use this activity after collecting shells at the beach on a vacation or pair it with an ocean unit study. You could also do this when studying fossils. It’s a great hands-on science activity.
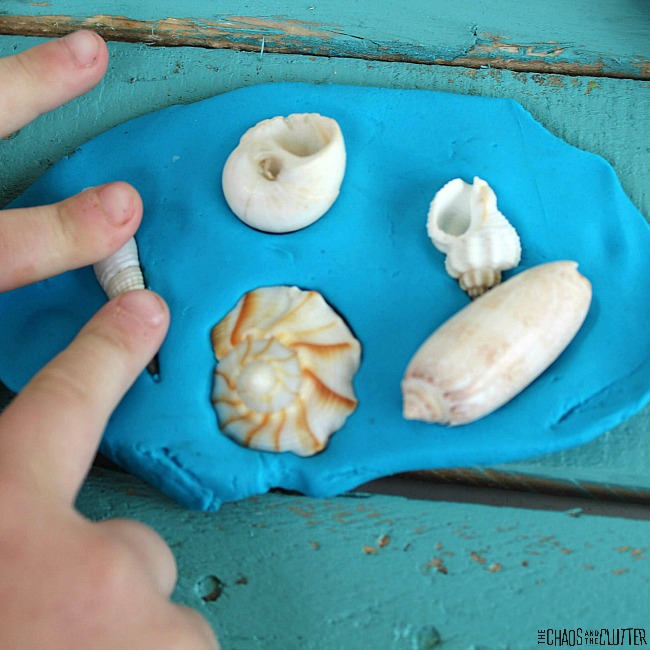


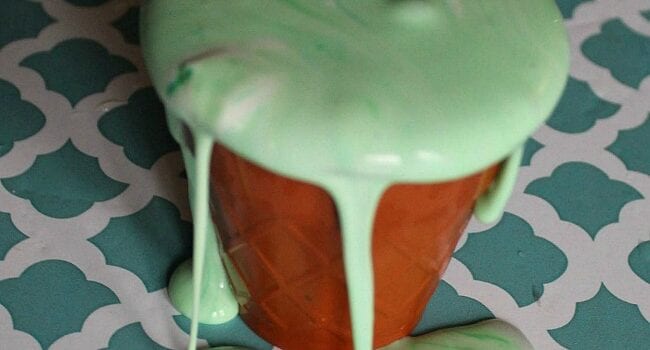
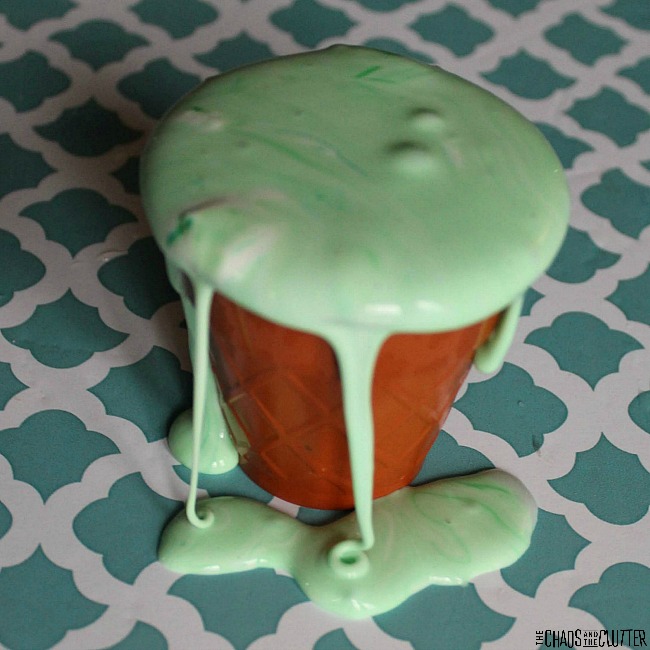
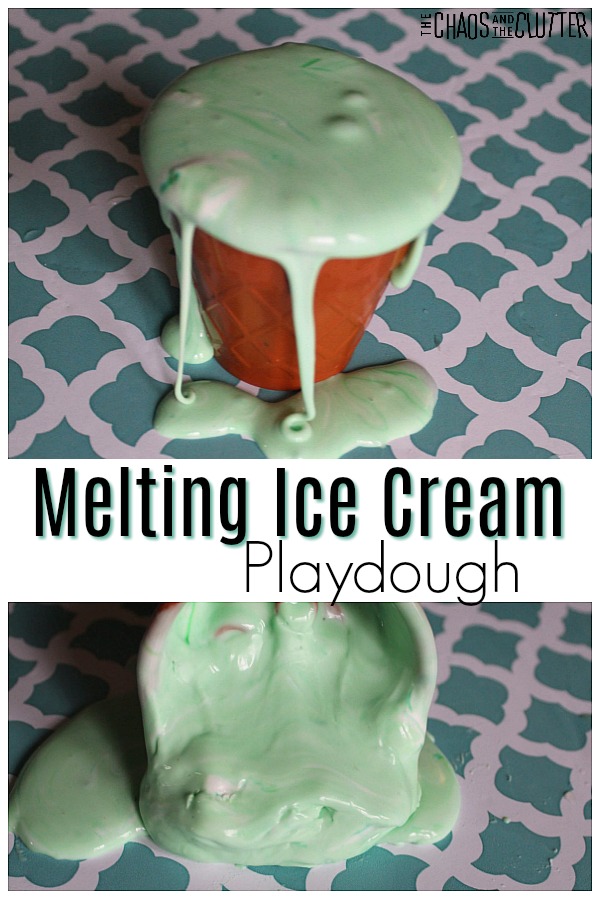 Kids can pretend that they are making ice cream or creating a play ice cream parlour. It’s fun to make this dough in several colours.
 I have since made this recipe several times. I have made it on the stovetop or in the KitchenAid. The reason that I prefer that method is because it is easier on my arms. Either method works though.
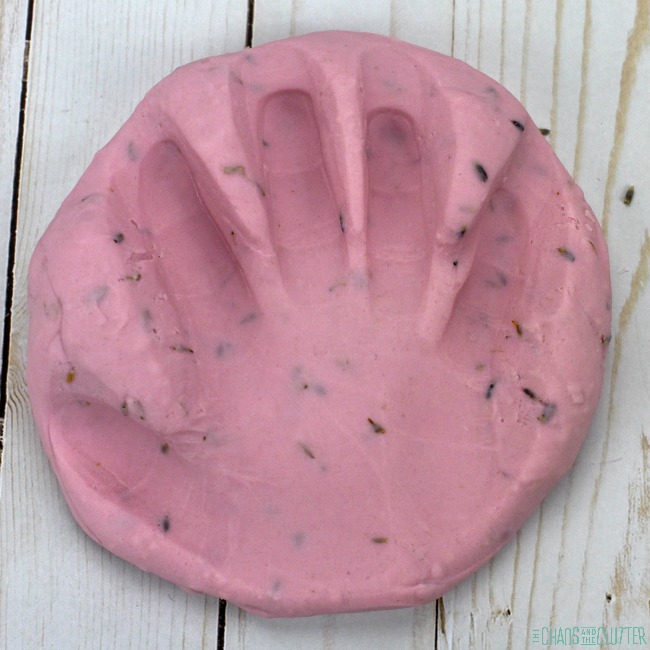 Once the playdough is made, it can be played with just like regular playdough.
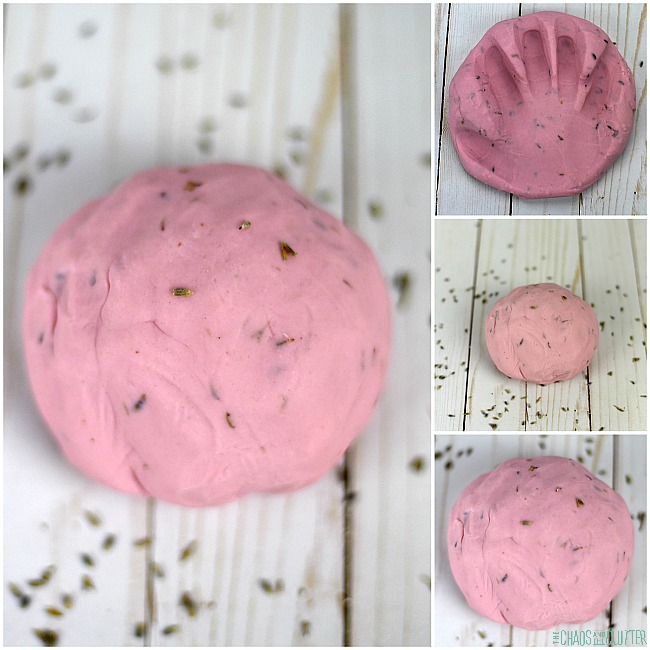 This playdough engages the tactile, olfactory, visual, and proprioceptive senses.