In my experience, construction themed sensory bins are a big hit with boys (and girls) and are so easy to put together. I’ve actually made two types of construction sensory bins because the kids don’t seem to tire of this theme.
 For the first bin, I just used sand coloured Kidfettti as the base and just threw in a bunch of construction toys. The kids enjoyed scooping and playing.
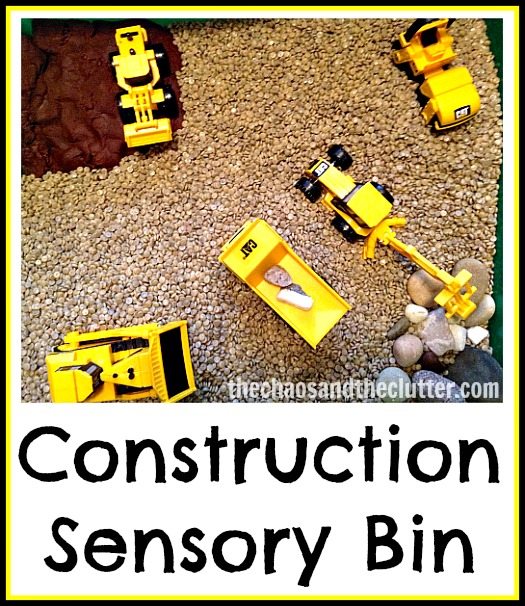
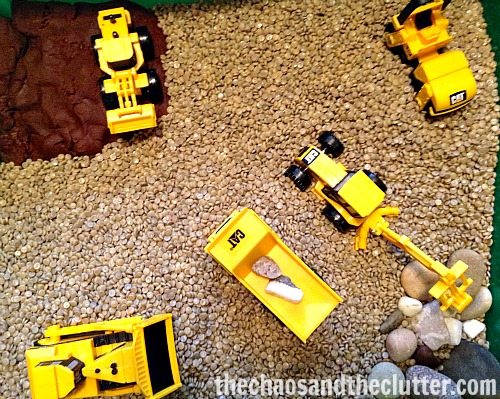
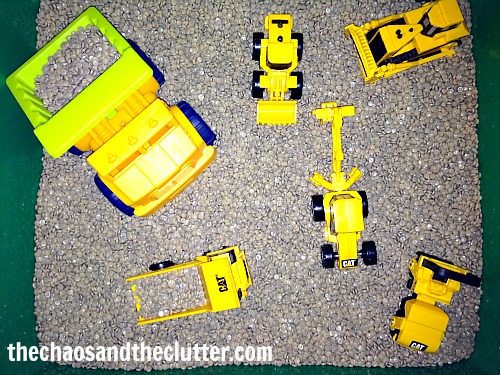 A few months later, I made a different sensory bin with this theme. This time, I put a bit more than one minute into making it and I have to admit that the kids did spend longer periods of time playing in the second one than they had the first!
I again used Kidfetti as the base. I like that it’s very easy to clean up, doesn’t get ruined if it gets wet and is smooth. It works well for a construction bin. I added chocolate playdough into one corner so that the kids could pretend it was mud and a pile of rocks into another corner before adding the construction vehicles.
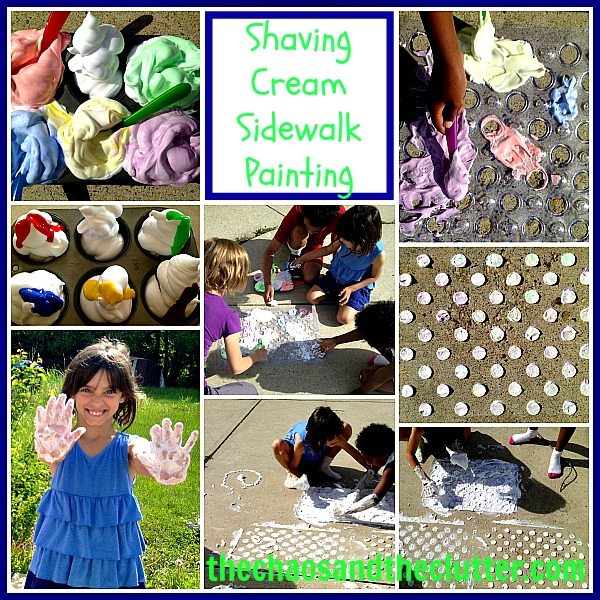
 I will be featuring sensory activities every day this week in celebration of the launch of my new eBook, Sensory Bins.
 For more sensory bin ideas, you may want to follow my Sensory Bins Board on Pinterest or check out our family’s favourite sensory bins.
Join me for a free 5 part email series Sensory Solutions and Activities and get your Sensory System Behaviours Easy Reference Cards.
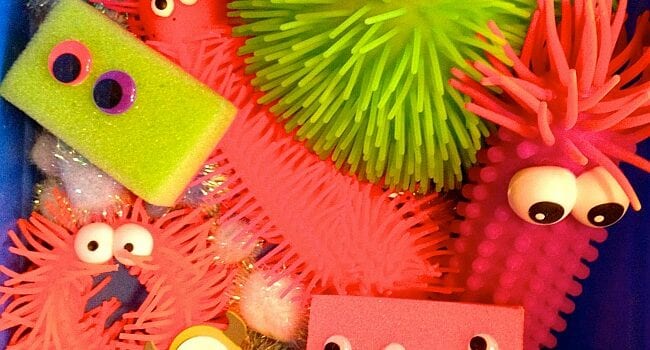
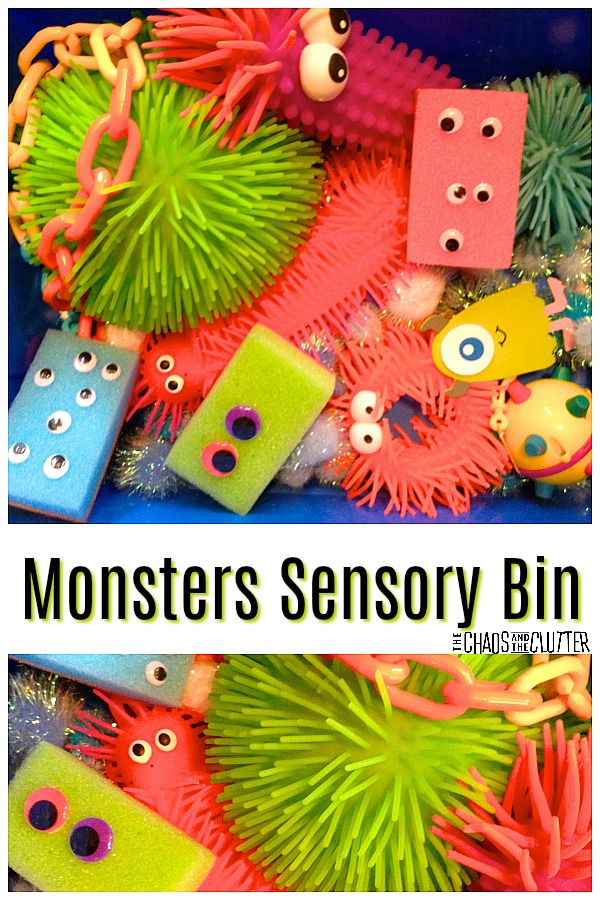 Last week, I made a Monsters themed sensory bin. This was such a fun bin to create and for the kids to play with.
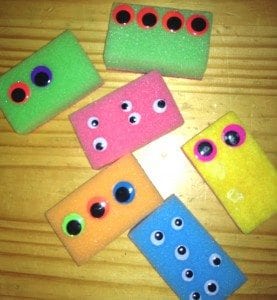
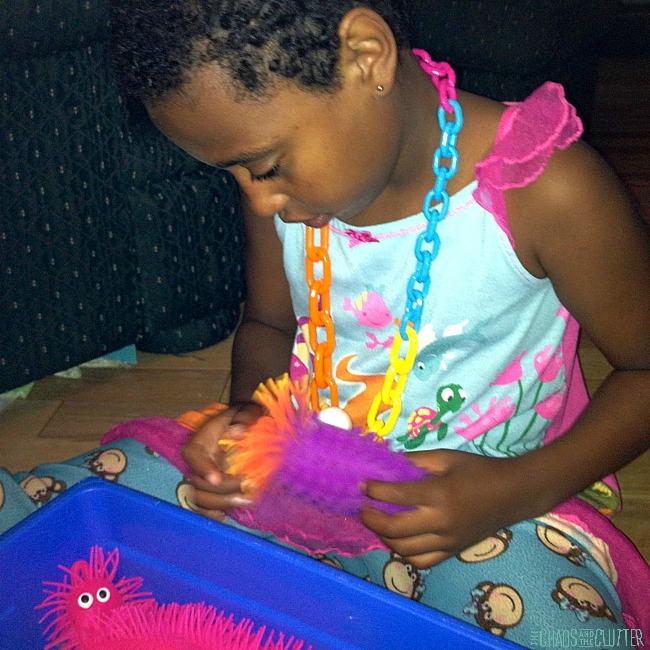 There are a variety of textures includes because of the squishy sponges, the hard plastic on the links and the Bumbleball. There are also lots of other textures to explore with the wood, the fuzzy bits on the pompoms and on some of the sensory balls.
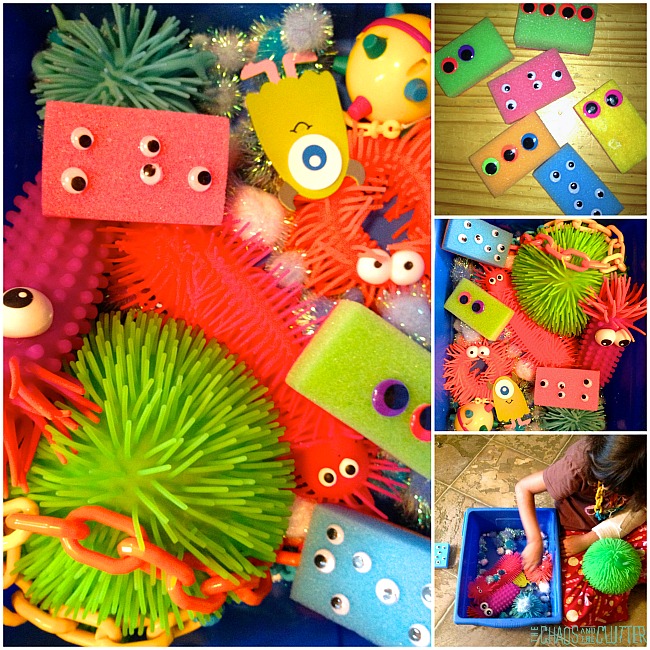 Be sure to use caution if making this sensory bin for little ones. The googly eyes can come off the sponges, especially if they chew on them and that could pose a choking hazard. As with all sensory play, adult supervision is recommended.
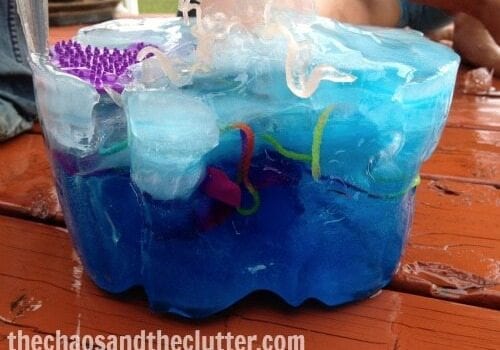
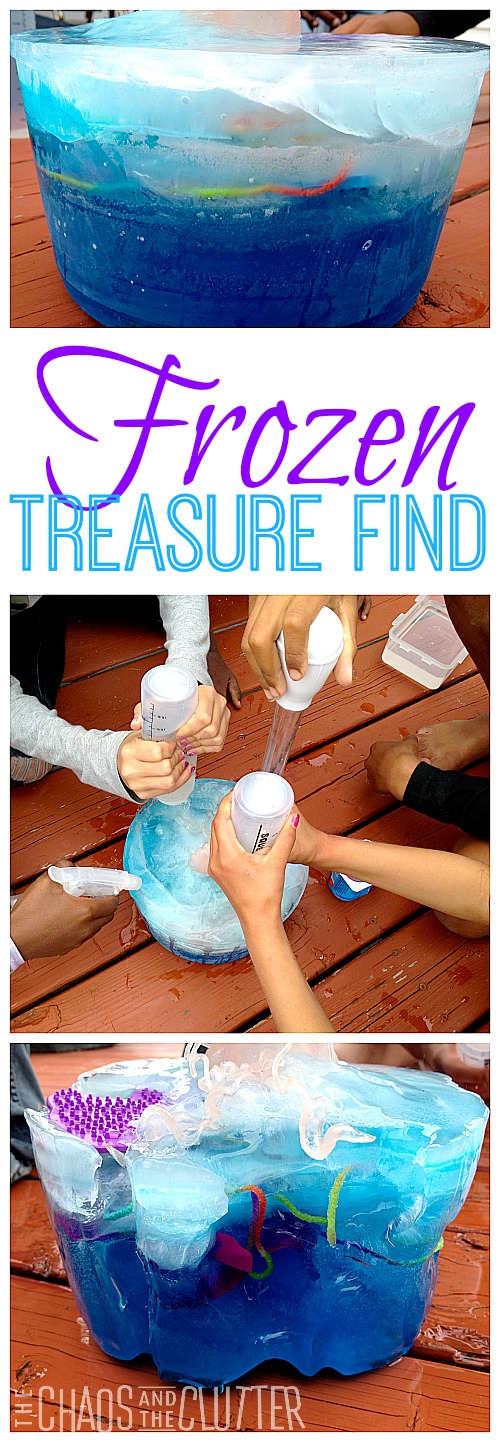
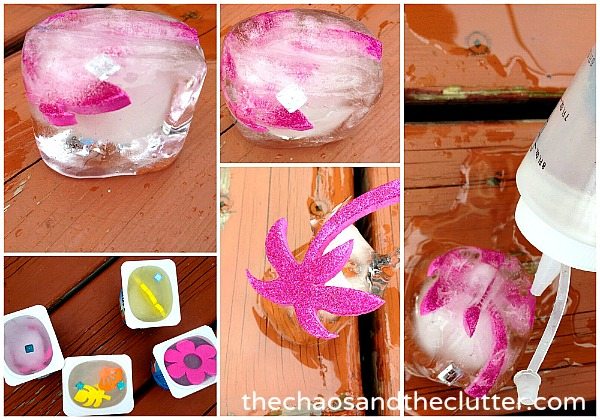
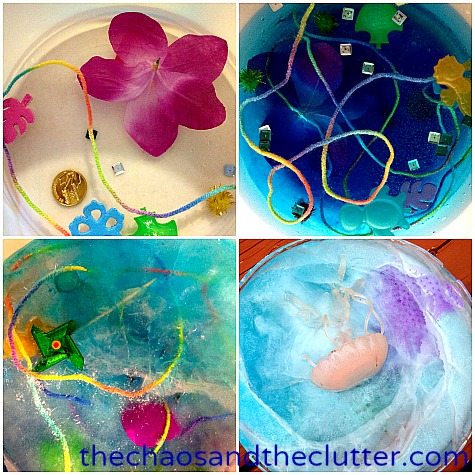
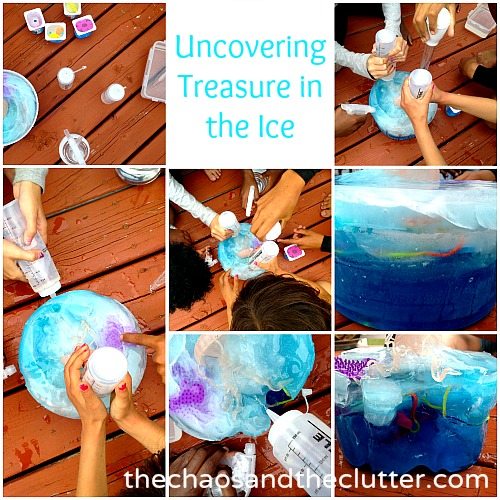
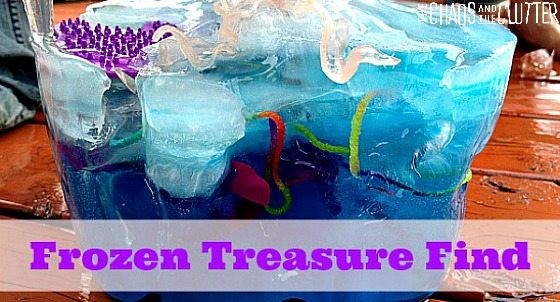 For the “treasures”, I used a few play coins, sequins, ocean life shaped ice cubes, pompoms, silk flowers, foam stickers, string that I wound through the layers, toy fish, and mini pinwheels. I tried to stick with a summer theme.