• Skip to primary navigation
  • Skip to main content
  • Skip to primary sidebar
  • Home
  • About
  • Contact
  • Privacy + Terms
  • Affiliates

The Chaos and the Clutter

  • Facebook
  • Twitter
  • Pinterest
  • Google Plus
  • RSS
  • Email
  • School at Home
  • Sensory
    • Sensory Processing Disorder
    • Awesome Sensory Play Activities
      • Sensory Bins
      • Sensory Bottles
      • Sensory Bags
  • Family Games
    • Minute to Win It Games
  • Special Needs Parenting
    • Childhood Anxiety
    • Reactive Attachment Disorder
    • Sensory Processing Disorder
  • Store
  • Course Login

Sharla Kostelyk

Puzzle Piece Sensory Bin

By Sharla Kostelyk

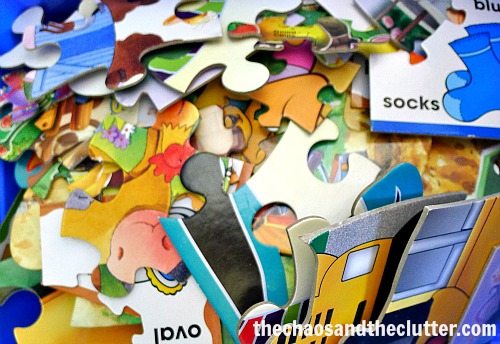
The symbol for autism is a puzzle piece so that’s where the idea for this sensory bin came from. This is a great way to use puzzles you aren’t using anymore or those you’ve lost some of the pieces for.

I put a plea out on Facebook for mismatched puzzle pieces and my friend A. responded with two big bags filled with all shapes, colours and sizes of puzzle pieces!

I threw them into two bins and called them our sensory bin for the week! This was for sure the easiest sensory bin I’ve ever made!

Puzzle Sensory Bin:

Supplies needed:

  • assorted puzzle pieces
  • plastic bin

Directions:

  1. Dump all the puzzle pieces in a plastic bin.
  2. Invite your child to play.

We also used the puzzle piece in other ways too such as making paper puzzles and cardboard ones. We discussed how Aspergers makes some things a challenge for Einstein and makes some things easier. We watched some YouTube videos geared at explaining autism to kids.

For our lunch on Friday, we made a special a la Einstein plate for everyone. It had the puzzle piece tribute in the form of cheese and it was all orange, Einstein’s favourite colour.

If you are looking for information on making sensory bins, you may be interested in my book. The Ultimate Guide to Sensory Bins


Filed Under: Homeschooling, Sensory Bins, Special Needs Parenting

Birthday Party Sensory Bin

By Sharla Kostelyk

This week just for fun, we did a birthday party theme. It was a nice change of pace and easy to find activities for. I made a birthday party sensory bin to go with it. Birthday Party Sensory Bin #sensorybins #sensoryplay #kidsactivities

Birthday Party Sensory Bin:

Materials needed:

  • party hats
  • blowouts
  • streamers
  • party horns
  • happy birthday glasses
  • ribbon curls
  • clown nose
  • birthday candles

Just dump everything in a plastic bin. Let your child play. That’s it!
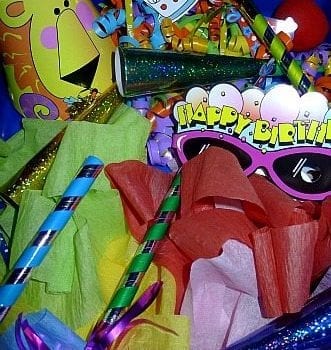
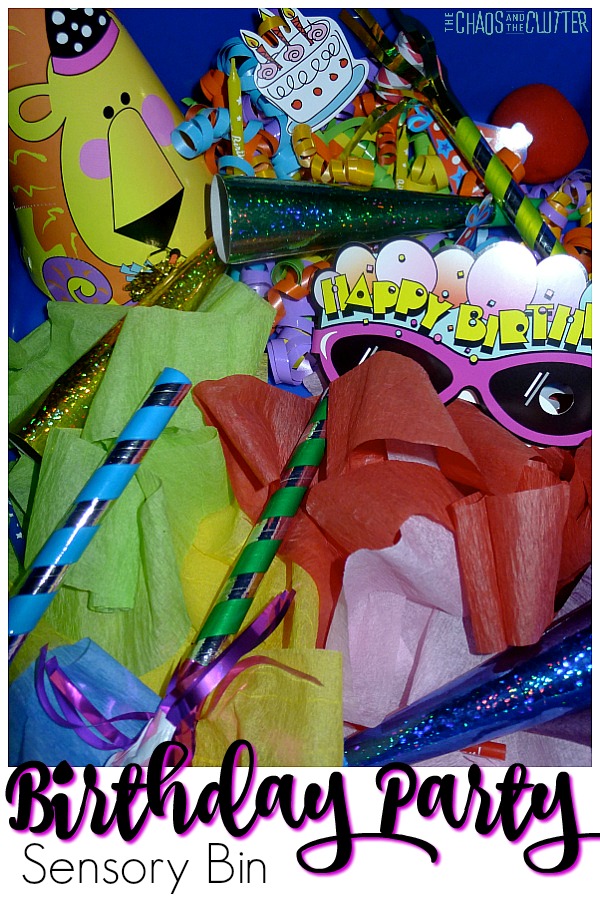
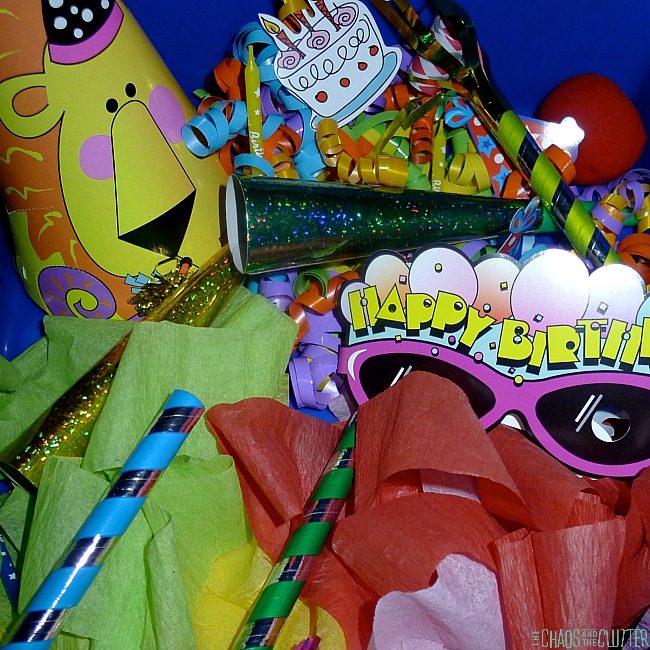
I was able to find all of the items for this sensory activity at the Dollar Store. With all the bright colours, this bin provides great visual sensory input. This activity also gives tactile (touch) sensory input and if the kids rip or scrunch the streamers, it provides proprioceptive input too.
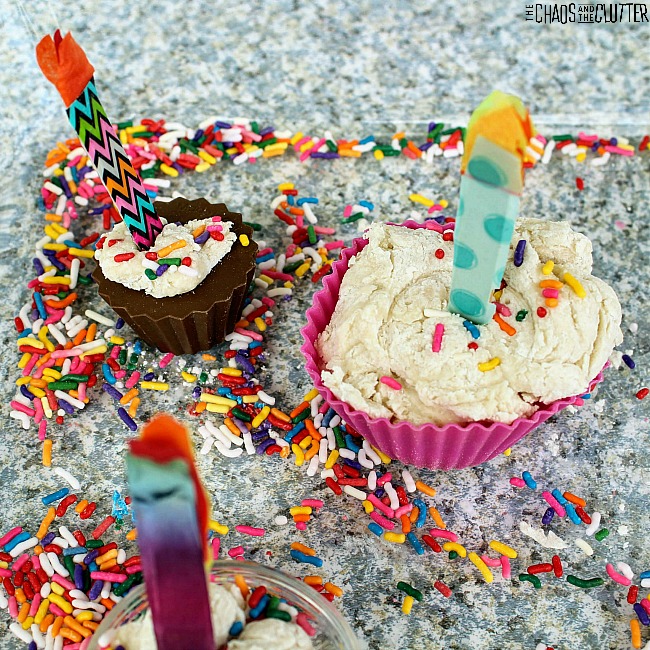
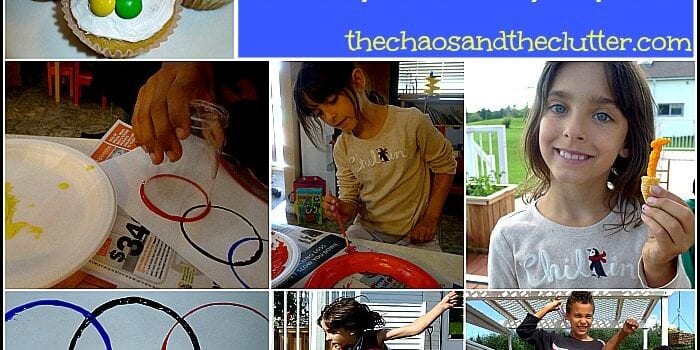
The kids enjoyed this sensory bin a fair bit although the candles got broken pretty quickly and the streamers didn’t last long either.

The kids mostly enjoyed wearing the hats and glasses. The clown noses were especially popular! They produced a lot of laughs.

Birthday books that would pair well with this sensory bin:

Happy Birthday to You!Happy Birthday to You!Happy Birthday to You!Big BirthdayBig BirthdayBig BirthdayHappy Birthday, Mouse!Happy Birthday, Mouse!Happy Birthday, Mouse!Birthday Monsters!Birthday Monsters!Birthday Monsters!How Do Dinosaurs Say Happy Birthday?How Do Dinosaurs Say Happy Birthday?How Do Dinosaurs Say Happy Birthday?Scaredy Squirrel Has a Birthday PartyScaredy Squirrel Has a Birthday PartyScaredy Squirrel Has a Birthday Party

If you’re doing a birthday party theme, you may also want to create this birthday cake sensory bin.  


Filed Under: Sensory, Sensory Bins

How to Make Sensory Balls

Create Your Own Sensory Balls (for pennies each)

By Sharla Kostelyk

I have been busy making activity bags (also known as busy bags ironically!) for Dancing Queen and one of the things I decided to make for her were sensory balls. Making your own stress ball or sensory ball is easy to do and so inexpensive. Now that I know how easy these are to make, I keep some in the van, one in my purse, one in each of the kids’ backpacks, one in each of the calm down kits, and some in almost every room of the house.

How to make a stress ball (also called sensory balls) for just pennies each.

How to make a stress ball:


The first time I made sensory balls, I filled balloons with homemade playdough. I didn’t bother to add scent or food colouring because once it was inside the “ball”, it wouldn’t be seen or smelled.

The next step seemed easy enough…stuff some of the playdough into a balloon. This was much easier said than done!!! I tried holding the balloon open with my fingers and shoving it in with the other hand. I tried holding it open with the fingers from two hands while having one of my girls shove playdough in and that resulted in little cuts on my fingers from her nails.

At this point, I still did not have one full stress ball! I then came up with the idea to insert a coupler (cake decorating tool) into the top of the balloon and make skinny snakes with the playdough and get them in that way. It was still tedious, but it was much easier than the other methods I had tried.After making about five of these playdough filled balloons, I began to think that there must be an easier way to make these sensory balls. I did a google search and read about filling them with flour. I made a funnel out of paper and quickly filled five balloons with flour.

The flour filled sensory balls felt very similar to the playdough filled ones. They had somewhat of a softer feel and did not hold their shape when pressed in the way the playdough filled ones, but when surveyed, every one of my kids preferred the flour filled sensory balls. I also filled a few with dry rice (also using the paper funnel) for a different sensory experience. None of my kids like the rice filled ones.Now when I make sensory balls, I don’t bother with the playdough ones at all. I fill all of them with flour instead of messing with the playdough or bothering with rice. The kids really like squeezing the sensory balls and they are a fraction of the cost that store-bought stress balls are.

*note: use the helium quality balloons for best results

Update: We’ve made these using just flour another half a dozen times or so over the past few years. They sometimes last for many months at a time. You can use permanent marker to draw a face on them or write the name of the child it belongs to. Remind kids not to bite them as they will break if bitten hard enough.

We take our sensory balls with us everywhere. The kids each have one in their backpacks. I have one in my purse for waiting rooms or in the van. Our kids also include them in their anti-anxiety kit and we have one in our sensory room.

Important note: Balloons present a choking hazard and a mouthful of flour isn’t very fun either, so only use these if you know your child won’t be putting it in their mouth and always provide supervision. If you have a child who always needs to put things in their mouth, give them an alternative sensory item for chewing.

For sensory information and resources for the home or classroom, check out Sensory Processing Explained: A Handbook for Parents and Educators. 

Join me for a free 5 part email series, Little Hearts, Big Worries offering resources and hope for parents.

Create Your Own Anti-Anxiety Kit

Make Your Own Feelings Jenga Game

Filed Under: Crafts and Activities, Sensory, Special Needs Parenting Tagged With: sensory play

What Your Kids Can Learn From the Olympics

By Sharla Kostelyk

What the Olympics Can Teach Our Kids

I’m a fan of watching the Olympics, but I’m even a bigger fan of watching it with my kids. The Olympics is a great conversation starter. There is much that can be learned from the sports and the athletes and from the Games.

Character Traits

Hard work, determination, sportsmanship, courage, teamwork, endurance, and perseverance are just some of the character traits that the kids get to see in action. The athlete profiles in particular allow us to discuss the importance of those traits in getting them to where they are now.

The World

The Olympics makes this huge world feel smaller and provide an easy forum for learning about different countries, their flags, traditions, and geography (have a map or globe nearby  for those moments when a child pipes up with “where is Algeria?”).

Patriotism

There isn’t anything that brings out the flags and anthems and feelings of pride of country more than the Olympics. In our family, we are cheering for Canada (of course!) and Ethiopia (because two of our precious kids were born there) and the Netherlands (where The Husband’s parents are from).

Inspiration

The Olympics is a visual for kids of what can happen when you set goals, pursue your passion, work hard, and don’t let obstacles get in your way. Watching Natalia Partyka of Poland compete in ping-pong with only one hand or Oscar Pistorius from South Africa, the world’s first double amputee to compete in the open Olympics in running is inspirational. It is also a great way to show my special needs kids that the only limits that exist are the ones we put on ourselves.

Togetherness

There is something about all cheering for the same thing that brings a feeling of unity. We also made our own backyard Olympics and cheered each other on!

Winning Isn’t Everything

The Olympics is full of inspiring stories of people who beat the odds just to get where they are at and who are winners without ever stepping foot on a podium. At the last Winter Olympics, Canadian figure skater Joannie Rochette stepped onto the ice and skated two days after the unexpected death of her mother, winning the bronze medal in an emotional performance dedicated to her mom. Just lacing up her skates after such a loss made her a winner.

History

There is much that can be learned about history through the Olympics (from Ancient Greece to years that the Games were boycotted and the reason for that to conflict between countries). This year, just the Opening Ceremonies alone gave us enough material to talk about for a long time (wars, the Industrial Revolution, popular culture…)!

Those are just a few of the reasons that the couch will be our classroom for the next few weeks!

Filed Under: Homeschooling

Backyard Olympics

Create Your Own Backyard Olympics

By Sharla Kostelyk


We are doing a mini unit on the Olympics to get ready for the Summer Olympics. I am so excited for the Olympics to begin because there is so much it can teach our kids! Today, we had a family backyard Olympics which was so much fun.

Create your own backyard Olympics complete with awards ceremony

Food. I made gluten free cupcakes iced in vanilla icing and topped with M+Ms to represent the Olympic rings. It doesn’t get much simpler than this!

Backyard Olympics squareI also served Bugles and Cheezies for the kids to make little torches with. They really liked this.

Crafts. We made two easy crafts. Both used really basic supplies and the same paint colours so prep was very easy.

I didn’t get a picture of the finished product of the first one, but the kids each chose one colour to paint a ring. The rings were made by cutting the centre out of a foam plate. When they were done, we had all five Olympic rings which we later used both as a decoration and as our discus!

The other Olympic ring craft turned out so well. To make this, just dip plastic cups into the paint colours and press down onto paper.

Backyard Olympics Events. The only materials needed were empty water jugs, the discus rings that we had made earlier out of foam plates and open space. We did use the trampoline for a wrestling event but that could be done on the grass or on a mattress.

The first event was a simple 100 meter (or so) race. All you need is open space for them to run.

backyard race


The deck stairs made a perfect podium for all our medal ceremonies! I picked up medals at the dollar store.

Backyard Olympics Medal Ceremony
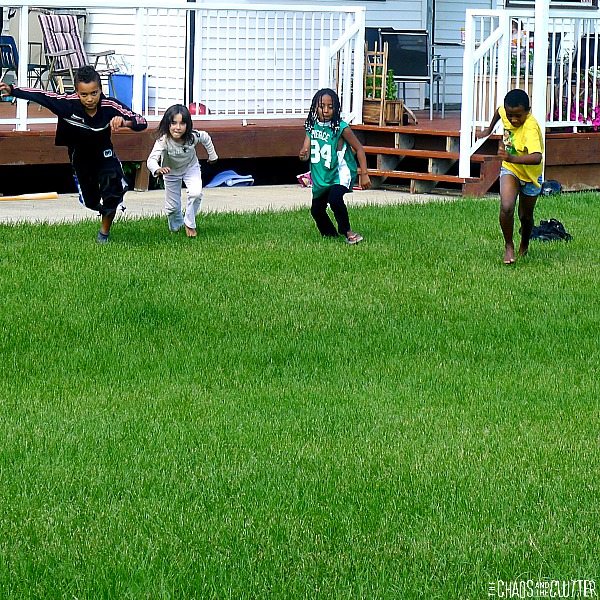
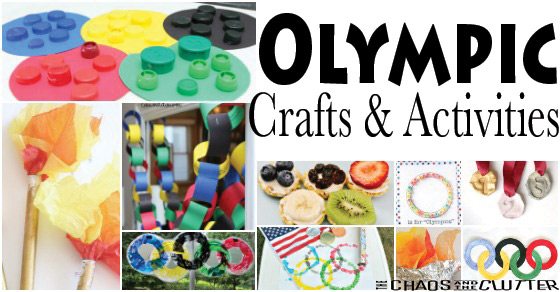
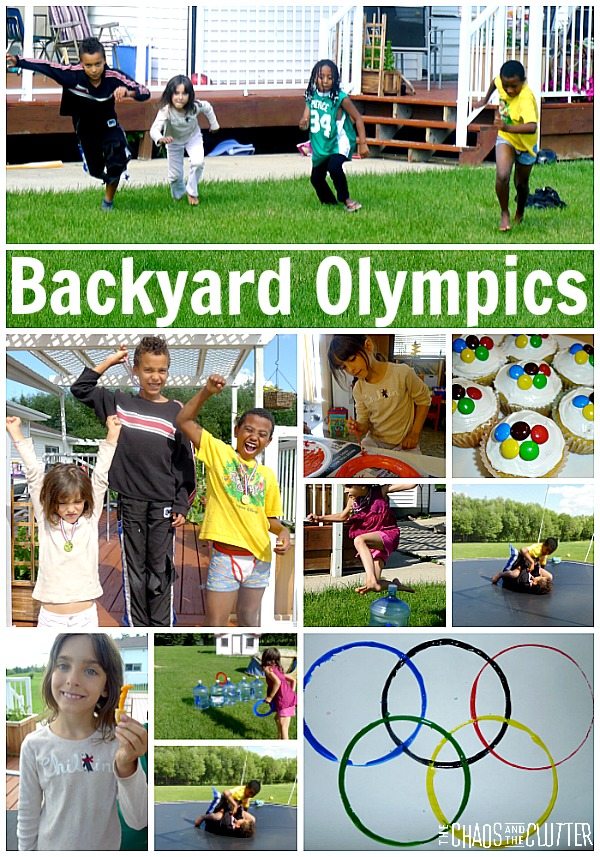
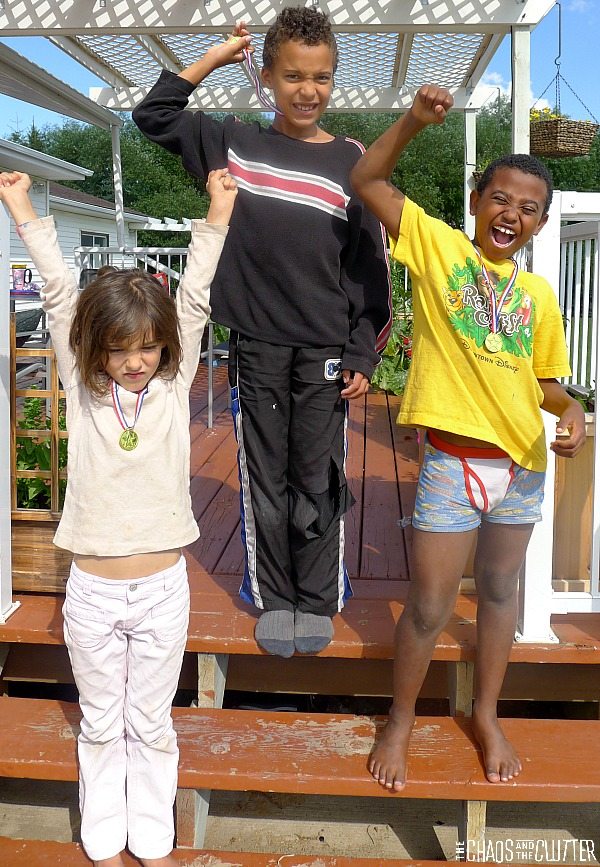
The other events included discus, ring toss (tossing the rings we had made out of foam plates onto large empty water bottles), wrestling (on the trampoline), gymnastics floor routine on the grass (this was the kids’  favourite!), and hurdles (over empty water jugs).

Backyard Olympic Events
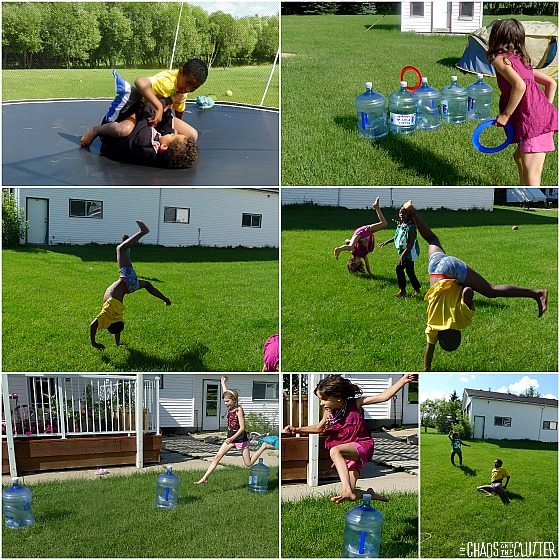
We have more Olympic activities planned in the coming weeks, so stay tuned! For more ideas, you can also check out my Olympics Pinterest board.

Huge List of Olympics Craft and Activity Ideas

Olympic-fb

Filed Under: Crafts and Activities, Homeschooling

Chicka Chicka Boom Boom Activities

By Sharla Kostelyk

This week, we decided to have some fun with the popular alphabet themed book Chicka Chicka Boom Boom.

I made a special snack for the kids to eat while I read the book to them the first time.

Green apple slices for the leaves, cherries for the coconuts (courtesy of my in-laws returning from visiting B.C.), graham wafers (I used gf graham wafers for Einstein), Alphabits cereal for the alphabet climbing the tree, and some actual coconut on the side.

I made a tree trunk on the magnetic white board and the kids made leaves for it and then had fun playing out the story using magnetic letters.


Then throughout the week, the kids completed worksheets. Some were just for fun such as coloring sheets and others were educational. There were ones that the kids had to cut out and match lower case letters onto their upper case counterparts on the tree and even one that was math related in teaching graphing using the question “do you like coconut?”.

Here are the links for where I got some of the sheets:

Coconut Survey and Graph

Letter Tree

Upper and Lower Case Match Up

Chicka Chicka Boom Boom Coloring Sheets

Filed Under: Homeschooling

  • « Go to Previous Page
  • Page 1
  • Interim pages omitted …
  • Page 116
  • Page 117
  • Page 118
  • Page 119
  • Page 120
  • Interim pages omitted …
  • Page 128
  • Go to Next Page »

Primary Sidebar

Categories

We are a participant in the Amazon Services LLC Associates Program, an affiliate advertising program designed to provide a means for us to earn fees by linking to Amazon.com and affiliated sites.

Copyright © 2026 • The Chaos and the Clutter • Site Design by Jeni @ The Blog Maven

Return to top of page

Copyright © 2026 · Chaos and the Clutter 2.0 on Genesis Framework · WordPress · Log in