These Christmas Ice Box Cookies bring both the colours and flavour of the holiday season. I also like that the dough can be made days ahead or even frozen. This is such a nice feature given how busy this time of year gets.
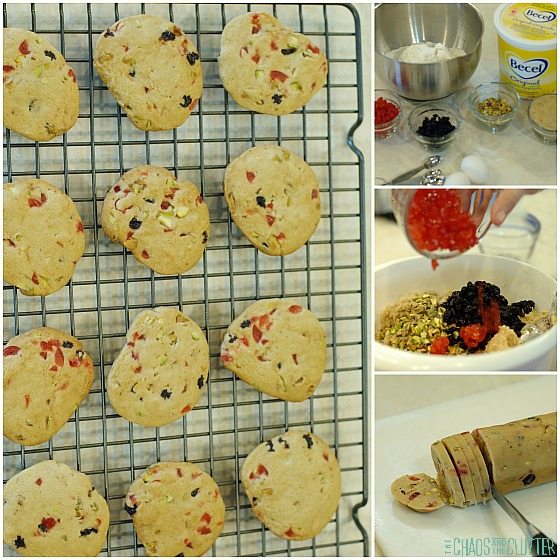
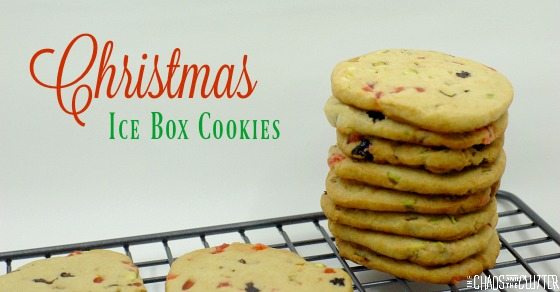
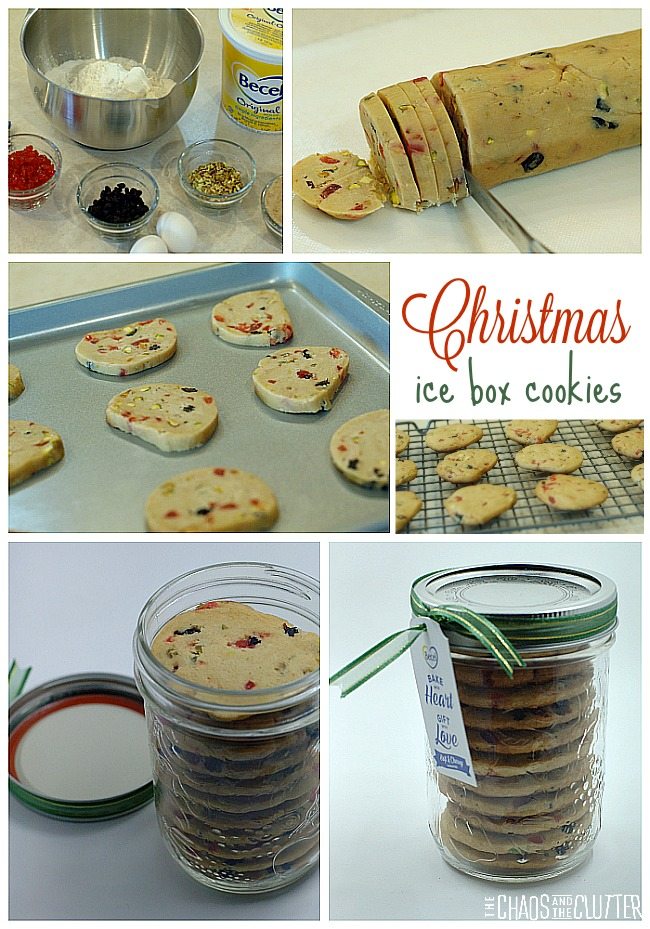 These Christmas ice box cookies are one of my holiday favourites. With the candied cherries and pistachios, they look like bits of Christmas on a plate! Making the dough ahead of time and slicing before baking makes them all very uniform in size which makes them look even prettier.
Christmas Ice Box Cookies Recipe:
1 cup margarine
1 1/2 cups packed brown sugar
2 eggs
1 tsp. vanilla
3 1/2 cups flour
1 tsp. baking soda
1/4 tsp. salt
3/4 cup candied cherries, quartered
1/2 cup currants
1/4 – 1/2 cup finely chopped pistachios or other nuts (I use pistachios because of the colour)
In a large bowl, cream together margarine and sugar. Beat in the eggs one at a time and add the vanilla.
Stir the flour, baking soda and salt together and mix in. Add the cherries, currants and nuts. Mix and shape into round logs approximately 2 inches in diameter. Wrap the logs and chill overnight or for a few days. The dough can also be frozen.
When you are ready to bake them, slice the dough thinly. Arrange on an ungreased baking sheet and bake them at 375° for 6-7 minutes (until lightly browned). Cool.
 Cookies make a perfect homemade holiday gift. According to a recent survey conducted by Becel, 3 out of 4 Canadians agree that DIY gifts are more thoughtful than store-bought gifts.
One of my favourite things about giving baked goods for Christmas is that the making of them is something that my kids can participate in. Granola Girl helped me with every step of making these Christmas ice box cookies from helping me cut the nuts to slicing the dough. I know that she will be beaming when she hands them to our friends and neighbours!
 Inexpensive ideas for gifting cookies:
- Place them in a mason jar and wrap ribbon around the lid. Attach a gift tag to the ribbon.
- Wrap an empty Pringles can with decorative paper and fill with cookies before topping with a bow.
- Buy a beautiful plate from a second hand store and deliver the cookies on the plate.
- Place them in a gift bag decorated by your kids.
- Create a cute paper bag and toothpick pouch.
- Fill plastic cups and wrap with cellophane and tie with ribbon
What is your favourite holiday recipe to gift to others?

- 1 cup margarine
- 1 1/2 cups packed brown sugar
- 2 eggs
- 1 tsp. vanilla
- 3 1/2 cups flour
- 1 tsp. baking soda
- 1/4 tsp. salt
- 3/4 cup candied cherries quartered
- 1/2 cup currants
- 1/4 - 1/2 cup finely chopped pistachios or other nuts I use pistachios because of the colour
-
In a large bowl, cream together margarine and sugar. Beat in the eggs one at a time and add the vanilla.
-
Stir the flour, baking soda and salt together and mix in. Add the cherries, currants and nuts. Mix and shape into round logs approximately 2 inches in diameter. Wrap the logs and chill overnight or for a few days. The dough can also be frozen.
-
When you are ready to bake them, slice the dough thinly. Arrange on an ungreased baking sheet and bake them at 375° for 6-7 minutes (until lightly browned). Cool.
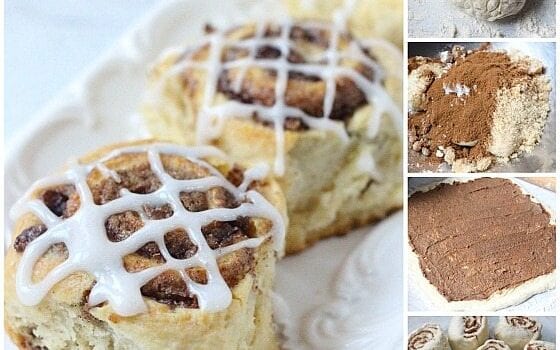
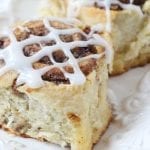
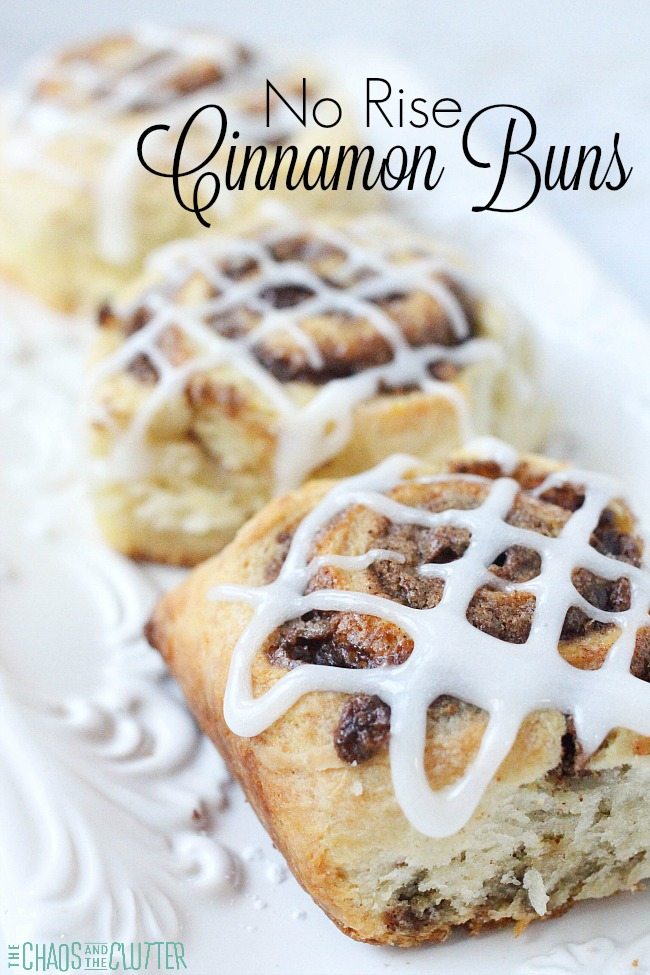 Cinnamon buns are one of the first things that I learned to bake. They seemed like a big undertaking so I used to make the dough in my bread maker but over the years as my confidence has grown, I have tried many versions of cinnamon buns and haven’t found any yet that I don’t like because it’s hard to go wrong with delicious dough, cinnamon and sugar! What I like about this particular recipe is that they can be made much faster than my other recipes because you don’t need to leave time for them to rise and there is no yeast to contend with.
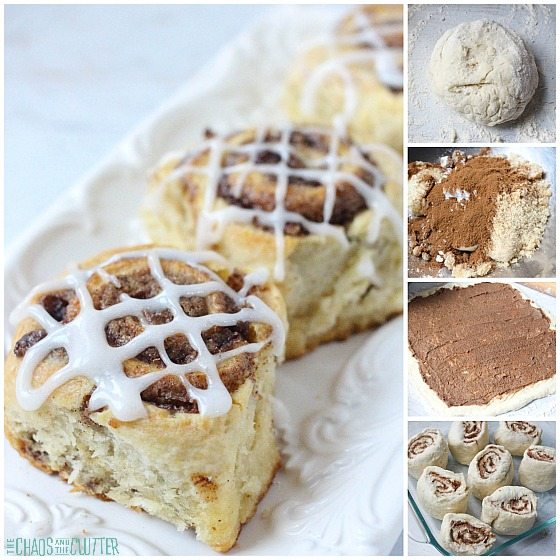
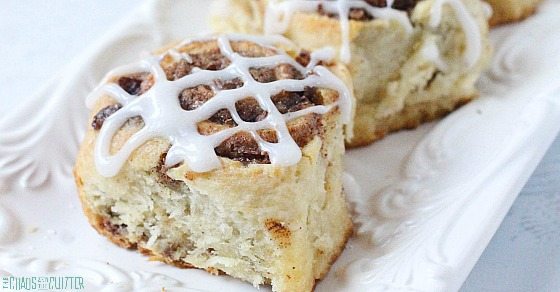 These no rise cinnamon rolls are of course best served warm, but even if they are served once they have cooled, you won’t be hearing any complaints!
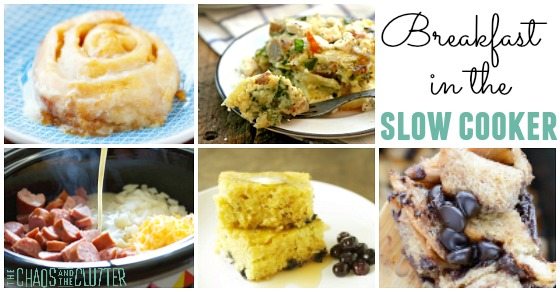
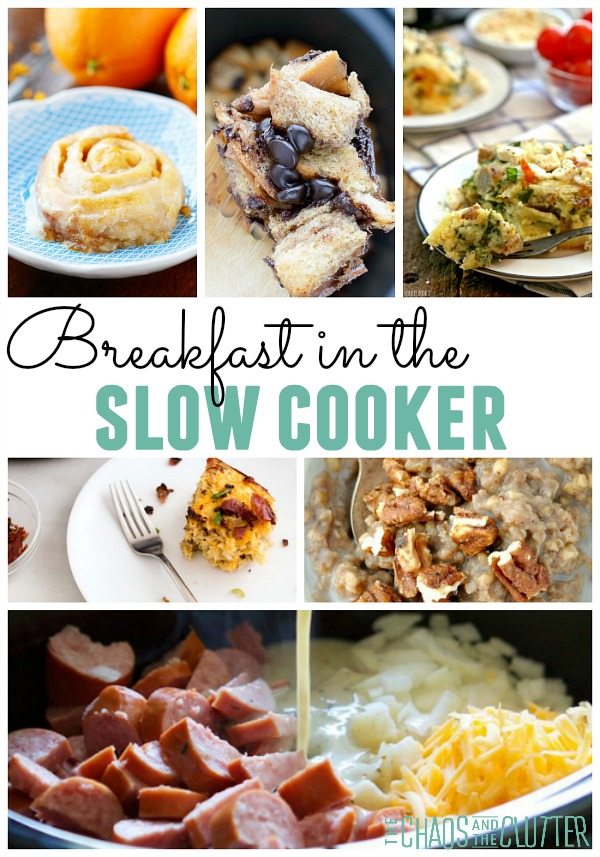 On a day when we are hosting a large gathering of people for brunch or celebrating Mother’s Day with a special breakfast, cooking one recipe in the crock pot frees up the oven and stovetop for me to cook other recipes at the same time.
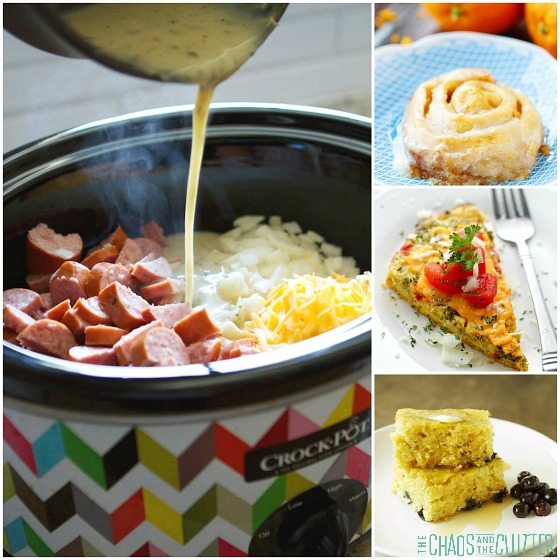
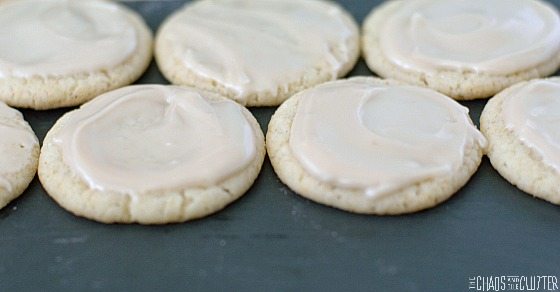
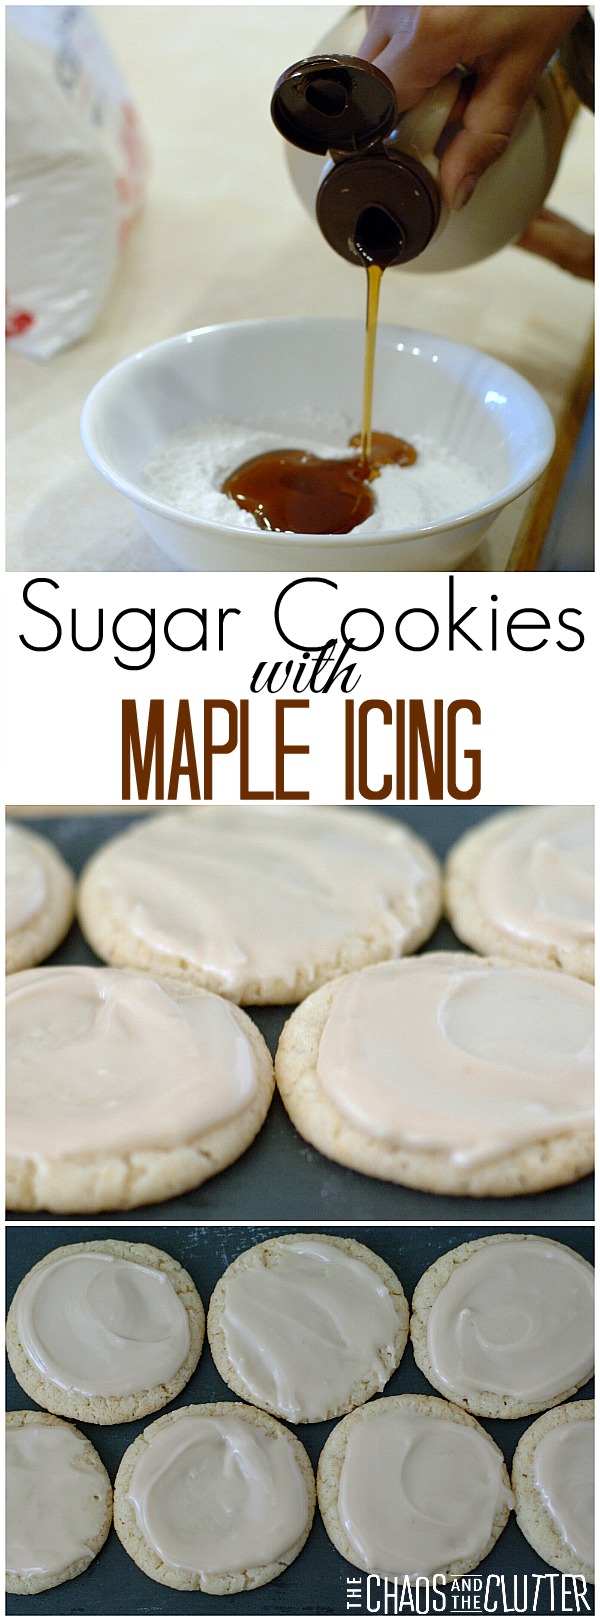
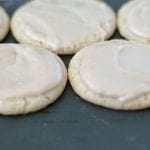
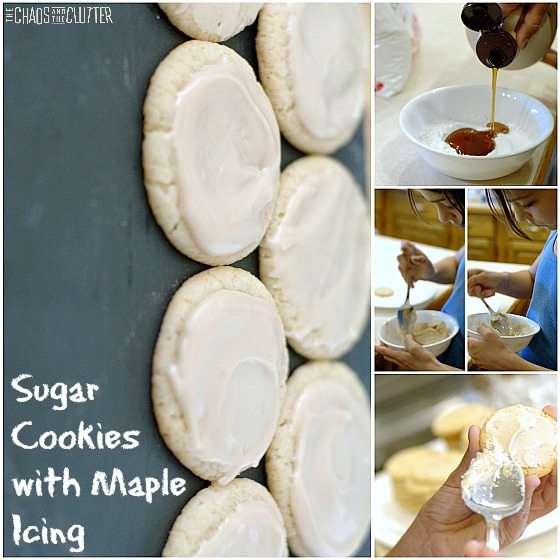 The simple two-ingredient maple icing can also be used on muffins (especially
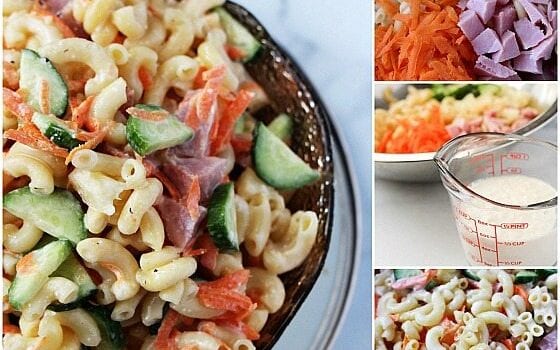
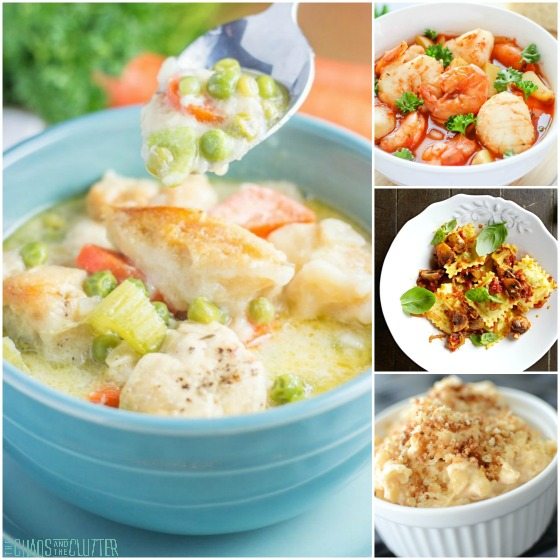
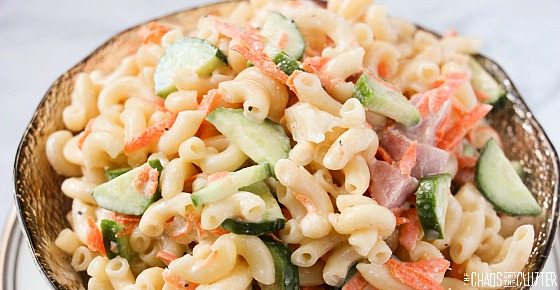
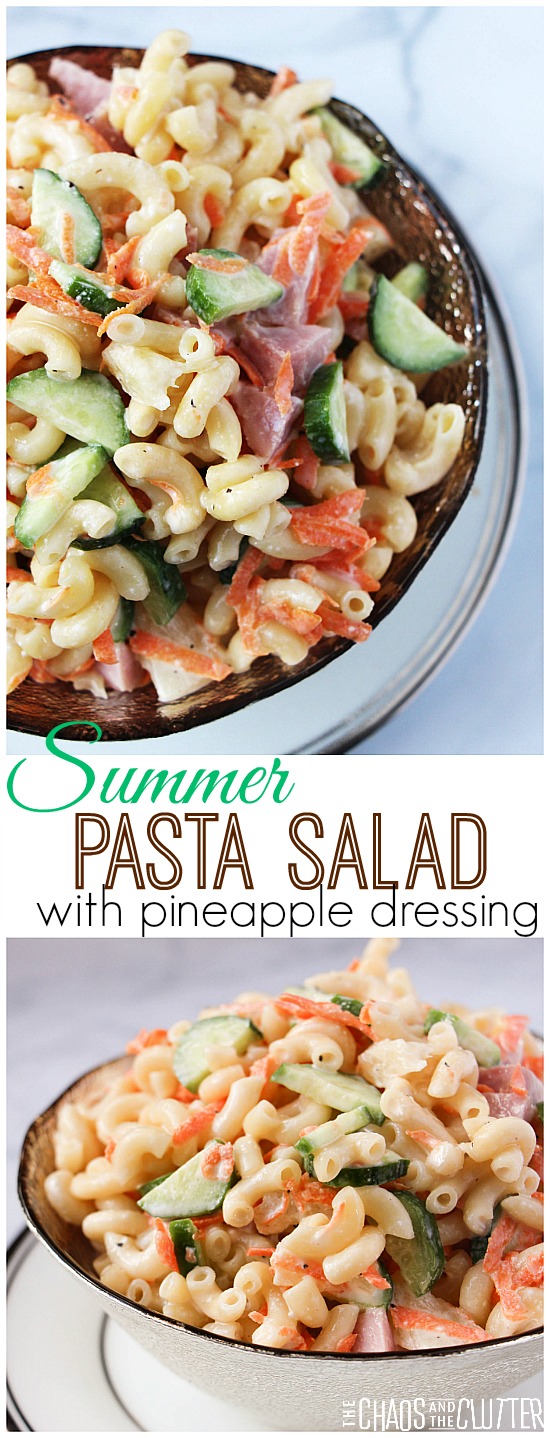 One of the nice things about this recipe is that you can change it by adding different vegetables or omitting the ham if you prefer. It makes a nice side dish for Easter and is perfect to bring to summer picnics and potlucks.
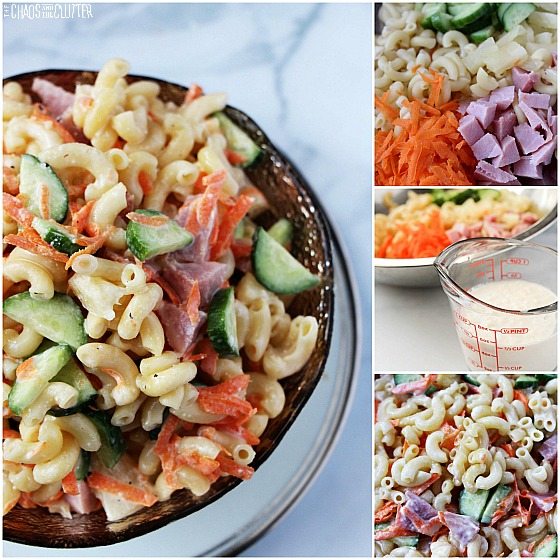

 If you’re looking for other easy pot luck salad recipes, check out this bright summery
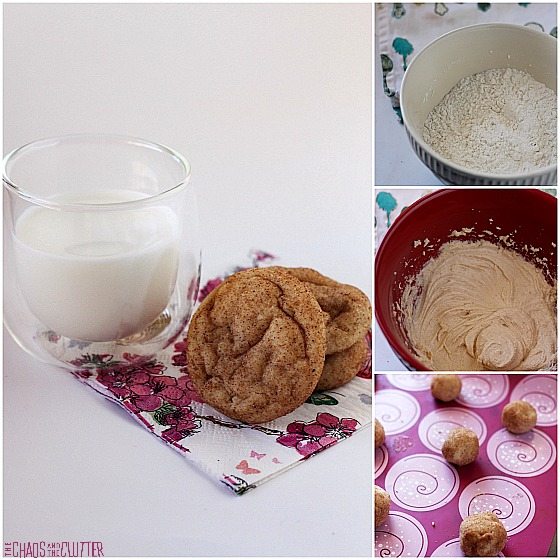
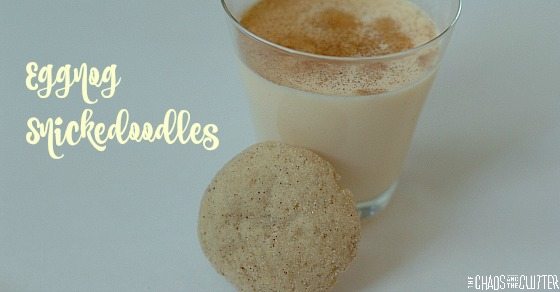
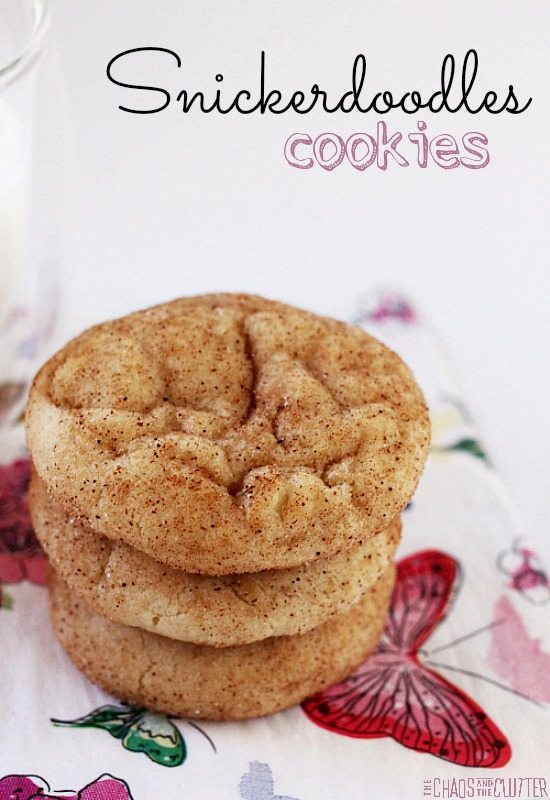 Until I first made snickerdoodles cookies, I thought that cream of tartar was only something used in making