This Christmas craft can be adapted for kids of all ages. The kids and I have been doing all kinds of holiday projects the past two weeks but I really wanted to think of one we could do that would bring us back to focusing on the reason there is a Christmas in the first place. We created this nativity chalk silhouette craft.
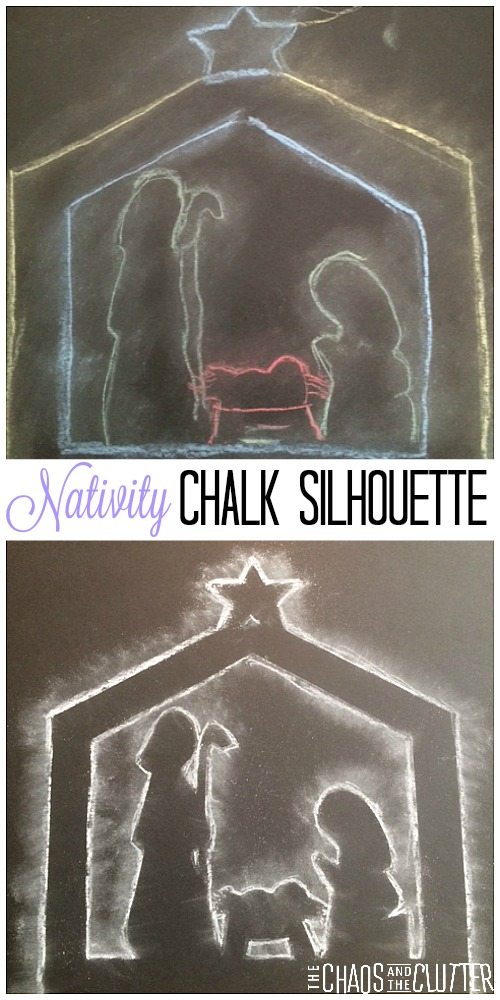 The process was simple but it lent itself to all kinds of variations. I love projects that let the kids explore their creativity and put their own spin on things. I set out both white and coloured chalks for this purpose.
Materials needed:
- nativity silhouette printable
- one piece of white card stock
- scissors and/or exacto knife
- black card stock (I think black construction paper would work too)
- chalk – white or coloured or both
- cotton balls
- optional: spray sealer
I didn’t see any point at reinventing the wheel (and my artist skills are lacking!) so I found a great nativity silhouette that is free to print at Meaningful Mama. While you’re over there, you can also look at the gorgeous stained glass craft she made with the same silhouette and maybe you can make both.
How to make a Nativity Chalk Silhouette:
- Print the nativity silhouette on card stock.
- Cut it out. I used scissors for most of this step but did use a blade (an exacto knife would be best) for the small cutouts.
- Place the silhouette on the black paper and hold in place with one hand while outlining it with chalk with the other hand.
- Continue to hold the silhouette in place and use a cotton ball to spread out the chalk.
- If you want to seal the picture, place it on newsprint and spray it with sealant.

I enjoyed watching the kids put their own interpretations on this craft. Some wanted to outline it all in white while others chose for the star to be outlined in yellow and others chose to use many colours. A few of the kids wanted to continue to spread the chalk after they removed the outline and made the colours spread quite far on their page while others preferred to have more of the original outline showing.
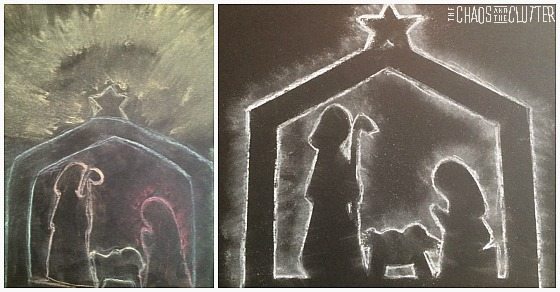 Regardless of which style they chose, all of them were absolutely beautiful! One of the kids wrote the word “Jesus” in chalk to his and added some embellishments to the star. I had to cut those out in the pictures because in them he had also written his full name. My kids of course don’t sign their artwork with their blog pseudonyms!
I hope that you will enjoy making this Christmas Nativity Chalk Silhouette as much as we did!
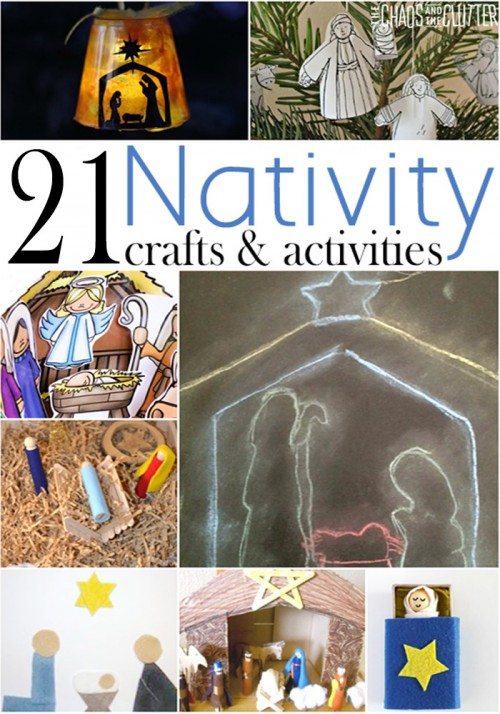
Here are some more Nativity holiday ideas:
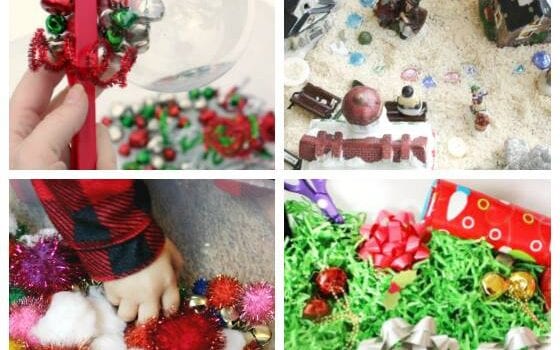
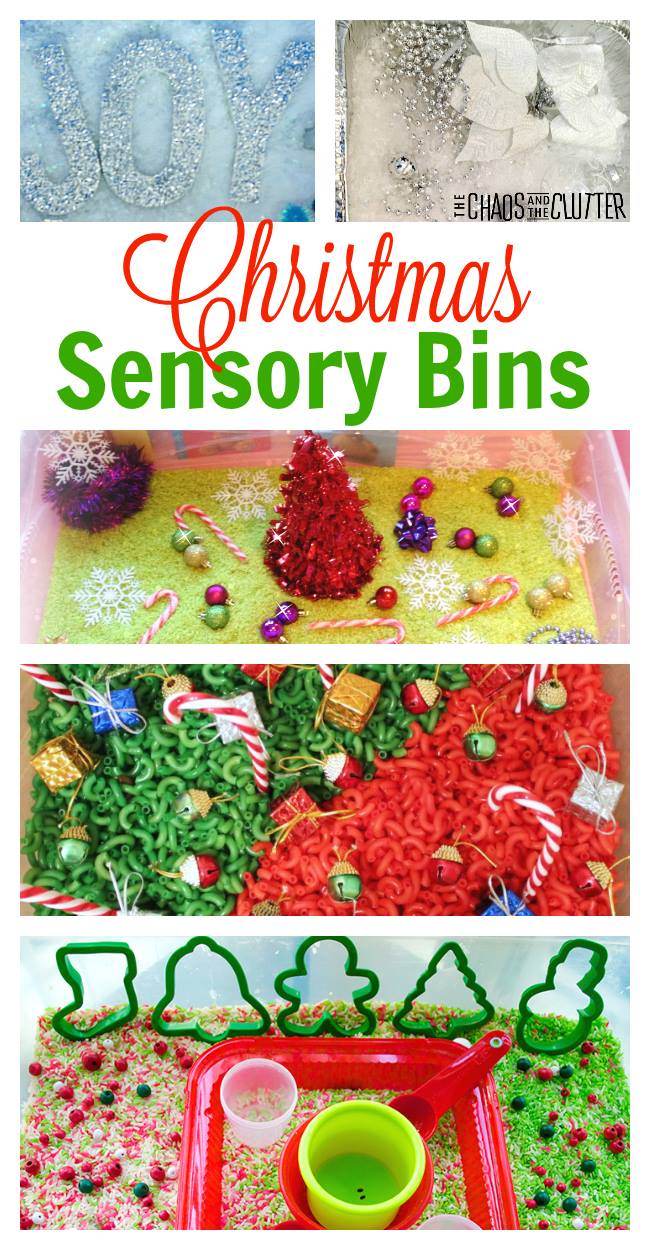 These Christmas activities not only provide much needed sensory input, they also offer opportunities to improve fine motor skills. They are also great boredom busters for during the holiday season.
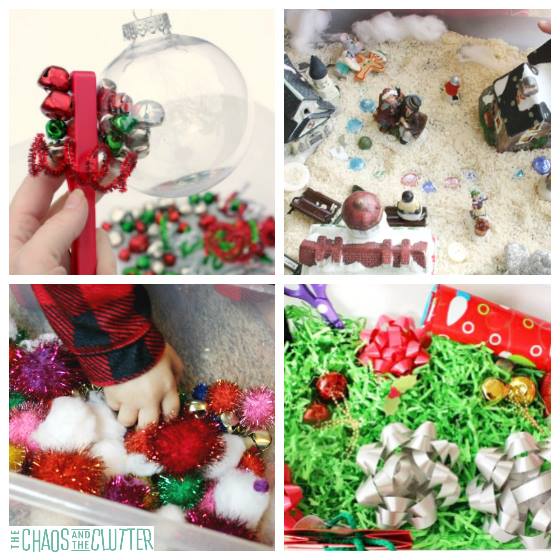
 More Christmas Sensory Bins:
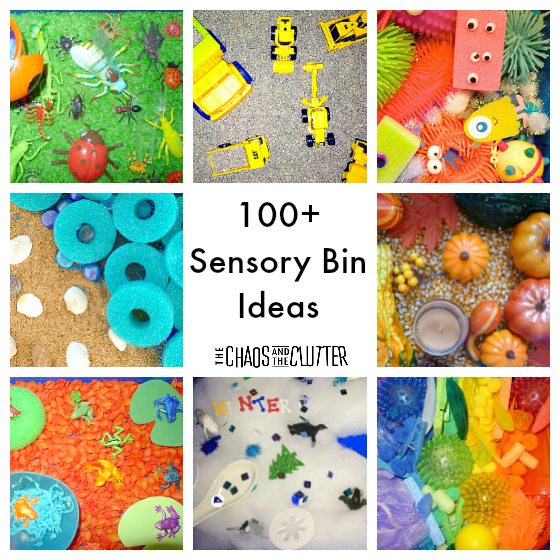


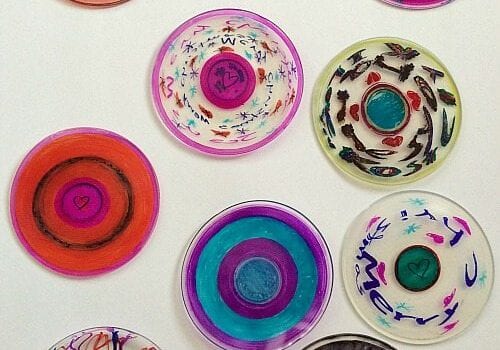
 I was really determined to make this idea work but it wasn’t as simple as I had imagined. Through a fair bit of trial and error, I was able to figure out how to make this concept actually turn into something and I’m so excited with how they turned out.
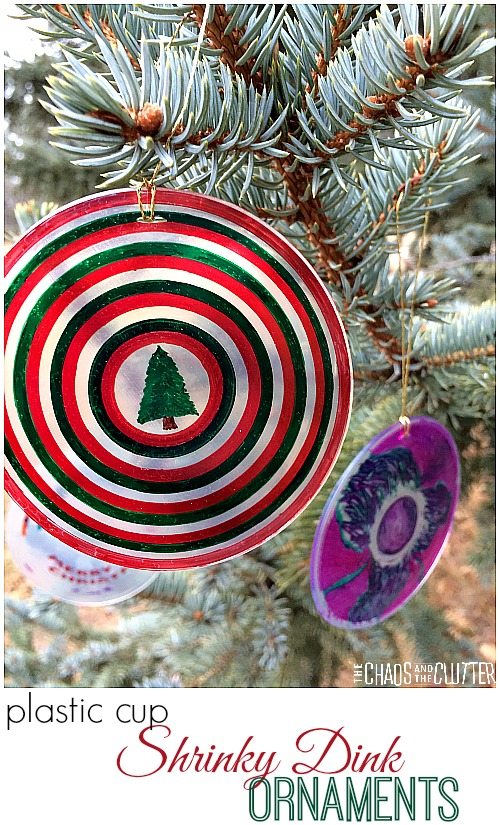
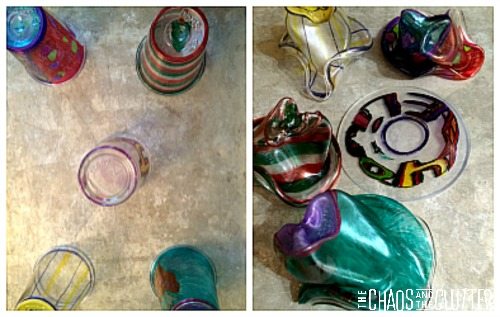 As you can see, four of the five cups shrunk down into funny little hat-looking-things. One of them flattened into exactly what I had pictured when I had thought up this project. At first, I thought maybe it was because that cup had been the one in the center of the cookie sheet but on closer inspection, we discovered that the one that flattened was a different brand of cup. The Dixie brand cups shrivelled into hats but the Polar brand plastic cups shrunk into flat circles.
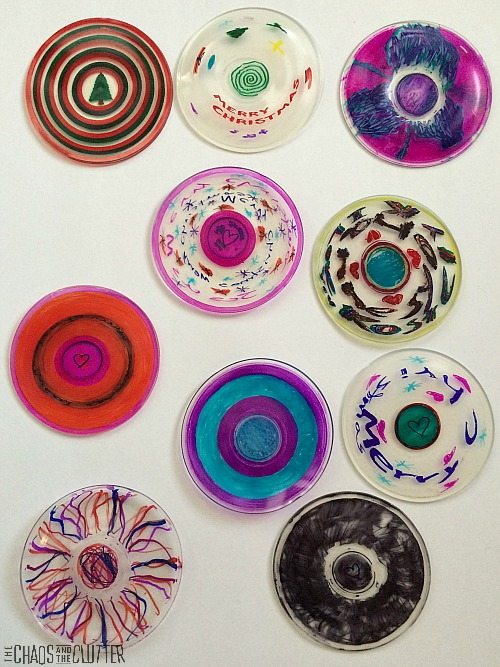 I was not able to hole punch them after they had shrunk because the plastic had hardened too much. So those disks did not become ornaments.
 How to make shrinky dink ornaments:
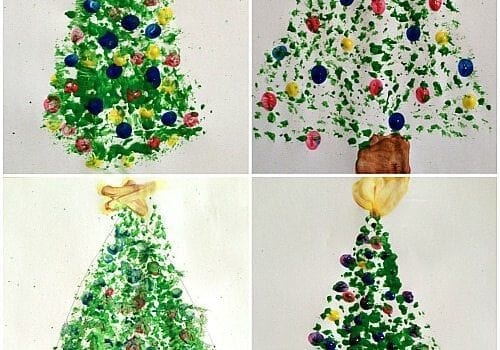
 Our project was inspired by a
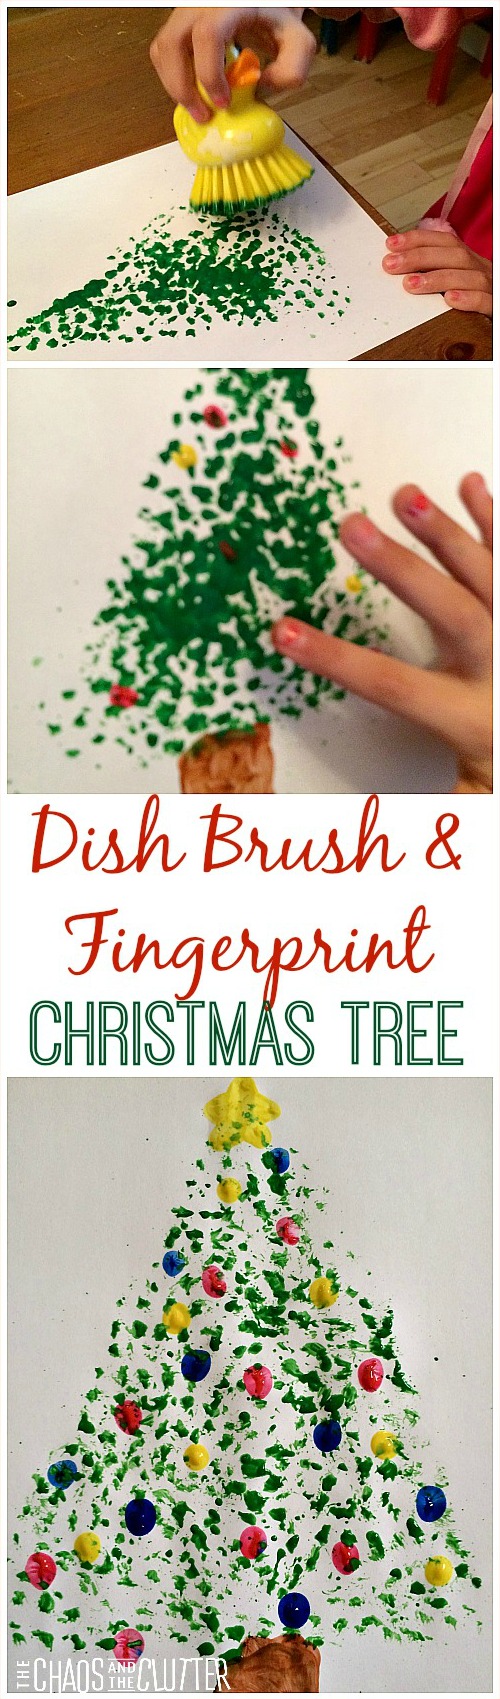
 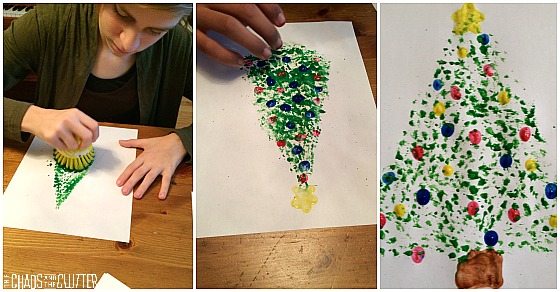 Pour green paint onto a plate and dip the dish brush into it. Form the tree using the dish brush and green paint. On a separate plate, put dollops of other paint colours. The kids can use these to dip their fingers in to make ornaments on the tree with the tips of their fingers. They can also use their fingers and brown paint to create the tree trunk.

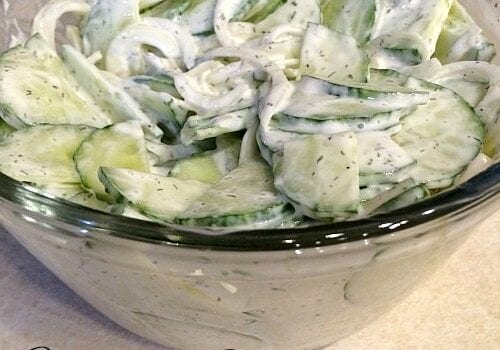
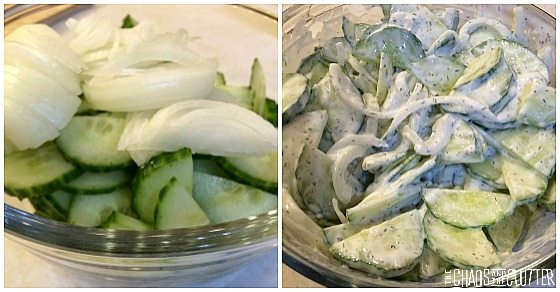
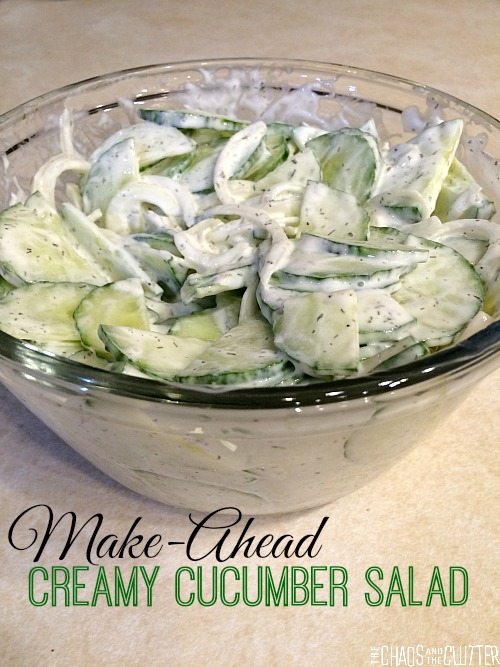 You need very few ingredients to make this salad so I have often made this when we are invited to a gathering and I want to bring something along but don’t have time to run to the grocery store. I always have every one of these ingredients in the fridge and pantry.