This sensory bin was most popular with my older kids. In fact, I happened to have it on the counter during a zombie theme party we had for our son and the preteen and teenage guests at the party loved it! Some of those boys spent more than twenty minutes playing in it. Don’t believe anyone who tries to tell you that sensory bins are only for little ones!
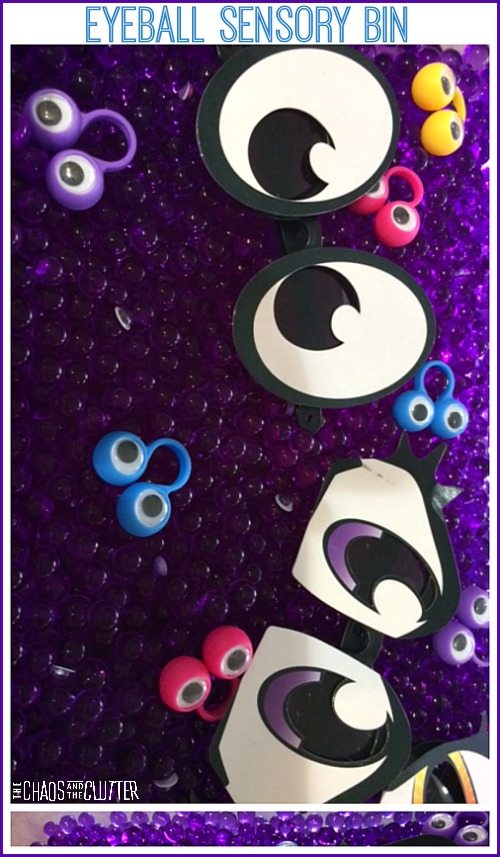 To make this eyeball sensory bin, I used purple water beads, water, googly eye stickers, bright coloured eyeball finger puppet rings, and cartoon eye glasses. I began by filling a clear plastic bin with water and the purple water beads to allow them to soak up the water. When the water had been absorbed, I added the other items.
One of the ways the kids played with this bin was to play seek-and-find with the eyeball stickers that were here and there and everywhere.
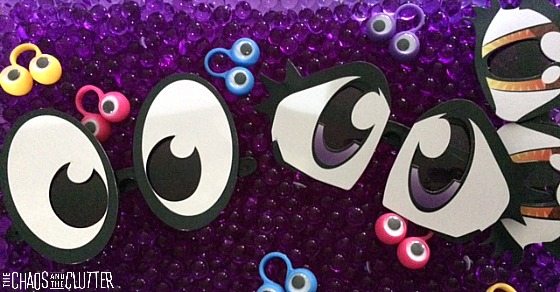 The cardboard on the cartoon glasses got wet from the water beads after a few days so we ended up having to take those out, but they were a fun element while they lasted. The kids enjoyed trying them on and laughing at each other! They also liked playing with the ring finger puppets.
This would be a good sensory bin to go along with a Monsters theme unit or for Hallowe’en.
If you are looking for information on making sensory bins, you may be interested in my book. 
Join our free 5 part email series Sensory Solutions and Activities and get our Sensory System Behaviours Easy Reference Cards.
 Making a bin-in-a-bag couldn’t be simpler. You take your latest sensory bin and dump the contents into a resealable bag and then pass it along to someone so that their kids can enjoy a new sensory bin experience.
 I’m thankful that I have friends who share their sensory bins with me when I’m in a bit of a creative funk! (Michelle did give me permission to post pictures of her lovely creation).
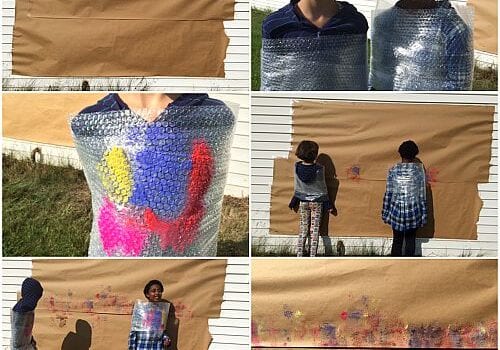
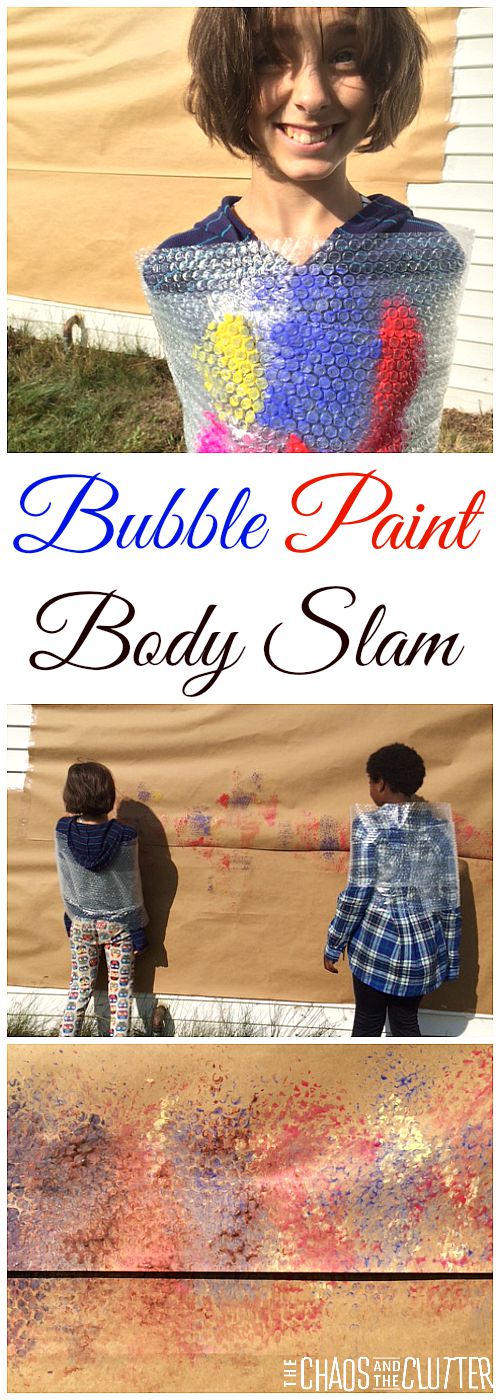 Materials needed:
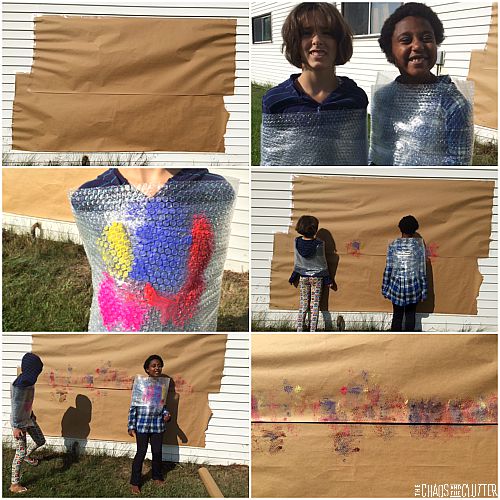 I would suggest that you used your child’s height to eyeball what level to tape up the paper. Our finished results would have looked better had they been on one paper instead of two but regardless of how the final artwork turned out, the kids had a great time and got in some good exercise!
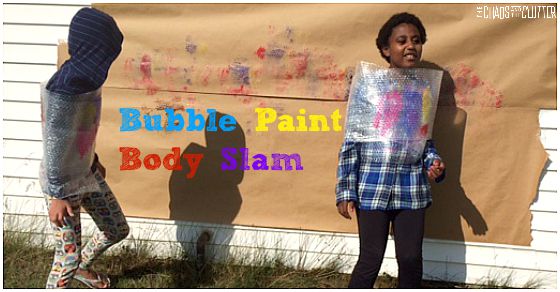 This kids’ activity is great for sensory work, but Granola Girl did need to have her bubble wrap put lower down because having it up near her face was not something that she could handle with her type of sensory needs. Thankfully, my kids are all really good at expressing what their sensory needs are so it wasn’t an issue. She also wanted to be wrapped up tightly and loved the feeling of that.
 For the base, I used salt, but you could also use sugar (which I don’t recommend because it may be too tempting for kids to eat it!) or epsom salt. I added
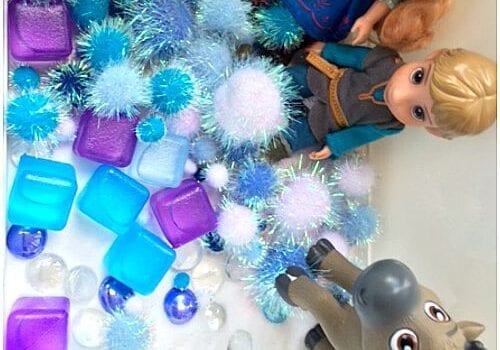
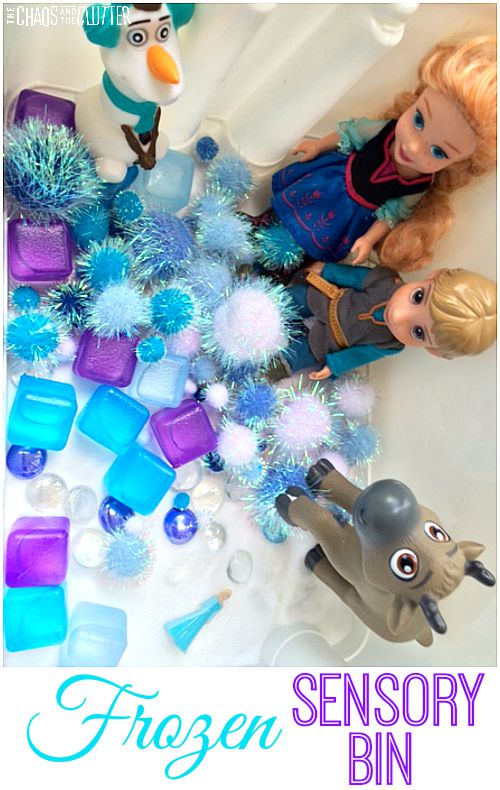
 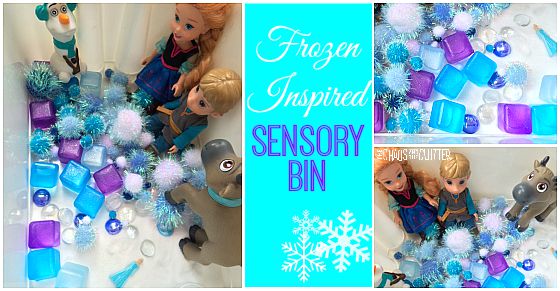 This Frozen sensory bin is a simple one but it combines several textures and opens itself up to imaginative play with the addition of the characters.
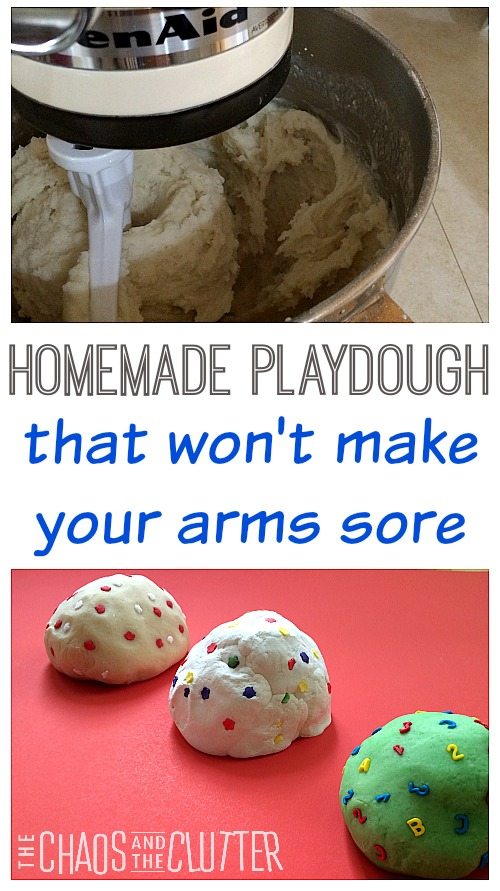
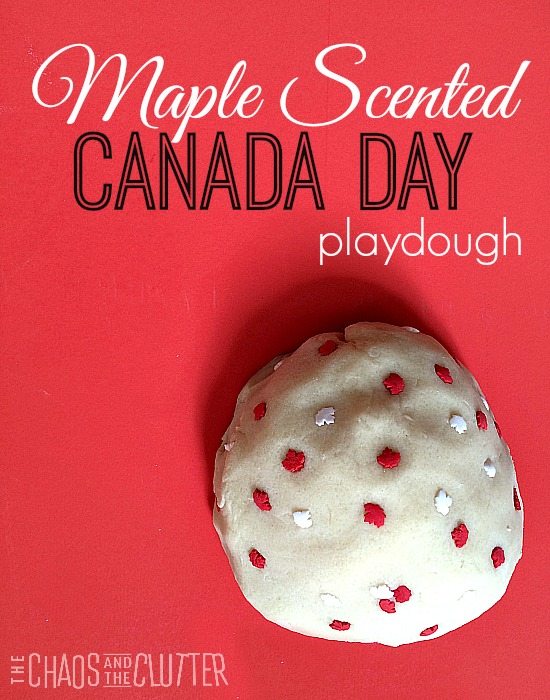 Recipe for Maple Scented Playdough
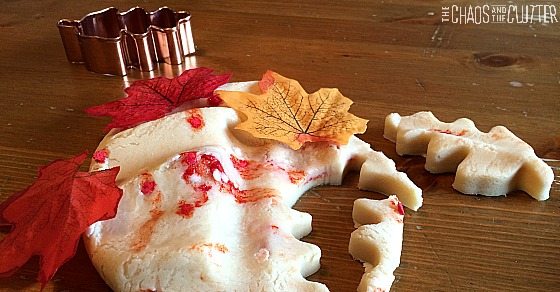 I set the dough out with some play maple leaves and leaf shaped cookie cutters to encourage imaginative play. My kids really like playdough as part of their sensory play.
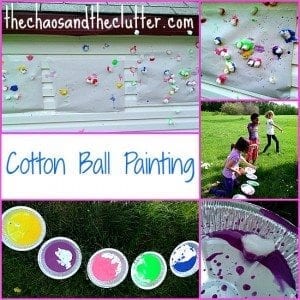
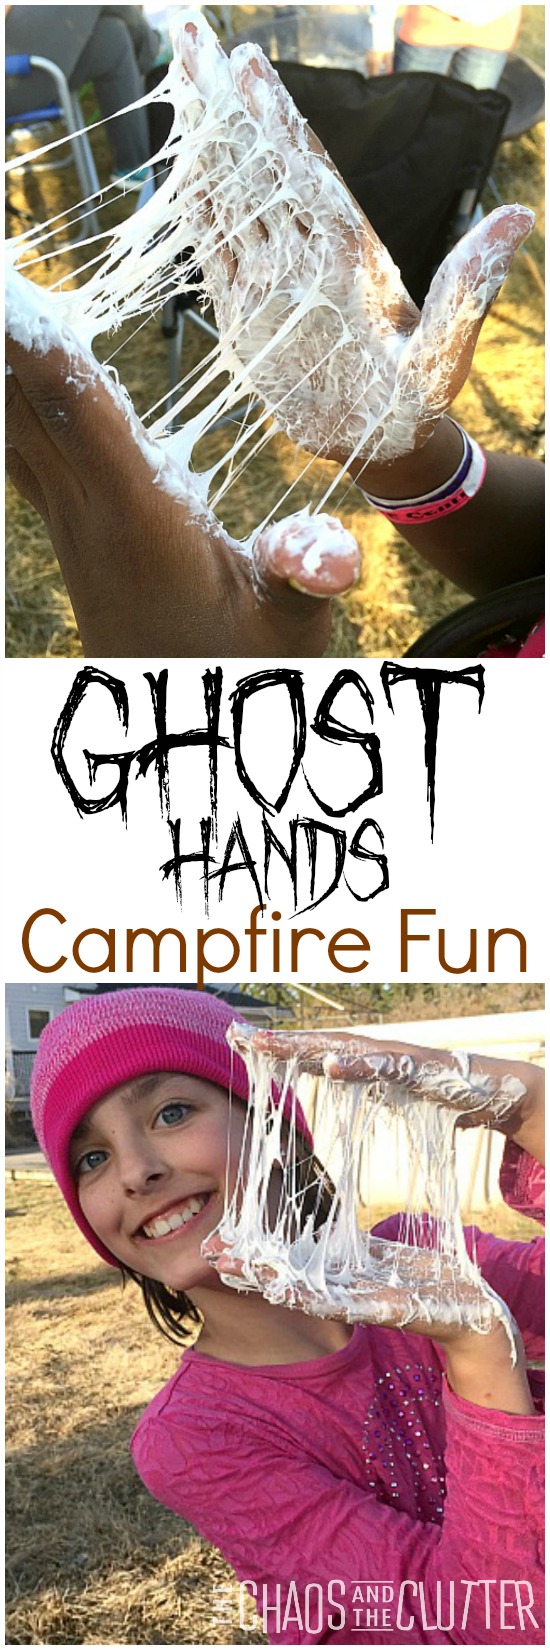 I warn you now. It’s messy. Sticky and messy. And yuck. But fun. So much fun!
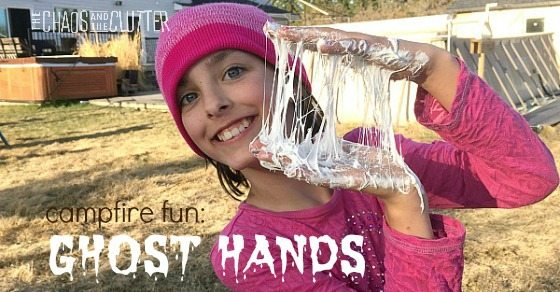 Ghost hands are about as cheap and easy as family entertainment gets!
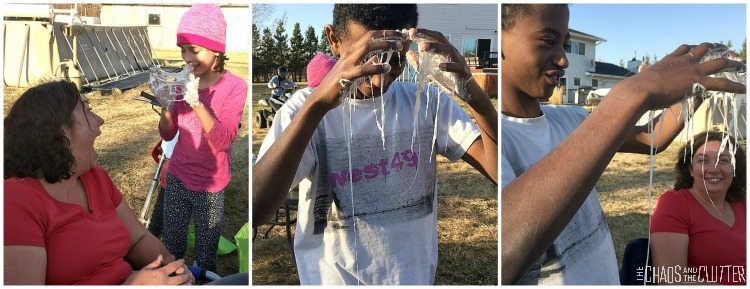 These pictures were taken before the kids got the idea to chase the adults around the yard, gooey hands outstretched, reaching for our hair! You can see Christie’s delight though in having taught my kids something that will surely be creating messes for me for years to come!