• Skip to primary navigation
  • Skip to main content
  • Skip to primary sidebar
  • Home
  • About
  • Contact
  • Privacy + Terms
  • Affiliates

The Chaos and the Clutter

  • Facebook
  • Twitter
  • Pinterest
  • Google Plus
  • RSS
  • Email
  • School at Home
  • Sensory
    • Sensory Processing Disorder
    • Awesome Sensory Play Activities
      • Sensory Bins
      • Sensory Bottles
      • Sensory Bags
  • Family Games
    • Minute to Win It Games
  • Special Needs Parenting
    • Childhood Anxiety
    • Reactive Attachment Disorder
    • Sensory Processing Disorder
  • Store
  • Course Login

sensory play

Frog Sensory Bin with Play Puffs

Frog Sensory Bin

By Sharla Kostelyk

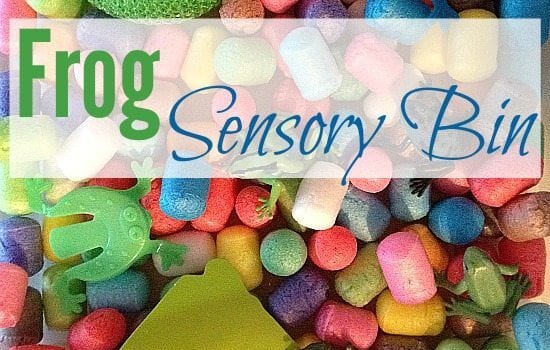
Back when we first started using sensory bins, we made a frog sensory bin. It was well, ugly. It was one of my first efforts at dying pasta and thankfully, I have gotten better at certain aspects of making sensory bins since then!

I decided that it was time to try a frog themed sensory bin again and this time, I opted out of using orangey, red mini pasta shells and used a bright coloured base instead.

Frog Sensory BinThis actually was one of the bins that we put together at our sensory bin swap a few months ago. We had thrown most of the items into a resealable bag so all I had to do was dump it into a bin and it was ready for the kids to play with.

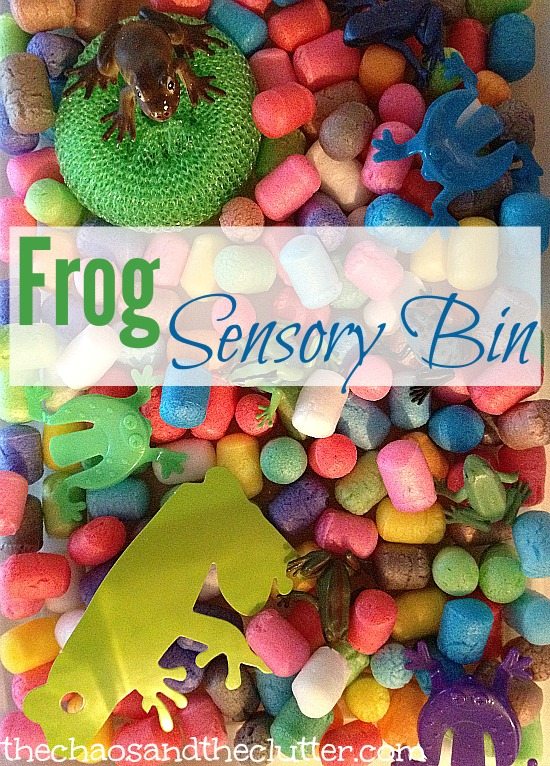
I added a few extra frogs but other than that, the bin was ready to go from the swap. The base for this bin was play puffs. They are a great multi-purpose item as they can be used for sensory play or for craft creation. Once they are wet, play puffs stick together to form whatever shape they can imagine.

Also in this bin, a kitchen sponge “lily pad”, plastic jump frogs, stretchy frogs, toy frogs, and a glossy paper die cut frog.

Frog Sensory Bin Play
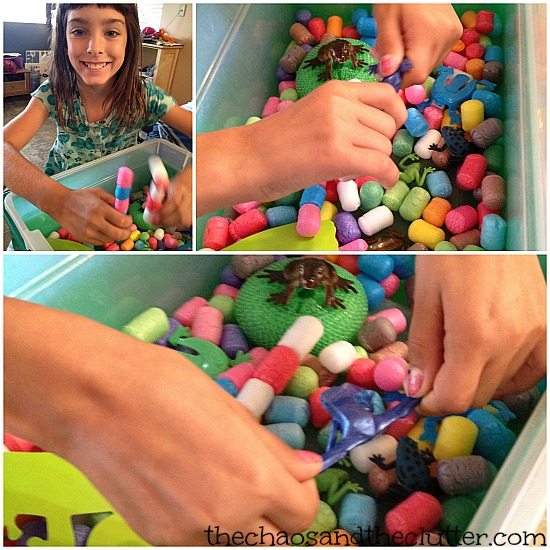
My plan for the kids to use the play puffs for a craft project after I retired this sensory bin didn’t pan out the way I’d planned it. As soon as the kids discovered the ability to stick the play puffs together, they added that as part of their sensory bin play. It made this a popular activity!

For hundreds of sensory bin ideas, you can also follow my Sensory Bins board on Pinterest.

Follow Sharla Kostelyk’s board Sensory Bins on Pinterest.

If you are looking for information on making sensory bins, you may be interested in my book. The Ultimate Guide to Sensory Bins

Join our free 5 part email series Sensory Solutions and Activities and get our Sensory System Behaviours Easy Reference Cards.

Filed Under: Sensory, Sensory Bins Tagged With: sensory bin, sensory play

Pumpkin Puffy Paint

By Sharla Kostelyk

This scented pumpkin puffy paint is a great sensory activity as well as a fun way to create fall artwork. I used real pumpkin (canned although I’m sure cooked pumpkin leftover from a jack-o-lantern would work just as well) and added pumpkin pie spice. These two ingredients give the paint its smell. For me, the smell of pumpkin and spices brings me back to my Gramma’s kitchen and her muffins.

Scented Sensory Pumpkin Puffy Paint

To make this pumpkin puffy paint recipe, stir together:

  • 1/2 cup pureed pumpkin (fresh or canned)
  • 1 cup shaving cream (unscented)
  • 1 cup white school glue
  • 1/2 tsp. pumpkin pie spice (you can use a blend of cinnamon, nutmeg, ginger, and allspice if you don’t have this spice blend)
  • optional: orange food coloring or food paste for extra colour

When you stir the ingredients together, don’t over mix so as to keep it nice and fluffy. There will be specks of texture because of the spice blend but this will only add more realism to the painting.

We used fingerpaint paper but any paper would do. I let the kids have complete freedom on this one to create in whatever way they wanted to. Some of them poured the paint onto their paper, others used a spoon to scoop it on and two of them just got right in there with their fingers. Granola Girl was hesitant at first but really got into the sensory experience!

pumpkin puffy paint artwork

As in most of the activities that I plan for them, the kids came up with ideas that I hadn’t thought of to make things more interesting. Snuggle Puppy discovered that once he had waited for his pumpkin to dry just slightly, he was able to create a face in his pumpkin just by blowing on it!

scented pumpkin puffy paint for Fall
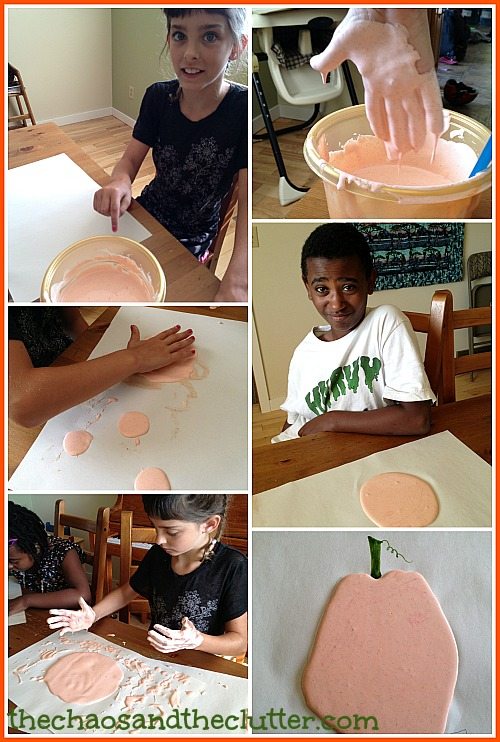
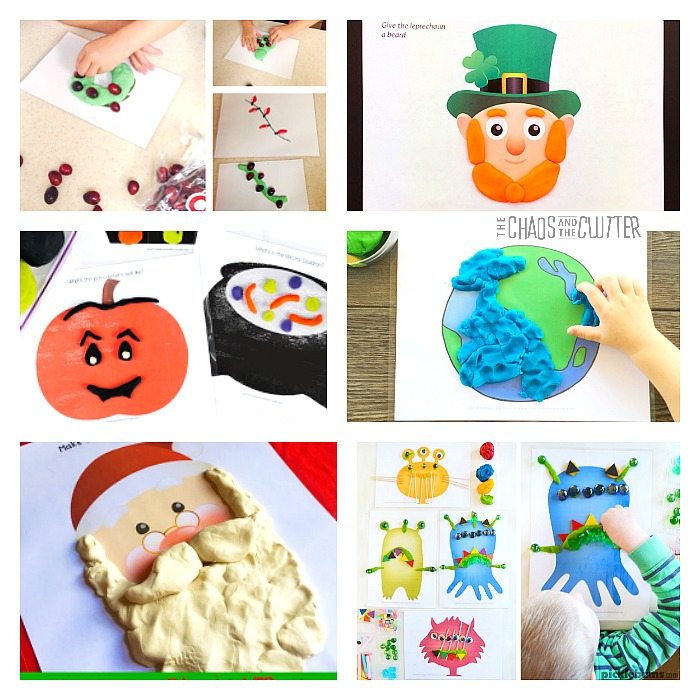
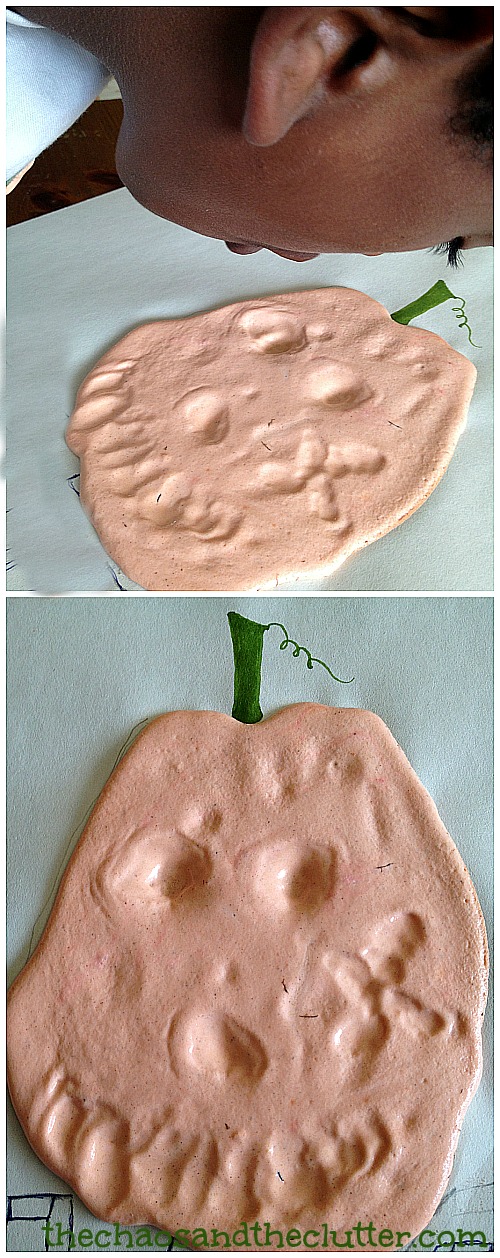
It worked really well and the pumpkin’s face stayed that way once the paint had completely dried. Snuggle Puppy told me that he added little flecks of eraser to make the face look scarier…that boy has a way of making me laugh!

This puffy paint is great as a sensory activity as it includes both olfactory (scent) and tactile feedback. It is also just a plain fun craft! Once the creations are dry, kids could also cut around them and use them for fall decorations.

If you are looking for other easy and fun sensory recipes, just input your email in the box below to get a sample of our Sensory Play Recipes eBook.

Filed Under: Crafts and Activities, Sensory Tagged With: sensory play

Rainbow Soap Foam

a black child's hand is reaching up from a bin of soap foam holding blue and pink soap foam. The bin contains areas of pink, blue, purple, and yellow soap foam.

By Sharla Kostelyk

I used this fun recipe to create a sensory bin of sorts for the kids to play in. This rainbow soap foam activity was part art activity, part sensory, part colour mixing science experiment, and all fun!

Rainbow Soap Foam
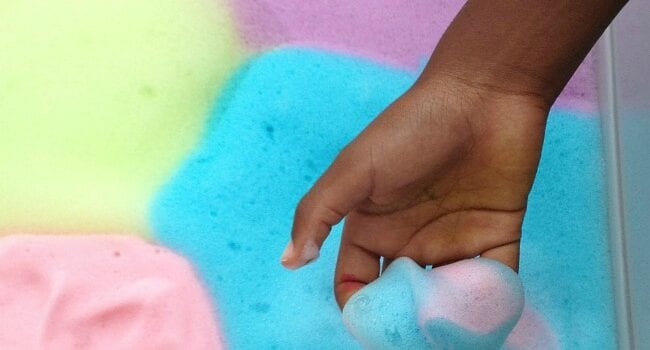
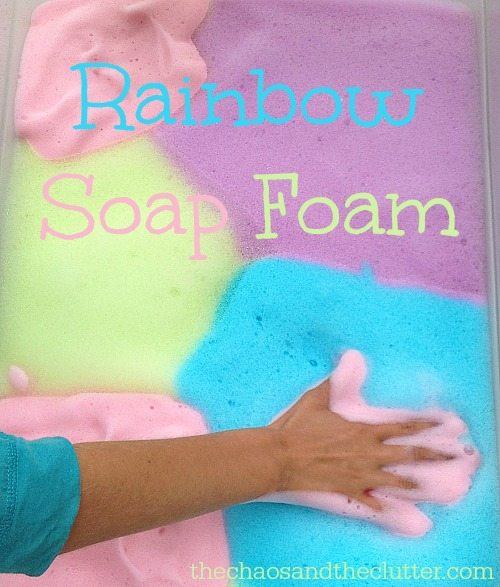
Rainbow Soap Foam Recipe:

Materials needed:

  • food colouring
  • water
  • Palmolive dish soap
  • hand mixer
  • optional: glitter

1. In a bowl, add 1/4 cup water, 2 Tbsp. Palmolive dish soap and 5-10 drops of food colouring. I also added some glitter in the same colour as the food colouring to this step.

2. Mix on high with a hand mixer for about 2 minutes, until peaks form.

3. Put the foam into a shallow bin. On a rainy day, you could put it into the bathtub.

4. Rinse the bowl and beaters and follow the instructions again using a different colour of food colouring. Repeat until the desired number of colours are created, adding each to the bin.

making soap foam

When I had made four colours of soap foam, I brought the bin outside and let the kids play and explore with it. They enjoyed mixing the colours and playing with the foam. They tried to use it to paint on the concrete with their hands, but mostly only the glitter stayed visible.

playing with Rainbow Soap Foam
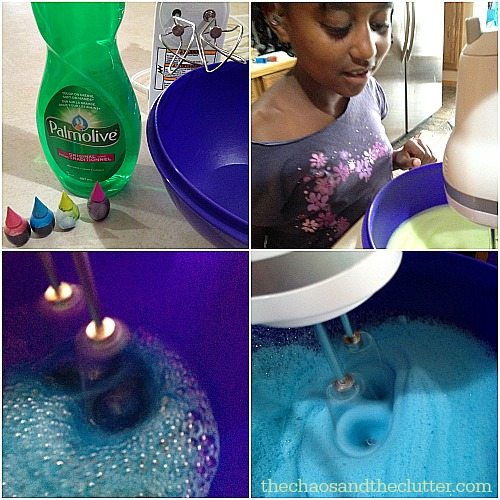
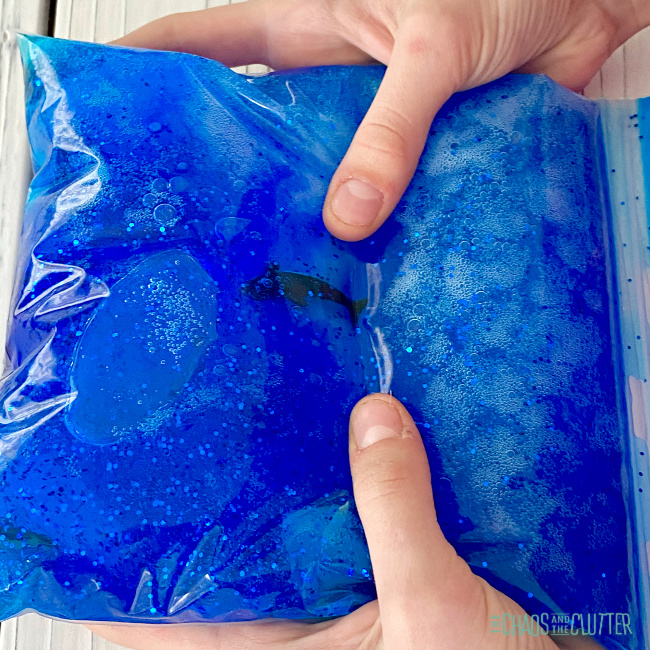
My girls really enjoyed the textures of the soap foam and seeing the different colours they could create by mixing.

They enjoyed every step of this activity from helping me mix the recipe in the kitchen to playing with the finished product.

Even one of our new kittens came over to see what all the fuss was about!

Be sure to have your kids wash their hands when they are done playing so that they don’t get soap in the eyes accidentally and of course, as with all projects, adult supervision is recommended. 

Find these instructions along with the coolest sensory play recipes around in the Sensory Play Recipes eBook. You’ll find recipes for everything from slimes to oobleck to edible paints and playdoughs and more.

Join our free 5 part email series and get a sample of 5 recipes from our Sensory Play Recipes ebook:

Filed Under: Crafts and Activities, Sensory, Summer Sensory Activities Tagged With: sensory bin, sensory play

Calming Lavender Sensory Bin

Calming Lavender Sensory Bin

By Sharla Kostelyk

I have been wanting to make a lavender sensory bin for the kids for awhile now. Dancing Queen struggles with anxiety and we do as much as we can to help her regulate her anxiety. She loves the lavender playdough I make. It really does seem to have a calming effect on her. I reasoned that since sensory bins already help my kids with their regulation, a lavender one may have even more of a calming effect which would be good for all of them but especially for Dancing Queen.

Calming Lavender Sensory Bin
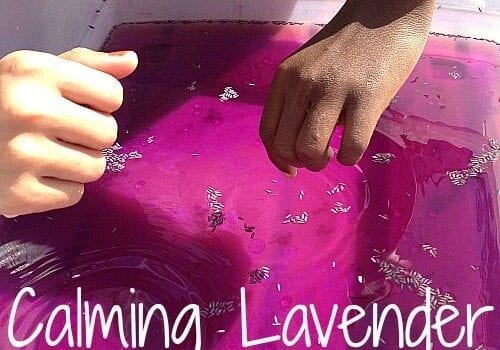
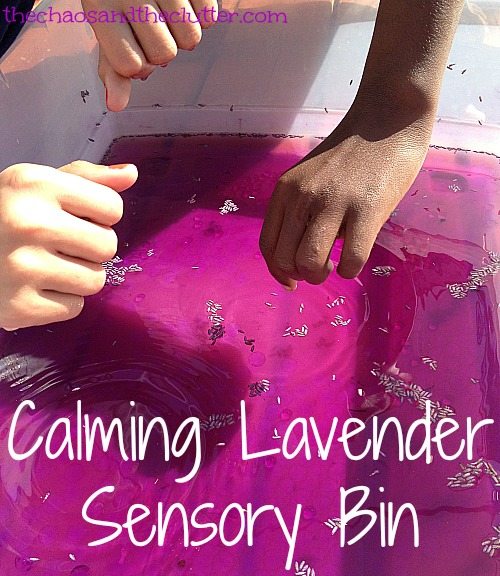
For this sensory bin, I used a large shallow tub so that I could put the bin on the deck. I used purple gems and added
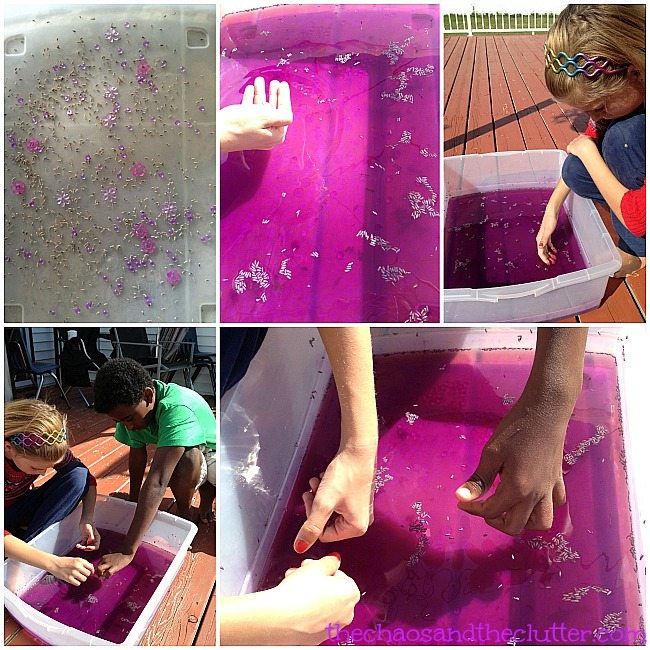
 real lavender and purple water beads. I used a pitcher to add water and it took on a light purple colour because of the water beads.

Lavender Sensory BinThe smell of the lavender was really nice. Once the water was added, the scent was considerably stronger but not overpowering. The plastic gems made a good contrast for the texture of the water beads.

In place of the dry lavender, you can use a few drops of lavender essential oil.

The kids enjoyed playing with this lavender sensory bin outside. It held their attention for long periods of time this week. With the water, various textures and smell of the lavender, it really did seem to have a calming effect on them.

One of the nice things about being back into our regular homeschool routine is having a weekly sensory bin. It forces me to come up with new ideas and even though I keep thinking that I will run out of ideas after so many years of making sensory bins, I haven’t run out yet! The kids like experiencing the new bins and look forward to seeing what each week’s theme is going to be.

Join our free 5 part email series Sensory Solutions and Activities and get our Sensory System Behaviours Easy Reference Cards.

If you are looking for information on making sensory bins,you may be interested in my book. The Ultimate Guide to Sensory Bins

Filed Under: Sensory, Sensory Bins Tagged With: sensory bin, sensory play

Printable Playdough Mats

Free Printable Playdough Mats

By Sharla Kostelyk

Playdough is an excellent sensory activity. It gives tactile feedback, can help soothe, and often includes senses other than touch such as scent (olfactory). There are many ways to expand playdough play.

Creating playdough mats using these free printables is a very easy way to make a playdough station. Many of the mats incorporate learning concepts and for most children, they can be done independently.

Free Printable Playdough Mats
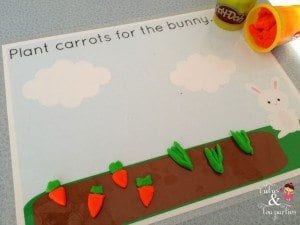
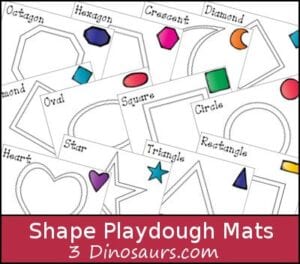
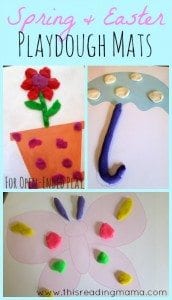
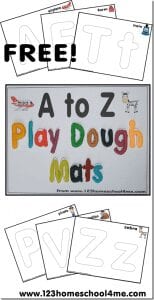
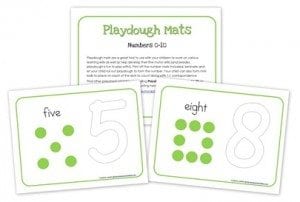
These playdough mats are all free to print. The easiest way to create a playdough sensory station with these is to either laminate them once they are printed or insert each page into a plastic sleeve*. They are then ready for endless hours of play!

*Organizational tip: If you put the printables into plastic sleeves that have holes in them, you can keep all of your playdough mats in a binder for easy access.

Print off these adorable Transportation Alphabet Playdough Mats to help kids learn or reinforce their ABCs and the letter sounds. There are so many ways to expand on the fun and learning with this activity.

Get your printable alphabet playdough mats by entering your email address below. You’ll also be signed up to receive our free email series Sensory Activities and Solutions.

Use our Birthday Themed Emotions Playdough Mats or our Pirate Themed Emotions Playdough Mats to help kids explore their feelings.

People Playdough Mats from Picklebums

Printable People Playdough MatsI love this idea as you can include other sensory items like different textured fabric, googly eyes, pipe cleaners, button, and beads. I also like that these could be used to help teach emotions and facial expressions. If I had to choose a favourite, this would be it!

Playdough Flower Mat from Learn with Play at Home

Playdough Flower Mat. Free Printable. Playful MathsThis mat offers all kinds of learning opportunities and hands-on play. Depending on their age and skill level, kids can play with it differently.

Summer Playdough Mats from Totschooling

summer playdough mats printableThis set could be used in the summer or in the middle of winter when we start dreaming of summer and wishing for it to arrive!

DIY Playdough Mats from Tutus and Tea Parties

Garden Playdough MatThis set is so cute. I like that it really allows for the kids to use their imaginations!

Shape Playdough Mats from 3 Dinosaurs

shape playdough matsSpring and Easter Playdough Mats from This Reading Mama

Spring and Easter printable playdough matsI like the open-endedness of these.

Alphabet Playdough Mats from 123 Homeschool 4 Me

printable alphabet playdough matsGreat for preschool and reinforcing pre-reading concepts.

Number Playdough Mats from Homeschool Creations

Number Playdough Mats printable

Old MacDonald Farm Animal Playdough Mats from Making Learning Fun

And a bonus activity from No Time for Flash Cards…Playdough Hairdo Mats that you create yourself with photos of your family!

playdough family hairdo

There are many playdough recipes out there and some are very easy no-cook recipes, but I have still found that the best one out there is our tried and true classic playdough recipe. We change it up a bit by making chocolate playdough or calming lavender playdough but the basic recipe is the same.

Whatever playdough you decide to use, creating a playdough sensory station using these mats is easy and costs next to nothing.

Join me for a free 5 part email series Sensory Solutions and Activities and get your Birthday Emotions Playdough Mats. 

Here are more printable playdough mats for sensory play including ones for holidays like Christmas.

Filed Under: Sensory, Simple Sensory Solutions Tagged With: sensory play

Seaside Sensory Bin

By Sharla Kostelyk

I find that coming up with sensory bins in the summer is so much easier than in the winter. Not only are themes somehow easier to think of, there are not as many limits because clean up is so much simpler. If it’s a bin that is going to potentially become a huge mess, I can set it up on the deck or in the lawn and the mess is no longer a consideration. This seaside sensory bin wasn’t that messy, but it still floated between outside and inside as the kids took it where they wanted it.

Seaside Sensory BinWhen I was grocery shopping on the weekend, the pool noodles were on clearance, so I picked one up knowing that I could find a use for it. Out of one pool noodle, I was actually able to make this sensory bin, a busy bag, an activity, and still have half leftover that is currently being used by my children as a sword!

To create this sensory bin, use a serrated knife to cut pieces of the pool noodle. In one area of the bin, put sand and seashells to create the shore. In the other, put the pool noodle pieces, glass beads and little blue foam bits. I chose these items both for the variety of texture they created. I also thought that the pool noodle slices gave the illusion of waves and the little foam bits looked like bubbles.

Seaside Sensory Bin square

Seaside Sensory Bin:

Supplies needed:

  • blue or teal pool noodle, sliced
  • sand
  • blue foam bits
  • seashells
  • blue and clear glass beads
  • plastic tub

Directions:

  1. Slice the pool noodle. This step should be done by an adult. A serrated knife works best.
  2. Place sand, foam bits, glass beads, seashells, and pool noodle slices in a plastic tub.
  3. Invite your child to play.

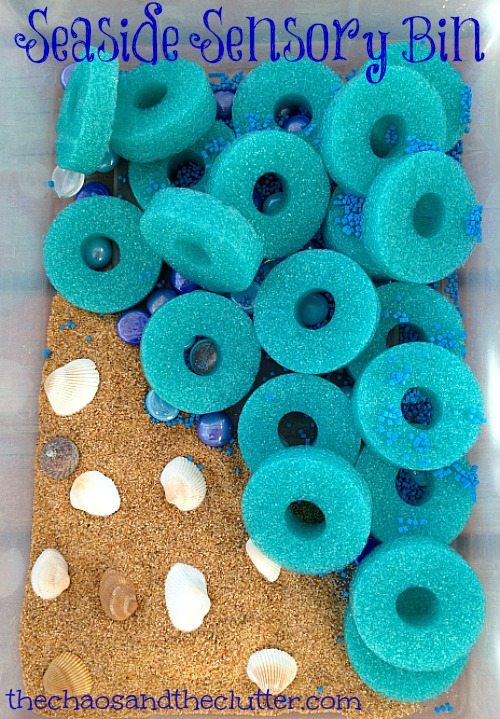
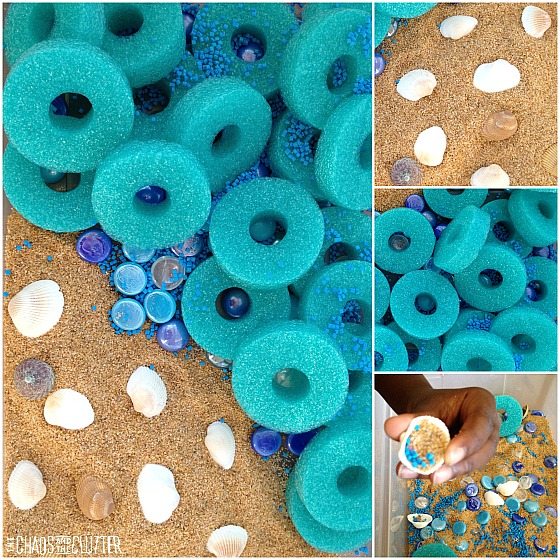
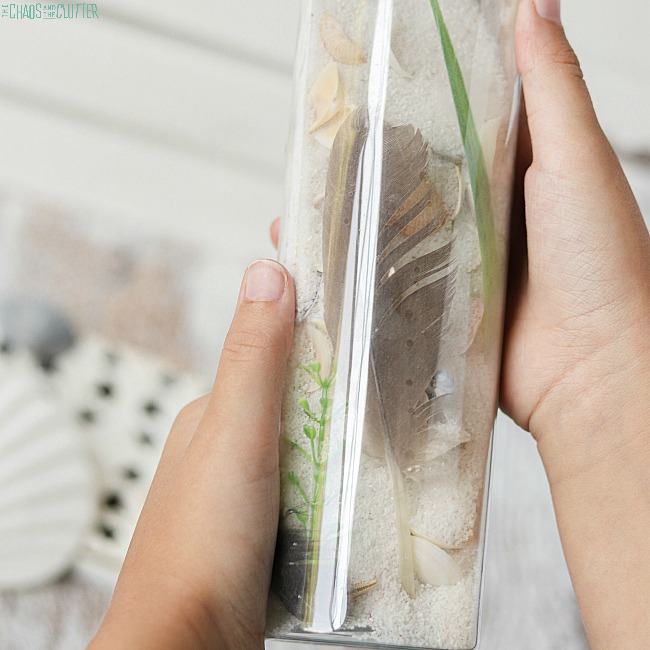
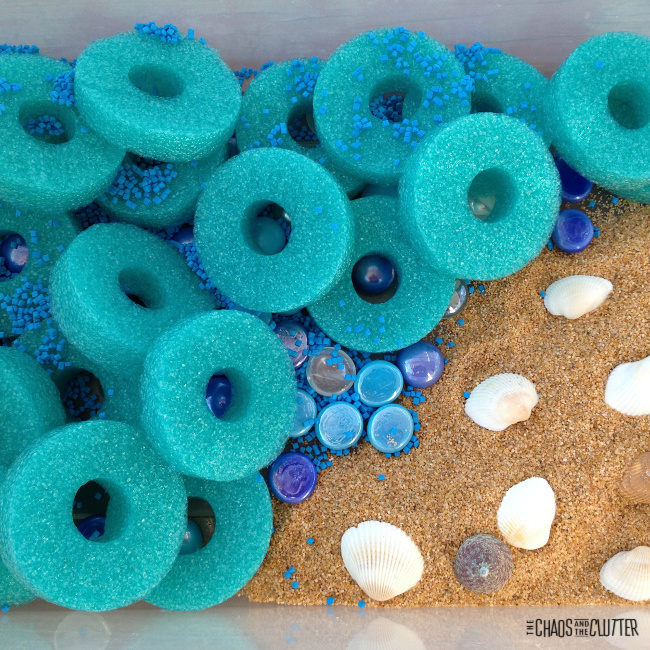
The seashells make great scoops for play. My kids also invented a game of holding one of the pool noodle pieces in their mouth and having others stack the rest of the pieces on top of that piece to see how high of a tower they could create without it falling. It’s not quite what I had in mind when I made the bin, but I like to let them direct their own play!

If you are looking for more sensory bin ideas or information, you may be interested in my book.

The Ultimate Guide to Sensory Bins

Join me for a free 5 part email series Sensory Solutions and Activities and get your Sensory System Behaviours Easy Reference Cards.

Check out these other beach themed sensory activities:

At the Beach Sensory Bottle

Ocean Sensory Bag

Filed Under: Sensory, Sensory Bins Tagged With: sensory bin, sensory play

  • « Go to Previous Page
  • Page 1
  • Interim pages omitted …
  • Page 36
  • Page 37
  • Page 38
  • Page 39
  • Page 40
  • Interim pages omitted …
  • Page 45
  • Go to Next Page »

Primary Sidebar

Categories

We are a participant in the Amazon Services LLC Associates Program, an affiliate advertising program designed to provide a means for us to earn fees by linking to Amazon.com and affiliated sites.

Copyright © 2026 • The Chaos and the Clutter • Site Design by Jeni @ The Blog Maven

Return to top of page

Copyright © 2026 · Chaos and the Clutter 2.0 on Genesis Framework · WordPress · Log in