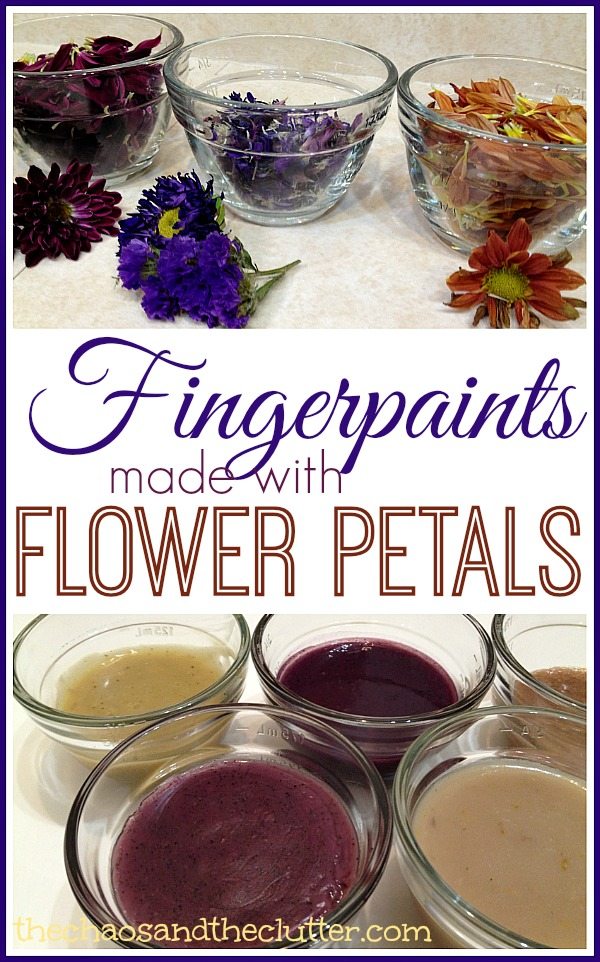
Making flower petal fingerpaint turned out to be an interesting science and art activity. We were surprised by what colours were made with the flowers and even by how the smells changed throughout the process.
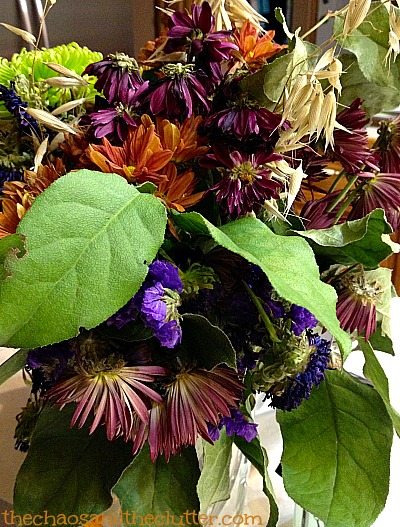
 My neighbour had given me a beautiful fall bouquet of flowers and after a week or so, it had begun to look a bit on the sad side. The flowers were drooping and had started to wither but there were such gorgeous colours in the bouquet that it really seemed a shame to throw it away.
 I was trying to think of a way to use the flowers and decided to make them into a hands-on history lesson to demonstrate to the kids how clothing and linens used to be dyed using flowers and other items found in nature.
Once the colours were created though, I realized that I could turn them into paints and extend the activity to cover science, art and sensory elements.
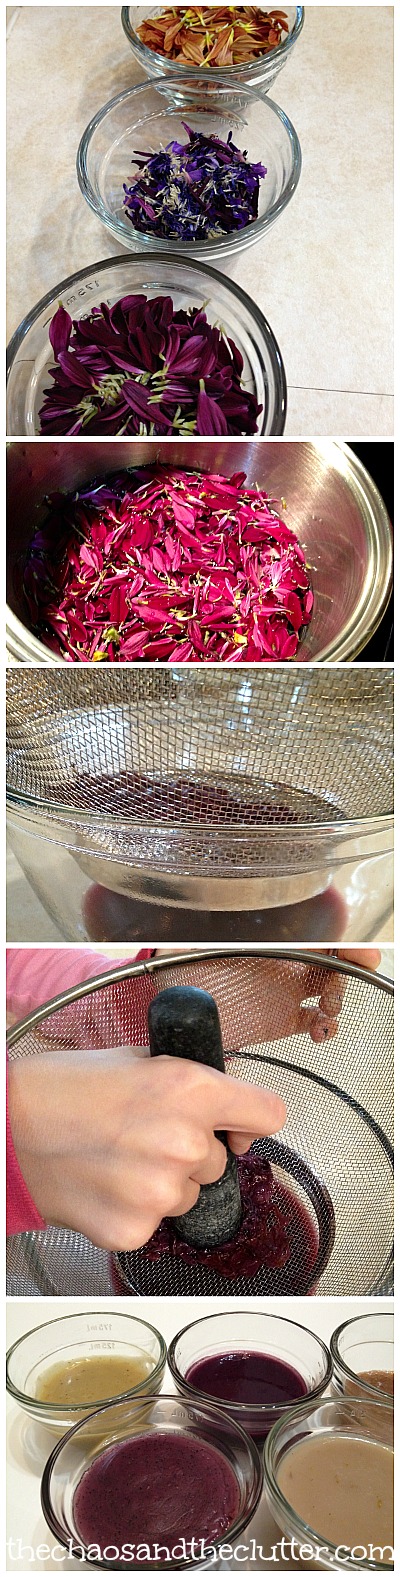
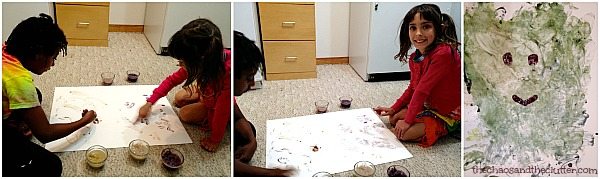
The kids and I started by pulling off the petals and grouping like colours together. We used small clear bowls that have measuring lines on the sides so that it was easy to measure how much of each colour we had collected.
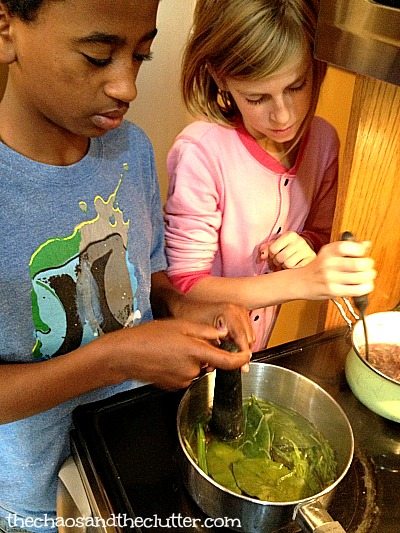
 We added water and the petals to a pot and brought the mixture to a boil. Once it was at a rolling boil, we turned it down to simmer and let it simmer for half an hour. We stirred it from time to time and also used a pestle to press the petals to get more colour from them. The reason we let the mixture simmer for so long was so that some of the liquid could boil off and the colour could become more concentrated.
Snuggle Puppy came up with the idea to try to create green paint using the stems and leaves from the bouquet so he filled a pot with those and used the same process. The colour of that one created more of a yellowy colour than green and had a very earthy smell.
 Once we had achieved a strong enough colour, we drained the liquid into a bowl placed beneath a strainer and pressed the petals with the pestle.
The liquid then went back into the pot and I whisked in a bit of flour and brought that to a boil, stirring the whole time. Once it was boiling, it only took a few minutes at most for the paint to reach the consistency I was looking for. I then took it off the heat, poured it into the small bowls we had used for the petals earlier and it was ready to paint with.
Flower Petal Fingerpaint Recipe:
3/4 – 1 cup of flower petals
1 1/2 – 2 cups of water
1 Tbsp. flour
Bring water and flower petals to a boil over medium-high heat in a pot. Turn heat to low. Simmer for half an hour.
Place a strainer over a bowl and drain the coloured water through the strainer. Press the petals to get maximum colour.
Put the water back into the pot and whisk in the flour. Bring it to a boil, stirring the whole time. Remove from heat.
 The paints had different smells depending on the type of flowers used. The colours did not turn out the way we expected them to. The purple petals created an unattractive greenish-brown colour. The red flowers created a burgundy-purplish colour. The leaves and stems made a yellowish colour. The orange petals created a light brown.
Before we made each colour, I had the kids hypothesize about what colour they thought would result. When other colours were the result, we discussed what factors may have contributed to that. It became a very interesting science lesson. Honestly, one of the colours looked pretty gross so we had a bit of a laugh over that!
Miss Optimism wanted to know what would happen if she mixed several colours of flower petals together. The result was a purple with specks of a darker shade.
After we had made five colours of flower petal fingerpaint, I let the kids start painting. Granola Girl and Dancing Queen painted a cute looking monster on a large poster paper. This had both sensory (touch, sight and smell) and art elements. I love it when one activity can encompass so many different things!
If you are looking for other fun activities to do with your kids, you may want to join our free 5 part email series Sensory Solutions and Activities and get our Sensory System Behaviours Easy Reference Cards.
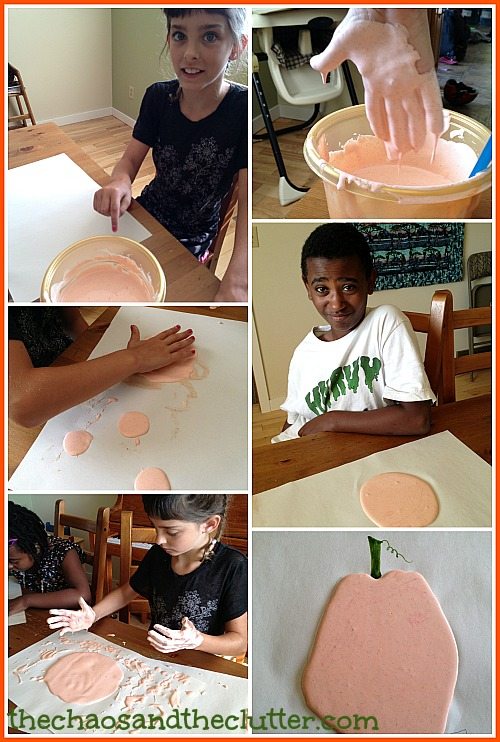
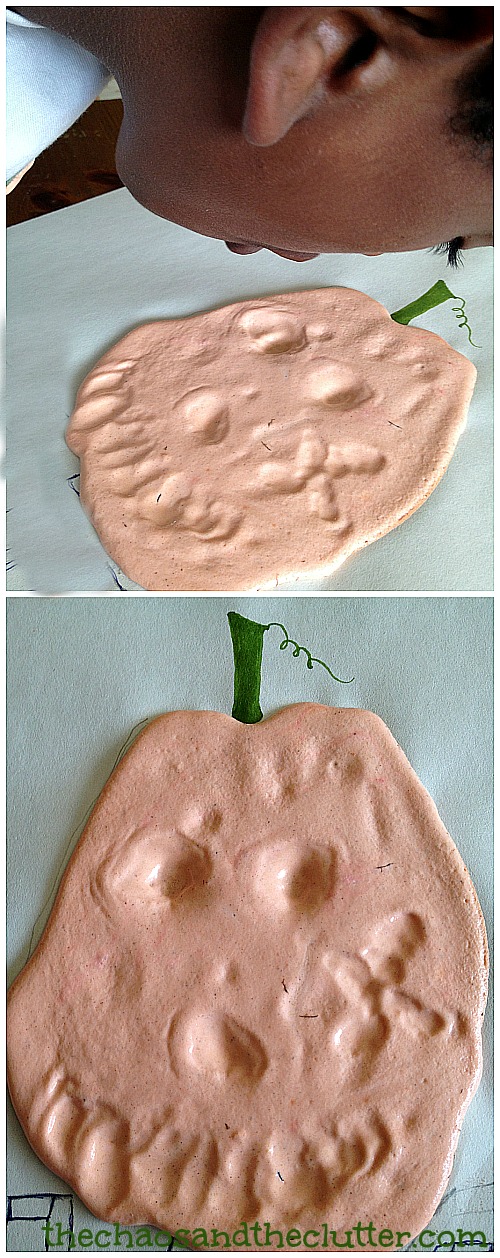 It worked really well and the pumpkin’s face stayed that way once the paint had completely dried. Snuggle Puppy told me that he added little flecks of eraser to make the face look scarier…that boy has a way of making me laugh!
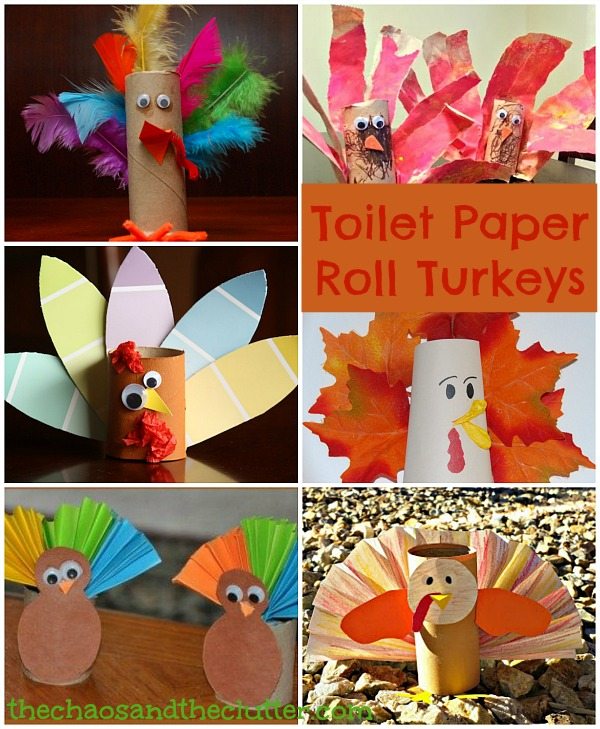
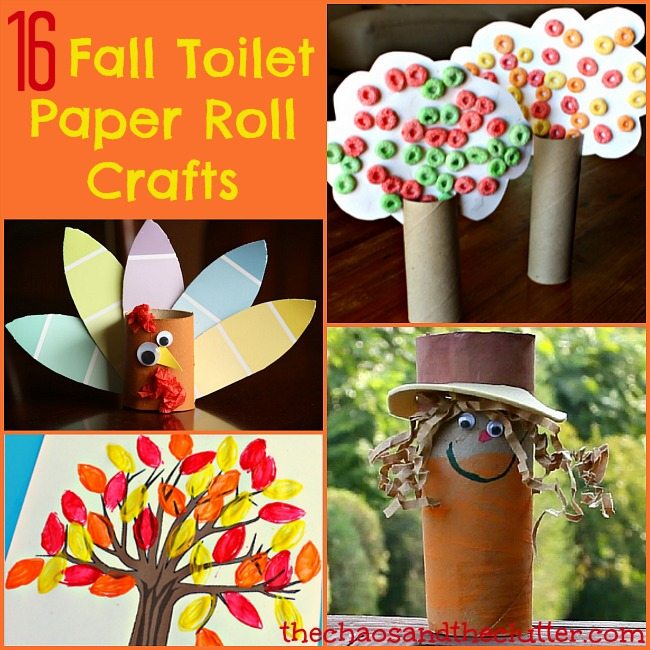 Today, I’m sharing some easy fall toilet paper roll crafts you can make. Some of these would make really cute decorations or place holders for Thanksgiving.
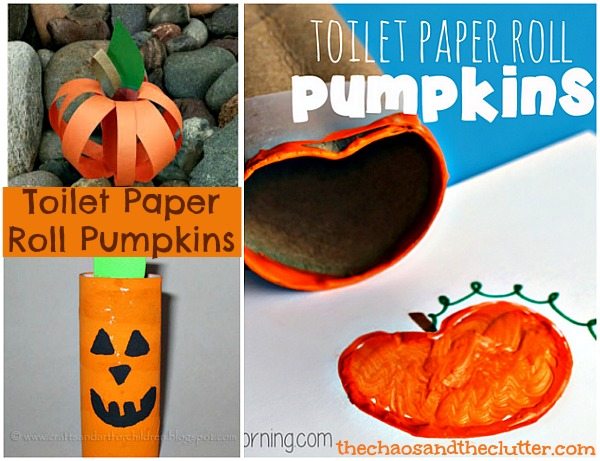
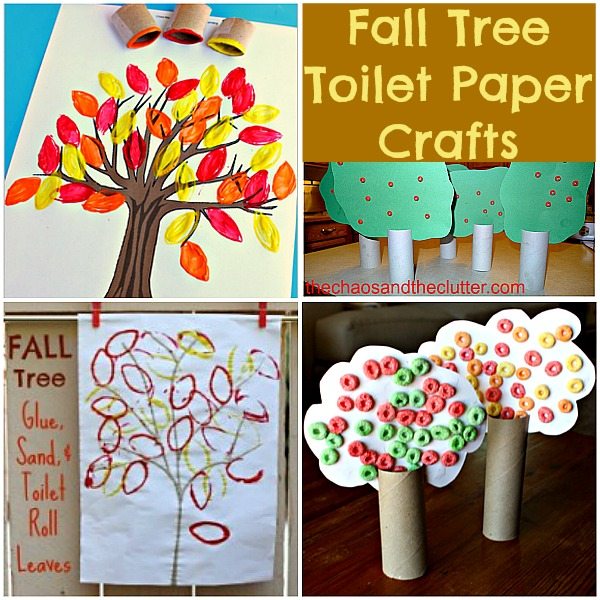
 The
The 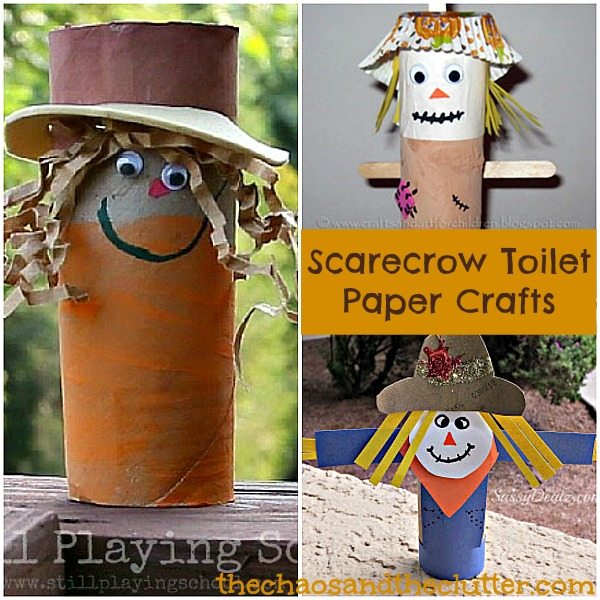
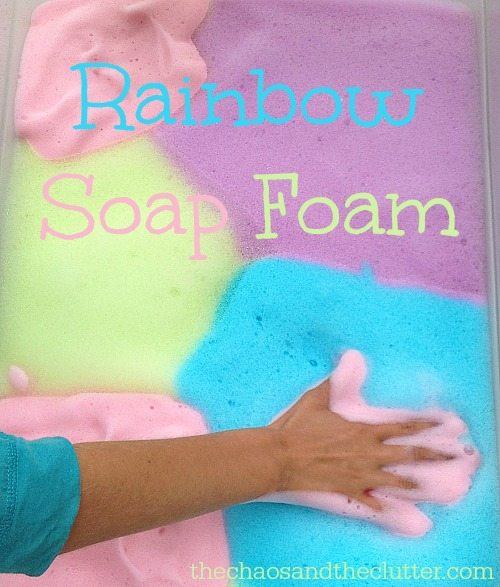 Rainbow Soap Foam Recipe:
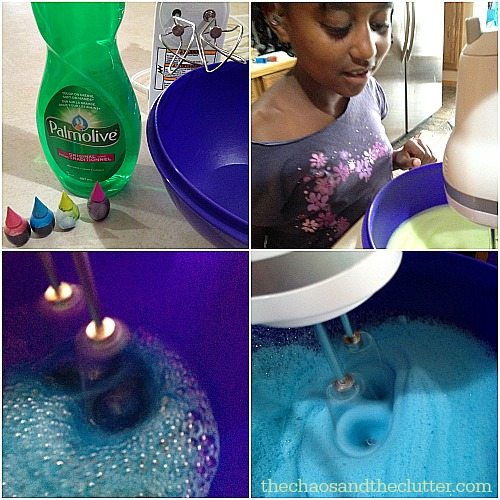
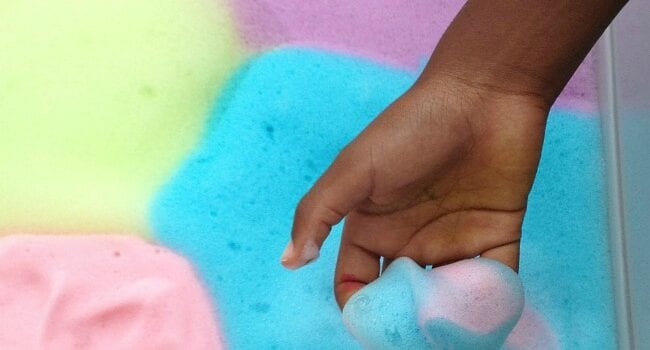
 My girls really enjoyed the textures of the soap foam and seeing the different colours they could create by mixing.
 These popsicle stick activity bags can be made in a matter of minutes and require very little in the sense of supplies. You may very well already have everything you need to create these for your little one. One of these activities has small parts so wouldn’t be appropriate for very young children and like all activities, children should be somewhat supervised. (in other words, I am not liable if you make these and you or your toddler swallow a magnet!)
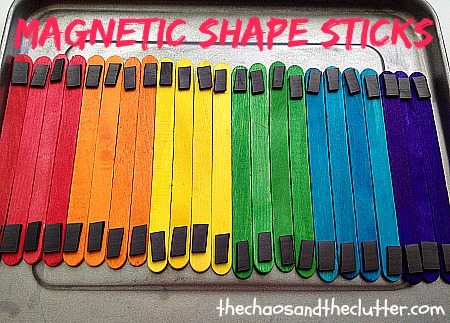 To prepare this busy bag, attach magnet pieces to each end of the popsicle sticks. I used the adhesive kind of magnet strip but I still needed to glue them in place as the adhesive didn’t hold well enough. Place the now magnetic sticks in a large resealable bag with a mini baking tray or the lid from a tin container. The sticks can then be used to create shapes and patterns.
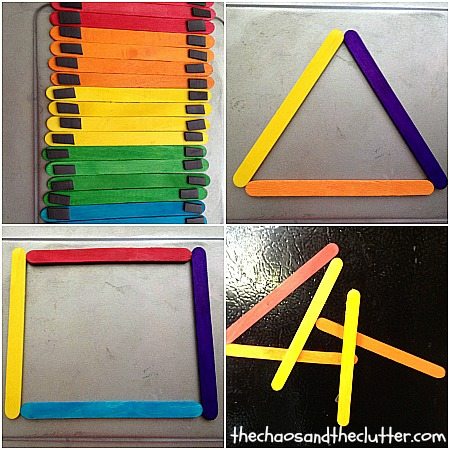 Your child can also use the sticks to play on the fridge or any other magnetic surface such as a white board or outside door.
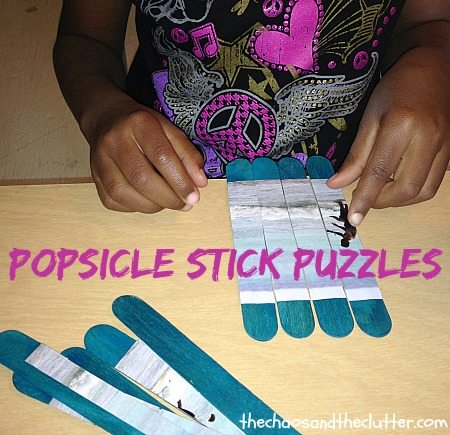 Kids love these because they can be personalized. They get especially excited when they include pictures of people they love or treasured family memories. On most of ours, I used pictures from past family vacations. This way the kids can relive those memories while they put together their puzzles. They can also put the puzzles in chronological order.
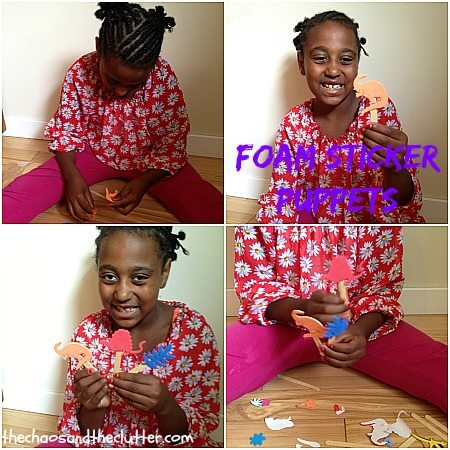 The great thing about this busy bag is that it lends itself to all kinds of creativity. All you have to do to prepare this activity bag is to place popsicle sticks and foam stickers in a resealable bag. This is a great way to use up all the extras from other foam sticker activities or you can choose to use ones of a particular theme.