I’m not going to lie, taste-safe play ideas are my favorite. Anytime I can give my little one a fun sensory experience that doubles as a snack it’s a huge win. Our beautiful Taste-Safe Apple Pie Sensory Bin is a (primarily) taste-safe activity, so it’s okay to snack a little while playing. Set this up in the morning so kids can play and enjoy breakfast simultaneously. If you have busy kiddos who wake up moving, you know how valuable combining food with play can be.

Here’s to winning mamas! We all know this is an intense, but worthy gig. Sensory bins can be an easy and fail-safe part of your routine. Have a stash tucked away to improve any rainy day whether it is stormy on the outside or the inside. Nothing improves grumpiness faster! That’s because sensory play is calming. It provides a sense of safety for the vestibular system and helps children of all ages move back to parasympathetic mode.
How to Make a Taste Safe Apple Pie Sensory Bin
Supplies Needed
- Apple Jacks Cereal
- Caramel Apple-Flavored Candy Corn (shaped like apples and seasonally available)
- Mini Pie Crusts
- Tan Card stock
- Cinnamon Sticks
- Scoop or Spoon

Step-By-Step Instructions
- Cut the card stock into strips. This will be used for the lattice crust.
- Cover the bottom of the bin with Apple Jacks cereal.
- Place the rest of the supplies on top of the cereal.
Ways to Make the Taste-Safe Apple Pie Sensory Bin Work For You
- Have kids follow a recipe to help develop cognitive skills. For example, one red apple, two green, and two scoops of Apple Jacks.
- Kids can also stack apple candies for a fine motor skill activity. See how many they can get before they all tumble down.
- Use different tools to change things up from one day to the next and work on new skills! Start with a spoon or scoop. Then add a pair of child-friendly plastic tongs. Next, throw in a metal measuring cup. Try a few small wooden bowls. If you have a wheel-hungry kid, you can even throw in a couple of bulldozers to build that pie. I’m not even joking.
- Weaving the lattice crust is its own skill. It requires hand-eye coordination, planning, and spatial awareness. You can practice this skill separately to help ease into it. The same technique can be used to make an apple pie craft –giving you another opportunity to practice this skill with your little one.
- Ask your child to talk about what they are touching. You might ask leading questions like: “Describe how smelling the apple candy makes you feel?” or “What can you tell me about Apple Jacks cereal?” or “What are the steps to building a (pretend) apple pie?” This encourages language development and helps strengthen neural pathway connections.
- Have your child sort red apples from green apples and red cereal from green cereal. Place one color in one pie crust and one color in the other.
- Encourage counting. How many apple candies fit in one pie crust? etc.

Books to Read with our Apple Pie Sensory Bins
We have two different apple pie sensory bins. This one is taste safe, and our other one is a completely different sensory experience. Perfect bins to use back-to-back when you can plan a trip to the orchard for picking apples, and read these books together at the same time. Want more book ideas? We’ve got a whole different list on our regular Apple Pie Sensory Bin so you have lots of options!
The Apple Pie that Papa Baked by Lauren Thompson
Apples Here by Will Hubbell
The Apple Pie Tree by Zoe Hall
Apples by Gail Gibbons

Why Sensory Bins Make Sense


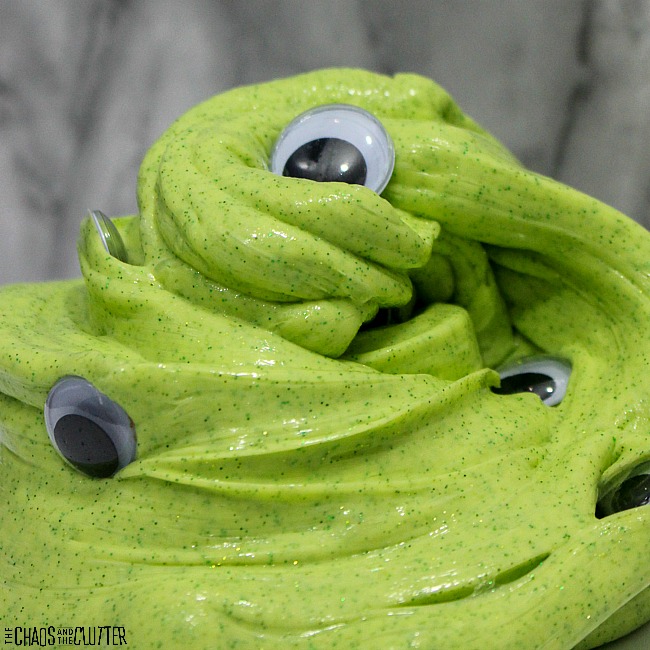
 This sensory experience inspired by the unique world of Beetlejuice would also be a great addition to your classroom or party. It’s made with simple items that can often be purchased at a dollar store such as the Dollar Tree.


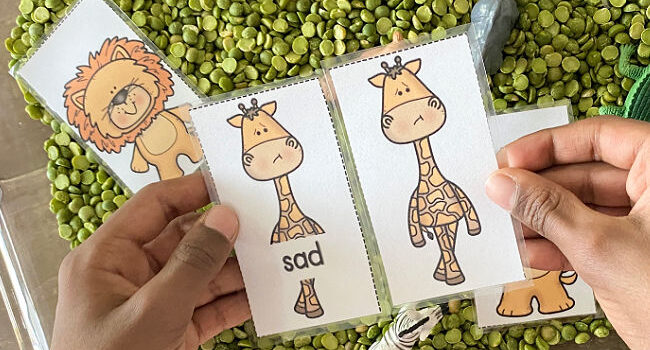
 This activity is great for preschools, Kindergarten classrooms, or home. You can easily adapt the questions you ask for older and younger kids. Learning opportunities:
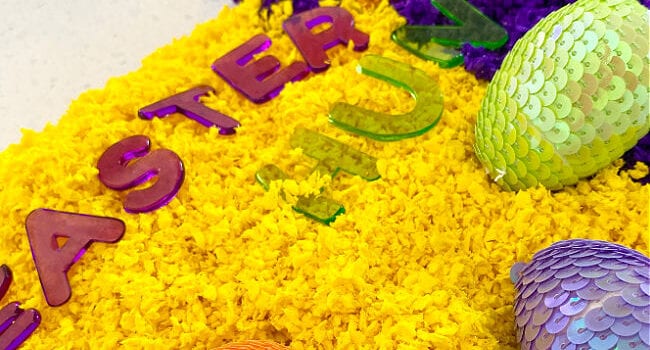
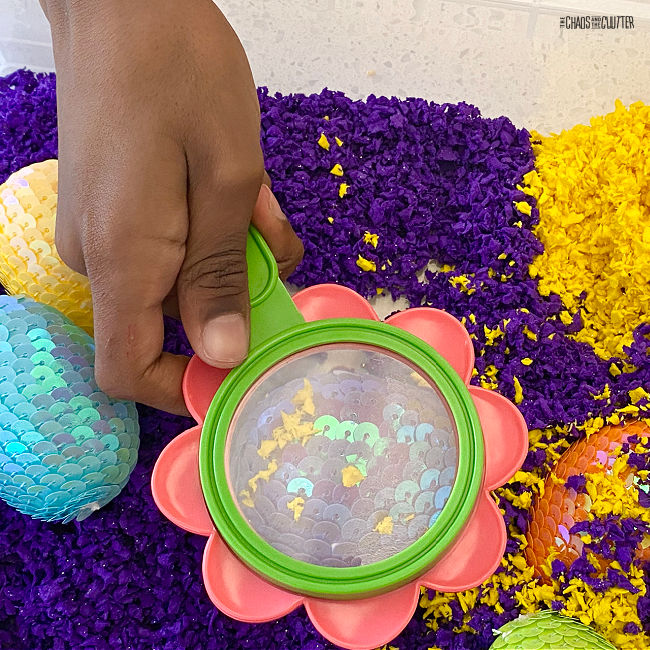
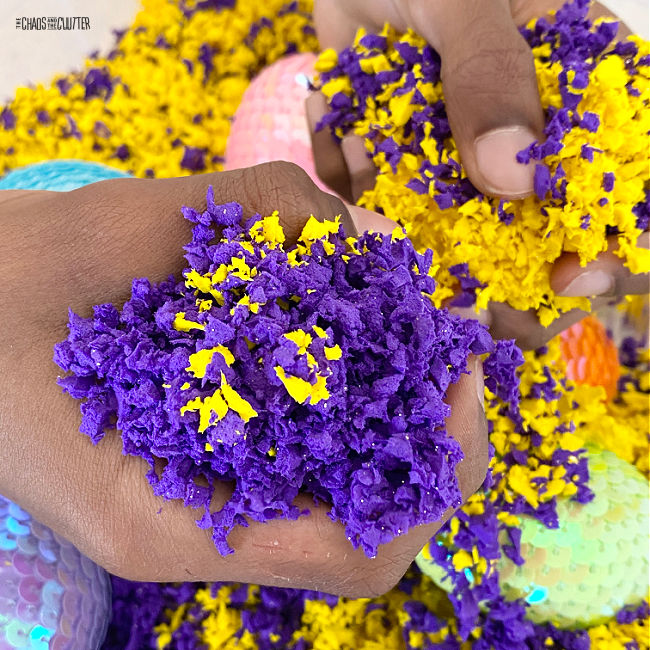
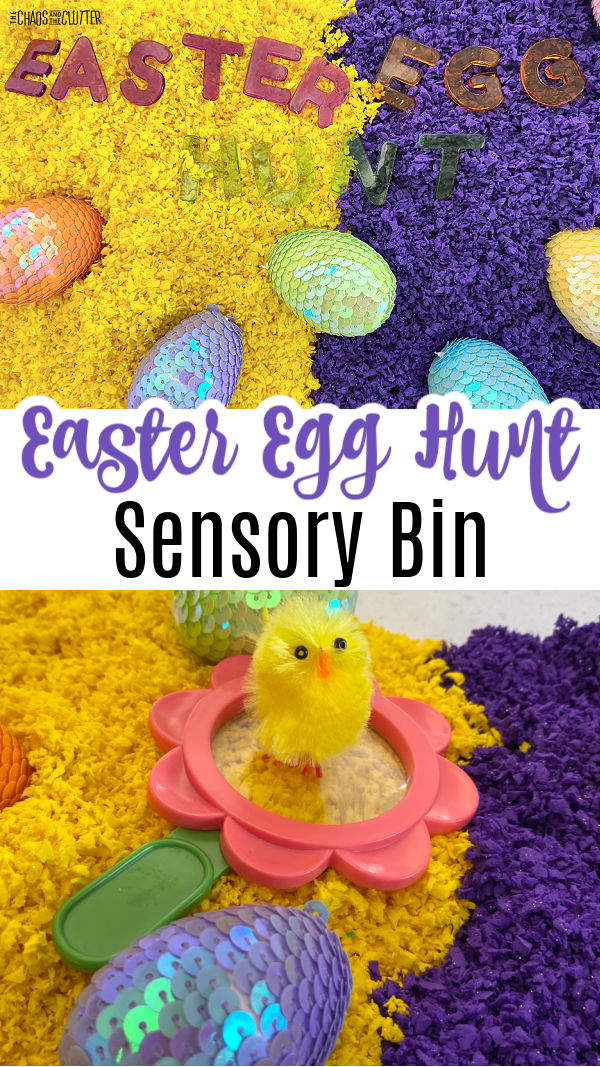 Using common Easter themed items in your sensory bin is the perfect way to get your kids playing and learning by using their senses. Each item on the bin is designed to help your child learn as they play by engaging at least one of their senses – sight, sound, smell, touch, and taste.
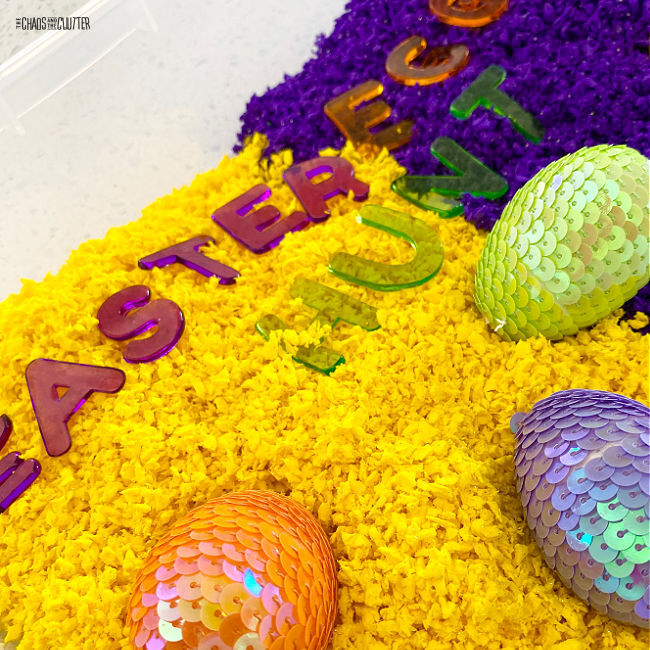 Instructions: