Using nature as inspiration for your sensory bin is a great way to provide your toddler or preschooler with educational interactive fun. And since spring is right around the corner, Easter is the perfect time to create a nature activity for your kids. With this nature inspired Easter sensory bin, your little ones can have some educational fun while exploring nature at home. 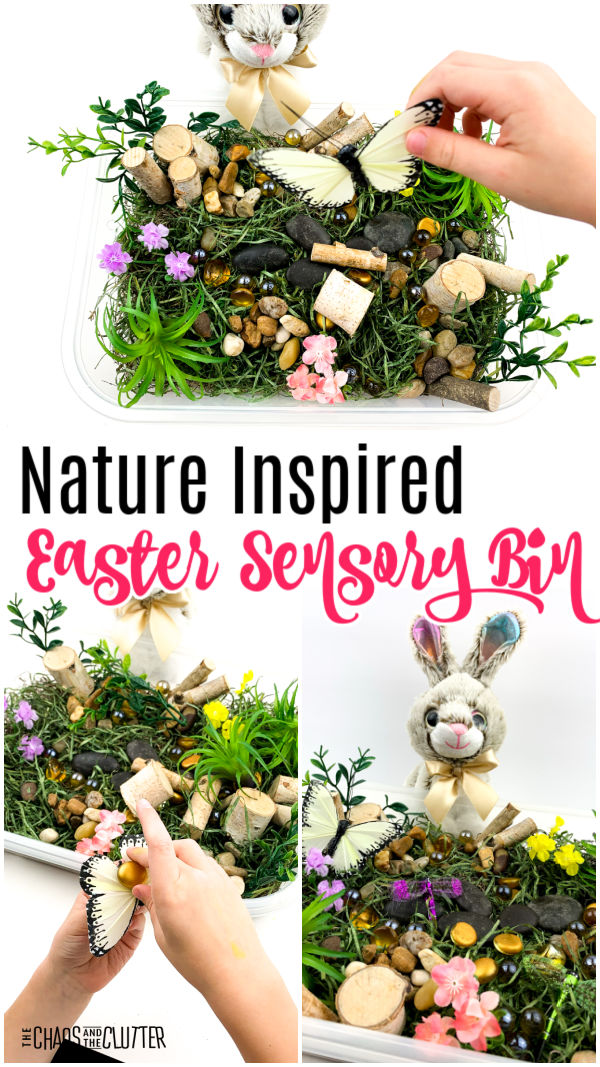 Nature provides your kids with tons of opportunities to explore and meet their sensory needs. From smelling the flowers to touching the soft grass, there are several ways your child can use their senses while playing outside. And that’s why nature is the perfect inspiration for an Easter sensory bin.
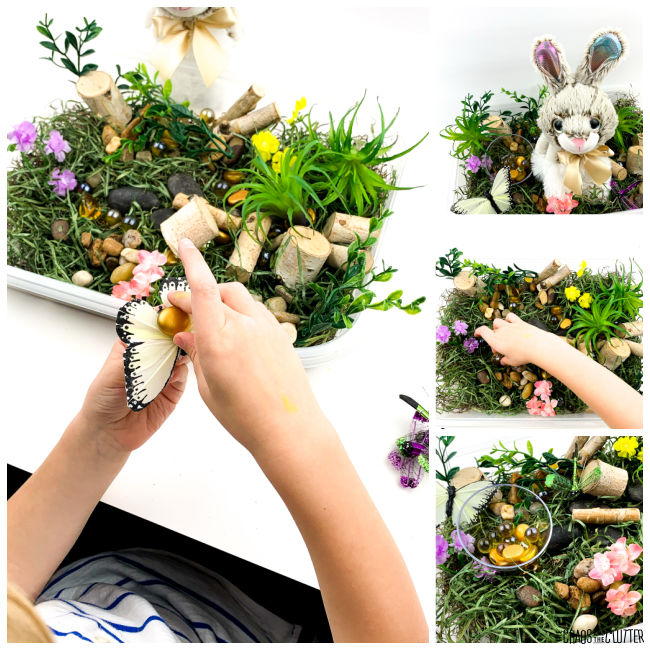
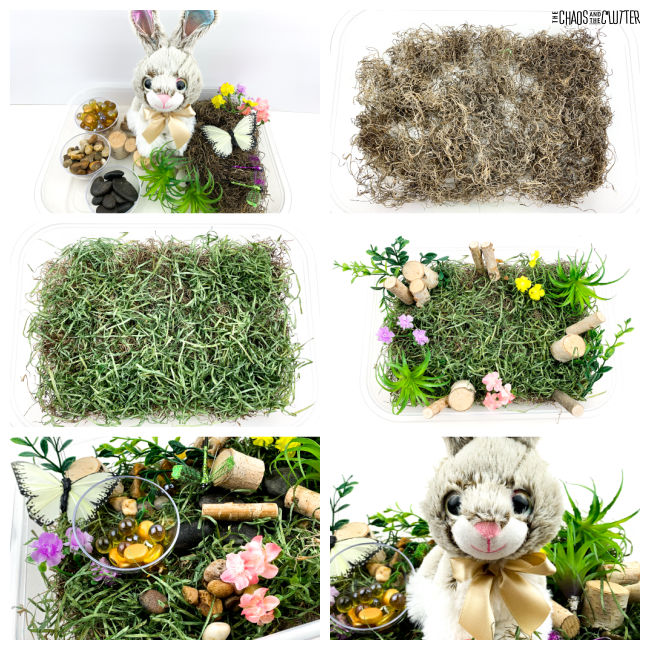
Nature Inspired Easter Sensory Bin:
Supplies needed:
- plastic tub
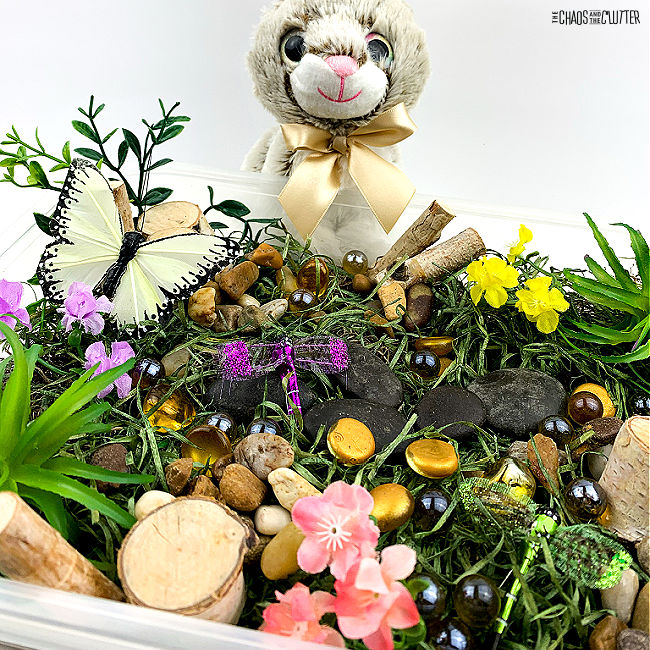
- plush Easter bunny
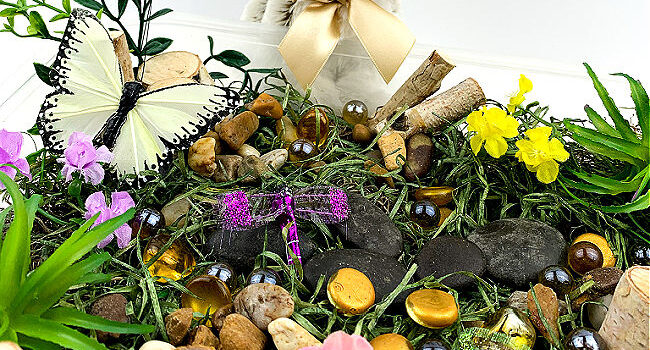
- rocks
- gold gems
- stones
- artificial grass
- Spanish moss
- artificial flowers and plants
- mini birch logs
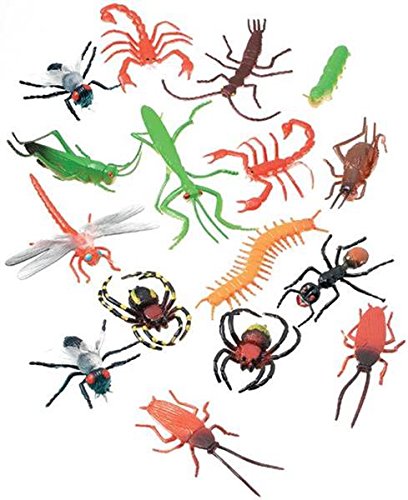
- artificial insects like butterflies/dragonflies
 Instructions:
- Add the Spanish moss to the tray. Add the artificial grass on top. Spread out evenly.
- Place the artificial plants, flowers, and mini birch logs around the bin.
- Add the stones, rocks, and gems to the bin.
- Add the butterflies and dragonflies to the bin.
- Set the bunny near the bin.
Nature Inspired Sensory Bin Activities
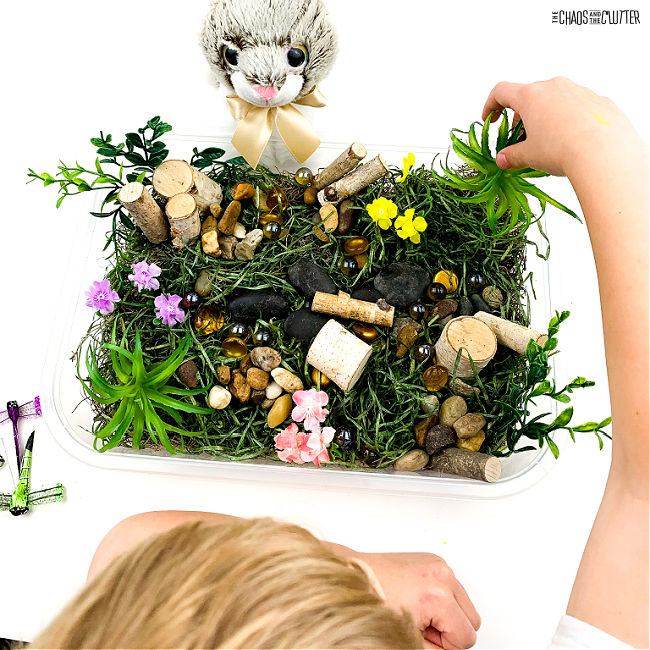
Once you have your sensory bin put together, it’s time to let your kids explore.
If you’re looking for ways to encourage your kids to play, try these fun activity suggestions:
- Play with the bunny in the bin. Encourage pretend play by asking your child to play with the bunny in the bin. They can make the bunny interact with the different elements of the bin and use their imagination as they play.
- Touch the different elements and compare the textures. Explore their sense of touch by touching each item to see what it feels like. Then, compare the different textures to see which ones are similar, like the rocks and gems, and which ones are different, like the logs and moss.
- Listen to nature sounds. In addition to invoking your kids’ sense of touch, this nature inspired sensory bin can also let your child use their ears to hear. Figure out what sounds the elements make when rubbed together or moved from spot to spot.
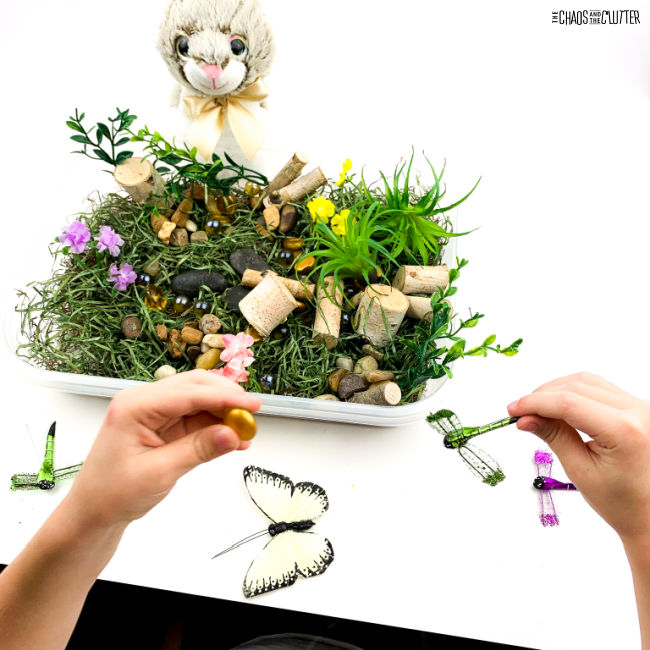
- Encourage imaginative play. After child plays with the bunny, your child can also use the butterflies and dragonflies for play. Show them how the insects interact with the different elements in the bin, then let them use their imagination to play with the toys.
- Sort and organize. Practice sorting and organizing the elements in the bin into different categories, like colour, shape, or size.
- Compare to nature. Take a look at each element in the bin and compare it to items found in nature. Ask your child what each item looks like and then let them guess what it is and where in nature you can find it.
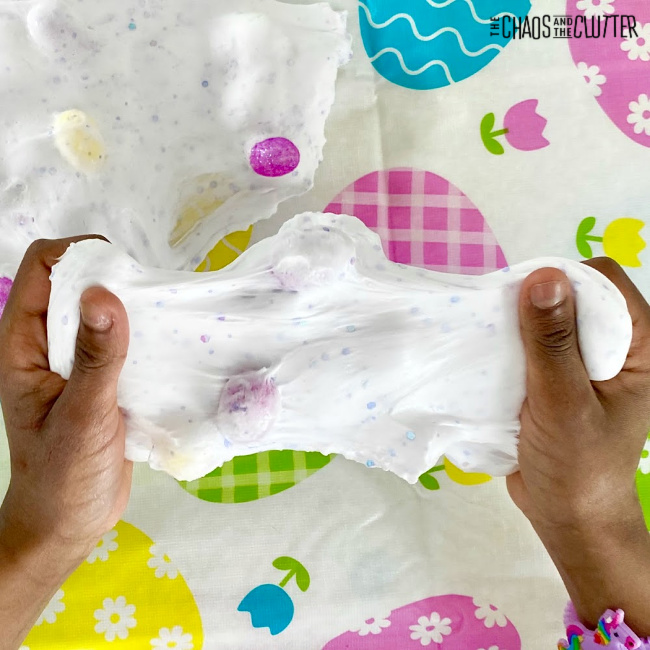
Check out some of our other Easter sensory activities for kids:
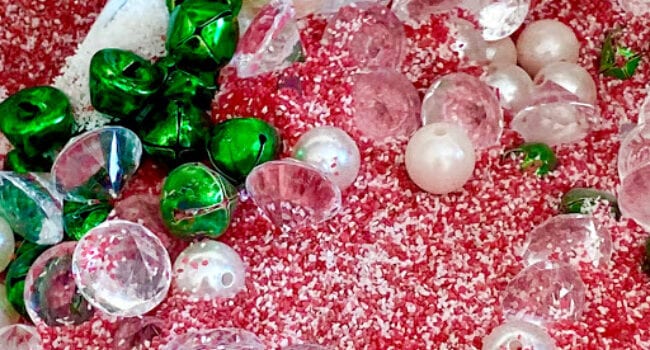
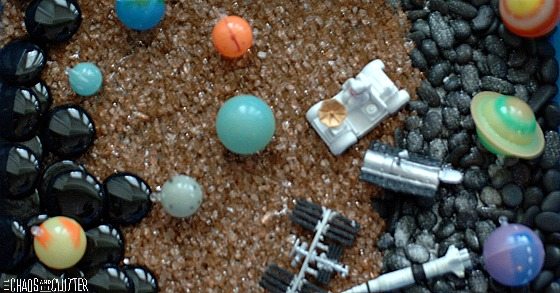
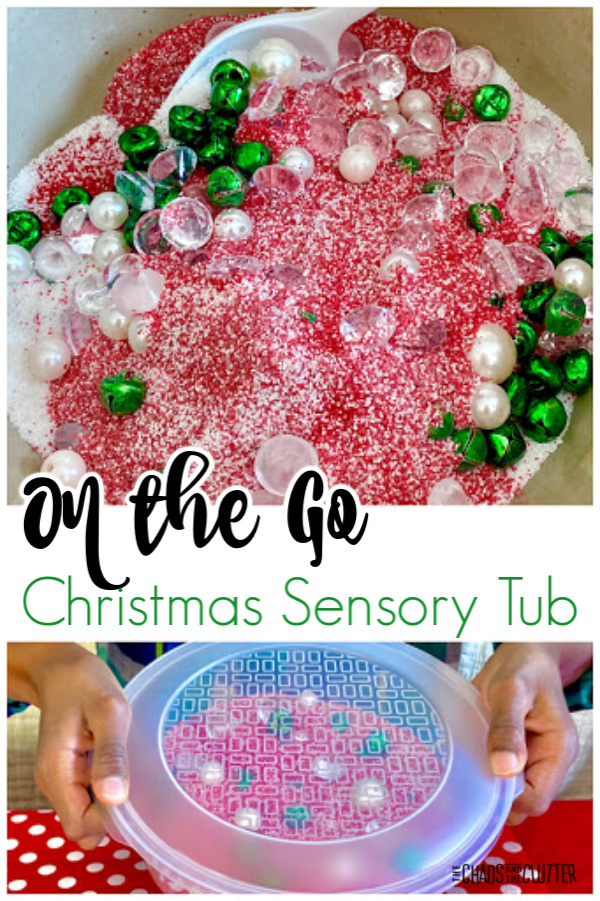 The items for this portable sensory activity were all purchased at the Dollar Store, so it is very inexpensive to create.
 Directions:
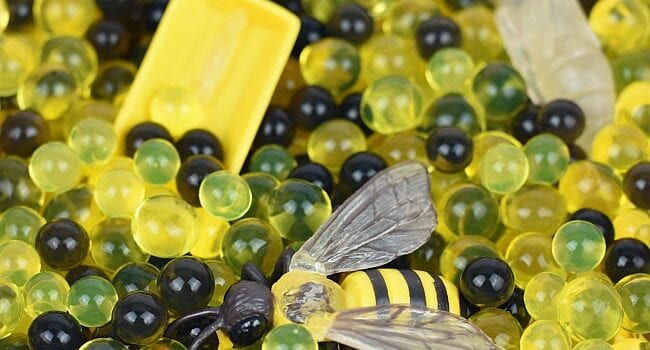
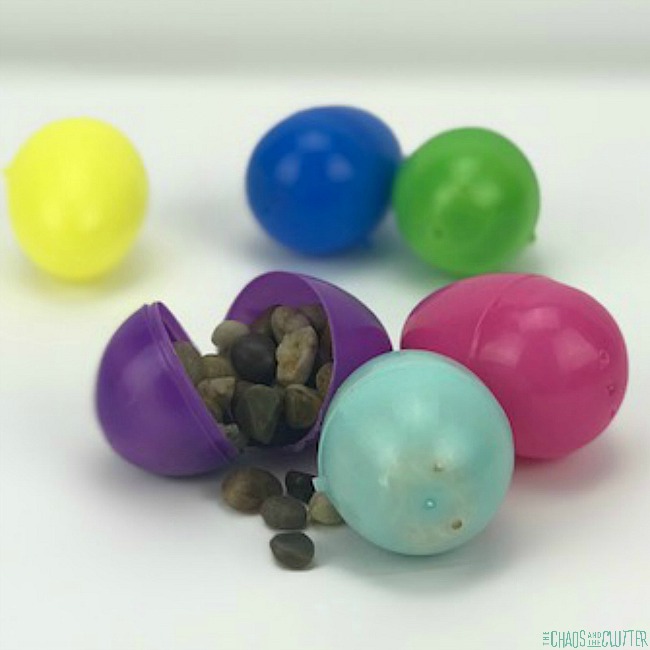
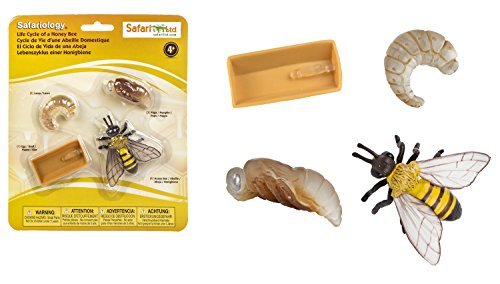
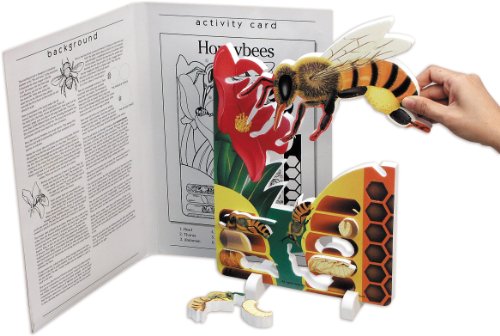
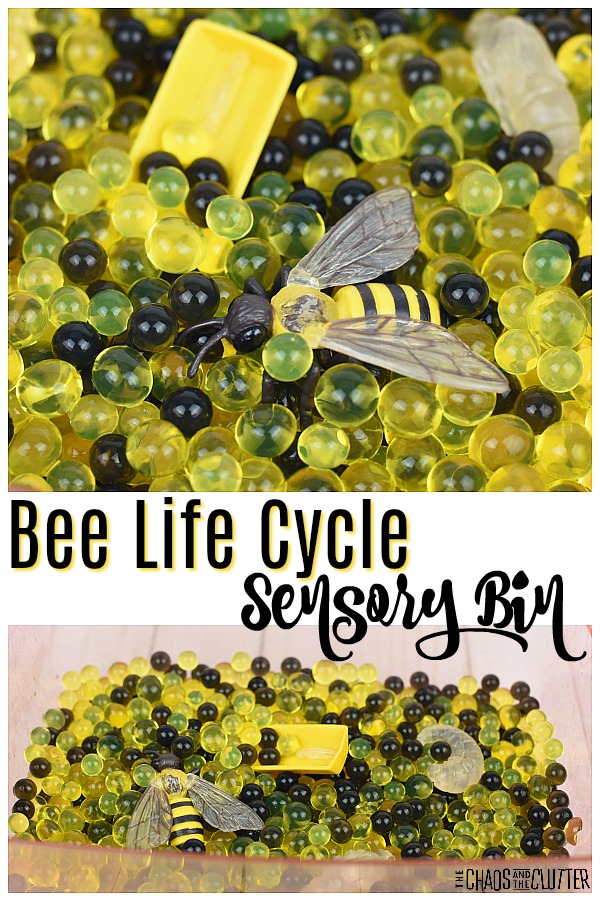 Walk kids through the transformation of a bee from egg to larva to pupa to a mature honey bee. You can either add everything to the bin all at once, or you can add them in after the amount of time they would happen in real life.
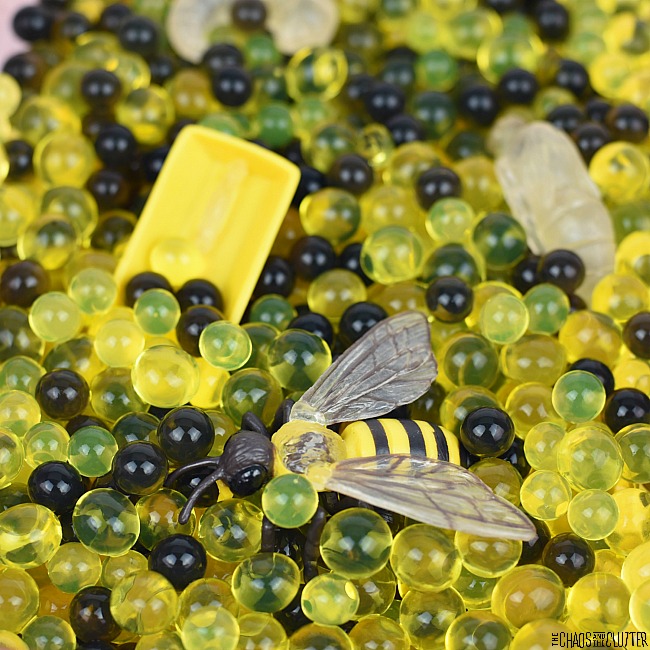

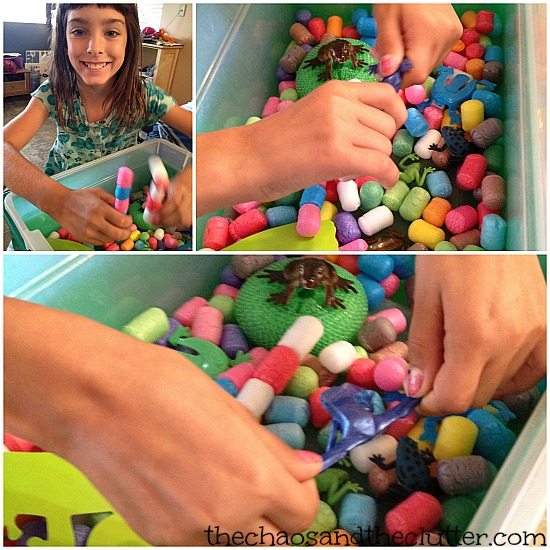
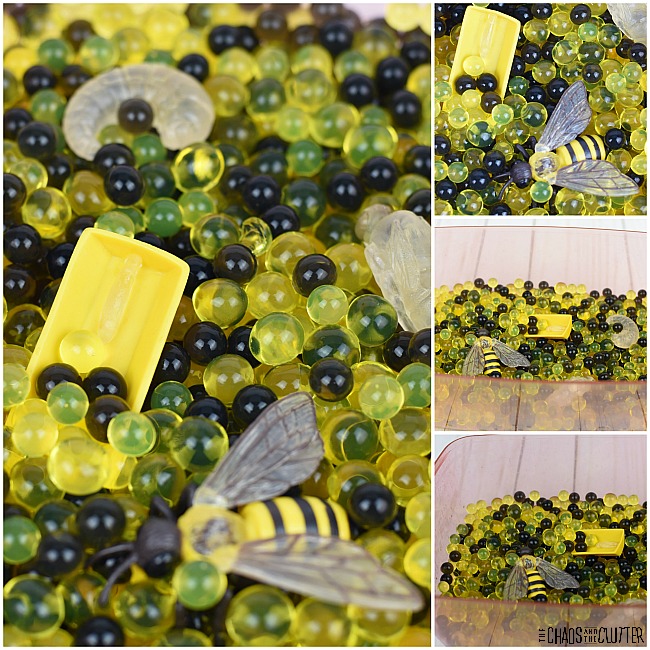 Kids can use their hands to dig in the bin and touch each of the stages in the honey bee cycle. If you’ve included some honey, they will also be able to use their sense of taste and smell to enhance their learning.
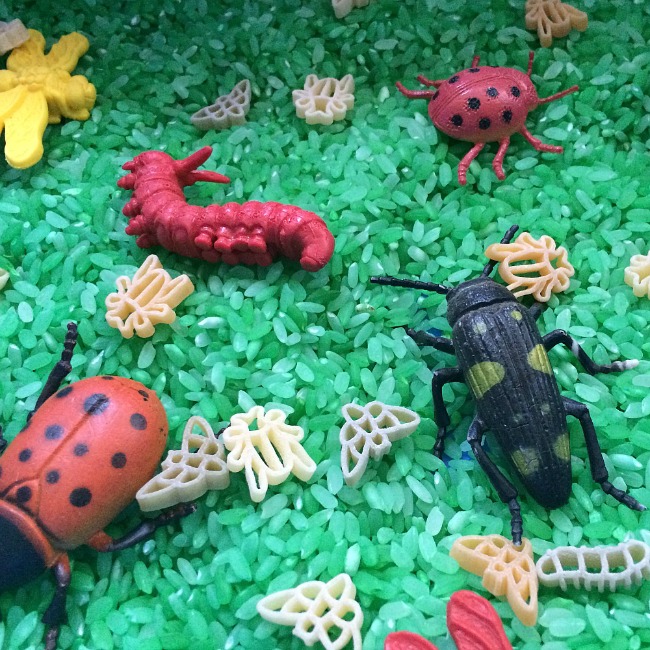

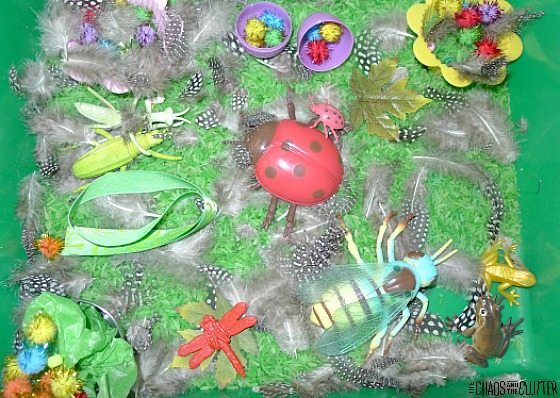
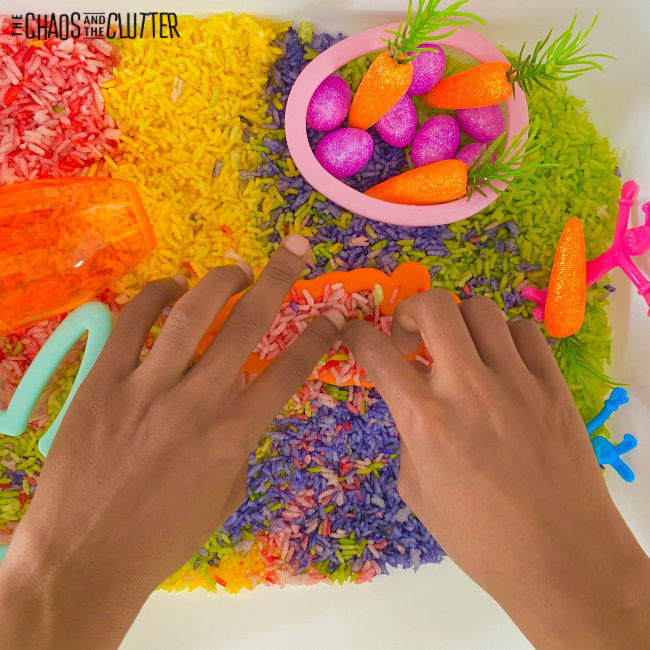
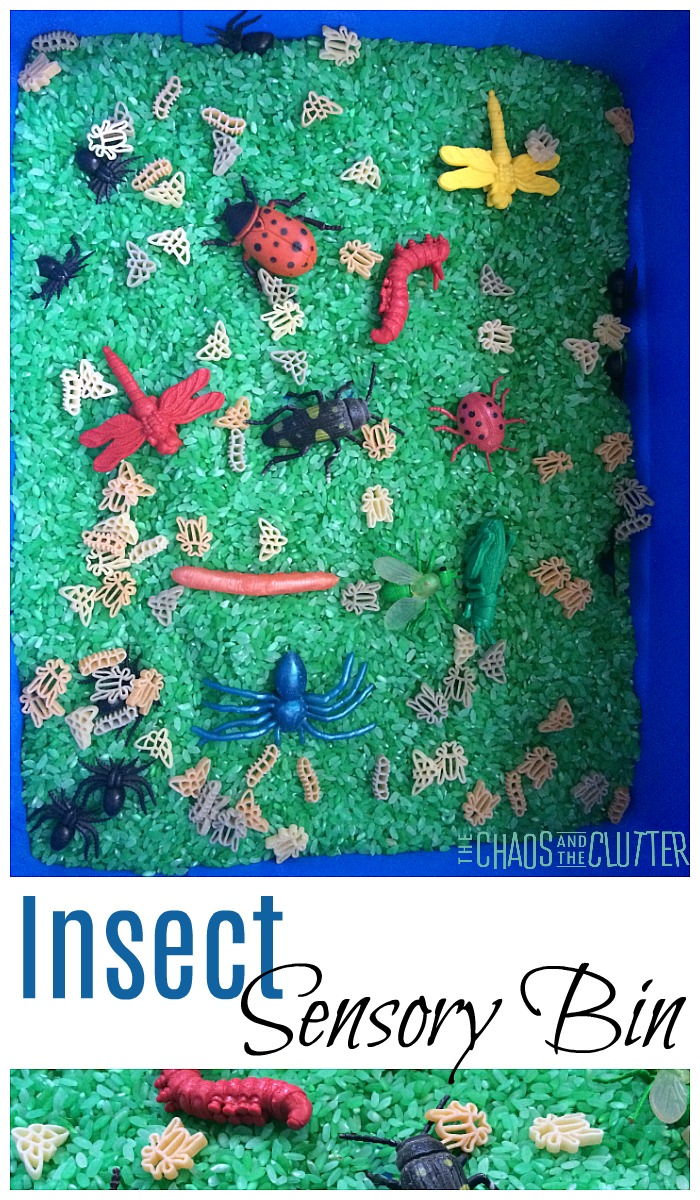 We used this sensory bin while studying insects in our homeschool. The kids enjoyed playing in it. The green rice looks like grass and made us look forward to Spring.
 This particular sensory bin was one of the ones we had made in our