When it comes to sensory bins, I usually make a new one every week and have an easy time coming up with ideas. I have a storage cart that houses sensory supplies so in a pinch, I search through there for inspiration and it only takes me a few minutes to put together a new bin.
This summer was the busiest we have ever had (four different camps between VBS, day camp, horse camp, and mountain bike camp for five of the kids, extended family camping trip, my trip to Virginia to speak at a blogging conference, family road trip to Vancouver Island, out of town wedding in the mountains where my husband was the best man, and various day trips) and trying to get back into the swing of homeschooling this Fall has not gone as smoothly as planned.
Even something as simple as coming up with a new sensory bin can add to the general feeling of overwhelm. That’s where great friends come in! My friend Michelle gifted me this sensory bin in a bag. She was one of the moms that did the sensory bin swap with me last year and since then, we have given each other a few bins-in-a-bag.
 Making a bin-in-a-bag couldn’t be simpler. You take your latest sensory bin and dump the contents into a resealable bag and then pass it along to someone so that their kids can enjoy a new sensory bin experience.
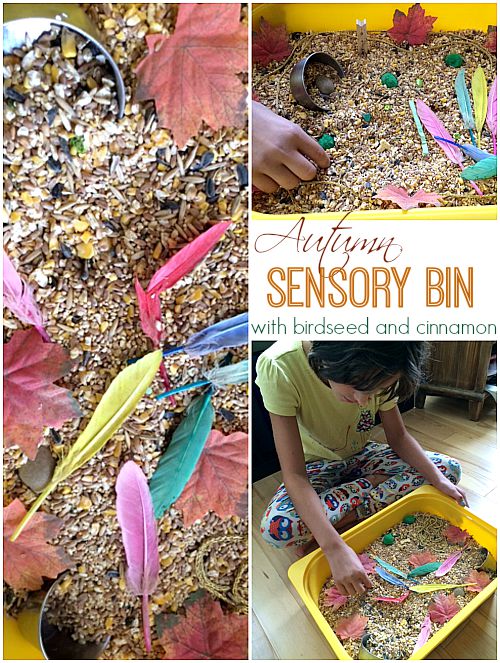
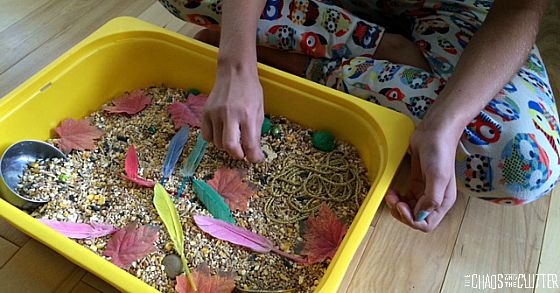
Michelle’s Autumn Sensory Bin contained:
- birdseed
- cinnamon
- bright coloured feathers
- fall leaves (plastic)
- thin gold rope
- two scoops
- green pompoms
- a rock
- a clothespin
Granola Girl said that this bin reminder her of an I-Spy sensory bin. She enjoyed playing with the different textures and she liked the cinnamon scent (though Michelle’s daughter was not a fan of it apparently!). Between the colours and the smell, this sensory experience was a great way to welcome Fall!
 I’m thankful that I have friends who share their sensory bins with me when I’m in a bit of a creative funk! (Michelle did give me permission to post pictures of her lovely creation).
If you are looking for information on making sensory bins, you may be interested in my book. 
Join our free 5 part email series Sensory Solutions and Activities and get our Sensory System Behaviours Easy Reference Cards.
 For the base, I used salt, but you could also use sugar (which I don’t recommend because it may be too tempting for kids to eat it!) or epsom salt. I added
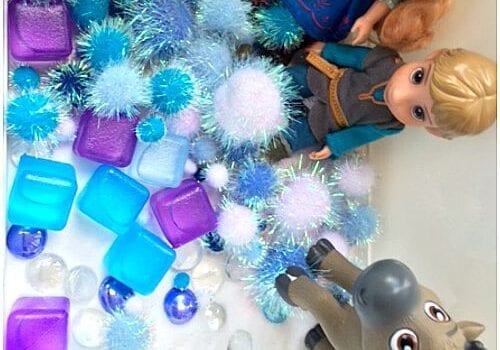
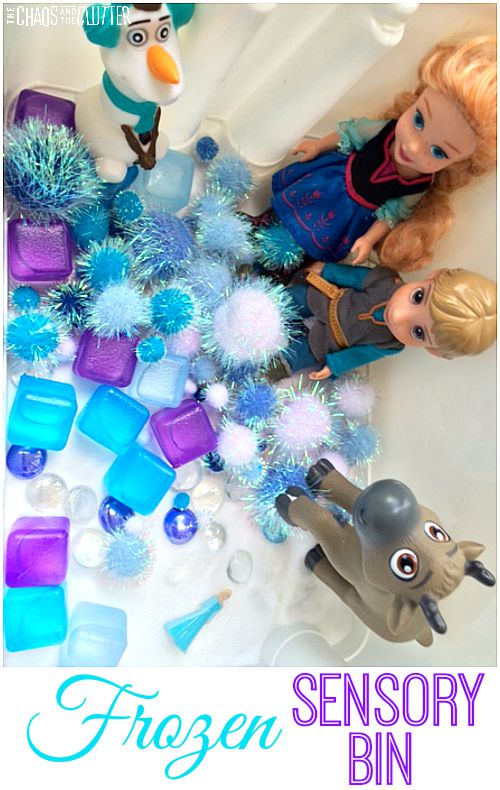
 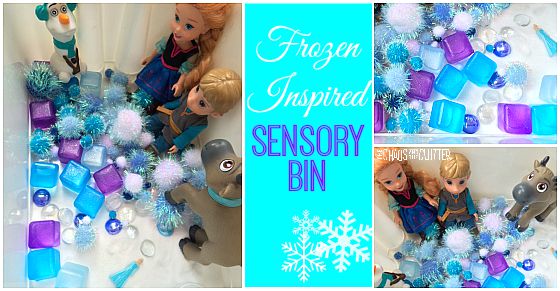 This Frozen sensory bin is a simple one but it combines several textures and opens itself up to imaginative play with the addition of the characters.
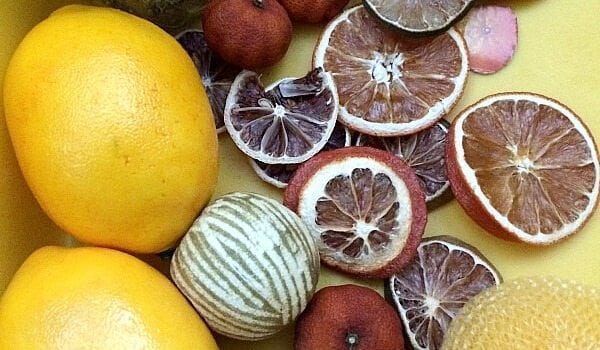
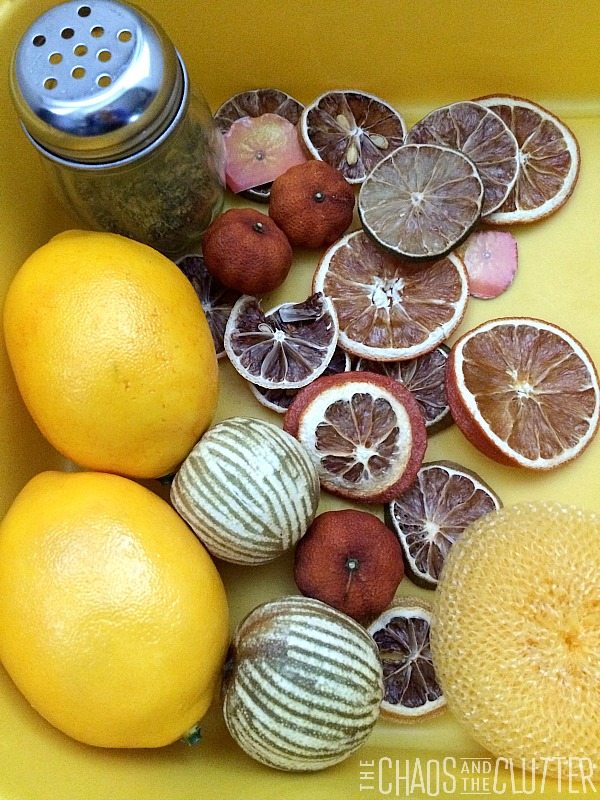
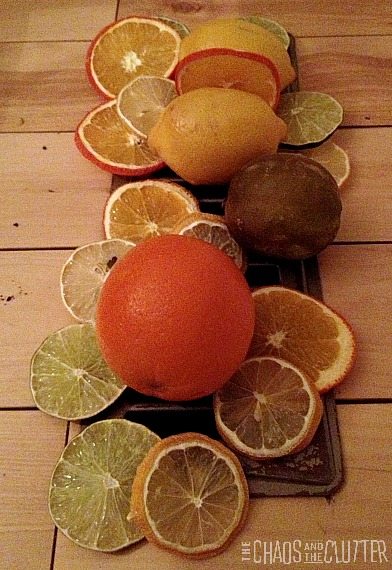 For the sensory bin, I used dried lemon, orange and lime slices, the dried limes, some dried mini mandarin oranges, 2
 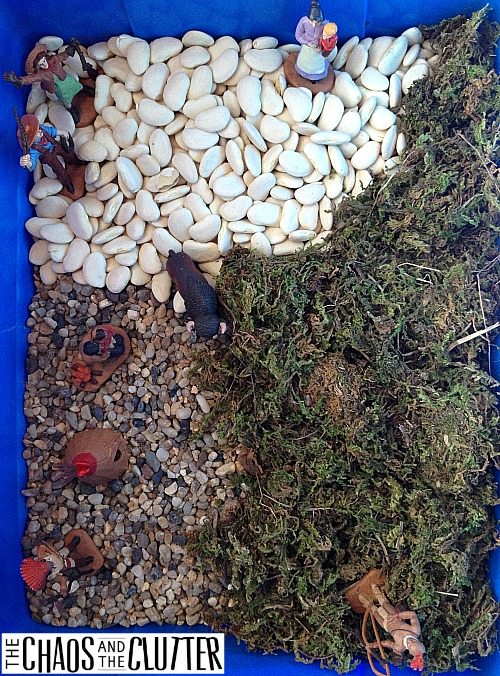 For the base of the bin, I used dry white beans in one section,
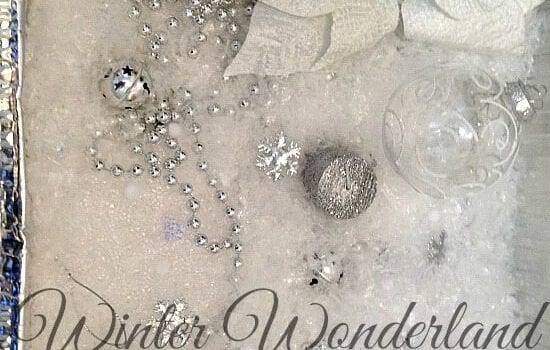
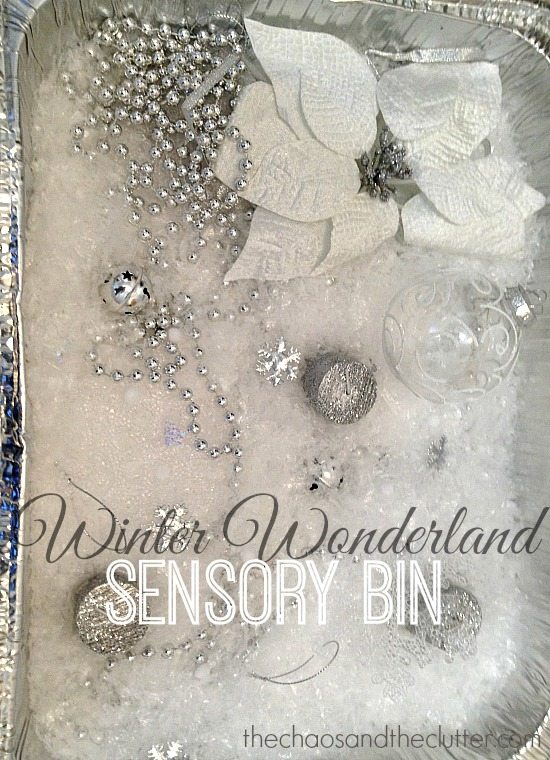 I used a large foil roasting pan as the bin because I thought the silver looked best with what I was planning. For the bin’s base, I used shredded snow. I bought a bag of it from the dollar store and when I examined it once I got home, what it looked like was shredded bubble wrap, so it would be easy enough to make your own.
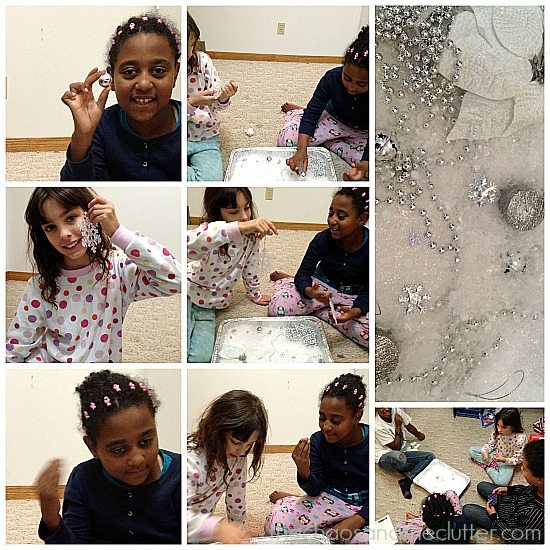 My kids have been enjoying the bin.Dancing Queen gravitated towards exploring the sounds by listening to the jingle bells and the crinkle of the beads. Granola Girl was initially after a more tactile experience and found the texture of the clear snowflakes very appealing. She kept touching them to her face as well as running her fingers over the ridges.
 This actually was one of the bins that we put together at
  My plan for the kids to use the play puffs for a craft project after I retired this sensory bin didn’t pan out the way I’d planned it. As soon as the kids discovered the ability to stick the play puffs together, they added that as part of their sensory bin play. It made this a popular activity!