This pumpkin pie scented moon dough is the perfect Fall sensory bin filler. Create a sensory experience that involves both the olfactory and tactile sensory systems.
To me, the smell of Fall is encapsulated in pumpkin pie spice. The scent reminds me of my grandma’s pumpkin muffins and takes me back to my childhood. 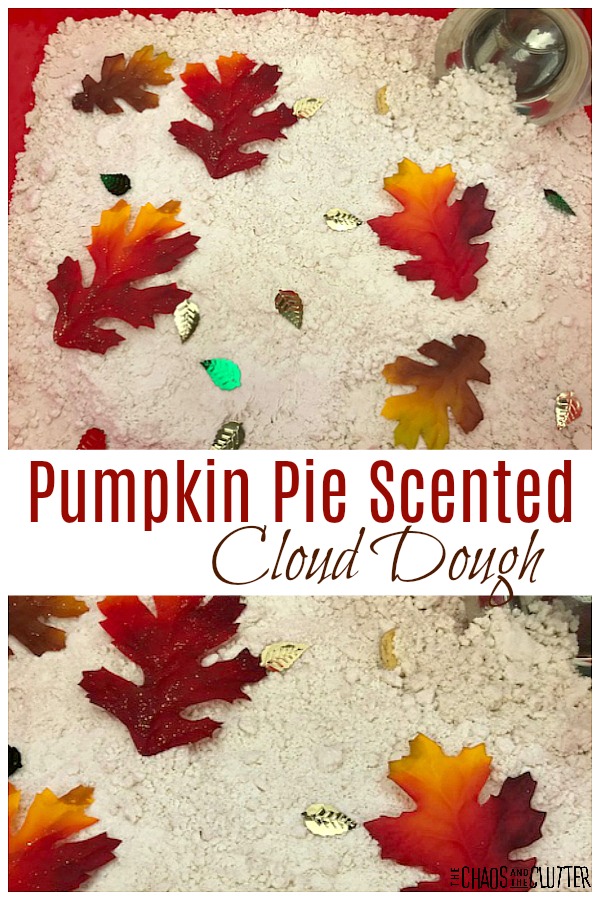
Pumpkin Pie Scented Moon Dough Recipe:
Supplies:
- 4 cups flour
- 2 tsp. pumpkin pie spice
- 1/2 cup vegetable oil
Directions:
- In a bowl, mix the flour together with the pumpkin pie spice.
- Pour in the vegetable oil.
- Stir well and then knead by hand.
 Since everything in this play recipe is edible, this moon dough is taste safe. This makes it a good sensory play option to use with babies and toddlers. Of course, adult supervision should always be used.
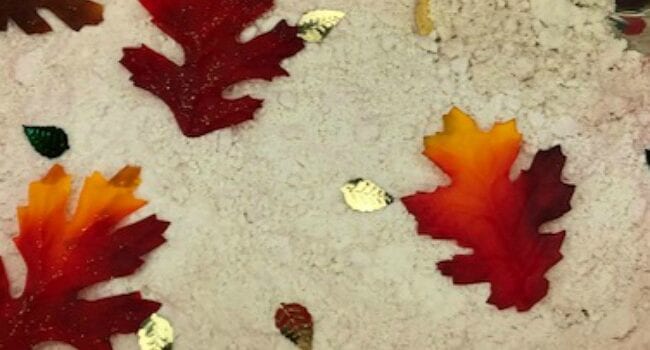
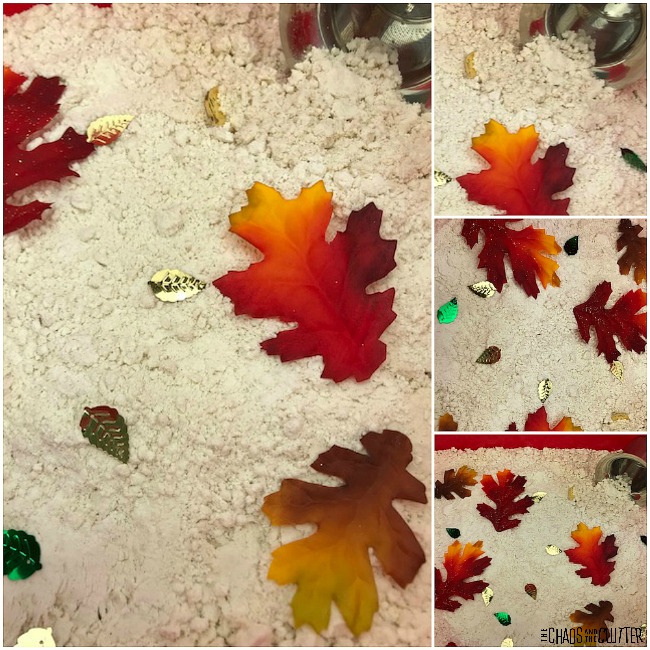
Dump the scented moon dough in a plastic bin. If you want, you can add some Fall themed items. I added silk fall leaves, leaf confetti, and a small scoop in our bin. If using this bin with babies, skip the addition of the leaves and confetti.
This recipe is included in our Sensory Play Recipes eBook. It includes more than 25 easy to make recipes for awesome sensory activity options. You can get a sample of 5 of the recipes in the book by filling in your email below:
This dough is soft and mouldable. It forms shapes in your hand but can still revert to its powered state. The addition of the pumpkin pie spice provides the scent and also a slight hint of brown in the dough, adding to the Fall feel of the experience.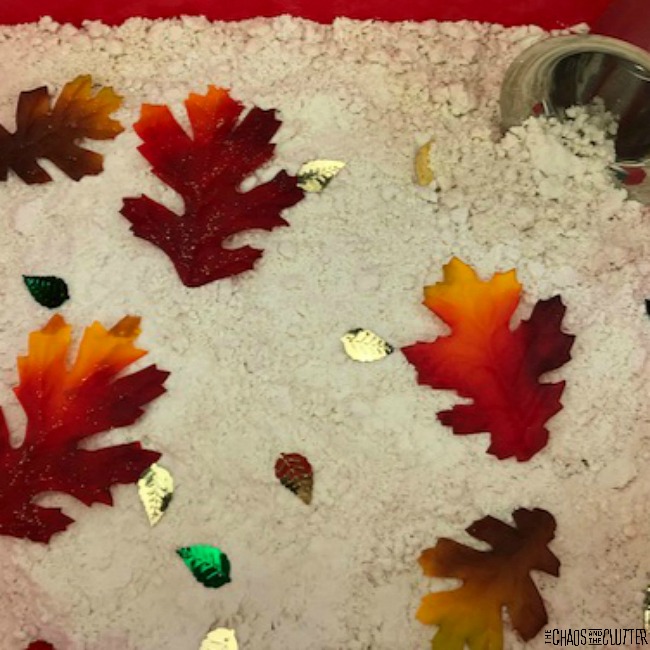 Moon dough can be messy. Messy play is great for kids, but not always as fun for parents!
It works well to put an old sheet or tablecloth underneath the area you are playing in. You can also use a shower curtain purchased from the dollar store. This contains the mess. When the kids are done playing, you can gather up the corners and shake it outside.
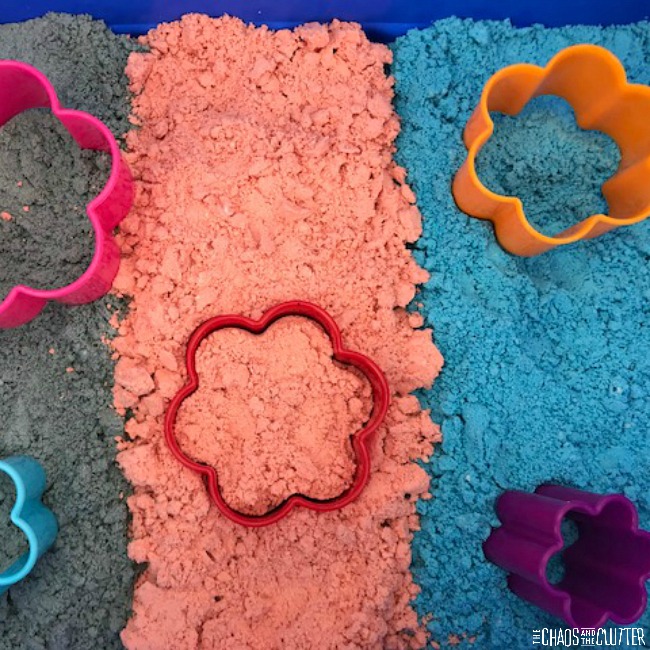
You may be interested in some of our other sensory experiences:

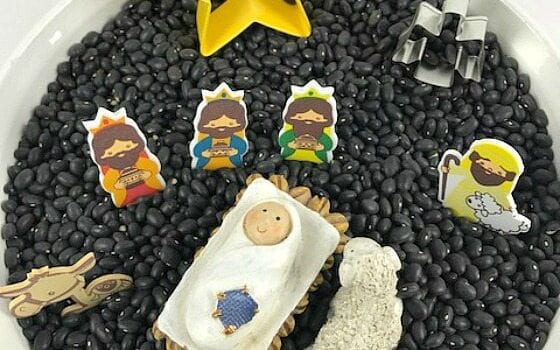
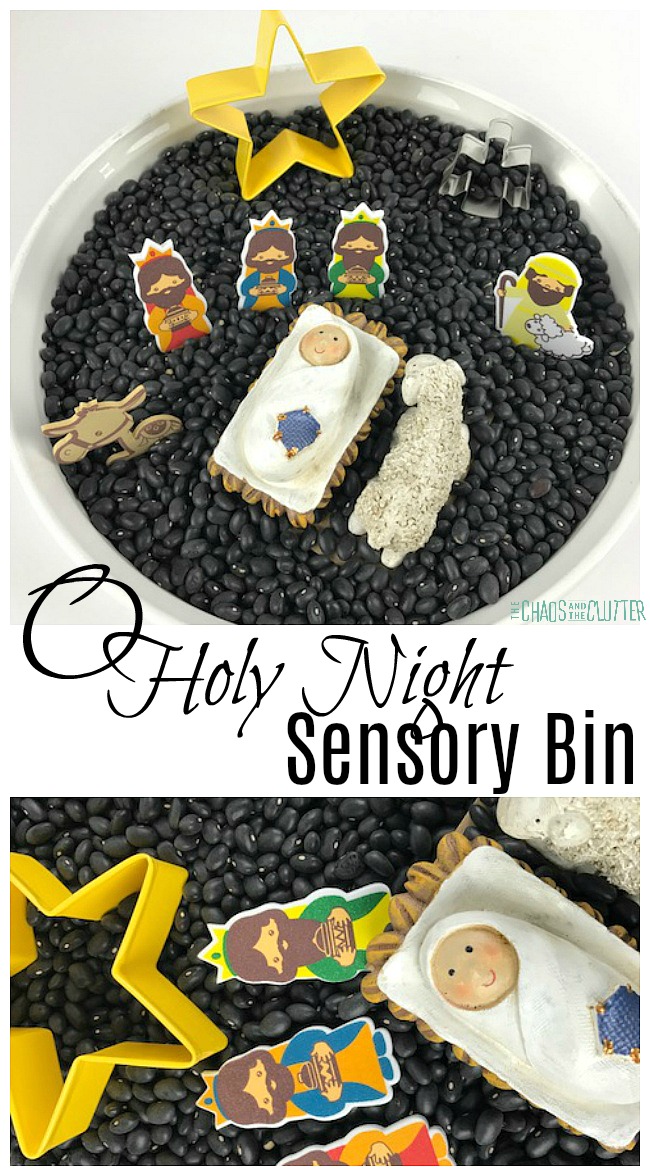 I’m really happy with how this turned out. I used dry black beans as the base to represent the darkness of the night when Jesus was born. I wanted to use a round container this time to make the sensory bin just as a change from the rectangular ones that I usually use.
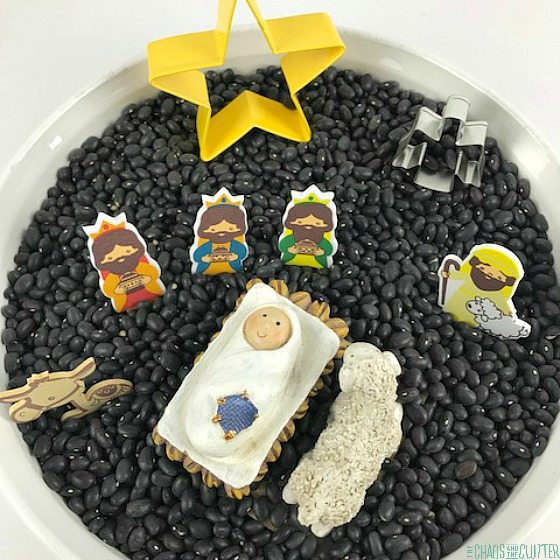
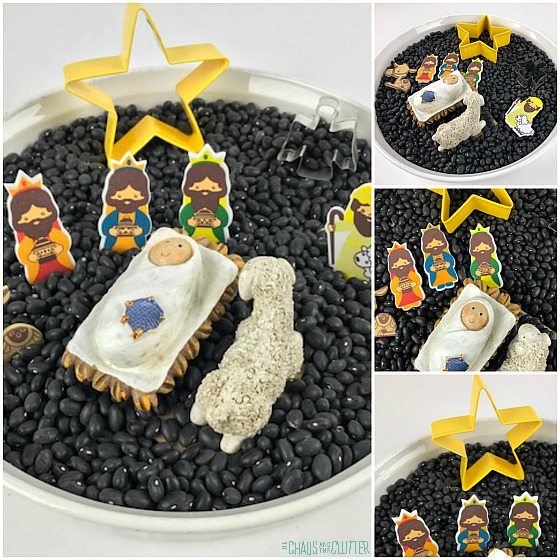 This O Holy Night Nativity Sensory Bin is an effective way to reinforce the Christmas story with your kids. It pairs well with many children’s books that tell of Jesus’ birth.

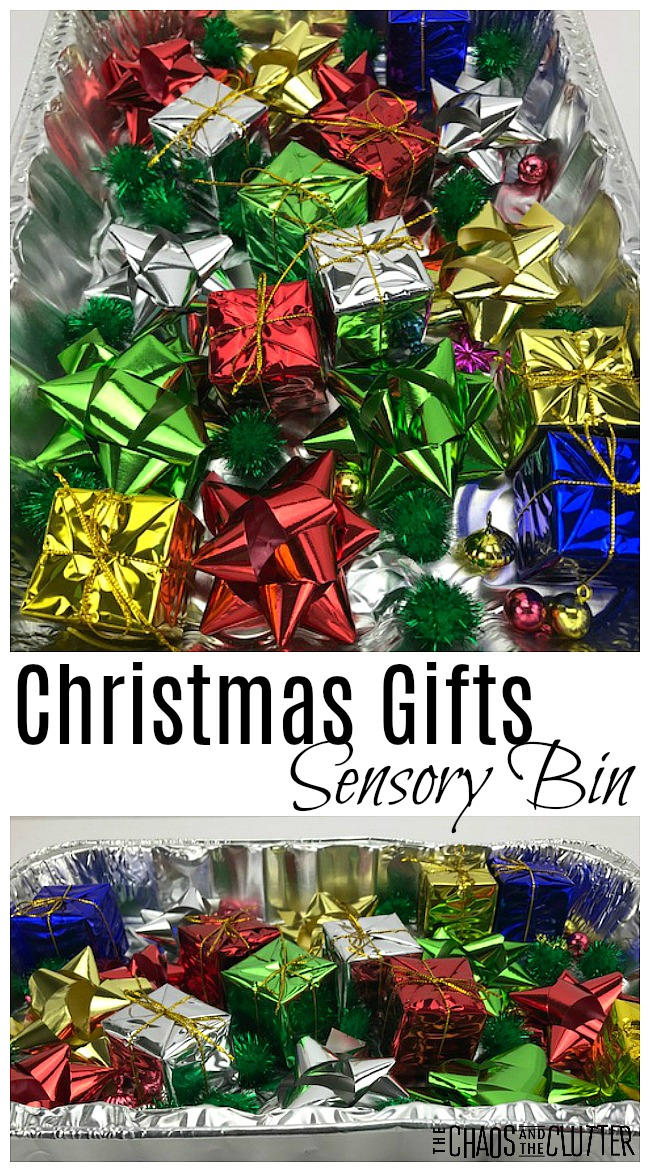 A few years ago, when I put together our
 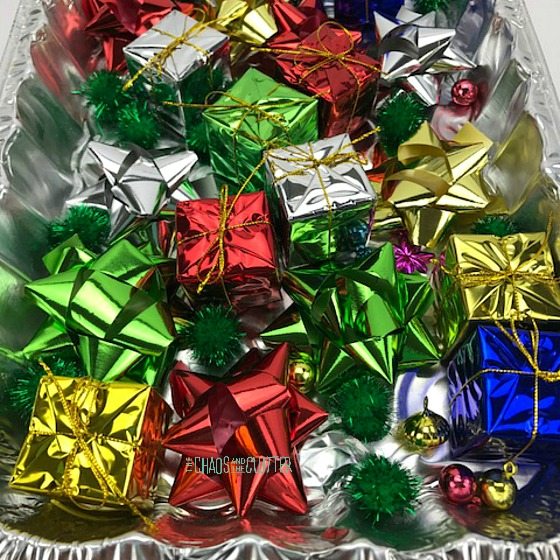 Christmas Gifts Sensory Bin:
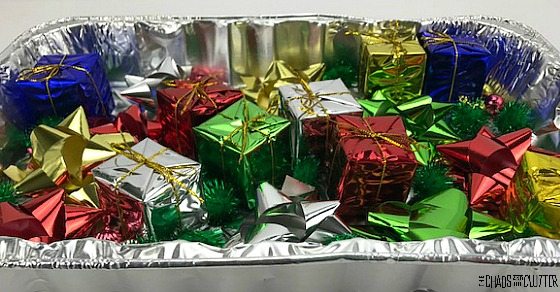

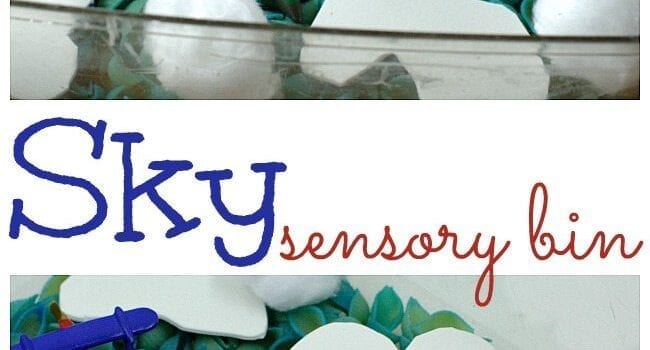
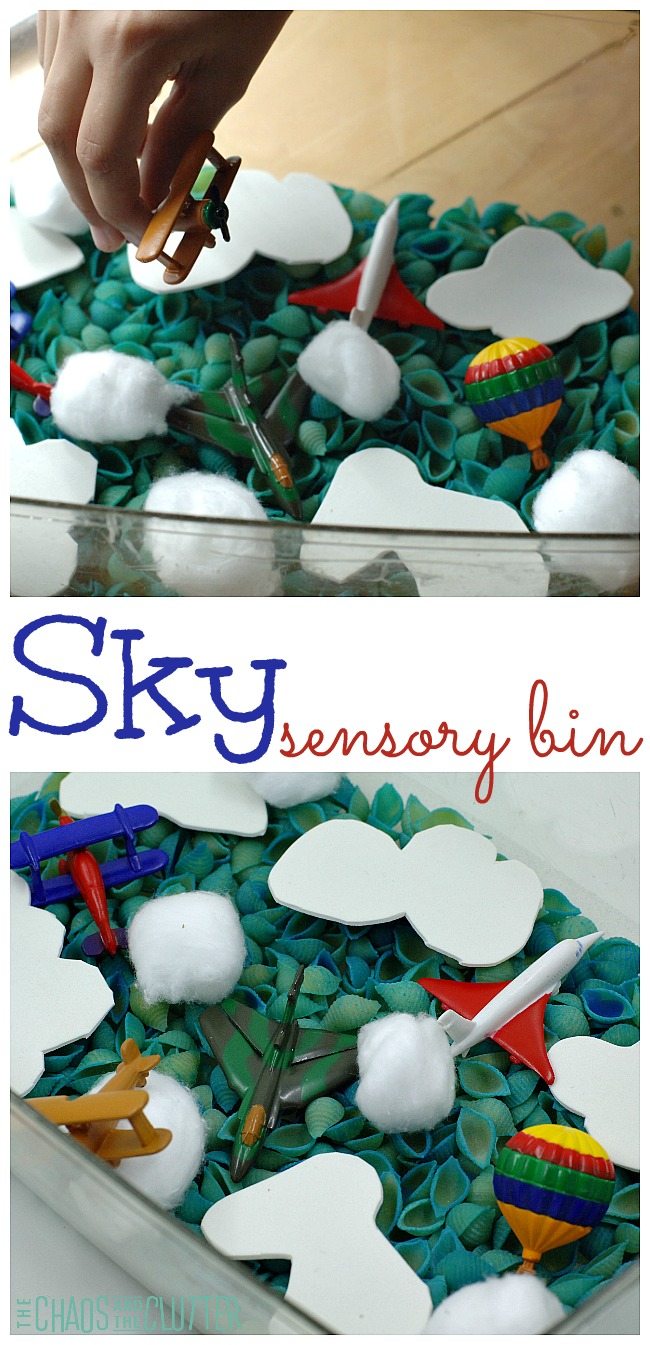 For this sky sensory bin, we used a base of dry pasta that we dyed blue. If you’ve never dyed pasta before, you can read about how to do it using either
 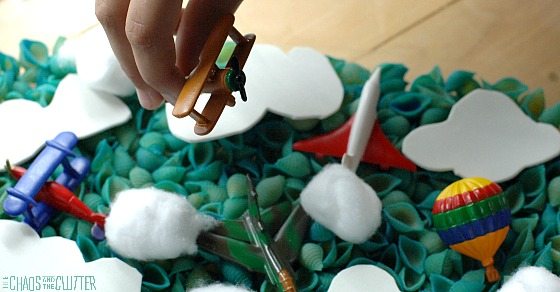 The hot air balloon from the
 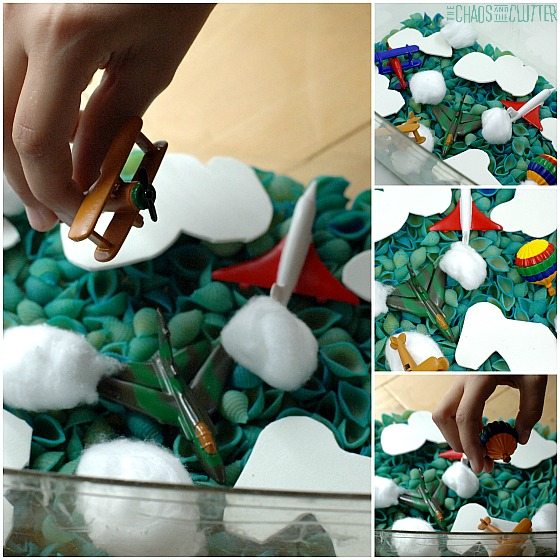 For dozens of other sensory bin ideas, check out
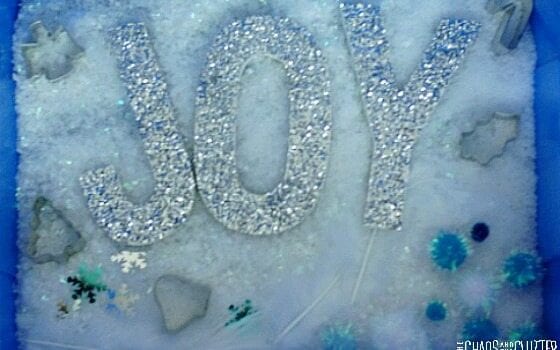
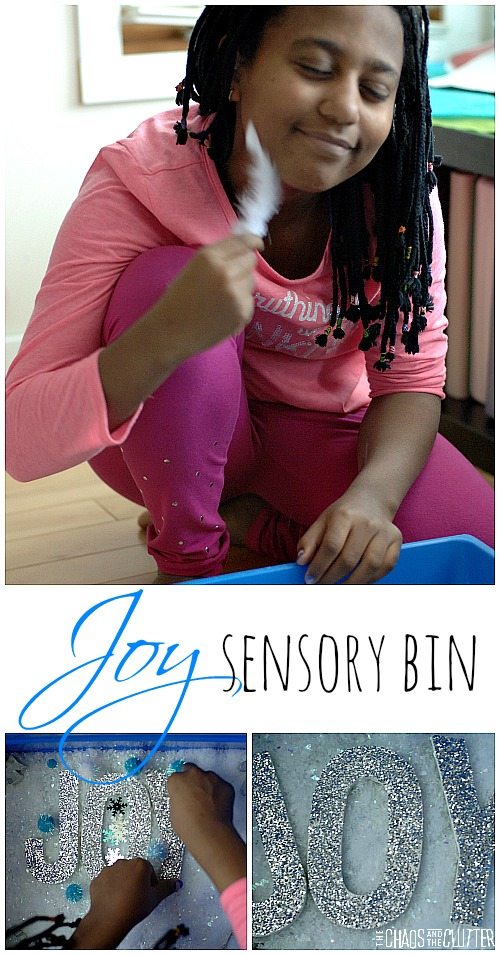 I am in love with that picture because Dancing Queen’s face looks so peaceful which shows the power of sensory play with kids who have sensory needs and anxiety.
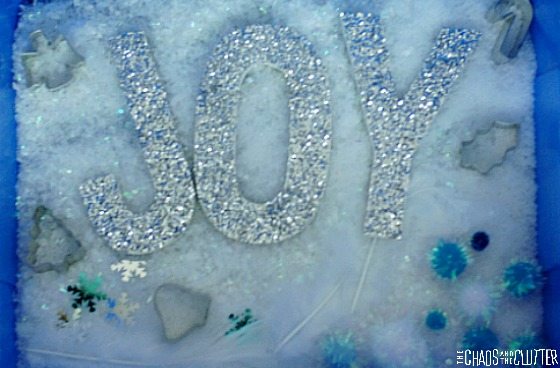 Last year for Christmas, I made a
 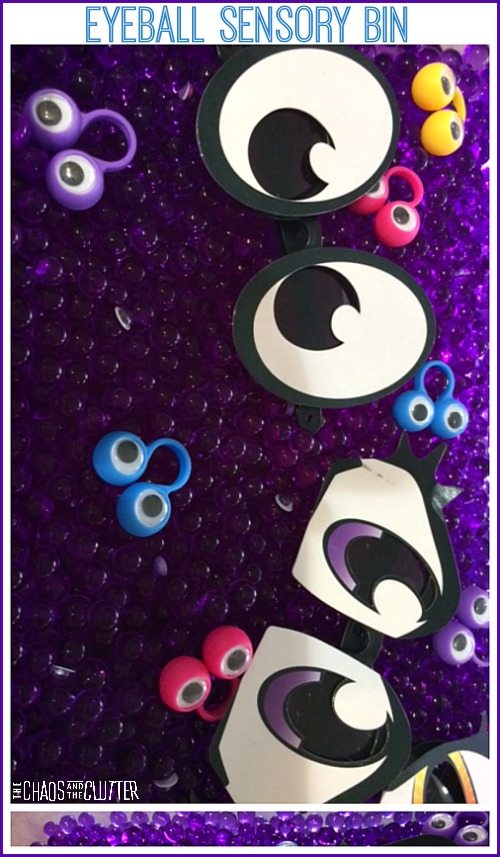 To make this eyeball sensory bin, I used
 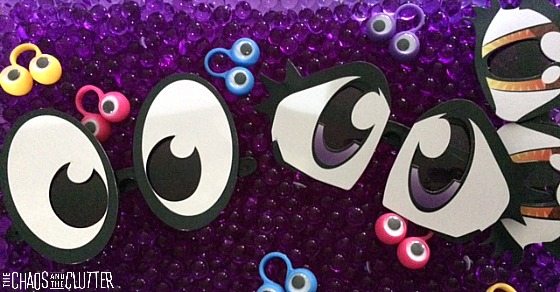 The cardboard on the cartoon glasses got wet from the water beads after a few days so we ended up having to take those out, but they were a fun element while they lasted. The kids enjoyed trying them on and laughing at each other! They also liked playing with the ring finger puppets.