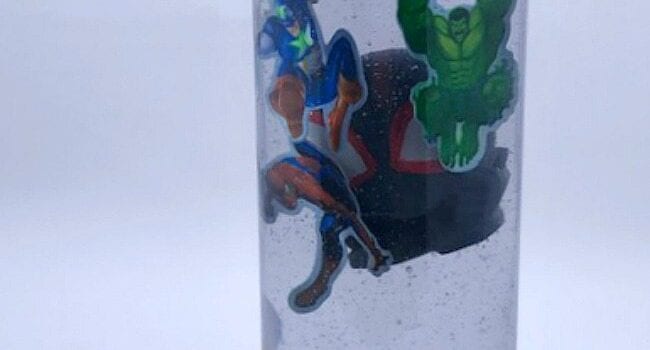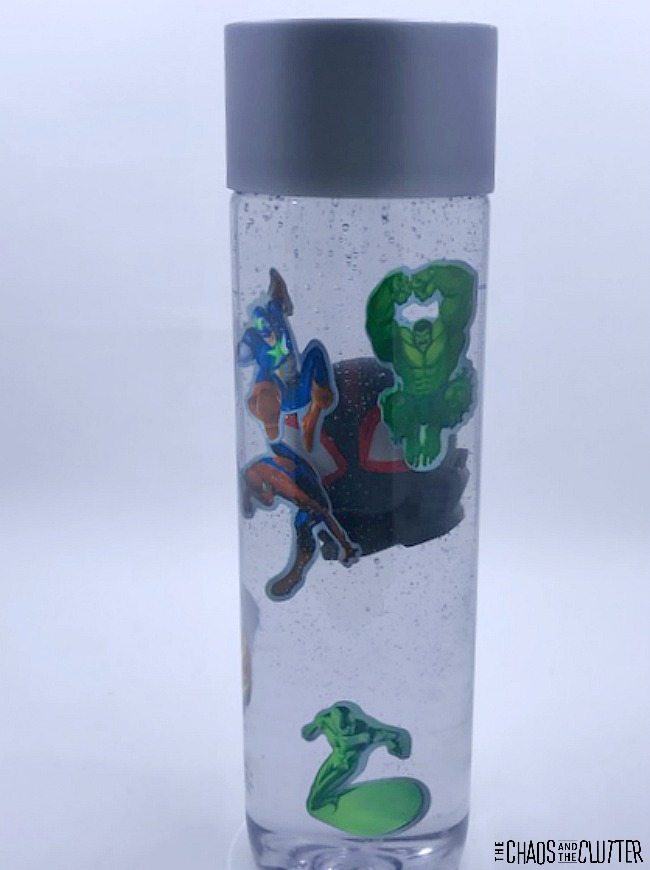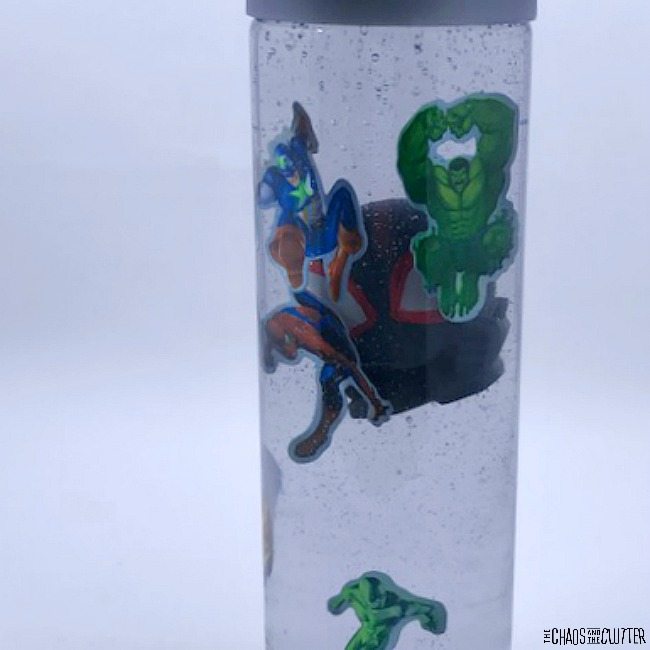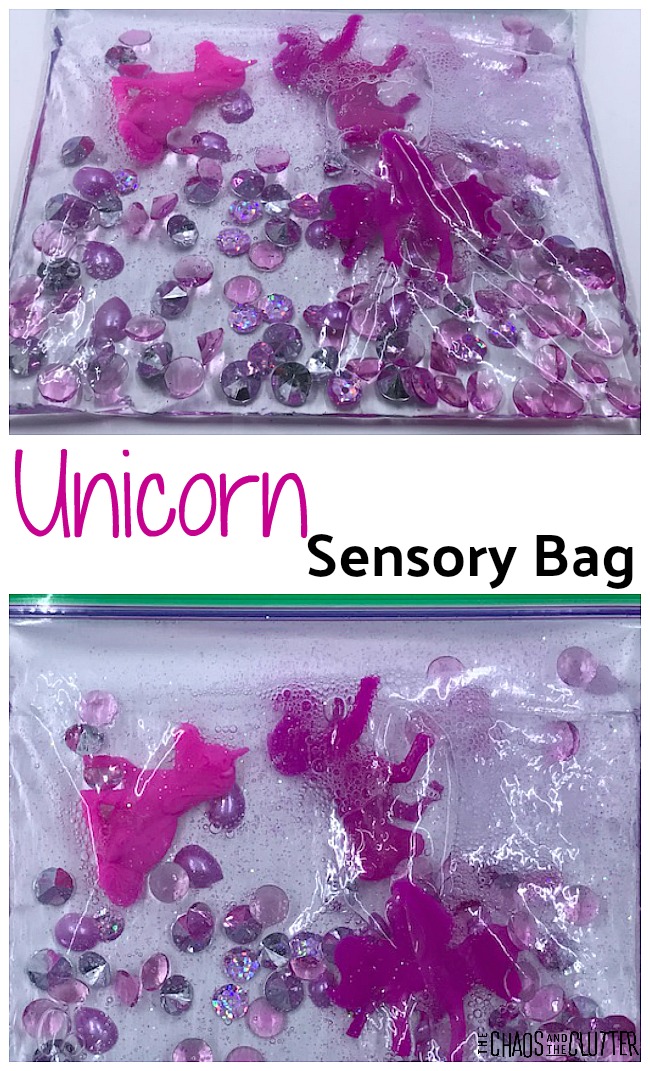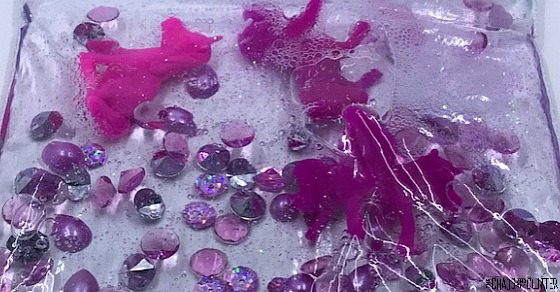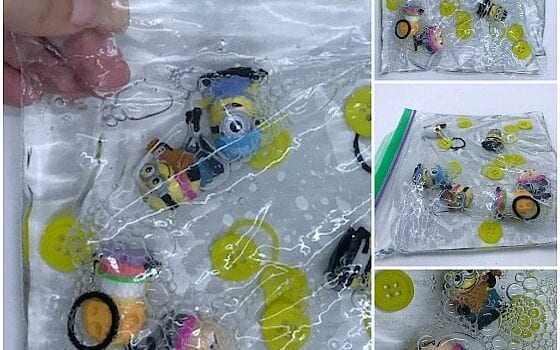
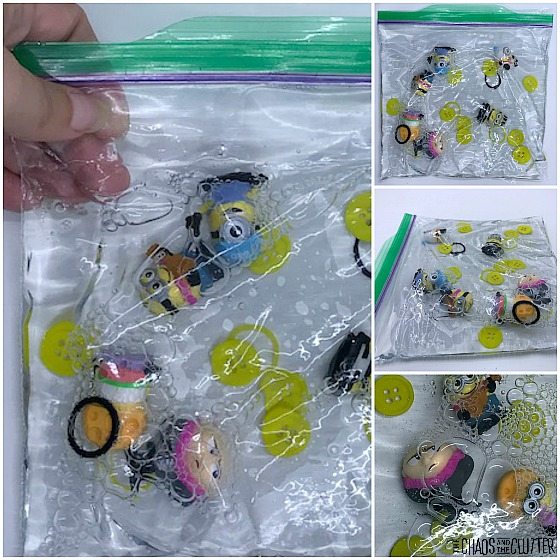
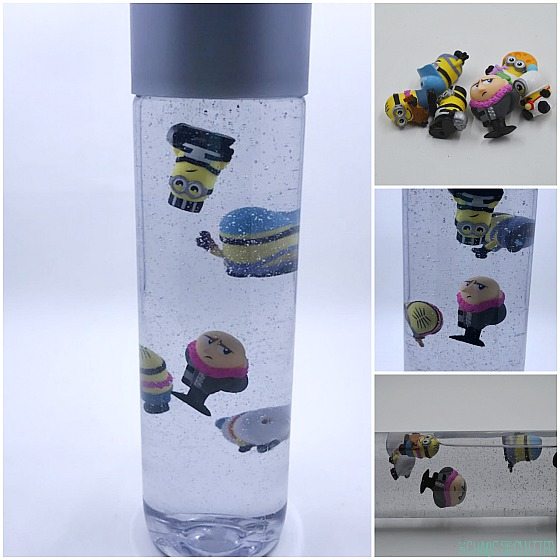
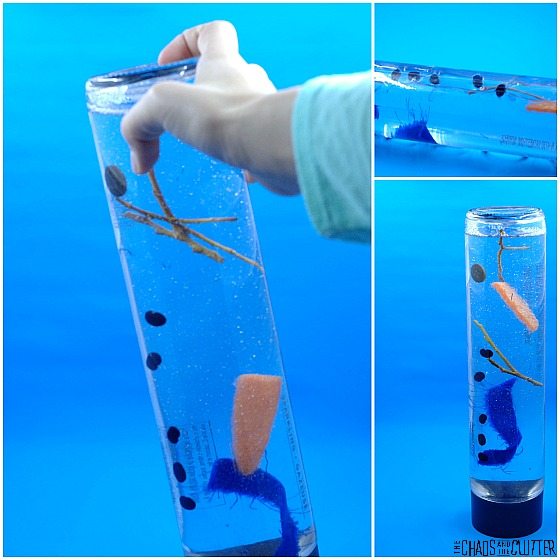
We are fans of the Despicable Me movies, particularly because of the adoption theme. I made the kids a Despicable Me Minions Sensory Bottle for the kids a few months ago. I like to make a new sensory bottle every week or two, so once they had tired of it, I used what was inside to create a Despicable Me Minions Sensory Bag.
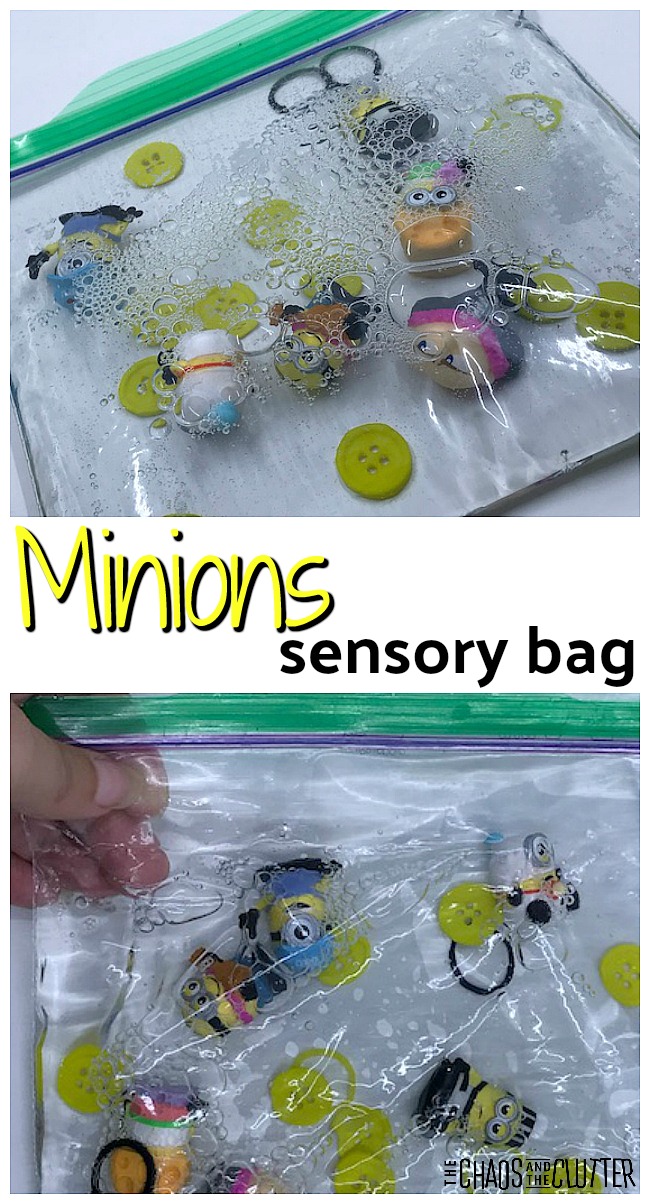 It’s funny how when you take exactly the same items and put them in a new format, it breathes new life into the activity. I added a few extra things to the sensory bag just to change it up a bit. I think it turned out really cute!
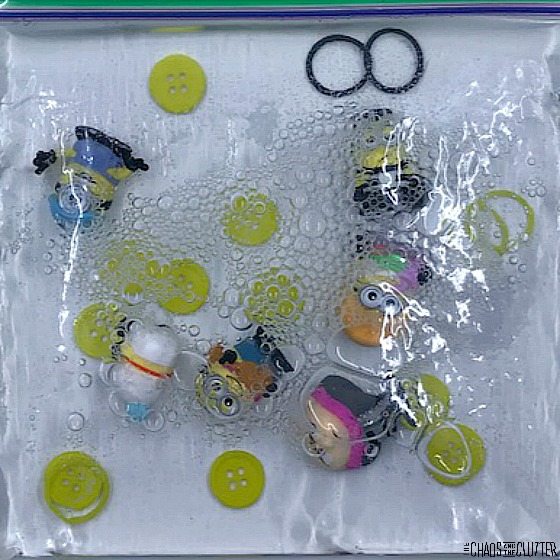
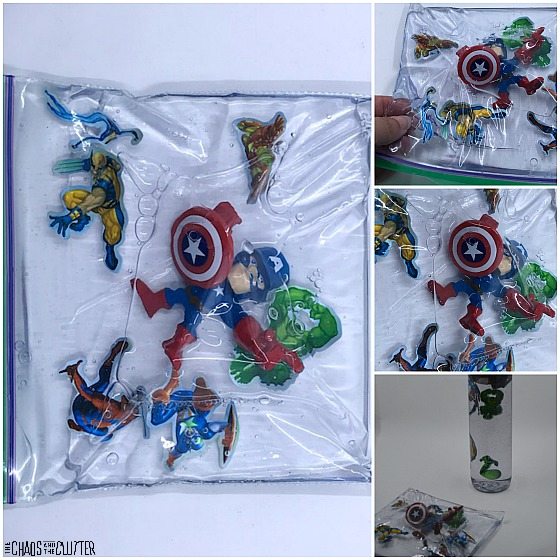
Despicable Me Minions Sensory Bag
Materials needed:
- resealable plastic bag
- liquid hand soap
- Despicable Me mini figures
- black and yellow mini elastics
- yellow buttons
- optional: duct tape
To create the Minions sensory bag, fill a resealable plastic bag about half full with liquid hand soap. Add the Minions mini figures, the yellow buttons and black and yellow elastics. Remove the air from the bag and seal.
In my case, I emptied the contents of the Minions Sensory Bottle into a bag, then added the elastics and buttons before sealing.
You can also seal the bag to prevent leaking or being opened by your child by folding duct tape over all sides of the sensory bag. This Minions duct tape would be perfect to use. As with all sensory activities, adult supervision is recommended.
Looking for other simple sensory activities? Join me for a free 5 part email series Sensory Solutions and Activities and get your Sensory System Behaviours Easy Reference Cards.
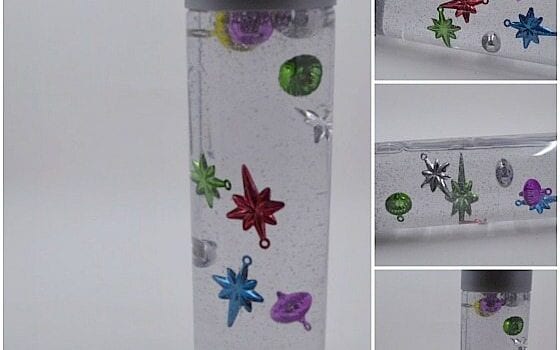
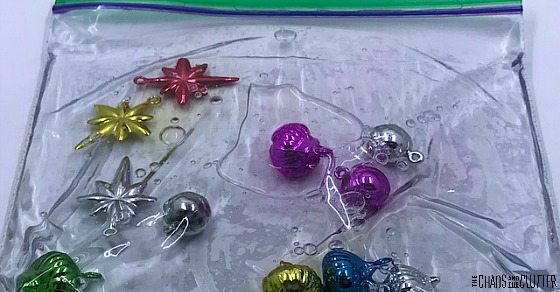
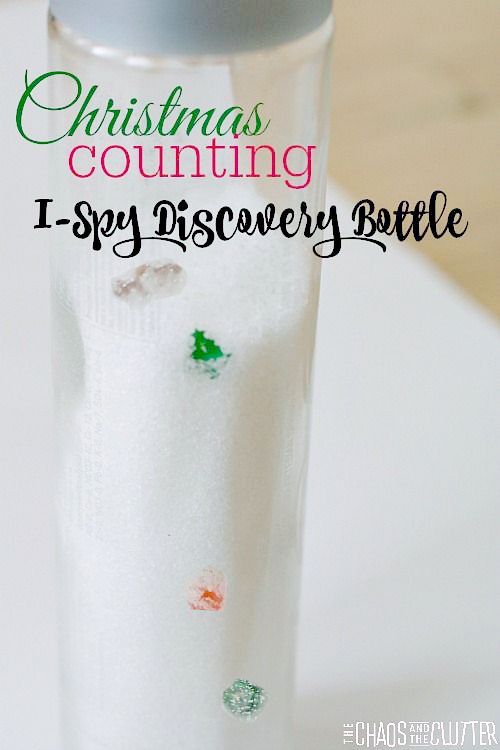
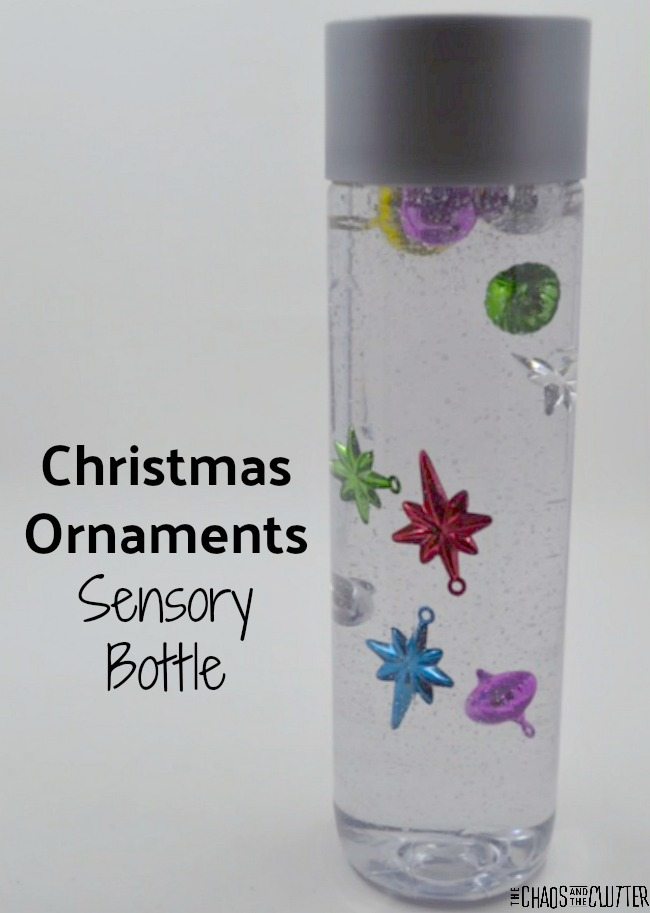 Christmas Ornaments Sensory Bottle
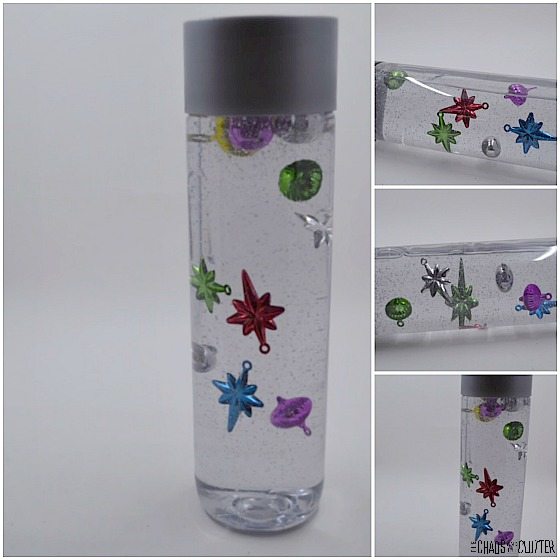 To put together this holiday sensory bottle, empty the water out of the water bottle. Fill it most of the way to the top with clear liquid hand soap. Add some small ornaments. If they get stuck near the top of the bottle, you can use a bamboo skewer to push them further into the bottle. Place the lid back on the bottle.
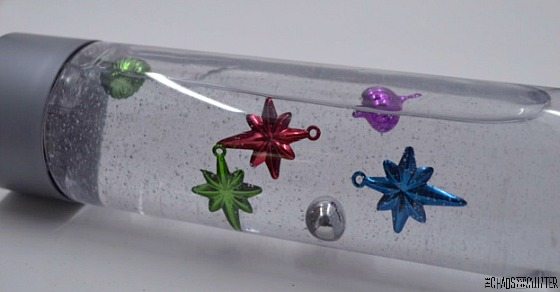
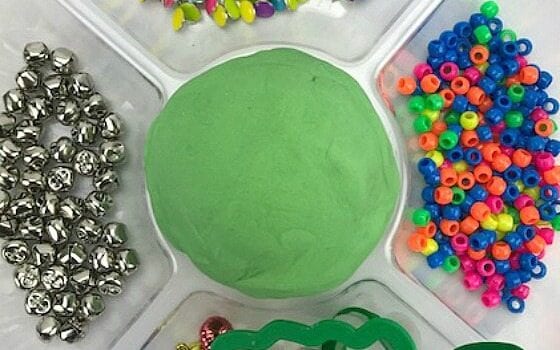
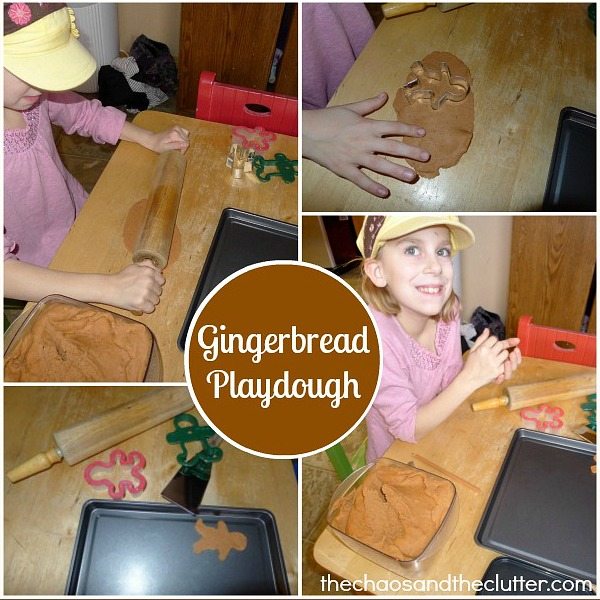
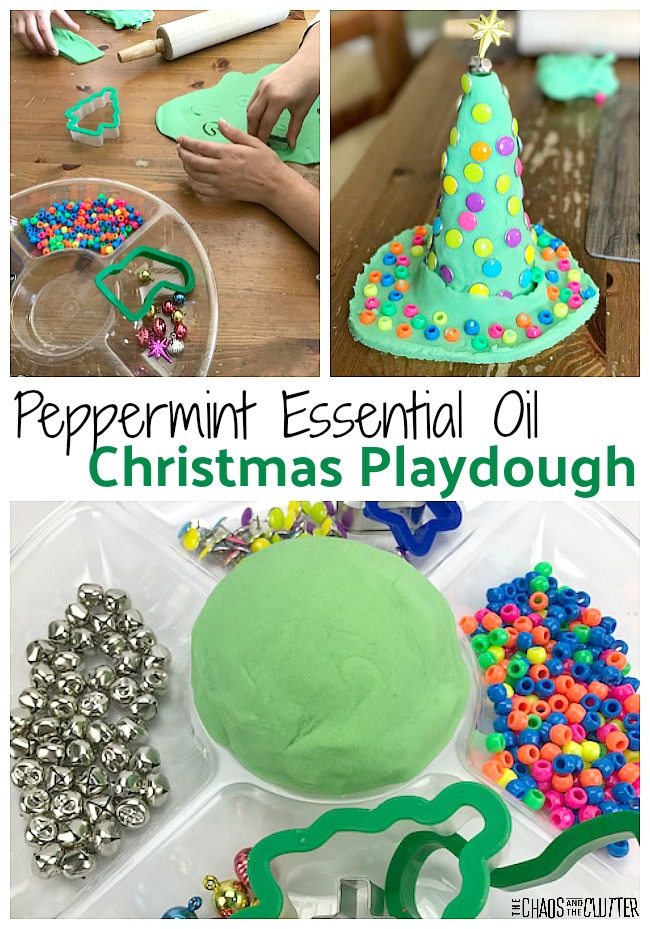 Peppermint Essential Oil Christmas Playdough Recipe:
 I find that the easiest way to make playdough is to use the KitchenAid mixer. Add the flour, salt, cream of tartar to the KitchenAid mixer. With the dough beater (the flat one), begin mixing on low and add the oil, food colouring, and
  Big caveat here: I was using this with older kids, so I felt comfortable setting out the pushpins for them to use and they were the favourite item, BUT they are sharp and wouldn’t be appropriate to use with younger children. And of course, as with all sensory activities, adult supervision is recommended.
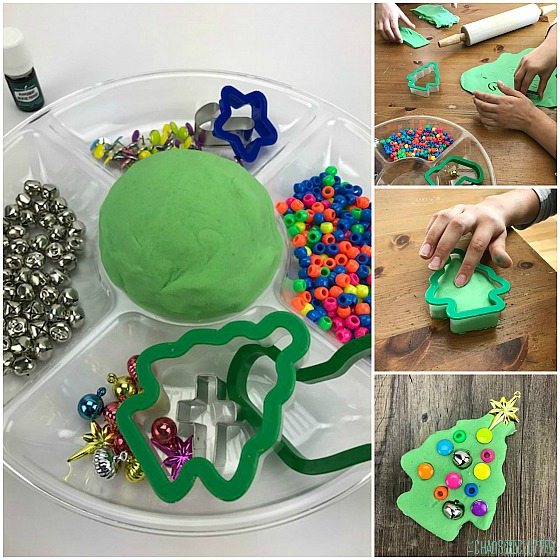 My kids explored and created with the peppermint playdough for hours. One pounded the dough with their palms while another preferred to roll it out with a rolling pin. They shaped it using their hands or the cookie cutters. They pressed beads and mini ornaments and pushpins (tacks) and jingle bells into the shapes. They discovered that once playdough is inside jingle bells, they no longer jingle!
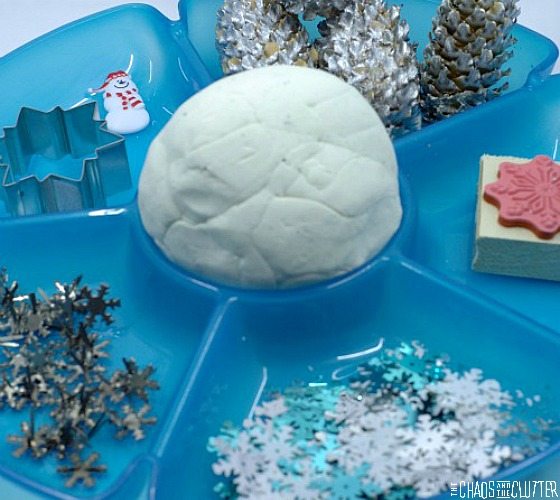
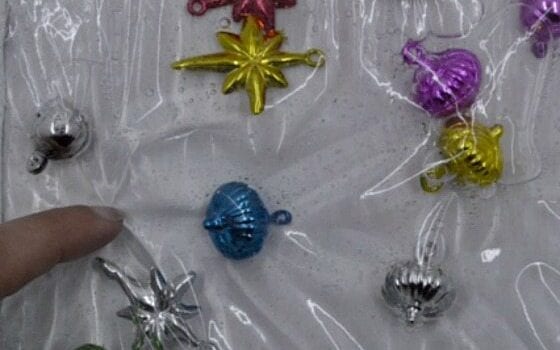
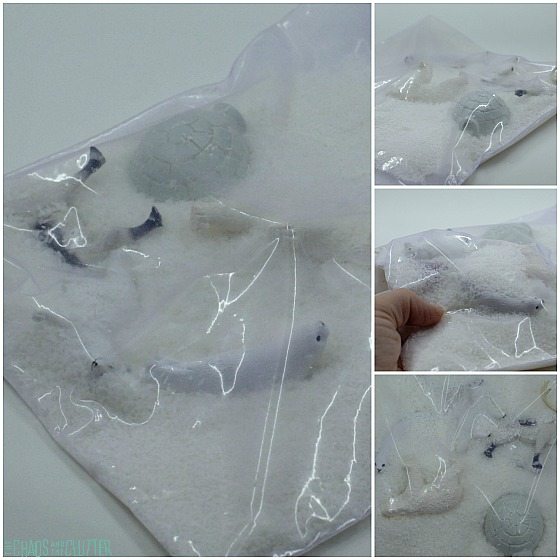
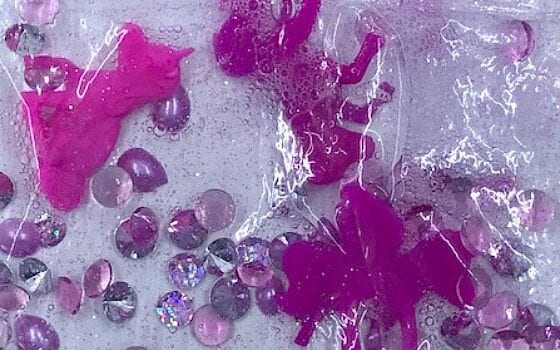
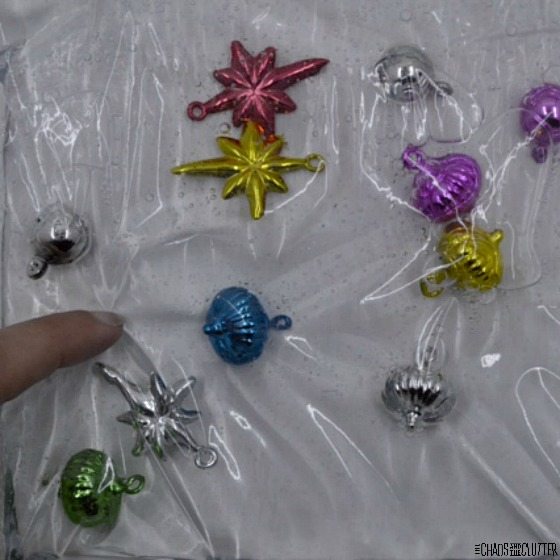
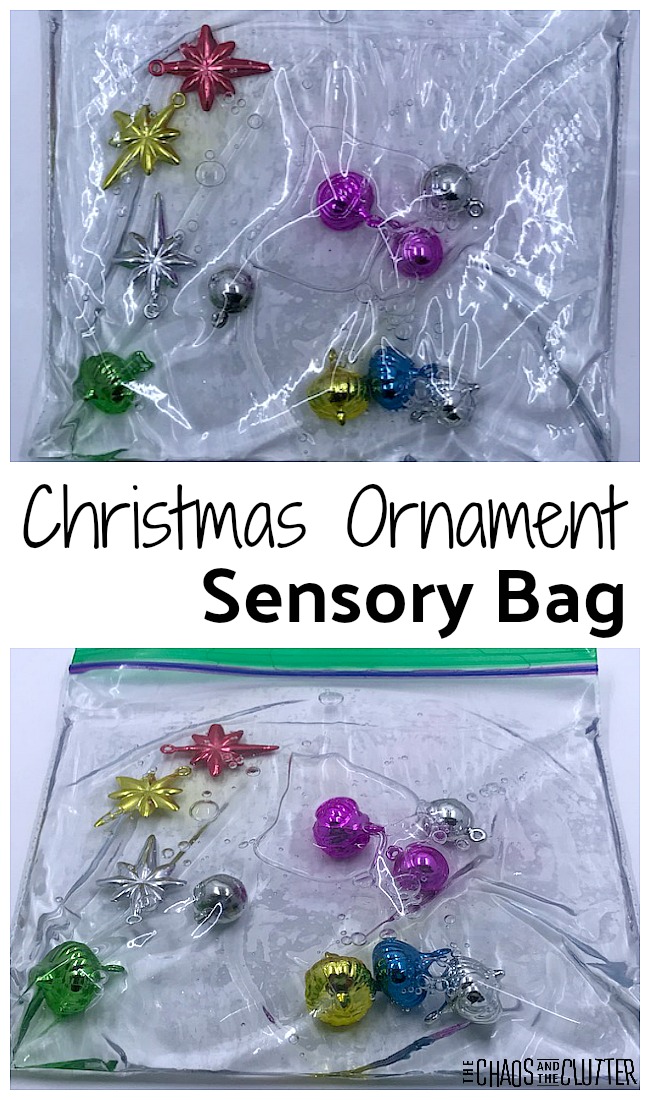 Christmas Ornaments Sensory Bag