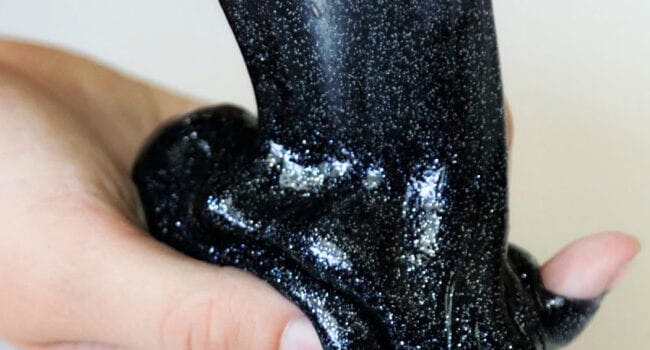
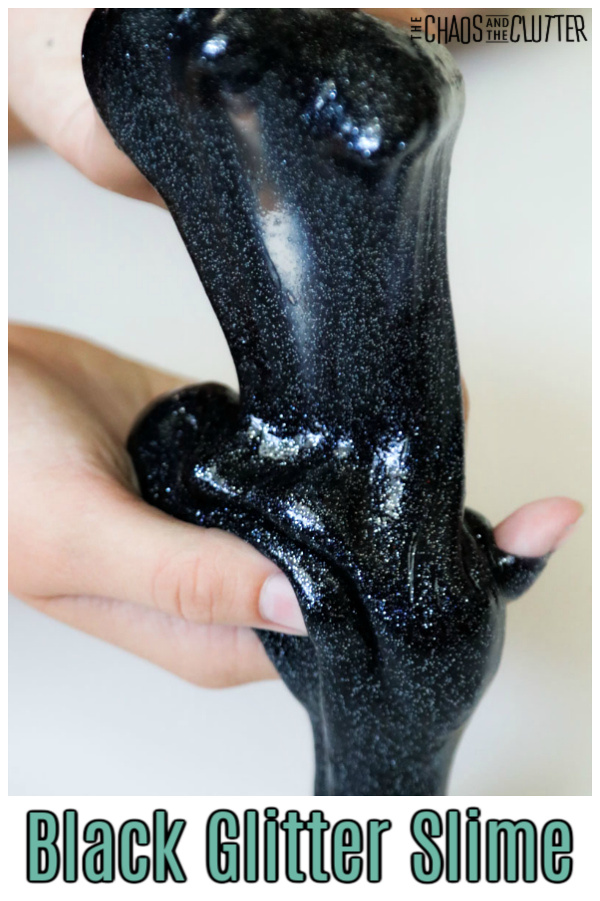
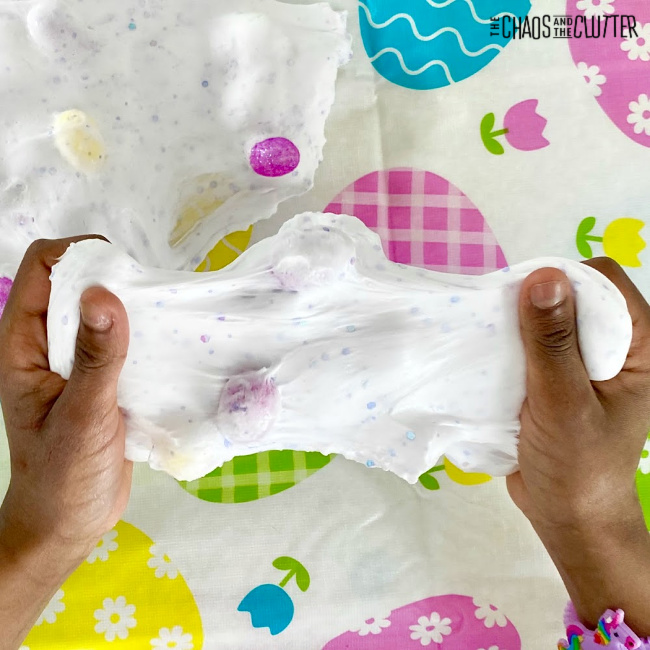
Use this easy recipe to make your own black glitter slime. It’s great for Hallowe’en or just for sensory play. The glitter gives it a unique look.
 If you’re looking for a fun Hallowe’en activity that uses slime, check out our Hallowe’en Sensory Game for kids. It’s easy to put together and great for the classroom or for parties.
Black Glitter Slime Recipe:
Supplies needed:
- 1 (6 oz.) bottle black glitter glue
- ¼ cup warm water
- ½ tsp. baking soda
- 1½ Tbsp. contact lens solution that contains boric acid
- 1 Tbsp glitter (if you want a more glittery slime)
- optional: pumpkin confetti
Directions:
- Empty the black glitter glue into a medium sized bowl.
- Add 1/4 cup warm water to the empty glue bottle and seal with the lid. Shake well to combine the remaining glue with the water.
- Pour into the bowl with the glue and stir to combine.
- Add the baking soda to the glue and stir to mix thoroughly.
- If you are adding extra glitter or confetti, stir them into the glue mixture at this point.
- Add contact lens solution to the glue mixture and stir well.
- Remove the slime from the bowl allowing any excess liquid to remain in the bowl. The slime will be sticky. Begin to play with the slime, kneading it as if it were bread dough, to bring the slime together. The slime is ready when it is no longer sticky.
Note: Glitter glue requires more contact lens solution than making slime with regular clear or white glue. Add the contact lens solution slowly, mixing between additions, and add only enough to bring the glue together into a soft ball.
Slime should be stored in an airtight container or resealable bag when not being played with. 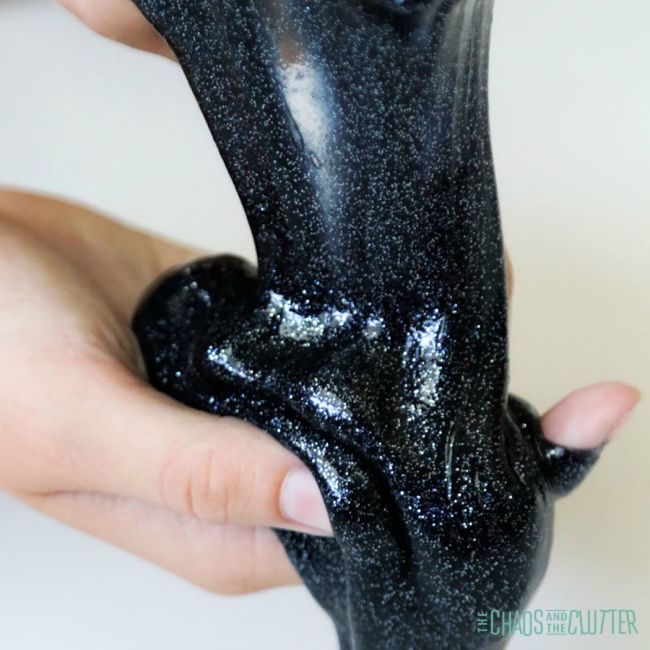
Possible Variations of Glitter Slime:
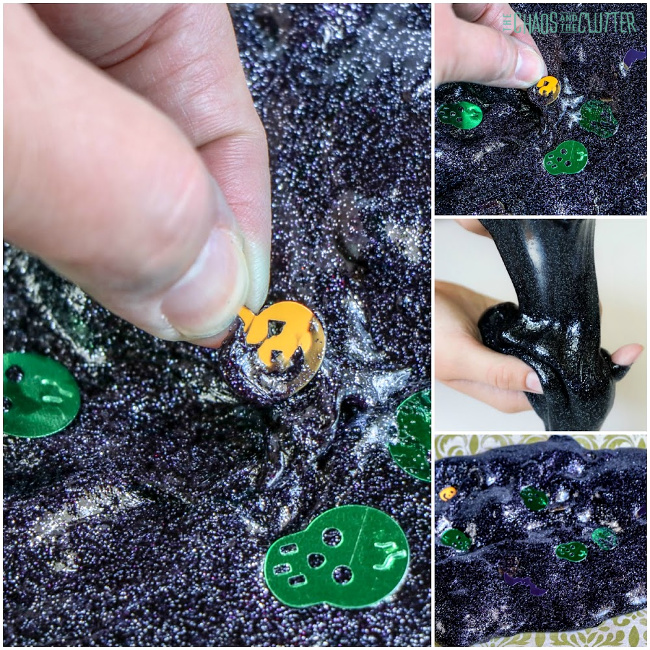
- To make this black slime more appropriate for Hallowe’en, you can add different types of Hallowe’en confetti.
- You can change the look of this slime by adding different colours of glitter.
- Try adding tiny Hallowe’en themed erasers.
Are you looking for more easy sensory play recipes to try? Join us for a five day email series on Sensory Activities and Solutions and get a free sample of our Sensory Play Recipes eBook.
You might also be interested in checking out these other easy slime recipes:
Camo Fluffy Slime Googly Eyed Monster Slime
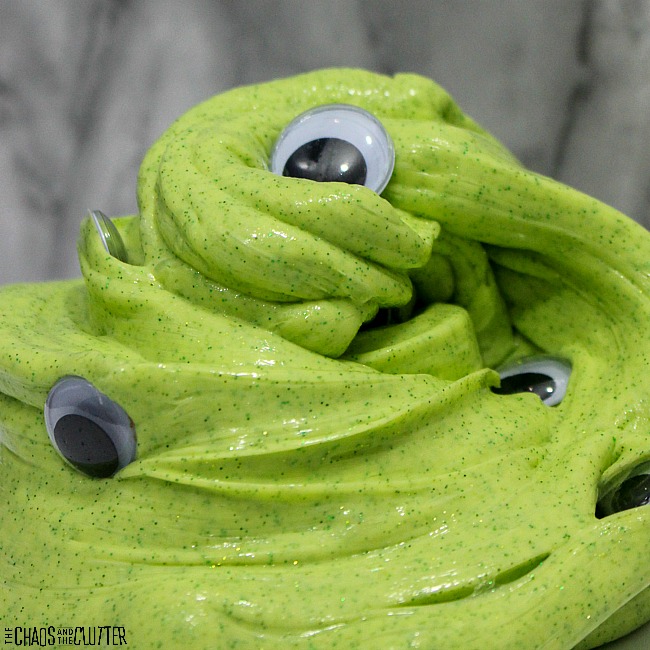

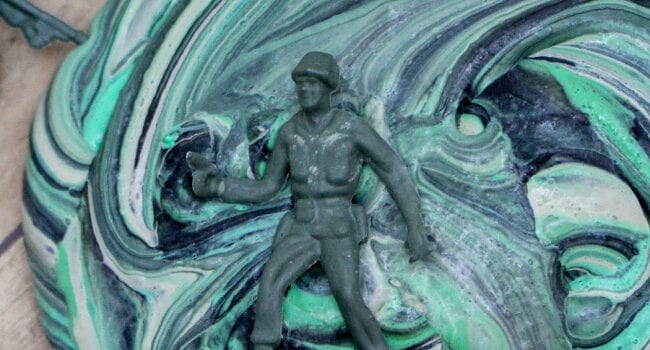
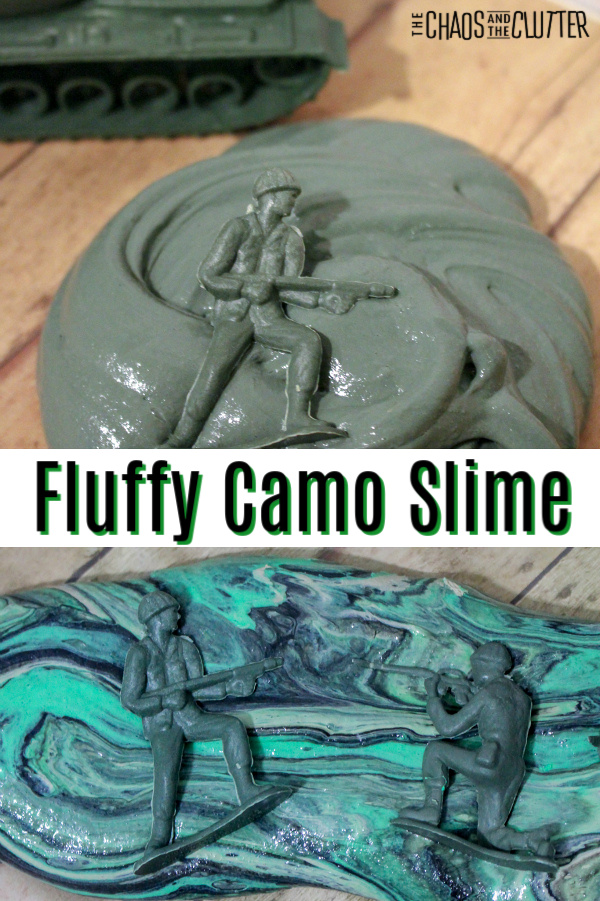 There are so many fun play options with this camo fluffy slime recipe. It also makes a great party favour for birthday parties too. When my middle son was younger, he had an army theme birthday party and I wish I’d had this recipe back then.
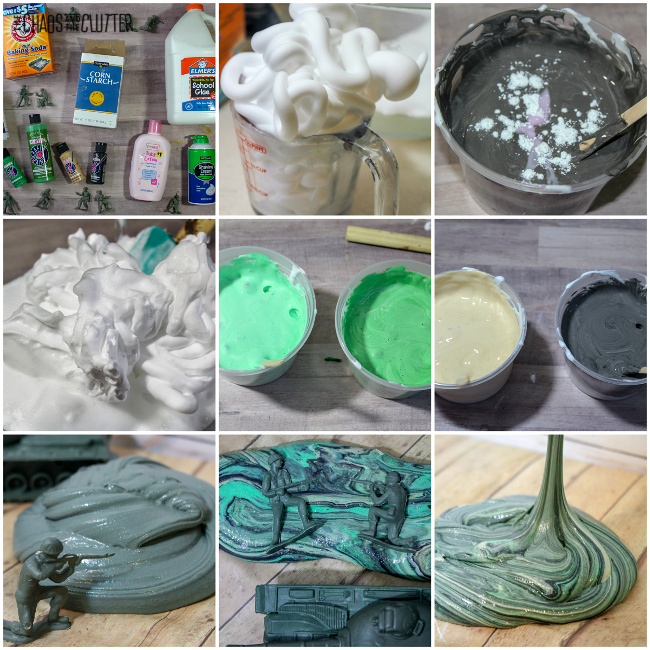 At first, the slime will have that marbled camouflage look but of course, eventually with play, the colours will combine. When this happens, your slime should turn an army green which is also a lot of fun.
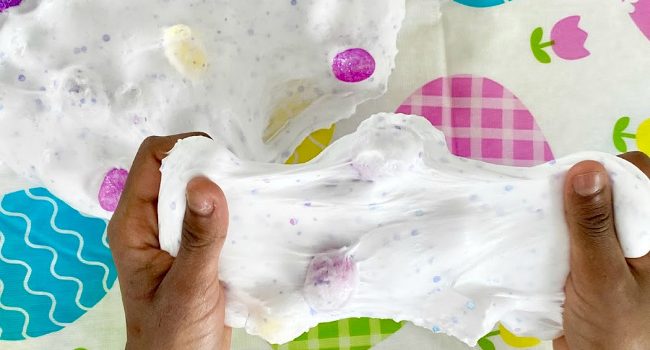
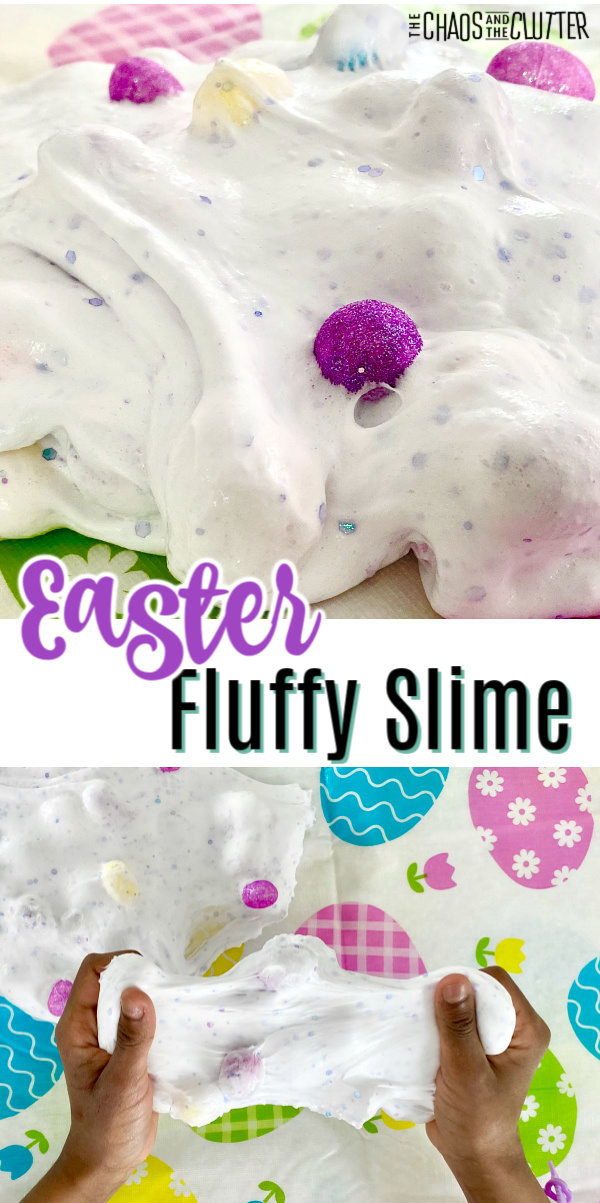 Full disclosure: I’m dreaming of Spring right now because where I live, it is still below freezing and snow blankets the ground a week into April. So I am all about thinking about baby chicks, green grass, and colourful flowers right now! And of course Easter.
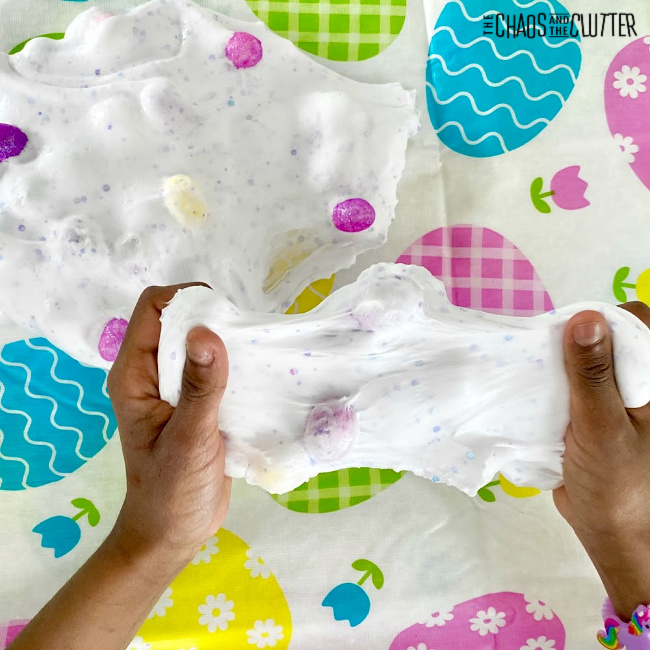 Directions:
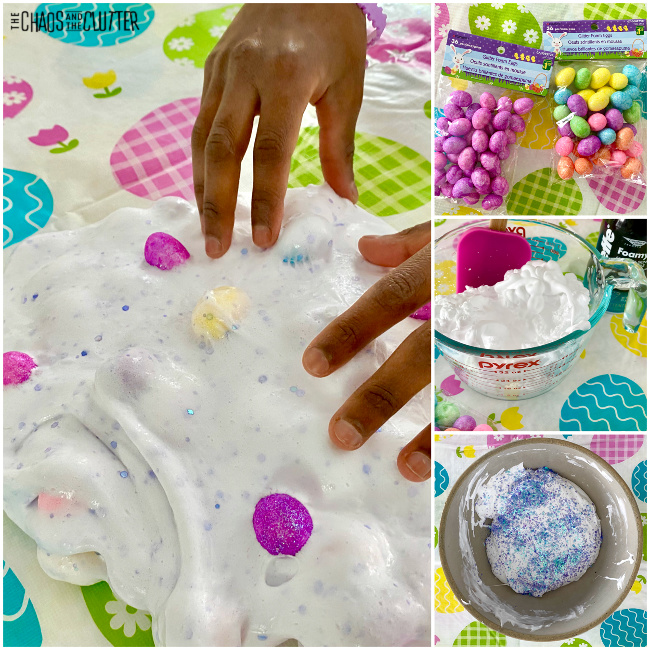
 Looking for more easy sensory play recipes to inspire creativity year-round? Join me for a free five day email series on Sensory Activities and Solutions and get a complimentary sample of our Sensory Play Recipes eBook.
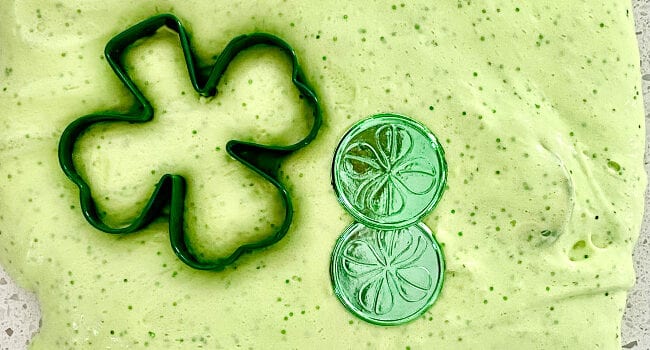
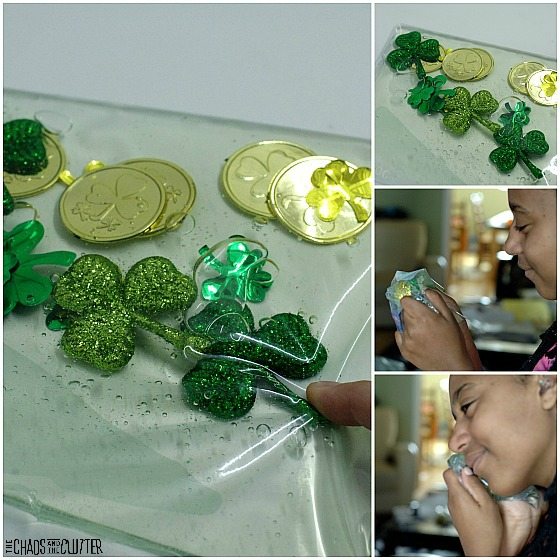
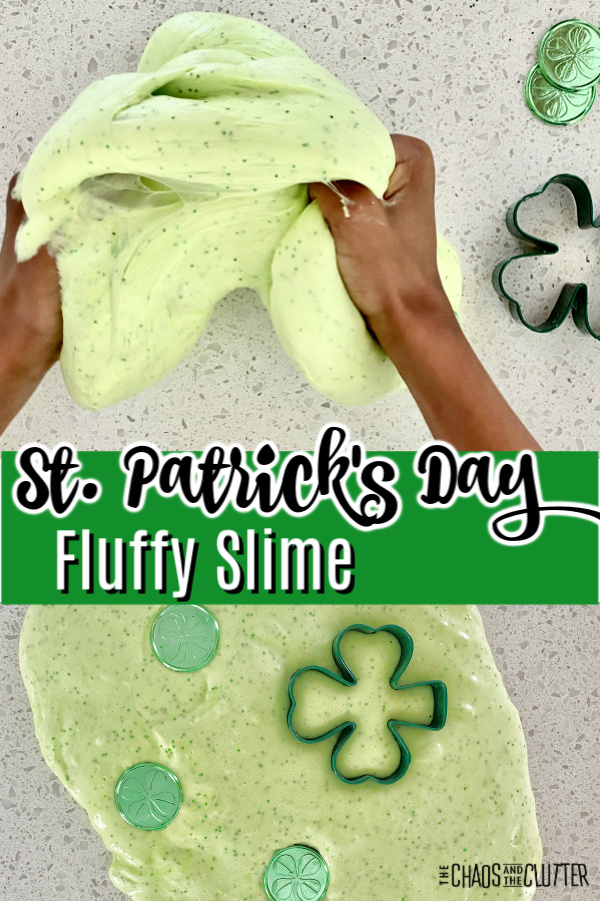 You can set out a Shamrock cookie cutter and some extra Shamrock play coins to expand the opportunities for kids to explore through play. Check out the video below to see the fluffy slime play in action.
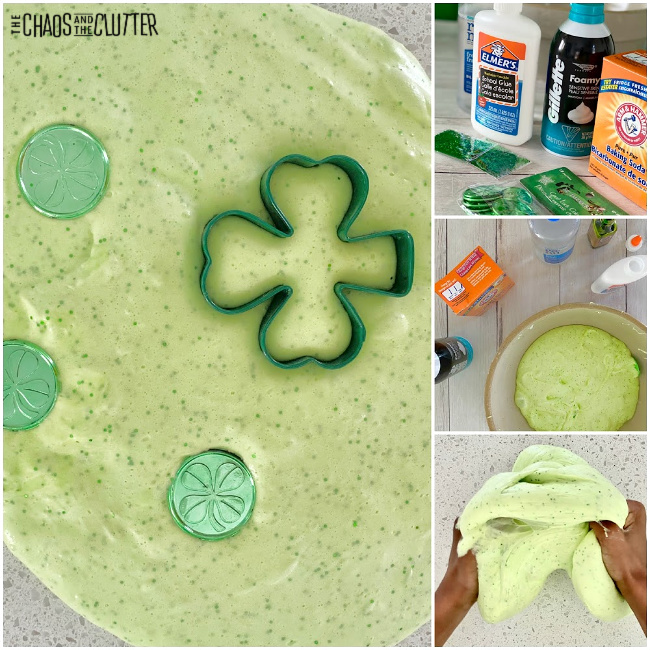 Directions:
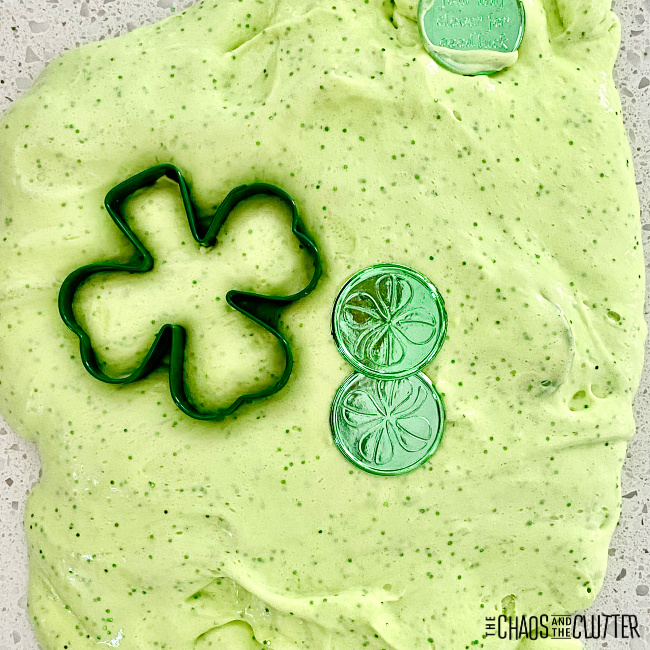 Looking for more easy sensory play recipes to inspire creativity? Join us for a five day email series on Sensory Activities and Solutions and get a free sample of our Sensory Play Recipes eBook.
 Directions:
 When the slime isn’t stretchy after a few days of play, you can add a bit of hot tap water or a small amount of lotion.
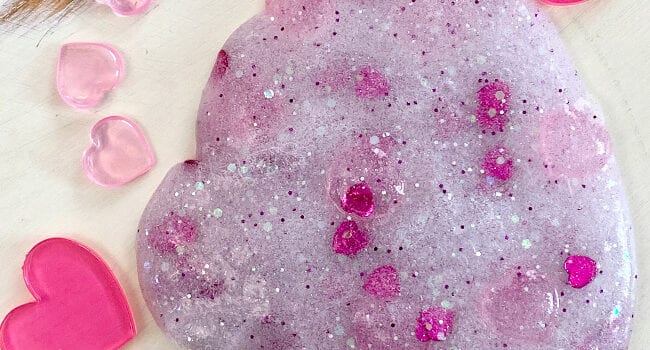
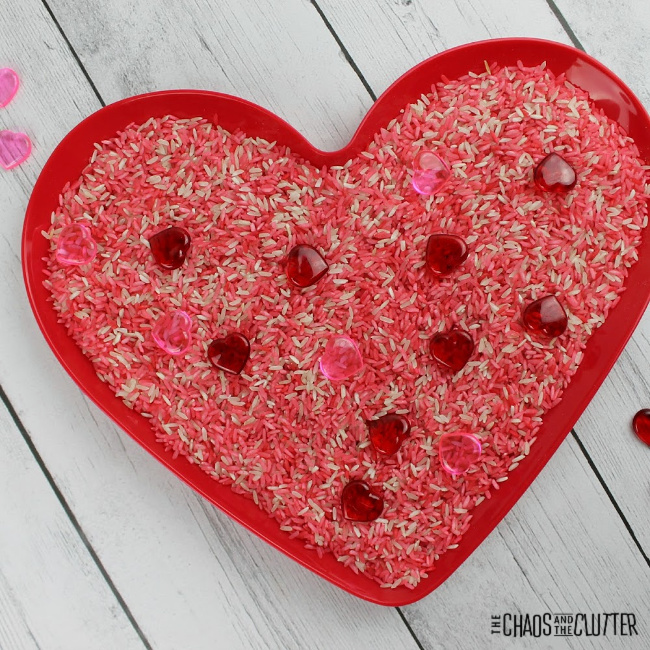
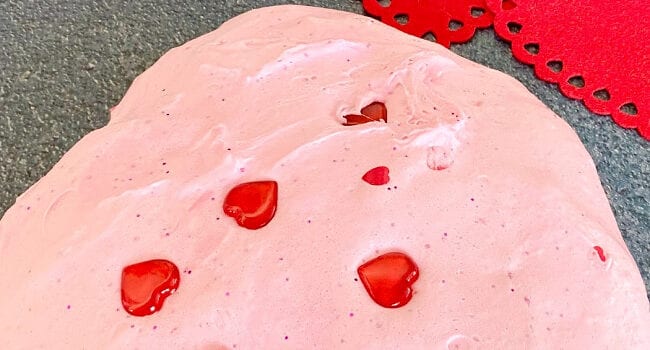
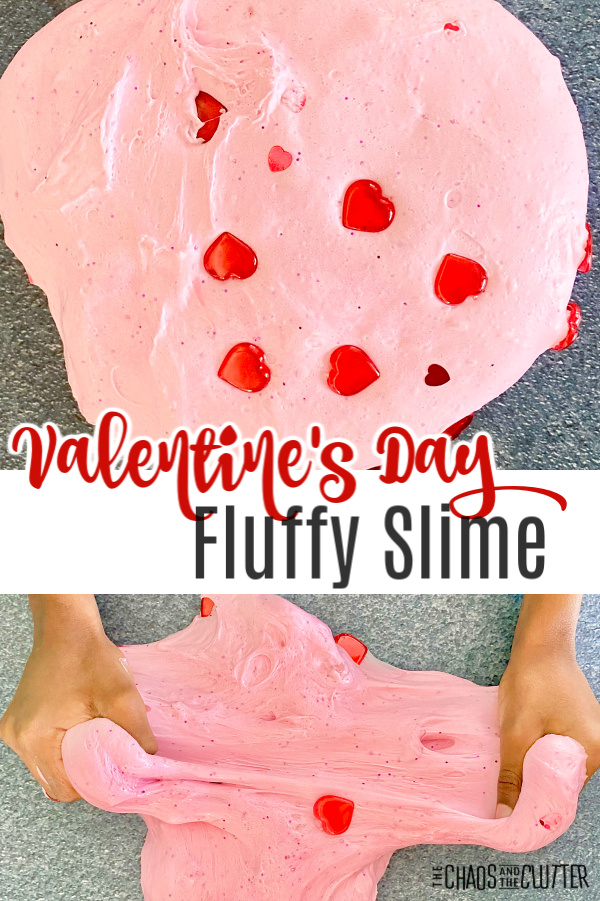
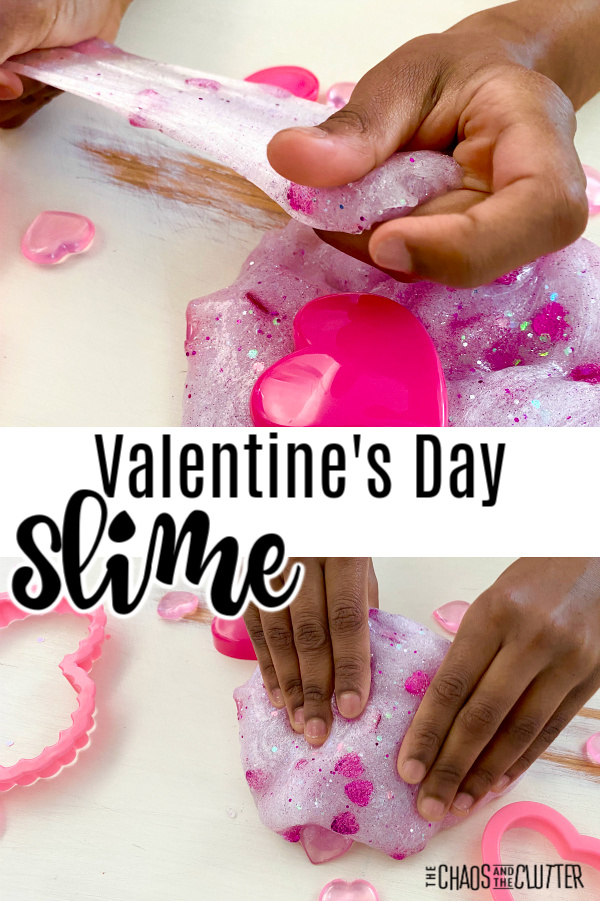 If you’re looking for a homemade Valentine’s gift, this slime recipe and/or our
 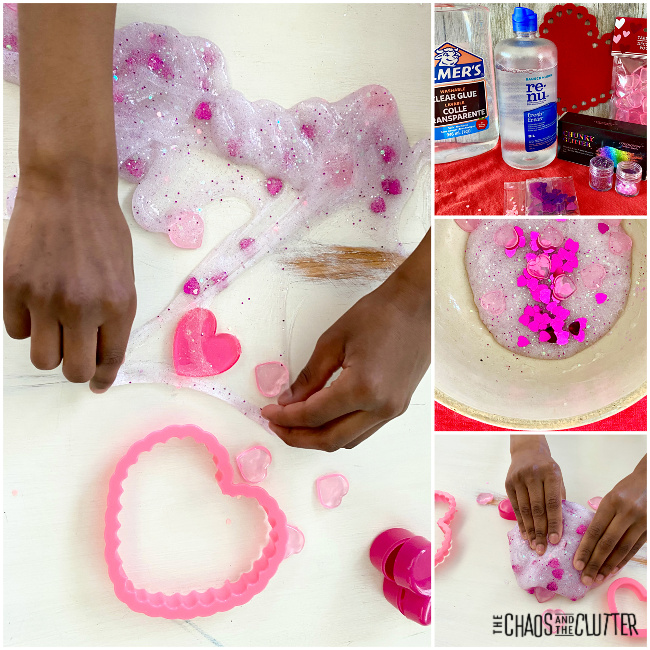 Directions:
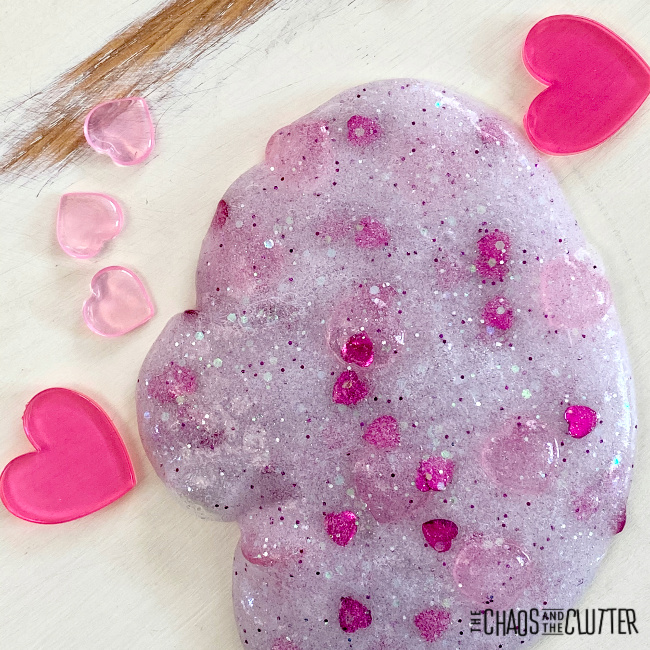 Sensory and Learning Opportunities:
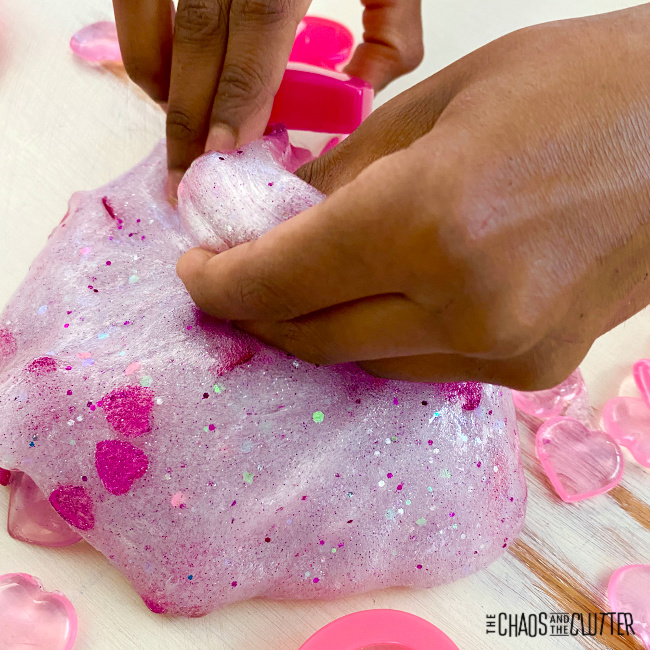 The visual, tactile, and proprioceptive sensory systems are involved during slime play.