• Skip to primary navigation
  • Skip to main content
  • Skip to primary sidebar
  • Home
  • About
  • Contact
  • Privacy + Terms
  • Affiliates

The Chaos and the Clutter

  • Facebook
  • Twitter
  • Pinterest
  • Google Plus
  • RSS
  • Email
  • School at Home
  • Sensory
    • Sensory Processing Disorder
    • Awesome Sensory Play Activities
      • Sensory Bins
      • Sensory Bottles
      • Sensory Bags
  • Family Games
    • Minute to Win It Games
  • Special Needs Parenting
    • Childhood Anxiety
    • Reactive Attachment Disorder
    • Sensory Processing Disorder
  • Store
  • Course Login

slime

Fluffy Fish Slime

blue slime with a yellow toy fish and a green and red toy fish in it

By Sharla Kostelyk

  • Total7
  • Facebook0
  • Twitter4
  • Pinterest3
  • Mix
  • Yummly0

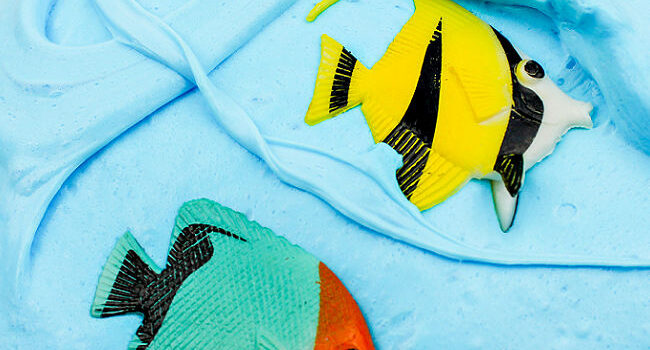
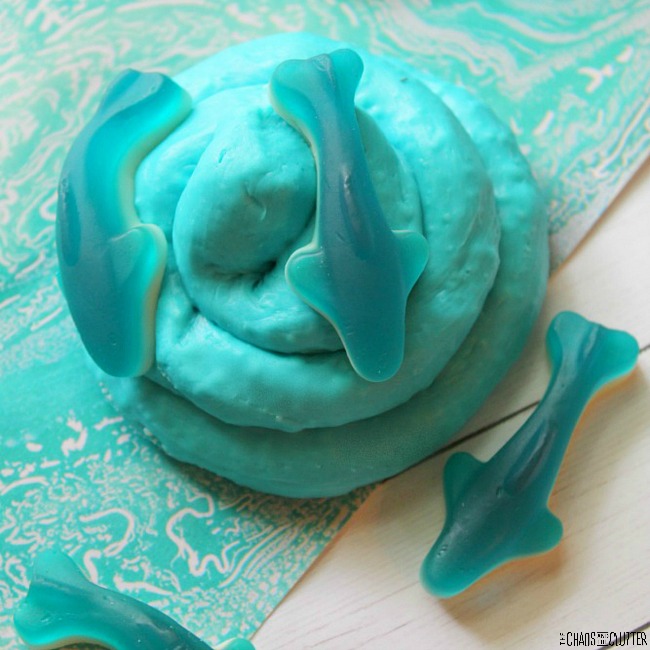
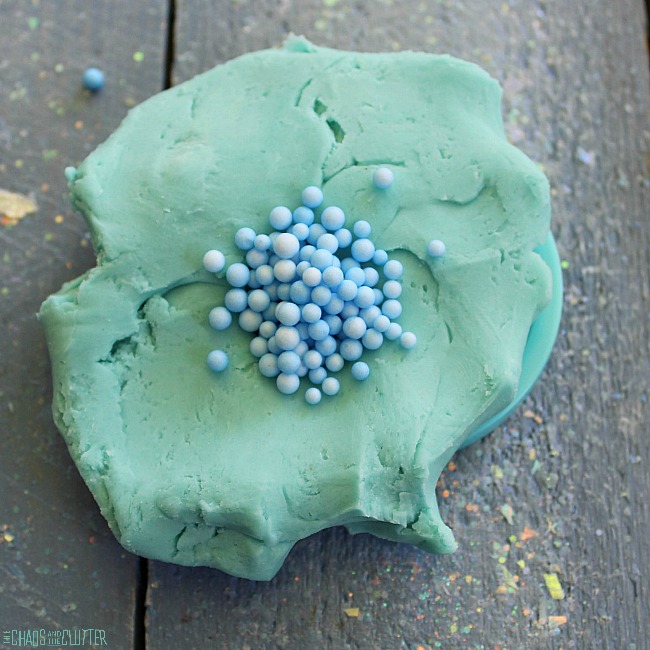
Pretend you’re playing underwater with this fluffy fish slime. The consistency of this fluffy slime lends itself well to imaginary play and the fish add another adorable element.blue blob with three bright coloured toy fish in it. Text reads "Fish Fluffy Slime"
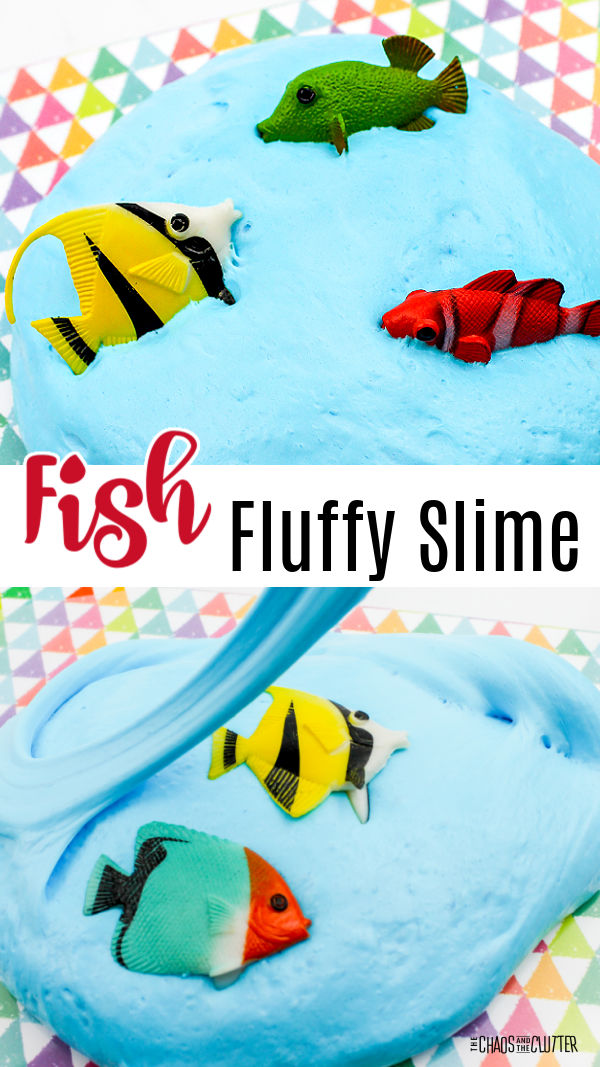
Slime is pretty popular in our house and fluffy slime is the favourite. Everyone loves the texture that the shaving cream gives to it. Plus, it’s got that really nice stretch to it.

Fluffy Fish Slime Recipe:

Supplies needed:

  • â…” cup white Elmer’s School Glue
  • 1 1/2 Tbsp. contact solution containing boric acid and sodium borate
  • ¼ cup water
  • ½ tsp. baking soda
  • 3 cups foaming shaving cream
  • 10 drops neon blue food colouring
  • mixing bowl
  • mixing spoon
  • fish toys
  • baby oil (optional)

blue slime with a yellow toy fish and a green and red toy fish in itDirections:

  1. Pour the glue into a large mixing bowl.
  2. Add in the water and mix well with a spoon (we find that a wooden spoon works well).
  3. Drop in the baking soda. Mix.
  4. Spoon in the shaving cream. Fold into the mixture and mix.
  5. Add the blue food colouring drops. Stir well until the slime is blue all over.
  6. Slowly add in the contact solution and stir.
  7. Continue to stir to get a fluffy slime consistency.
  8. Finish by kneading the slime with your hands. The slime is going to feel sticky at first. But don’t give up. Keep kneading! If you like, you can use a small amount of baby oil on your hands to keep the slime from sticking to you.
  9. After kneading for several minutes, the slime should be nice and fluffy!
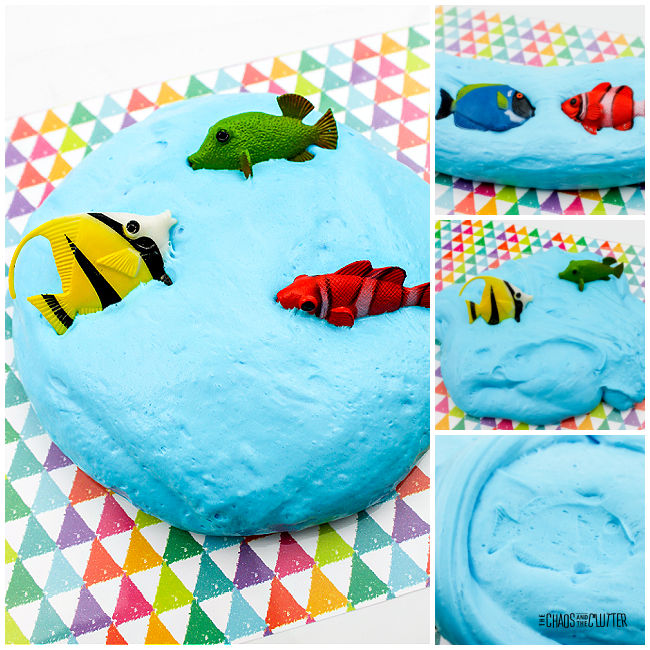
  10. Add the fish toys and fold them into the slime.

collage of four photos of fluffy blue slime with toy fish in itAdult supervision should be used with this and all other sensory play activities. 

This engages the visual, proprioceptive, and tactile sensory systems, making it a great sensory play idea. You can find more easy ideas in our Sensory Play Recipes eBook.

blue slime stretching up a bit with two toy fish in itBe sure to check out some of our other fluffy slime recipes. These ones are our favourites:

Unicorn Fluffy Slime

Edible Shark Fluffy Slime

Heart Fluffy Slime

  • Total7
  • Facebook0
  • Twitter4
  • Pinterest3
  • Mix
  • Yummly0

Filed Under: Crafts and Activities Tagged With: sensory play, slime

Easy Easter Slime Recipe

slime that has coloured mini beads and small bunny toys in it

By Sharla Kostelyk

  • Total43
  • Facebook0
  • Twitter0
  • Pinterest43
  • Mix
  • Yummly0

Slime is fun to play with regardless of the occasion. Pull, stretch, knead, push, and play using this easy Easter slime recipe. This provides great sensory feedback while having fun.

hand stretches out white slime with bunnies. Text reads "Easter stretchy slime"
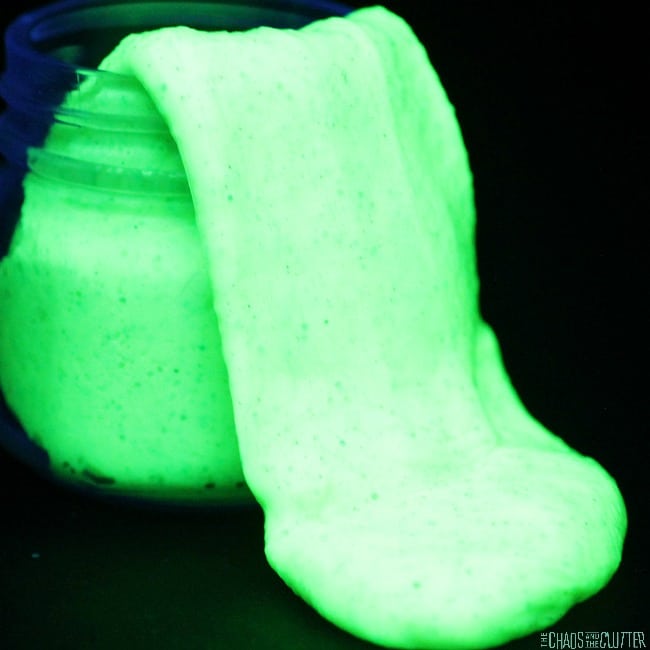
Homemade slime is great for any occasion. In the video below, you’ll see just how easy it is to make this slime at home.
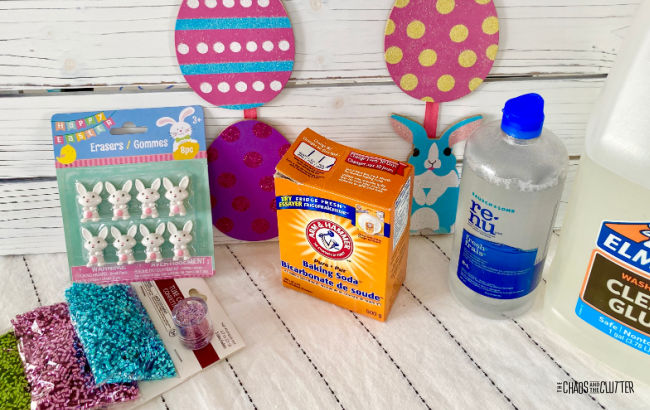
Easy Easter Slime Recipe:

Supplies Needed:

  • 1 cup Elmer’s Clear School glue
  • 2-3 Tbsp. contact lens saline solution
  • 1/2 tsp. baking soda
  • purple/pink, blue, and green metallic mini beads
  • Easter bunny erasers

supplies such as baking soda, clear glue, and saline solution for making slimeInstructions:

  1. Pour the glue into a large mixing bowl and stir the baking soda into it.
  2. Begin to add the contact lens solution a few drops at a time as you stir.
  3. When the mixture begins to pull away from the bowl, begin kneading.
  4. Add the beads. Continue kneading.
  5. Fold in some of the bunny erasers or offer them to your child to add to their sensory play.
  6. If the slime is still too sticky, add one or two drops more of contact solution and continue to knead.
  7. When you’re not playing with it, store it in an airtight container.

collage of photos of whitish slime with toy bunnies in it
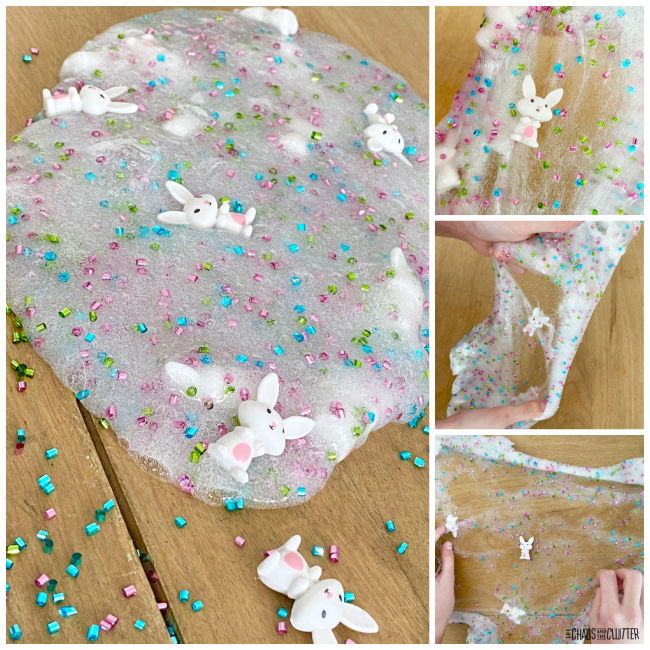
Be sure to use adult supervision with this or any other sensory play activity.

The slime created with this recipe is nice and stretchy. This activity offers tactile, proprioceptive, and visual sensory feedback. slime that has coloured mini beads and small bunny toys in it

Easter Slime Gift:

If you want, you can make this slime recipe as a gift. It’s great for adding to an Easter egg hunt or Easter basket. All you need to do is put the slime inside a medium or large size plastic egg and close it.

Check out some of our other Easter sensory activities:

  • Easter Fluffy Slime
  • Christ Centered Easter Sensory Bin
  • Easter Sensory Bottle
  • Easter Oobleck
  • Nature Inspired Easter Sensory Bin
  • Eggs and Carrots Easter Sensory Bin
  • Sensory Sound Eggs
  • Bubble Wrap Easter Eggs
  • Total43
  • Facebook0
  • Twitter0
  • Pinterest43
  • Mix
  • Yummly0

Filed Under: Crafts and Activities Tagged With: sensory play, slime

St. Patrick’s Clear Slime

finger presses into an air bubble in shamrock slime to get at a gold coin

By Sharla Kostelyk

  • Total15
  • Facebook0
  • Twitter3
  • Pinterest12
  • Mix
  • Yummly0

Finding fun and educational activities for the holidays is a great way to incorporate the celebration into your learning. And when it comes to St. Patrick’s Day, there’s no better way to learn and play than with clear slime! This quick and easy slime recipe allows you to add in fun holiday-themed elements, making it a great STEAM activity your kids will love. stretched out clear slime with green shamrocks in it. Text reads "St. Patrick's Day clear slime"
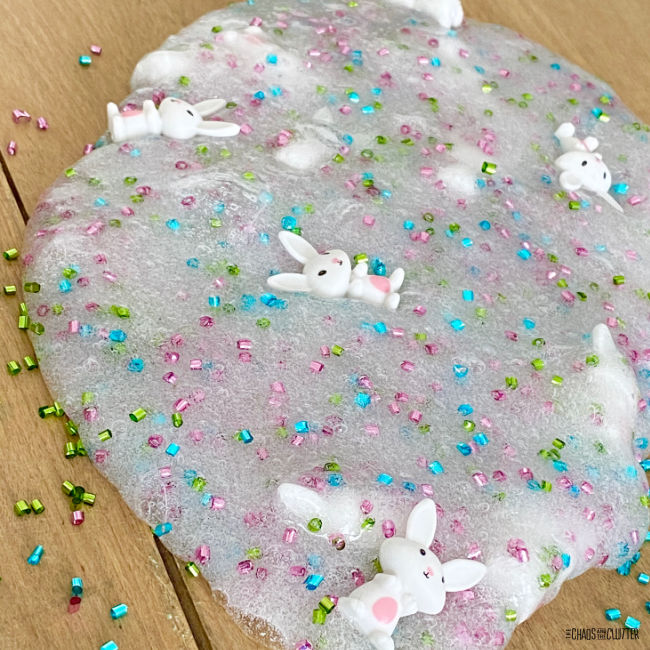
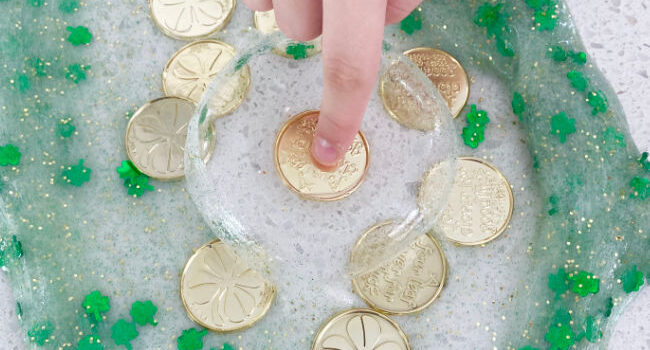
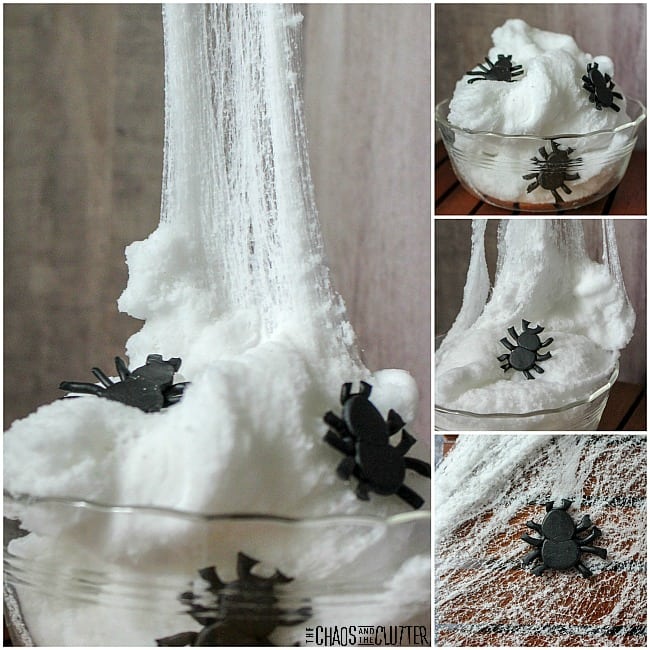
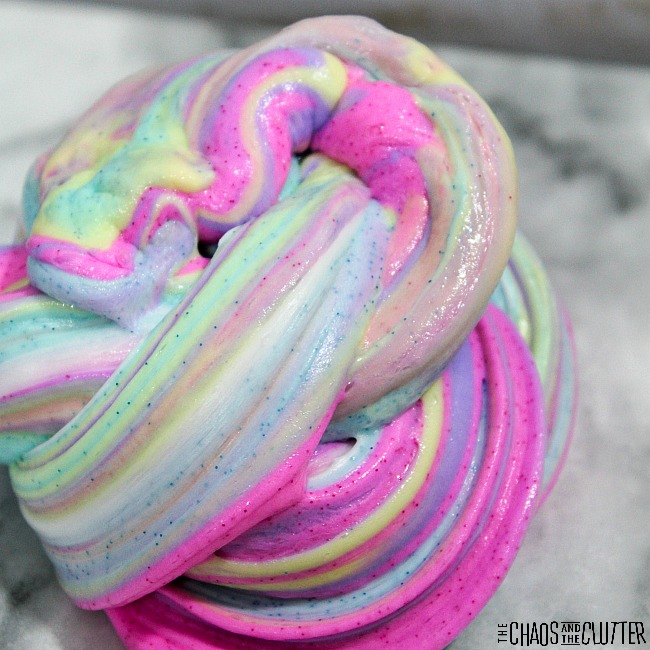
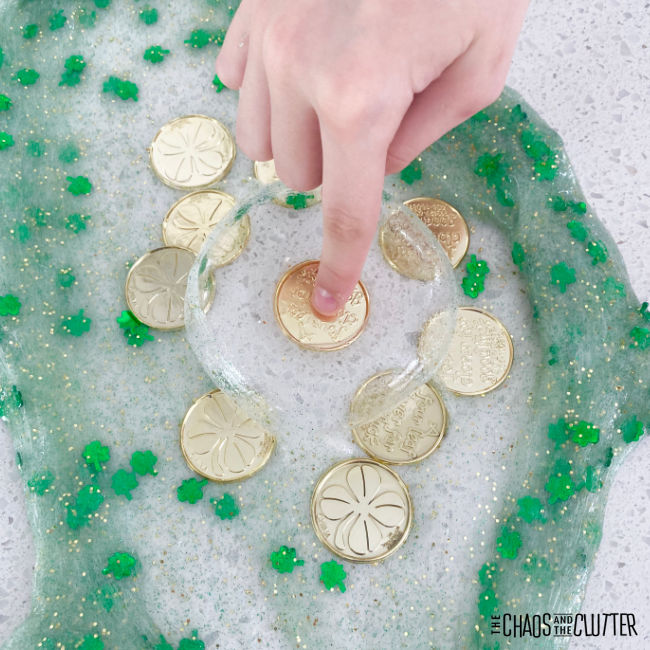
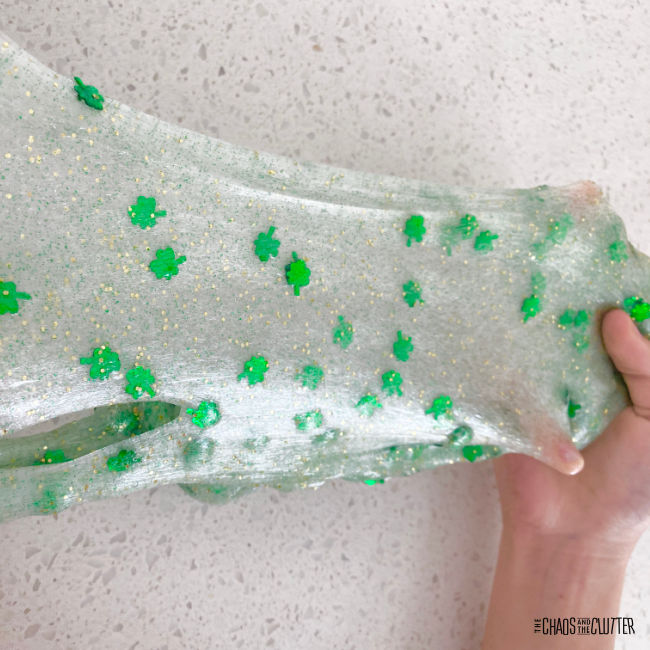
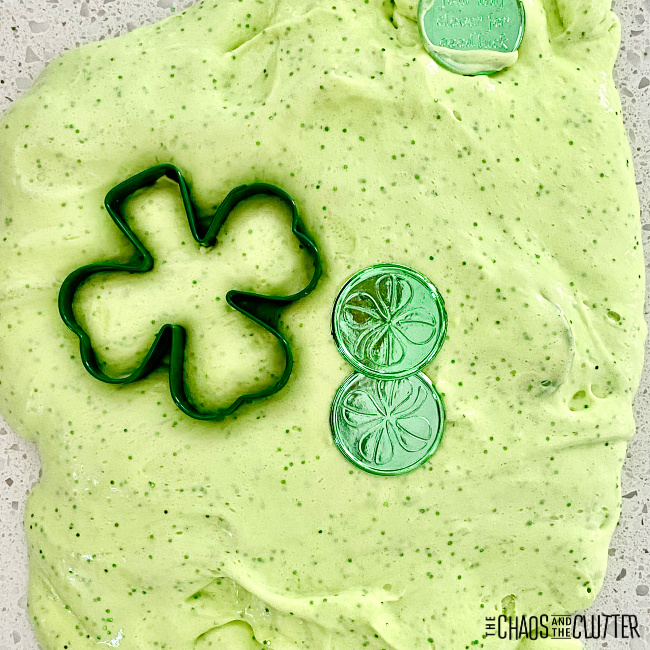
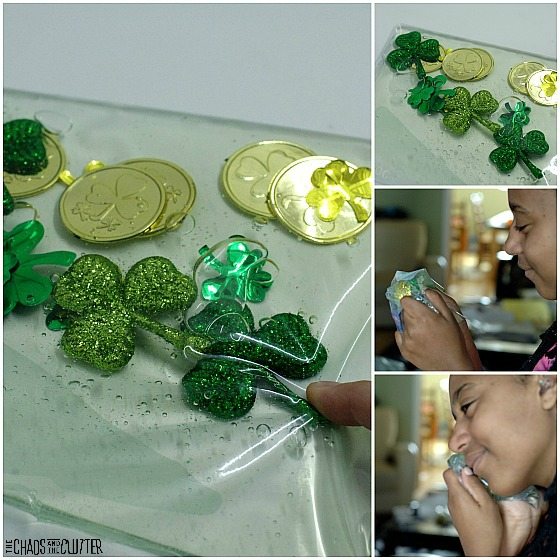
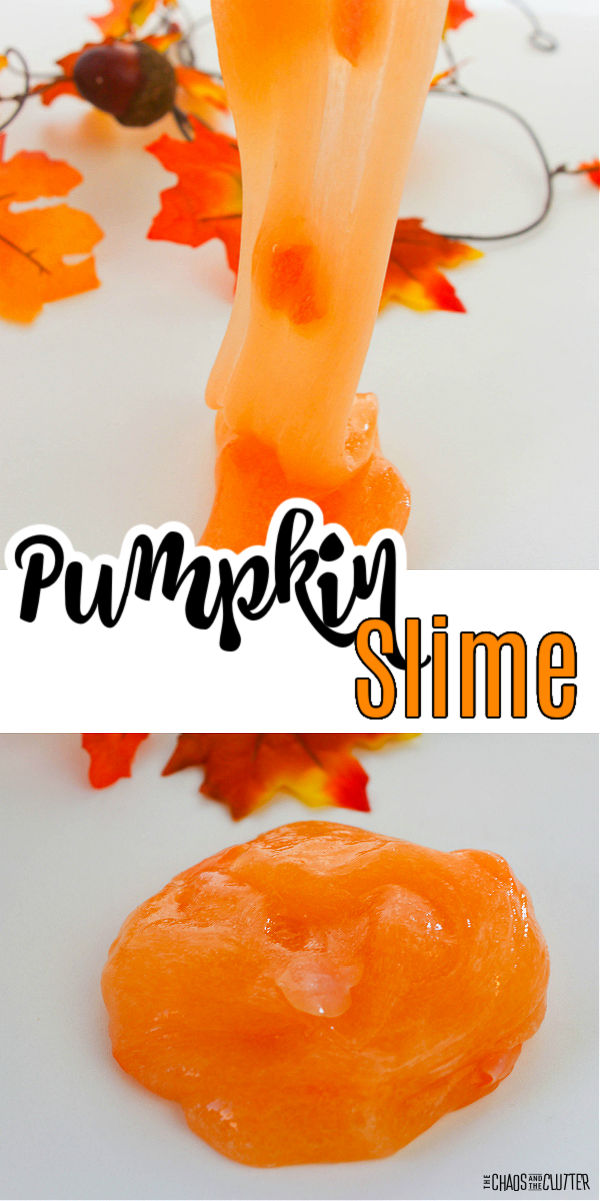
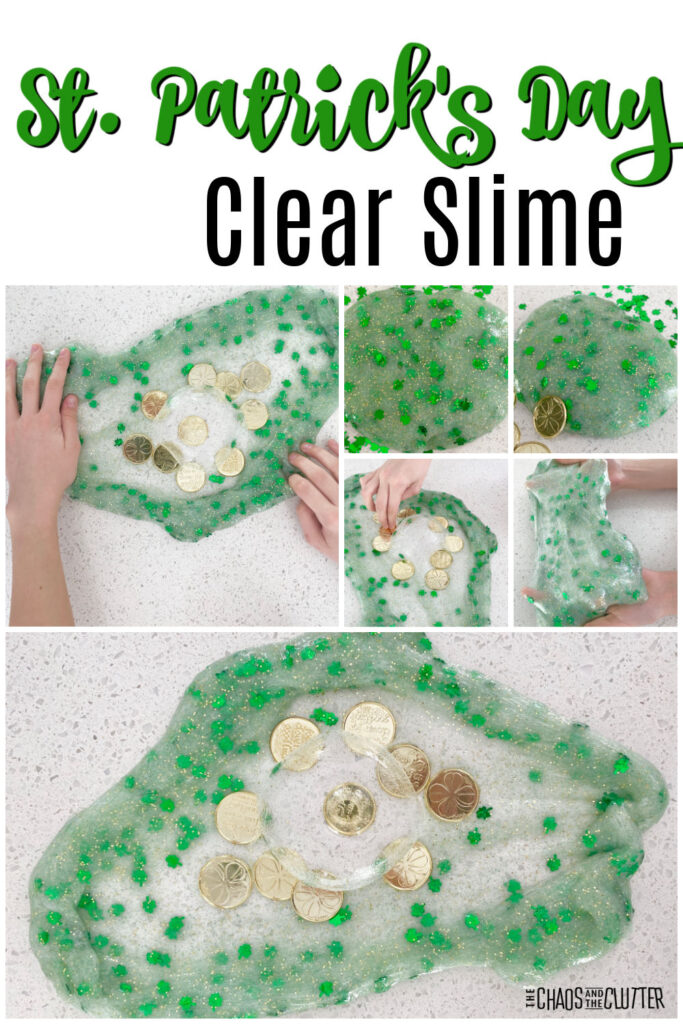
What’s so great about making clear slime is how easily it can be adapted to the holiday season. Use the basic recipe to make the slime, then mix in different elements based on your celebration. To make your own St. Patrick’s Day slime, grab some gold glitter, shamrock confetti, and plastic coins for your kids to incorporate into their homemade recipe.
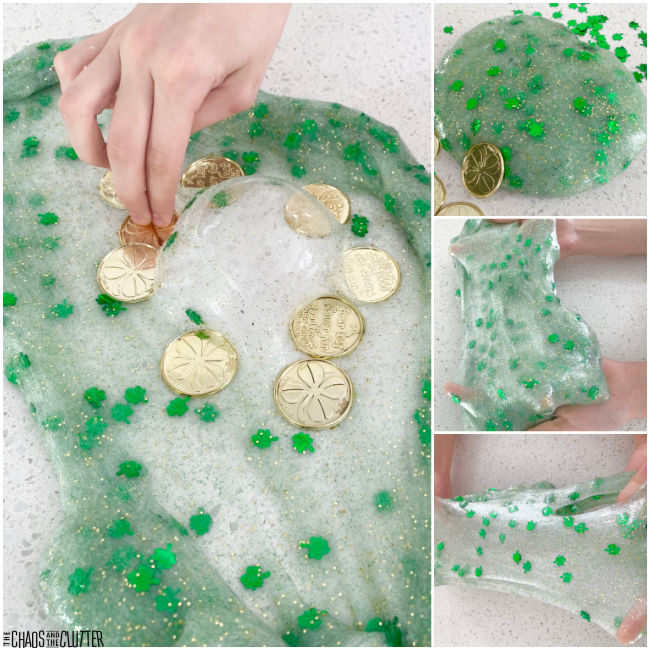
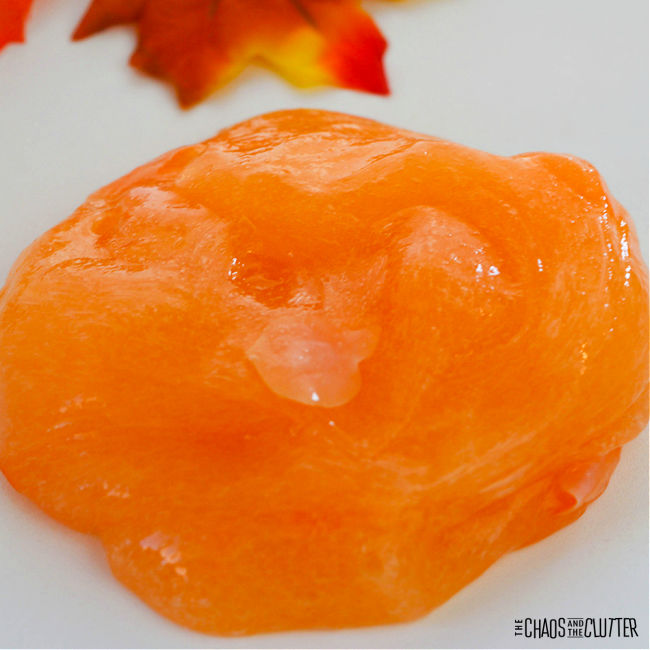
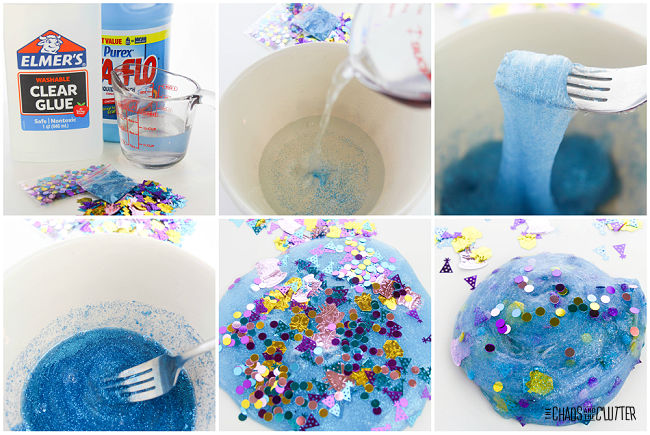
St. Patrick’s Day Clear Slime Recipe:

Supplies Needed:

  • 1 cup Elmer’s Clear School glue
  • 2-3 Tbsp. contact lens saline solution
  • 1/2 tsp. baking soda
  • gold glitter
  • shamrock confetti
  • plastic gold shamrock coins

Instructions:

  1. Pour the glue into a large mixing bowl and stir the baking soda into it.
  2. Begin to add the contact lens solution a few drops at a time as you stir.
  3. When you find that the mixture begins to pull away from the bowl, it’s time to begin kneading.
  4. Add the glitter and confetti. Continue kneading.
  5. Fold in some of the gold coins or offer them to your child as they begin to play.
  6. If the slime is still too sticky to play with, add one or two more drops of contact solution and knead.

collage of photos of playing with shamrock clear slime

How to Make Perfect Slime

Making great slime doesn’t have to be difficult! And since it’s a messy project anyway, there really isn’t one way particular way to make a batch of slime. But with these simple tips, you and your kids can make perfect clear slime every time you mix up the ingredients, no matter what holiday you’re celebrating:finger presses into an air bubble in shamrock slime to get at a gold coin

You must use your hands.

The most fun part of this project is getting messy, which means your kids can’t be afraid to get their hands dirty. After adding the contact solution to the glue mixture, you’ll see the slime begin to form. At this point, the only way to properly mix the ingredients is to use your hands.

Pick the right glue.

The key to getting a good slime consistency is to use the right glue in your recipe. Most slime makers recommend Elmer’s glue as their glue of choice. But any washable school glue will work for this recipe. The key to getting the best slime is to use a glue that contains Polyvinyl Acetate or PVA, which is a nontoxic additive found in most washable glues.stretching out slime with green shamrocks in it

No Borax needed.

When slime making first became popular, many recipes included Borax. But that ingredient isn’t exactly safe around kids. With this easy St. Patrick’s Day slime recipe, you don’t need Borax to make amazing slime! Instead, you need just three nontoxic ingredients – clear glue, saline solution, and baking soda.

Customize with mix-ins.

Once you have your clear slime made, your kids can have some fun personalizing their holiday creation. There are a variety of mix-ins you could use to create holiday slime, including food colouring, glitter, confetti, sequins, small beads, essential oils, puff balls, foam balls, faux snow, glow in the dark pigments, buttons, and rock salt. Experiment with different mix-ins to have some fun with this basic clear slime recipe.

Check out our other St. Patrick’s Day sensory activities:

St. Patrick’s Day Fluffy SlimeSt. Patrick’s Day Sensory BagSt. Patrick’s Day Sensory Bottle


  • Total15
  • Facebook0
  • Twitter3
  • Pinterest12
  • Mix
  • Yummly0

Filed Under: Crafts and Activities Tagged With: sensory play, slime

Fun Birthday Slime Recipe

thumb pulling blue slime filled with confetti

By Sharla Kostelyk

  • Total5
  • Facebook0
  • Twitter0
  • Pinterest5
  • Mix
  • Yummly0

This stretchy birthday slime recipe is great for pretend play or for celebrating a birthday. It can even be given out as a party favour for guests. stretched out blue slime with confetti in it. Text reads "Birthday Stretchy Slime"

Slime is a wonderful tool for sensory input. It engages the visual, tactile, and proprioceptive sensory systems. thumb pulling blue slime filled with confetti

Birthday Slime Recipe:

Supplies needed:

  • 6 oz. bottle Elmer’s clear school glue
  • 1/4 to 1/2 cup warm water, as needed
  • 1/4 to 1/2 cup liquid starch, as needed
  • birthday themed glitter 
  • fine blue glitter (or whichever colour that matches the theme of your party)

collage of photos of making blue celebration slimeDirections:

  1. Pour the clear glue into a medium-sized bowl.
  2. Stir in 1/4 cup warm water with a fork.
  3. Add the fine blue glitter and stir well.
  4. Drop in 2-3 Tablespoons of liquid starch and stir well for 2 minutes.
  5. If the slime is too stiff, add more water. If it’s too stiff, add more of the liquid starch.
  6. Continue stirring until the slime forms into a ball.
  7. Knead for 2 minutes, adding more water or liquid starch as needed to get to the right consistency.
  8. When the slime is stretchy and no longer sticky, knead in the birthday themed confetti and glitter.
  9. The slime is ready for play.

collage of photos of blue slime with birthday confetti in itWhen not in use, store in an airtight container or resealable bag. Adult supervision should be used for this and all sensory play. Be sure to wash hands well after handling slime. 

stretched out blue slime with birthday confetti

Ideas for Making this Slime into a Party Favour:

  • Place the slime in a plastic container and use a hot glue gun to attach a bow, small figurine, decoration or to the top of the lid.
  • Or for a less expensive option, place the slime in sandwich bags, seal, and decorate with stickers. 
  • If you want to make this super interactive and fun, you can set up slime stations and have the kids all participate in making their own party favours. This idea is best when it’s a birthday for older kids or teens or when you have other adults to help.

Are you looking for more sensory play recipes you can easily make at home? Join us for a five day email series on Sensory Activities and Solutions and get a free sample of our Sensory Play Recipes eBook.

Check out these other fun slime recipes:

Shark Edible Fluffy Slime

Glittery Butterfly Slime

Glow in the Dark Slime

  • Total5
  • Facebook0
  • Twitter0
  • Pinterest5
  • Mix
  • Yummly0

Filed Under: Crafts and Activities Tagged With: sensory play, slime

Stretchy Superhero Slime

hand presses into blue slime with coloured confetti in it

By Sharla Kostelyk

  • Total66
  • Facebook0
  • Twitter0
  • Pinterest66
  • Mix
  • Yummly0

This stretchy superhero slime is great for inspiring imagination. It can be used for sensory play or made as a party favour for a superhero themed birthday. child's hand presses down on blue slime. Text reads "Stretchy Superhero Slime"
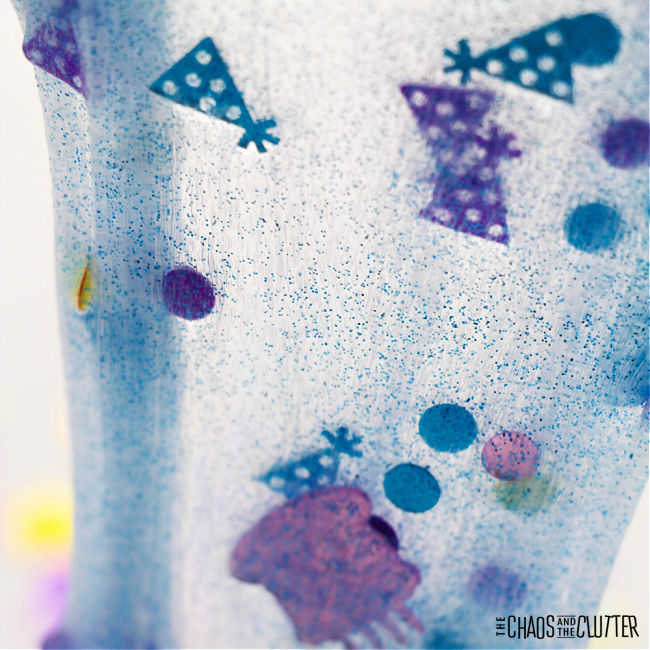
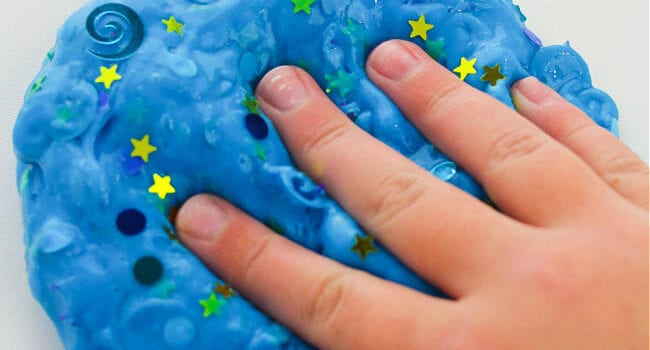
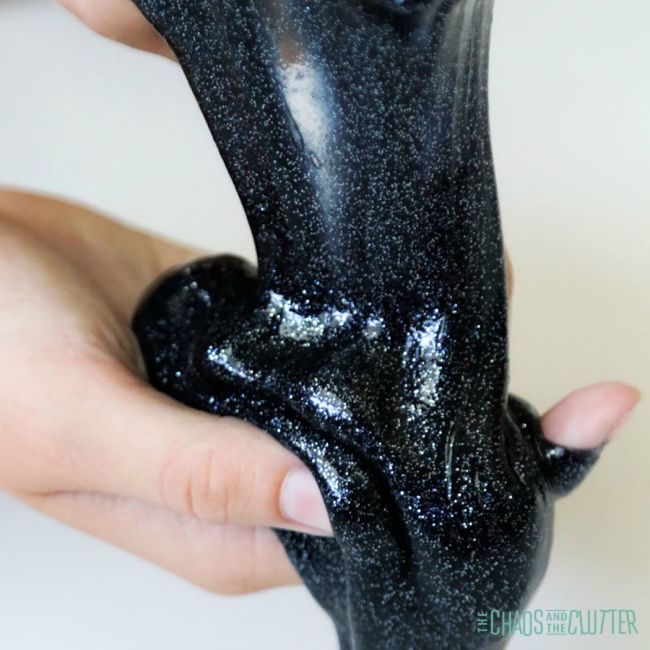
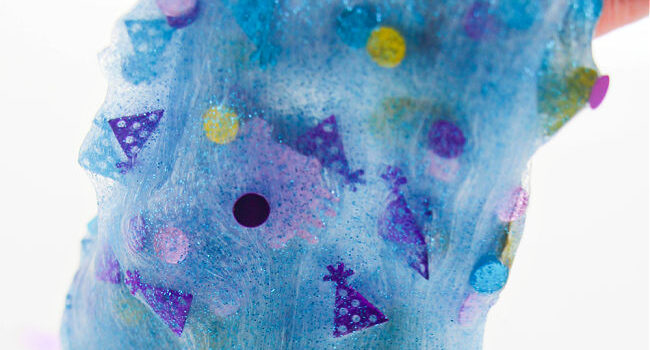
One of our daughters is a huge fan of all things superhero. She loves the Marvel and DC movies and comics. She is inspired by the thought of superpowers. We even had a DC themed birthday party for her last year.

hand pulling up blue slime
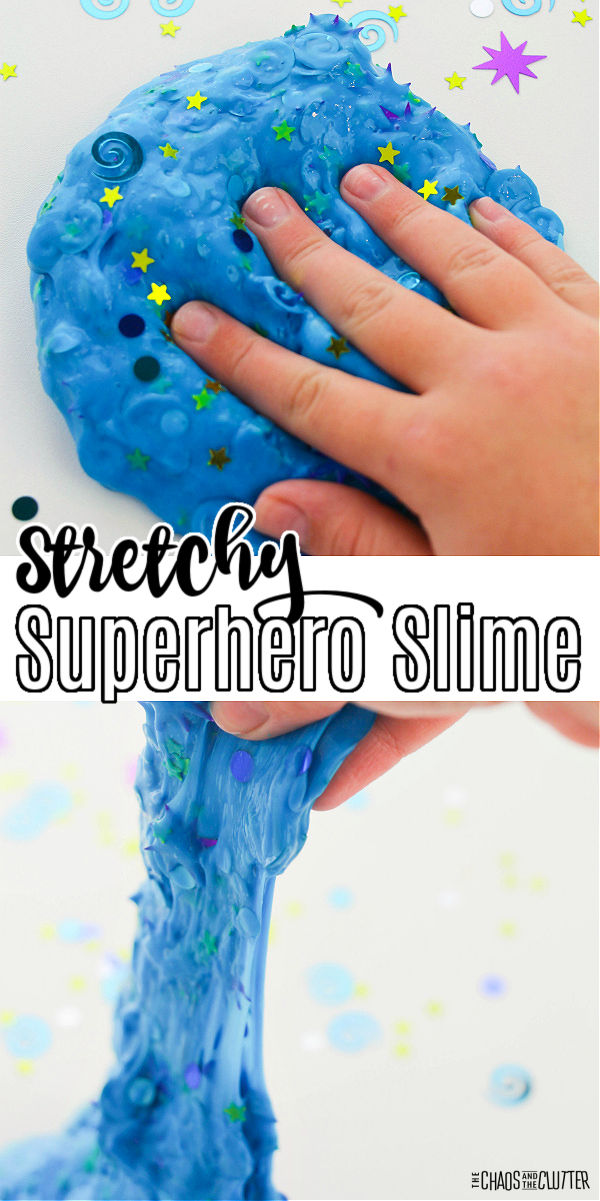
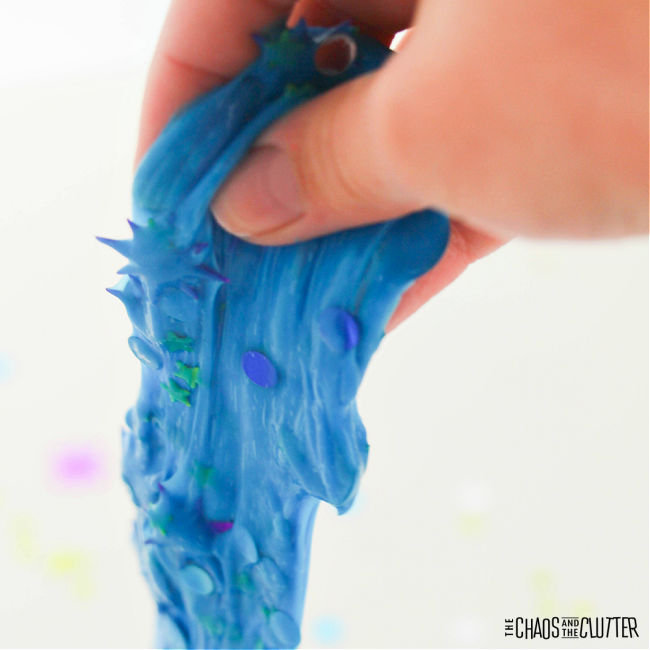
So I guess it comes as no surprise that I’m talking about how to make superhero slime.

Superhero Slime Recipe:

Supplies needed:

  • 6 oz. bottle Elmer’s Blue coloured Glue
  • 1/4 to 1/2 cup warm water, as needed
  • 1/4 to 1/2 cup liquid starch, as needed
  • Superhero confetti 

Directions:

  1. Pour the blue glue into a medium-sized bowl.
  2. Use a fork to stir in 1/4 cup of warm water.
  3. Add 3 Tablespoons of liquid starch and stir well for 2 minutes.
  4. Test the slime. Add more water if too stiff, more liquid starch if it’s too sticky.
  5. Continue stirring until the slime forms into a ball, then knead for 2 minutes, adding more water or liquid starch as needed.
  6. Once the slime is stretchy and no longer sticky, knead in the superhero themed confetti.

collage of photos showing the process of making blue slime with added confetti
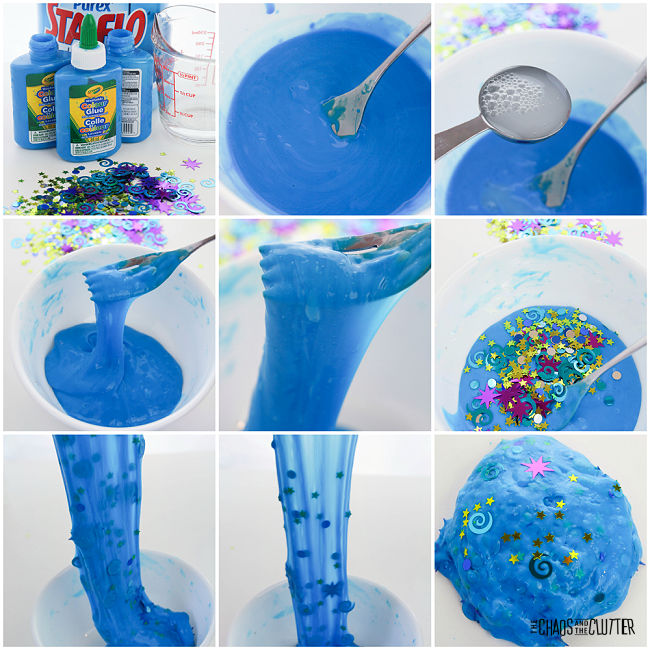
As kids play with their slime, they engage their visual, tactile, and proprioceptive sensory systems. Getting enough sensory input is important not only for brain development, but for emotional regulation. 

collage of photos of blue slime with confetti in itSlime can be stored in a resealable bag or airtight container when not being used.

As with any sensory play, adult supervision should be used both while making the slime and while interacting with it afterwards. Hands should be washed thoroughly after playing with this or any other slime.

Ideas for using this slime as a party favour:

  • Gift this in a sealed sandwich bag decorated with superhero stickers.
  • Or use special slime gift containers and attach a mini superhero figure to the top of the lid with a hot glue gun.
  • Set up a station to have the kids participate in making the slime at the party. This is best if the party is for older kids or teens. 

hand presses into blue slime with coloured confetti in itAre you looking for other easy sensory play recipes to make at home? Join us for a five day email series on Sensory Activities and Solutions and get a free sample of our Sensory Play Recipes eBook.

Check out some of our other slime recipes:

Camo Slime

Unicorn Fluffy Slime

Textured Butter Slime

  • Total66
  • Facebook0
  • Twitter0
  • Pinterest66
  • Mix
  • Yummly0

Filed Under: Crafts and Activities Tagged With: sensory play, slime

How to Make Pumpkin Slime

clump of orange slime

By Sharla Kostelyk

  • Total20
  • Facebook0
  • Twitter0
  • Pinterest20
  • Mix
  • Yummly0

If you’re looking to make a Hallowe’en slime that’s not too scary, this pumpkin slime is a great choice. It’s festive and fun but still good for preschoolers. Once you learn how to make pumpkin slime, you’ll be able to easily make it anytime.orange slime stretched out on top and in a clump at bottom. Text says "Pumpkin Slime"

Looking for a creepier version of Hallowe’en slime? You might want to check out our spider web slime or make some glow-in-the-dark slime. Slime is a great addition to a classroom party or an October gathering. collage of photos of pumpkin slime stretched and in clumps

Pumpkin Slime Recipe:

Supplies needed:

  • 1 6 oz. bottle Elmer’s clear glue*
  • 1/4 to 1/2 cup warm water, as needed
  • 1/4 to 1/2 cup liquid starch, as needed
  • orange food dye
  • pumpkin confetti

*Note: You can use other brands of clear glue, but in my experience, Elmer’s washable clear school glue gives the best results for slime. 

clump of orange slimeDirections:

  1. Pour the bottle of clear glue into a medium-sized bowl.
  2. Stir in 1/4 cup warm water using a fork.
  3. Add 1/4 cup liquid starch. Stir well for 2 minutes or so.
  4. Mix in a drop or two of orange food dye.
  5. If the slime is too stiff, add more water. If it’s too sticky, add more liquid starch.
  6. Continue stirring until the slime forms into a ball.
  7. Knead for about 2 minutes, adding more water or liquid starch if necessary to reach the desired consistency.
  8. Once the slime is stretchy and no longer sticky, knead in the pumpkin confetti.

collage showing clear slime with orange pumpkin confetti being made
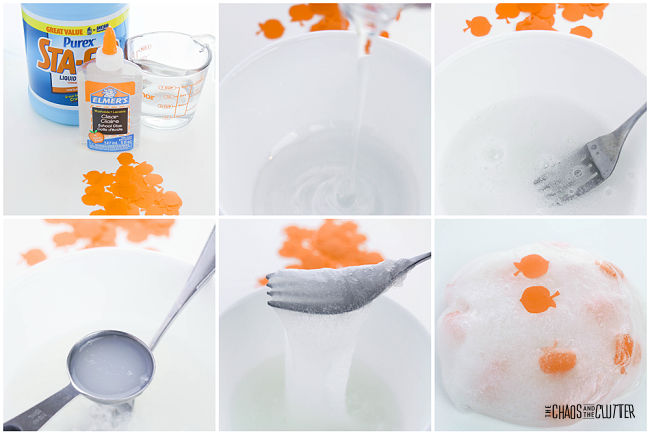
Slime should be stored in an airtight container or sealed bag when it’s not being played with. Be sure to wash hands thoroughly after handling slime. 

Variations of pumpkin slime:

  • Instead of pumpkin confetti, mix in actual pumpkin seeds.
  • Skip the orange food dye and keep the slime clear. Depending on which confetti you use, it may dye the slime orange over time anyway.
  • The stretchy pumpkin slime is a good one to use for our Halloween sensory game. 

orange slime stretched out with fall leaves in the background
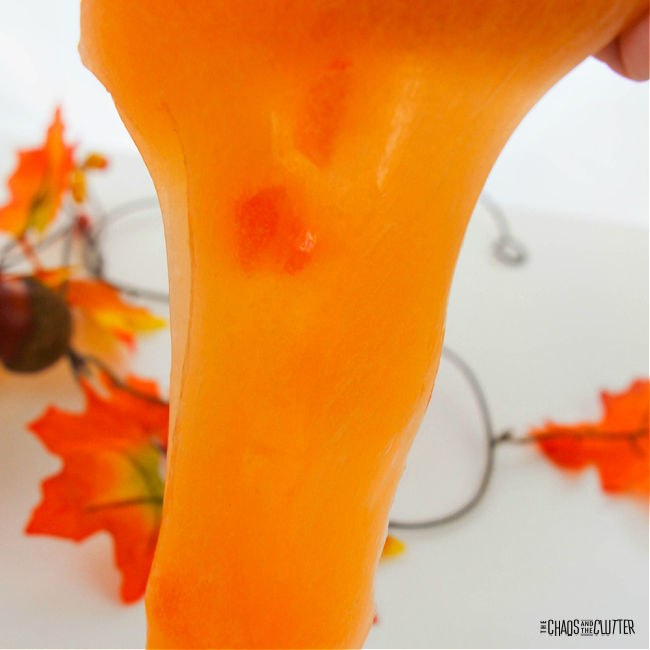
As with all sensory play recipes, adult supervision is recommended. 

Looking for other easy sensory play recipes to make with your kids? Join us for a five day email series on Sensory Activities and Solutions and get a free sample of our Sensory Play Recipes eBook.

Check out these other Hallowe’en slimes:

Spider Web Slime

Black Glitter Slimehands holding dripping black slimeGlow-in-the-Dark Slime

  • Total20
  • Facebook0
  • Twitter0
  • Pinterest20
  • Mix
  • Yummly0

Filed Under: Crafts and Activities Tagged With: sensory play, slime

  • Go to page 1
  • Go to page 2
  • Go to page 3
  • Interim pages omitted …
  • Go to page 6
  • Go to Next Page »

Primary Sidebar

Categories

We are a participant in the Amazon Services LLC Associates Program, an affiliate advertising program designed to provide a means for us to earn fees by linking to Amazon.com and affiliated sites.

Copyright © 2023 • The Chaos and the Clutter • Site Design by Jeni @ The Blog Maven

Return to top of page

Copyright © 2023 · Chaos and the Clutter 2.0 on Genesis Framework · WordPress · Log in