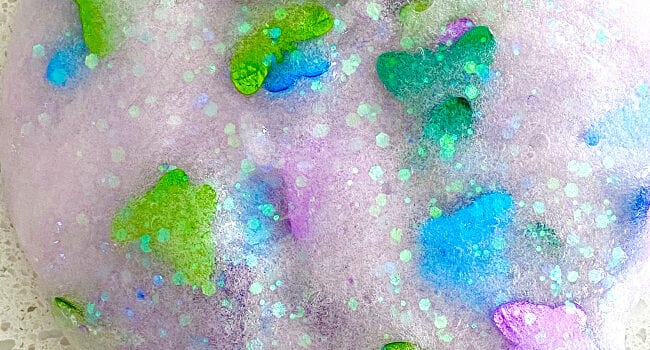
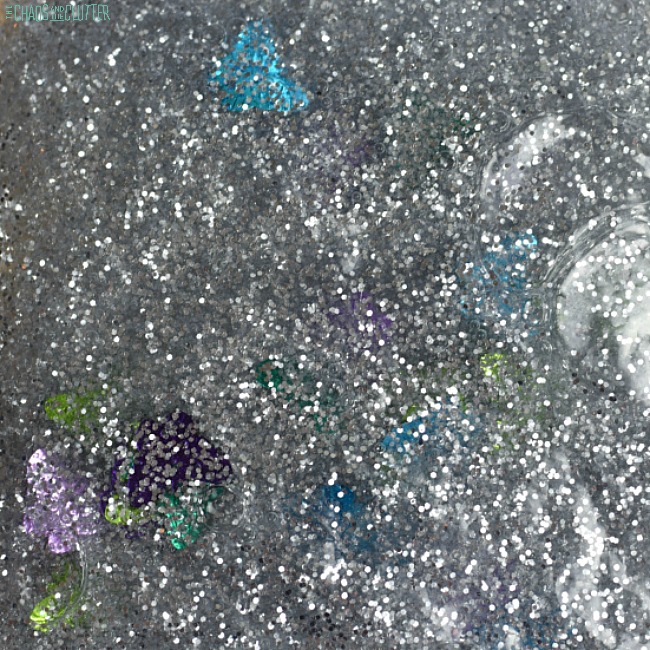
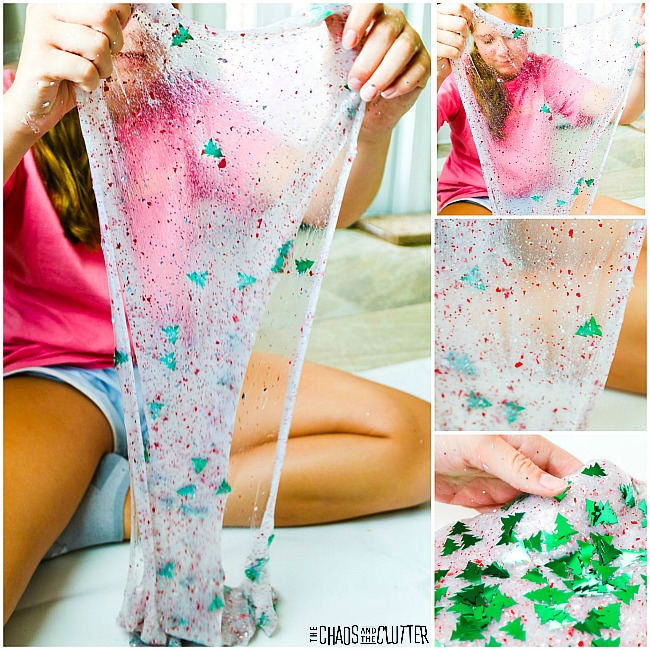
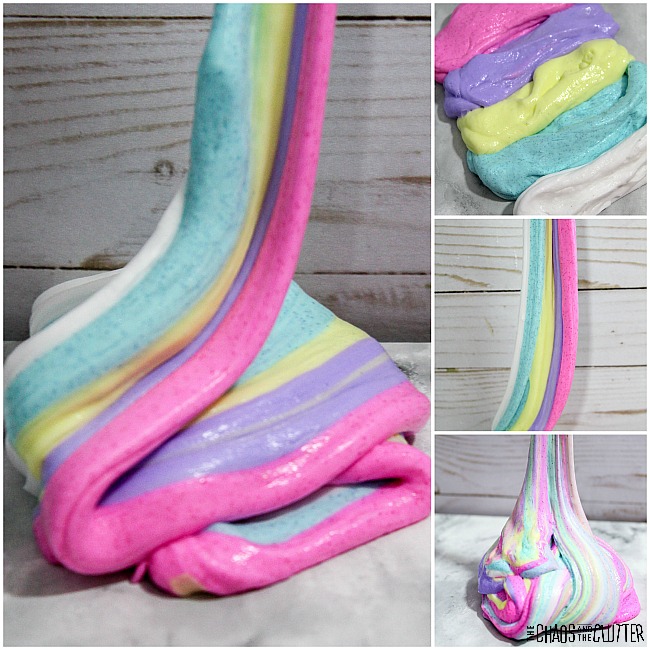
This easy butterfly slime is just a clear slime recipe using contact lens solution as the base with some added pizzazz. It is a nice sensory play recipe for Spring or for when you wish Spring would come soon. 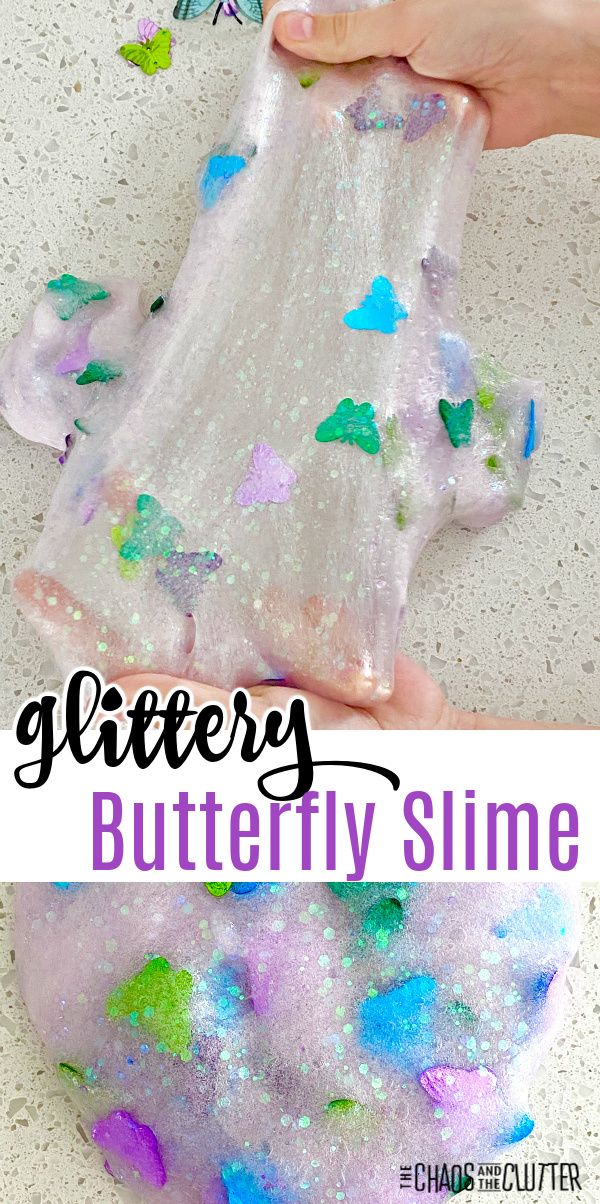 As I type this, it is -40° outside when I live up in Canada. Yes, that’s -40° in both Fahrenheit and Celsius! Now this temperature is cold even for us seasoned Canadians so this is exactly the kind of day that has me dreaming of Spring. I’ve been thinking about flowers and butterflies and green grass as I stay bundled inside and look out at the snow.
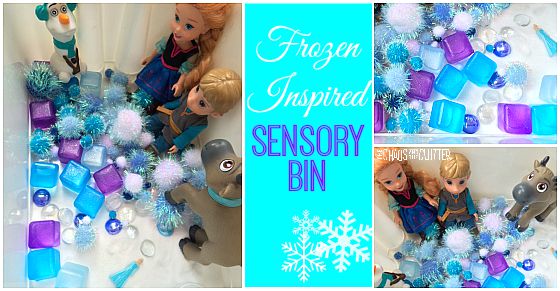
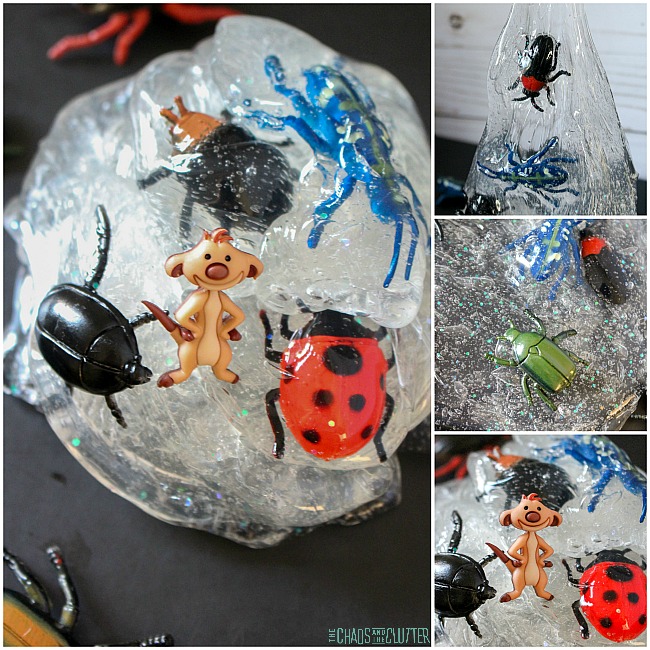
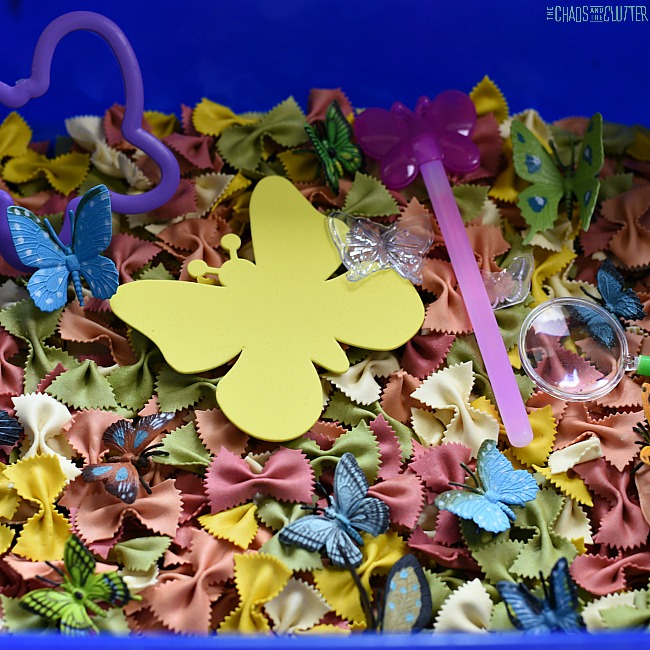
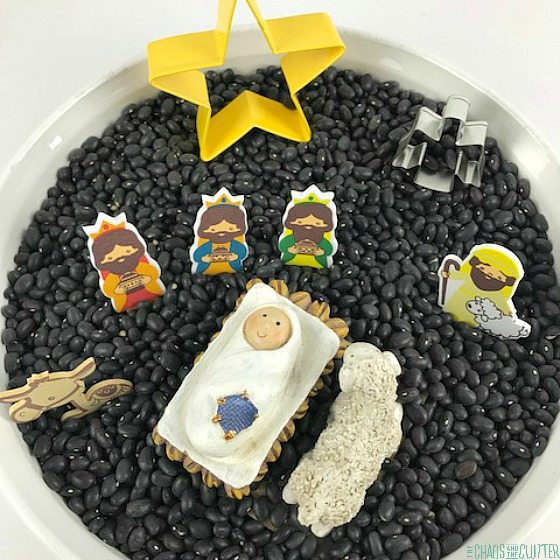
You can use this slime just for play or in a unit on Spring or butterflies. If using it as part of a unit, you can also create a Butterfly Sensory Bin and Butterfly Sensory Bag.
Butterfly Slime Recipe:
Supplies needed:
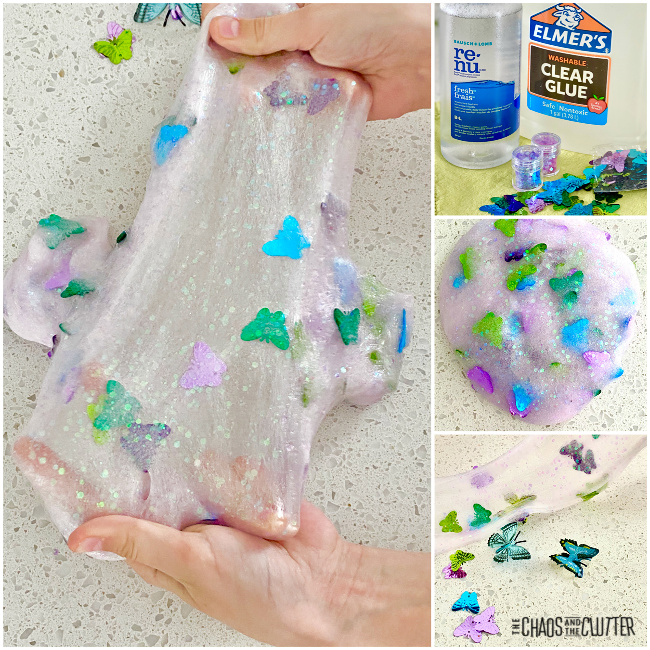
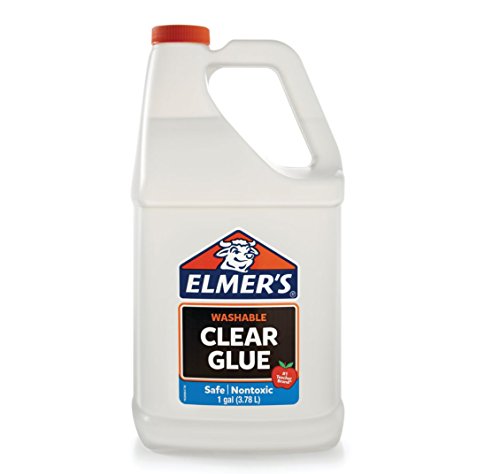
- 1 cup Elmer’s Clear School glue
- 2-3 Tbsp. contact lens saline solution
- 1/2 tsp. baking soda
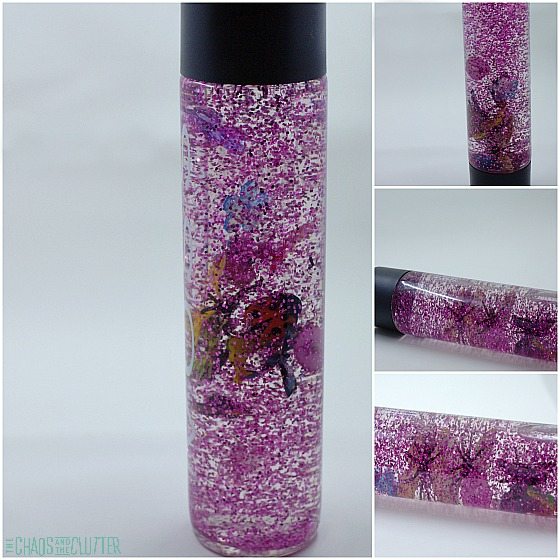
- unicorn glitter
- butterfly confetti
- optional: butterfly toys for extended play
 Directions:
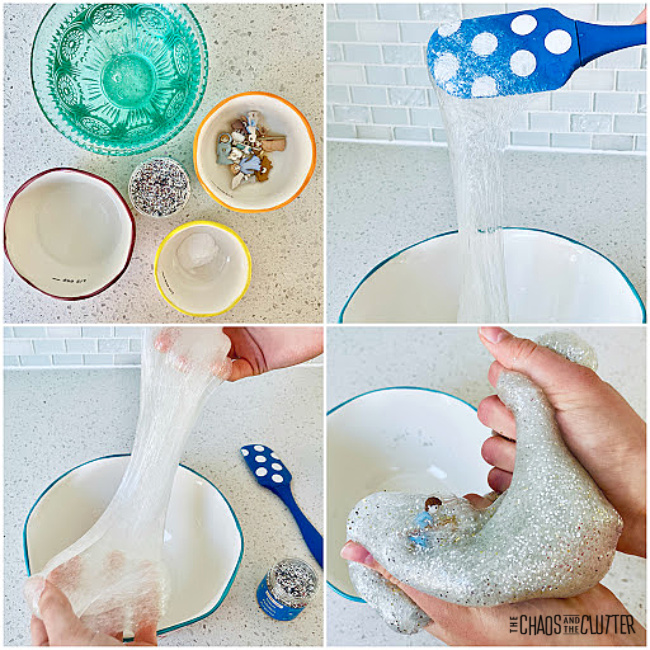
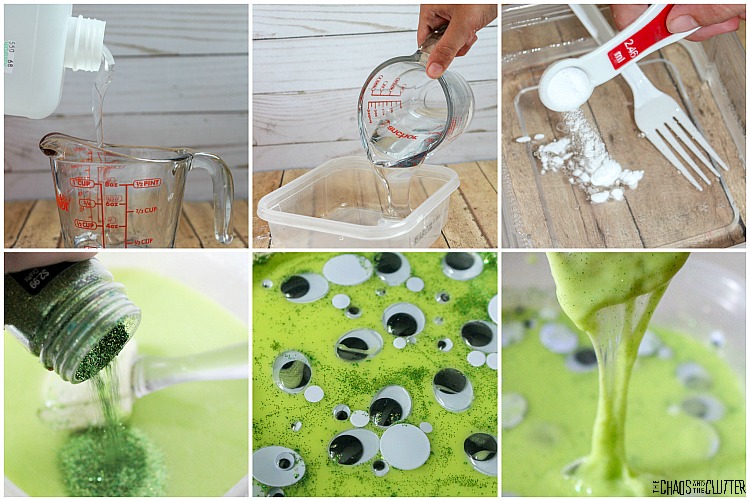
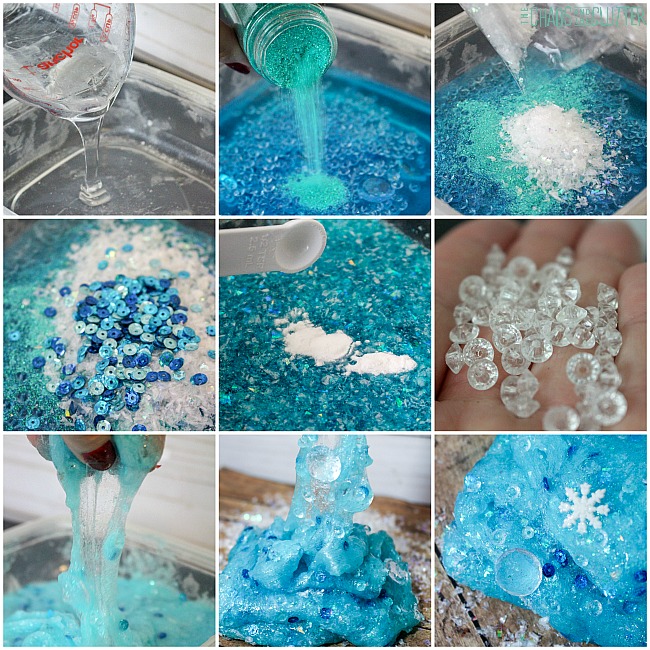
- Pour the glue into a large mixing bowl and stir the baking soda into it.
- Begin to add the contact lens solution a few drops at a time as you stir.
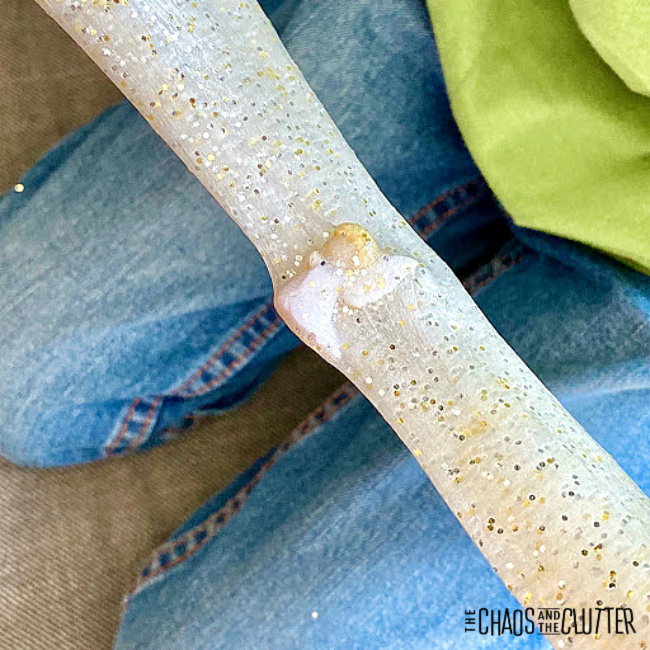
- When you find that the mixture begins to pull away from the bowl, it’s time to begin kneading.
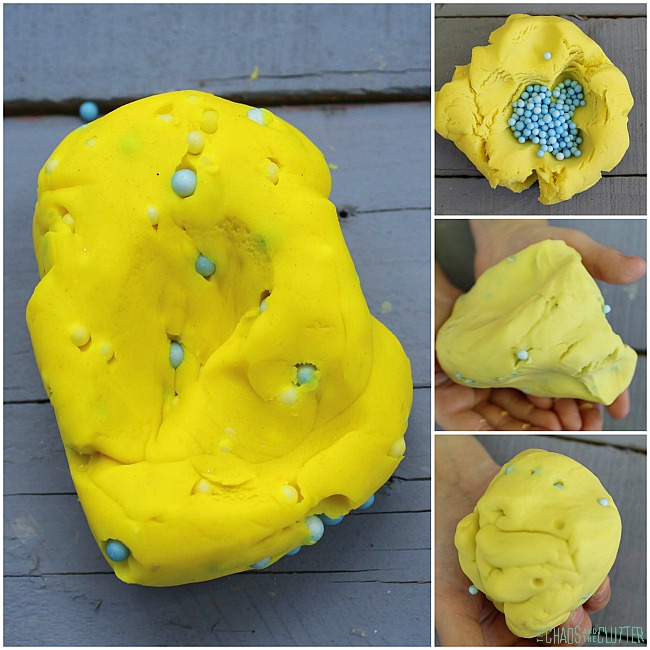
- Add the glitter and confetti. Continue kneading.
- If the slime is still too sticky to play with, add one or two more drops of contact solution and knead.
You can set out some butterfly toys and silk flowers alongside the slime to encourage imaginative play.
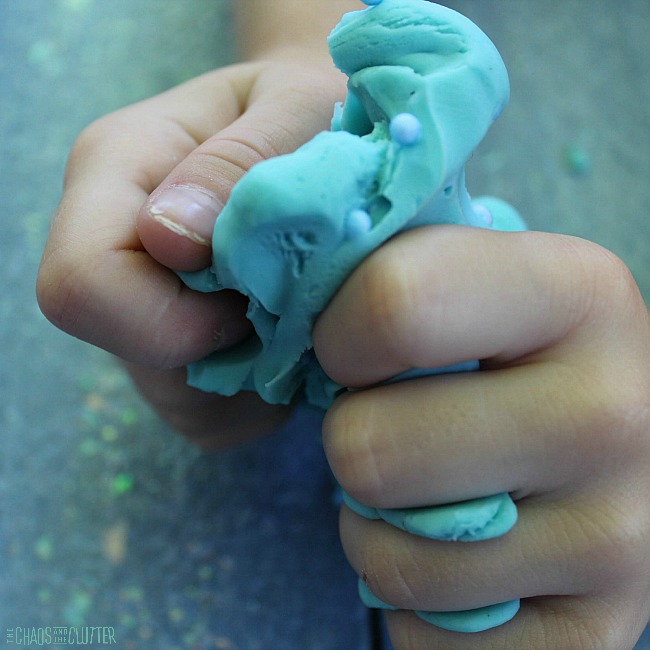
This slime provides visual, tactile, and proprioceptive sensory feedback. Kids who help with the kneading when making the recipe will get more proprioceptive input.
Looking for more easy sensory play recipes to inspire creativity? Join us for a free five day email series on Sensory Activities and Solutions and get a free of our Sensory Play Recipes eBook.
Check out these other Spring sensory activities for kids:


 Slime Troubleshooting Tips:
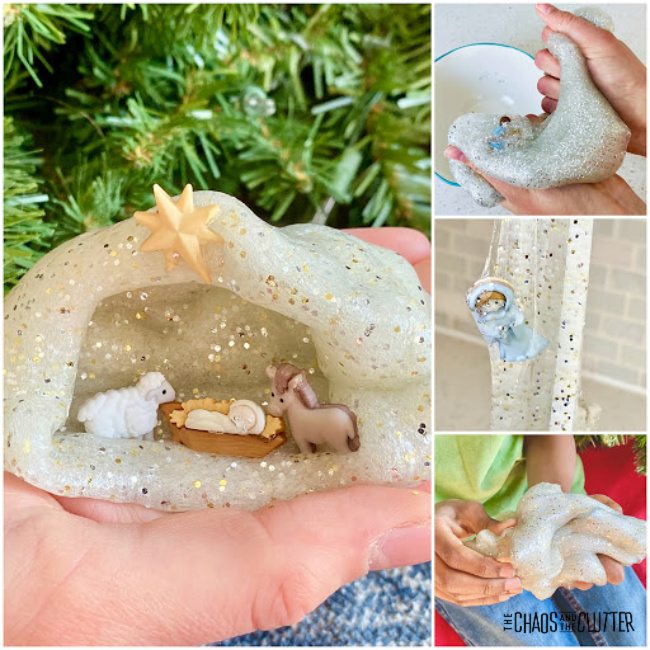
 Have your child hold and squish and pull their slime while you are reading them the
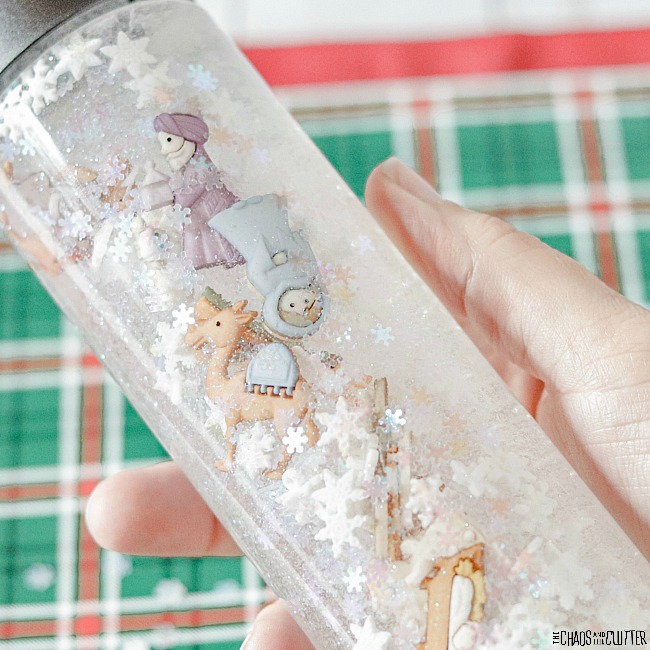
 Slime directions:
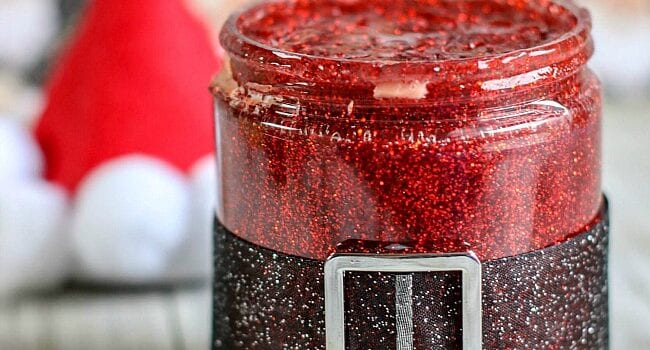
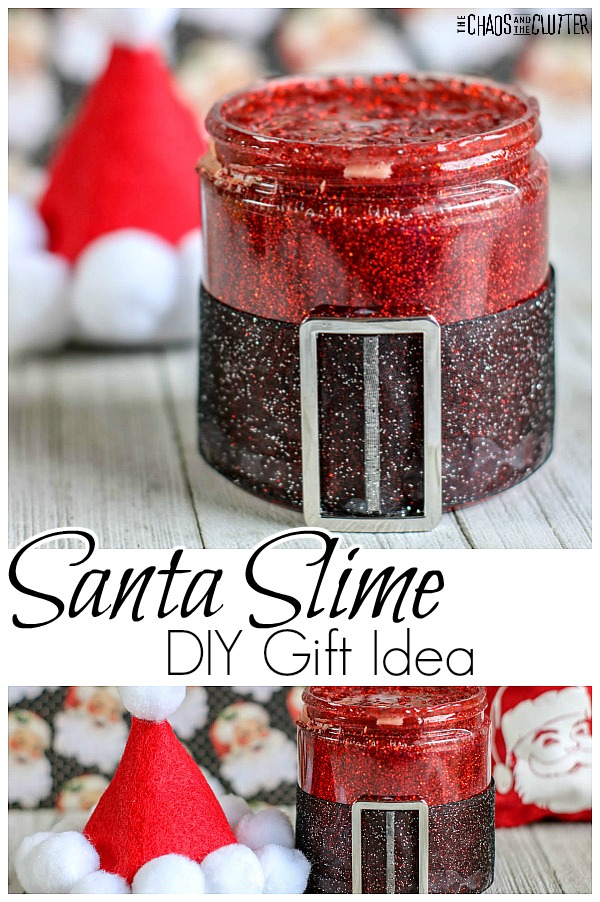
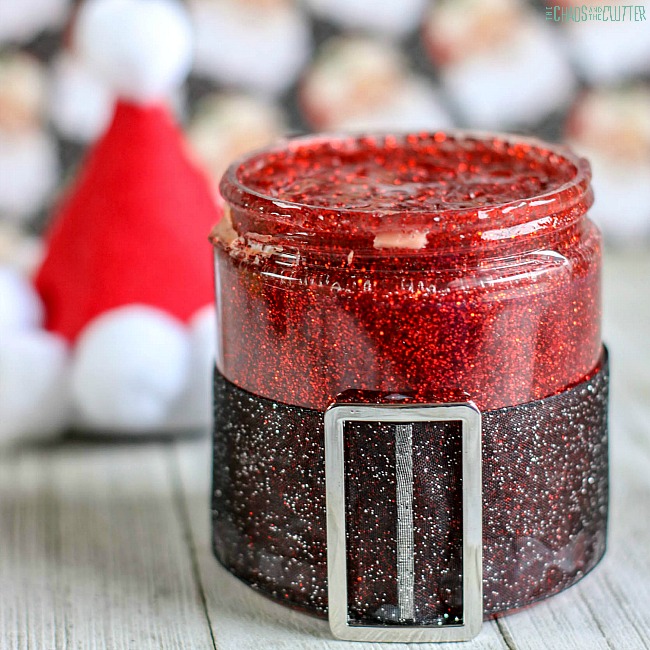
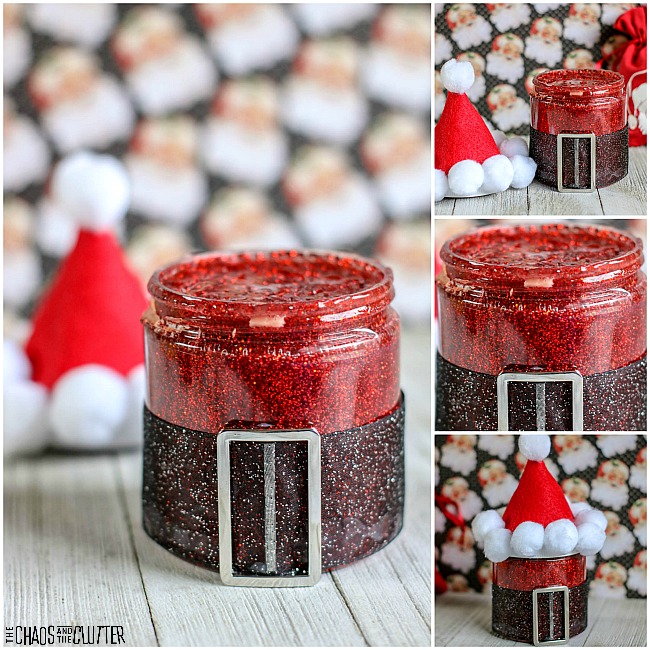 To decorate the Santa jar:
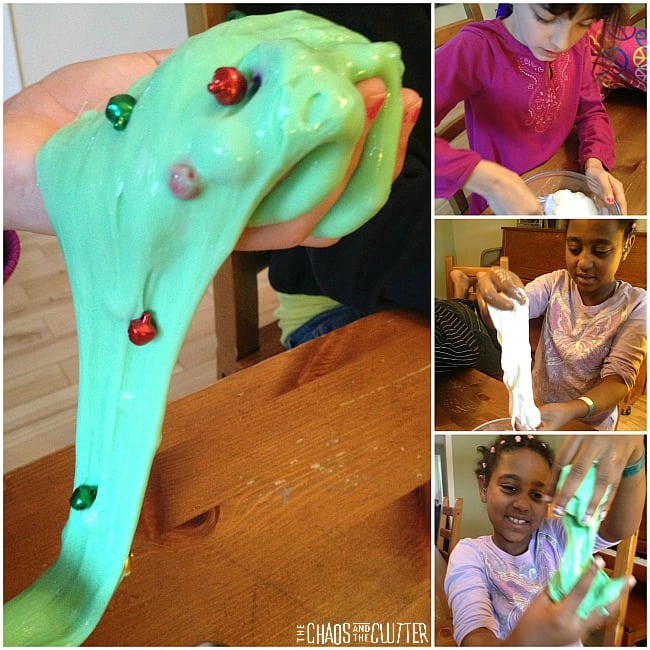
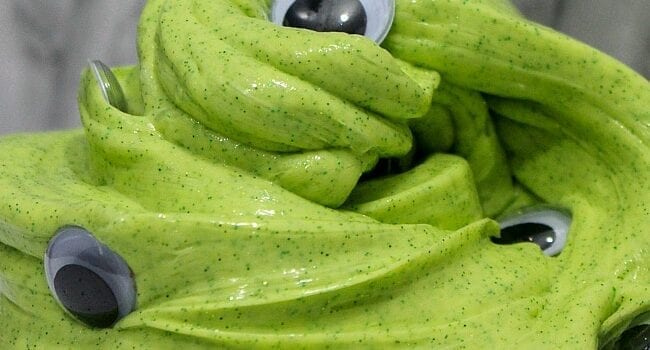
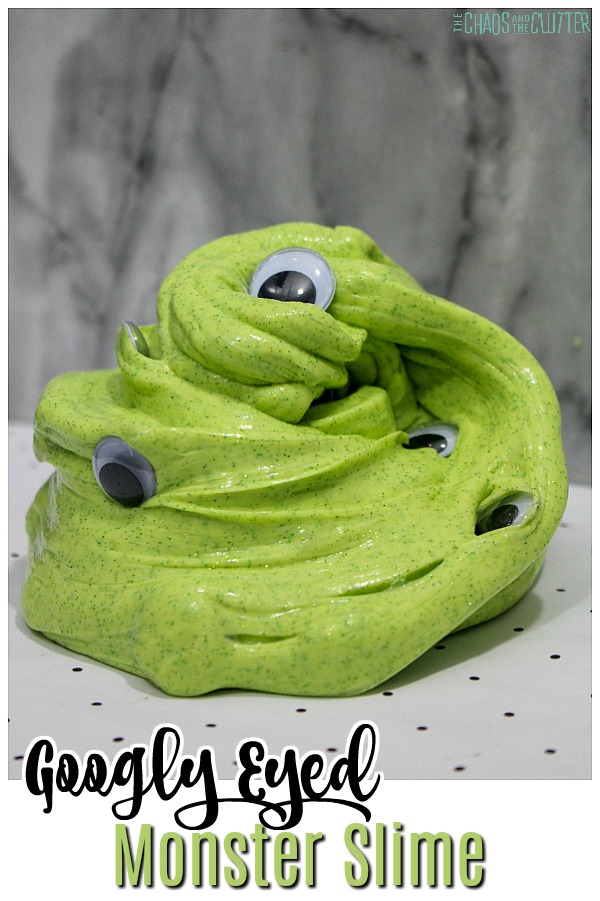

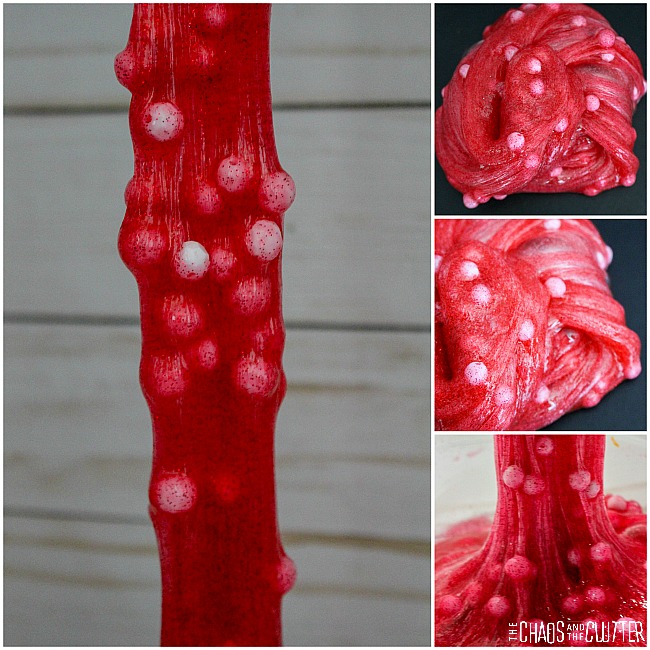
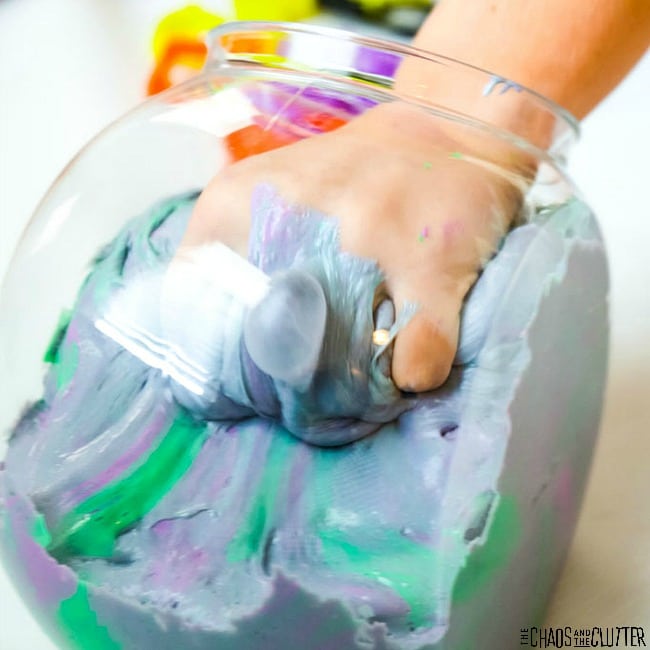
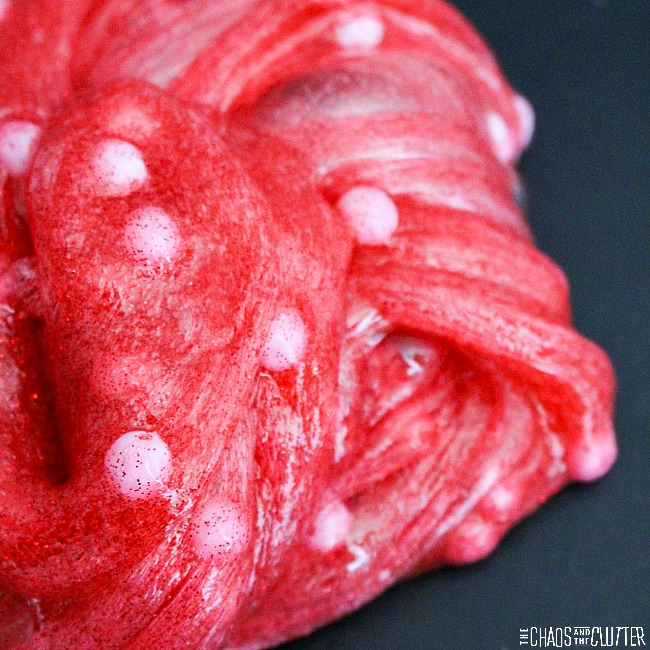
 This monster slime is cute for using at Halloween parties or even giving as a party favour. You can change the colour by changing the colour of the paint used. Using coloured googly eyes will also change the look of it, so there are many possibilities.
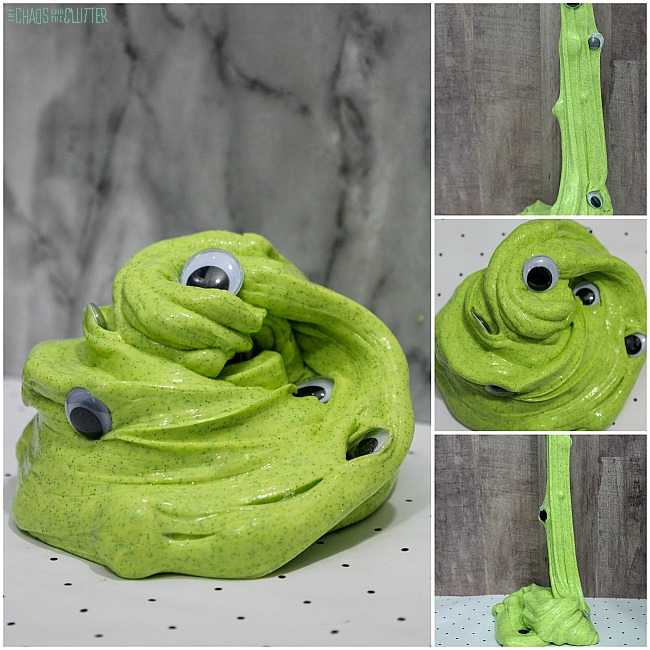
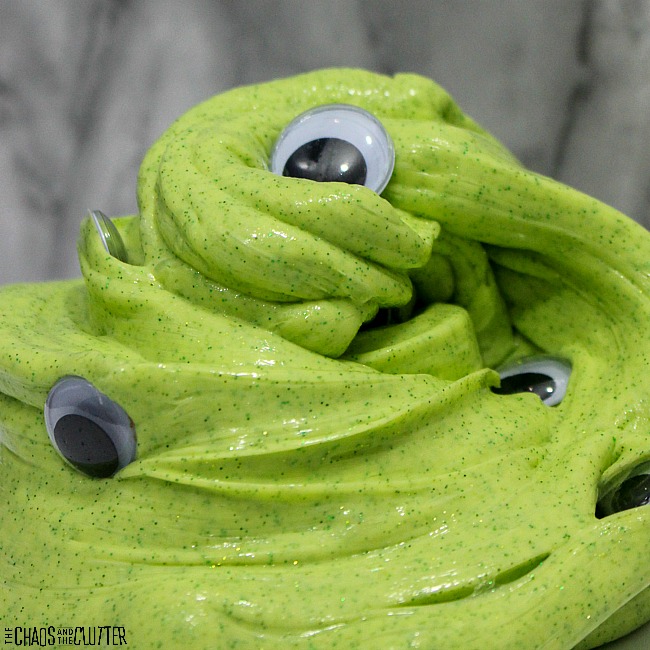
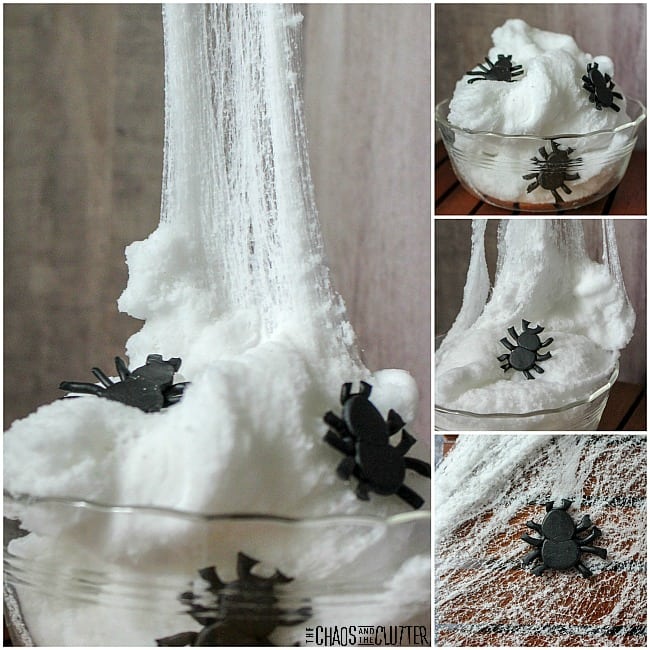
 This sensory play activity engages the tactile, visual, and proprioception sensory systems.
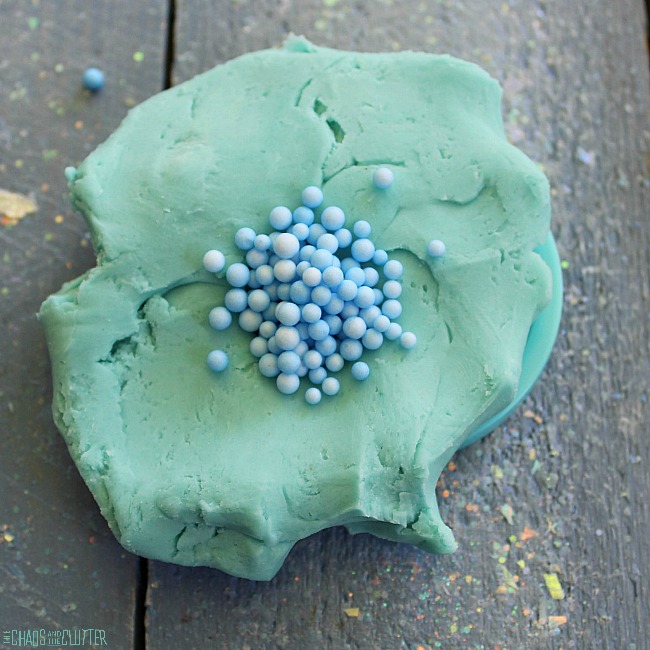
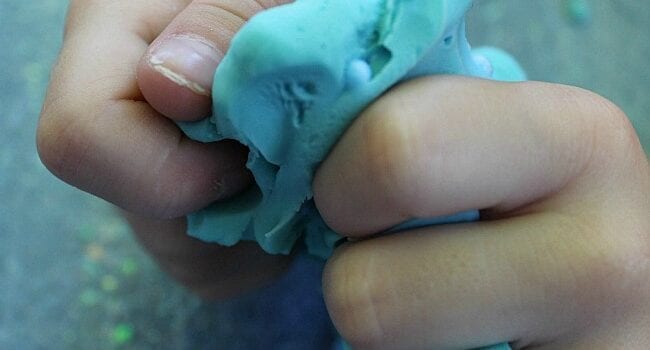
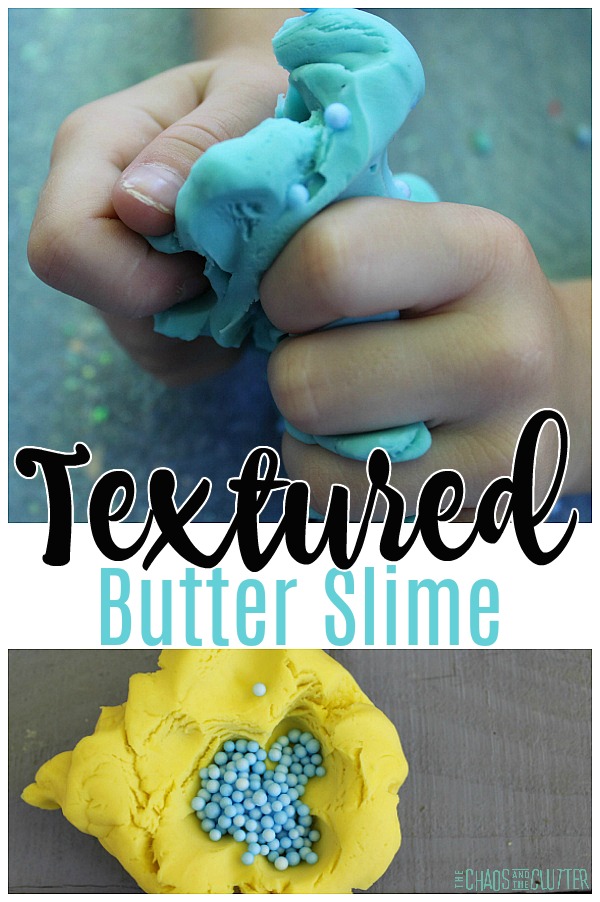
 Invite your children to play, stretch and mold the textured doh. The dough can now be stretched, moulded, and played with. It is soft and can also be cut with a craft stick or plastic knife, just like butter.

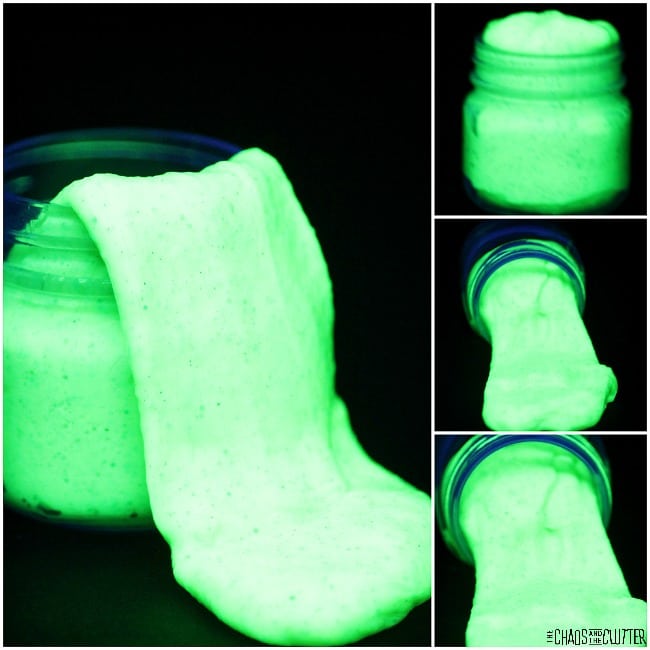
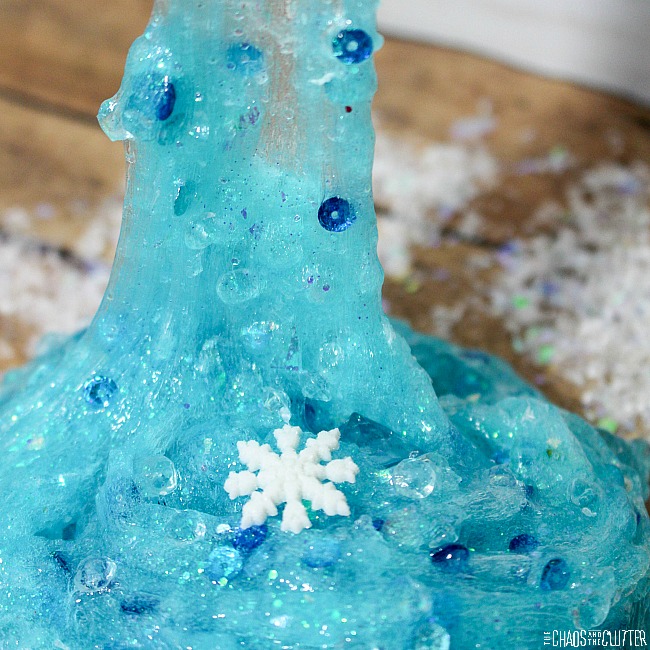
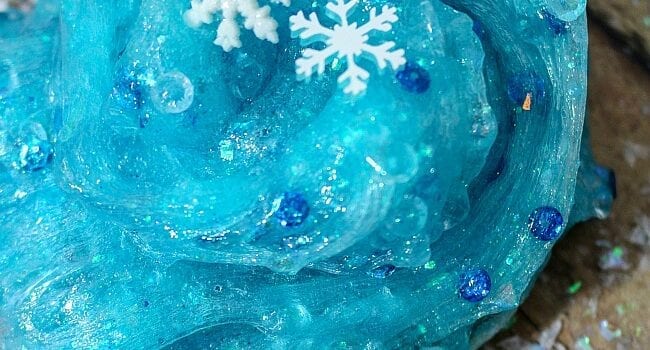
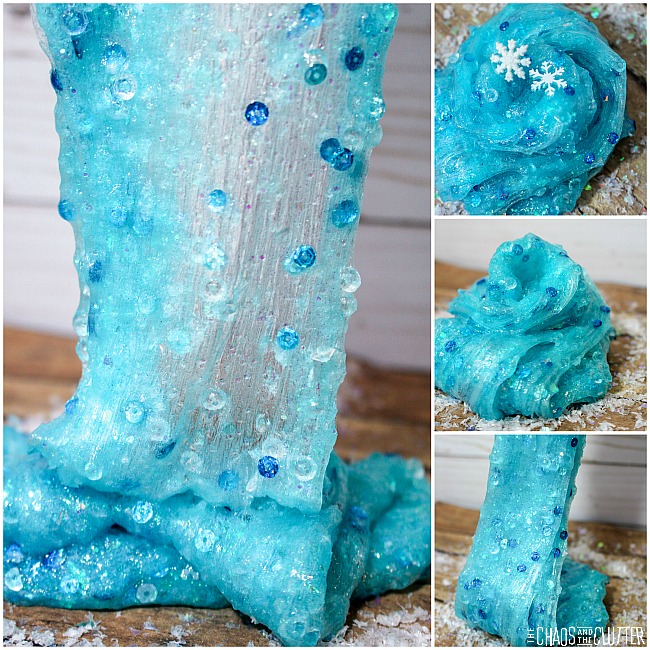
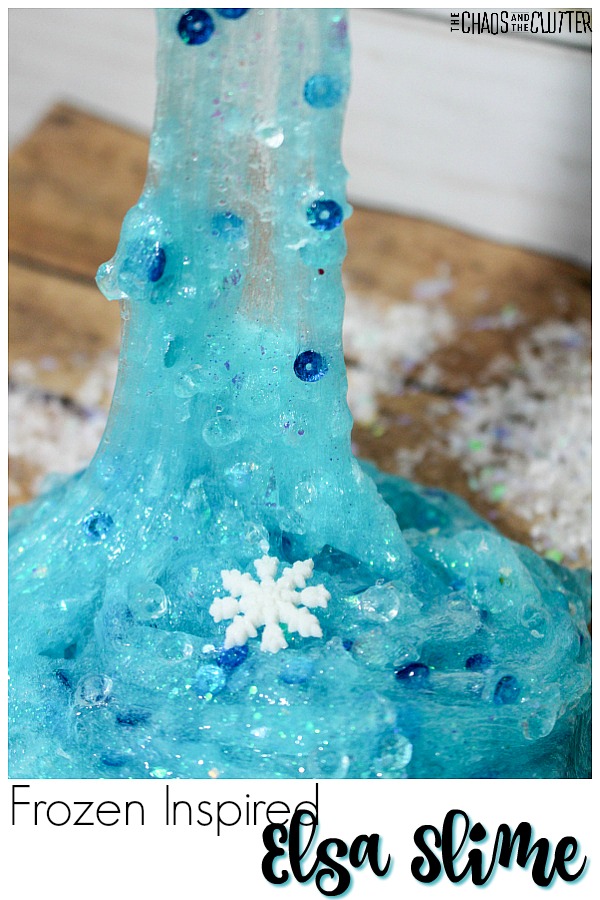 When you think about the movie Frozen, a certain song may come to mind. If you want to give the full Elsa effect, you can sing the song while you make this slime.
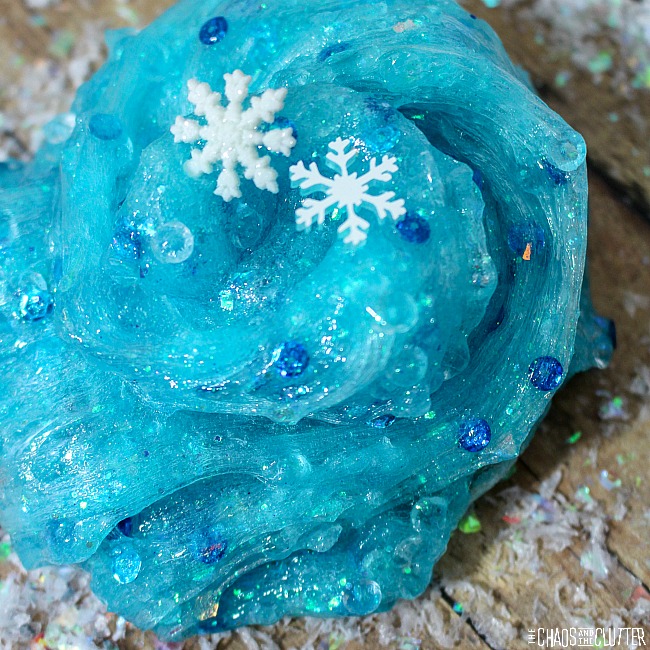
 Directions: