When I was in the 5th grade, I was obsessed with unicorns. Most of the girls in my class were. So when unicorns made a comeback a few years ago (I mean really, how can unicorns ever go out of style?!), I wasn’t surprised. This unicorn fluffy slime is like a gift to my grade 5 self. 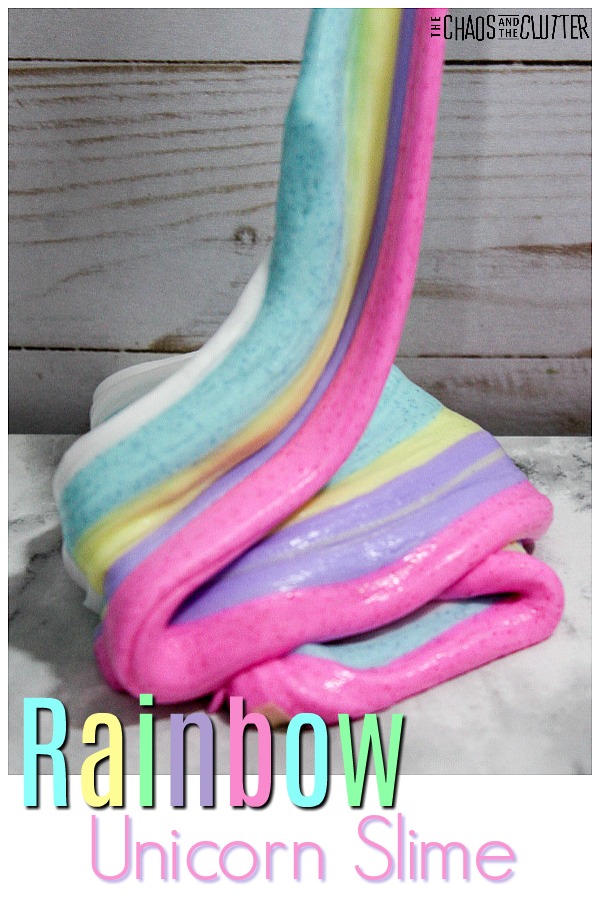 My girls love unicorns too. So a unicorn slime was in order. We decided on a rainbow unicorn fluffy slime. Of course, we used pretty colours and lots of glitter!
Unicorn Slime
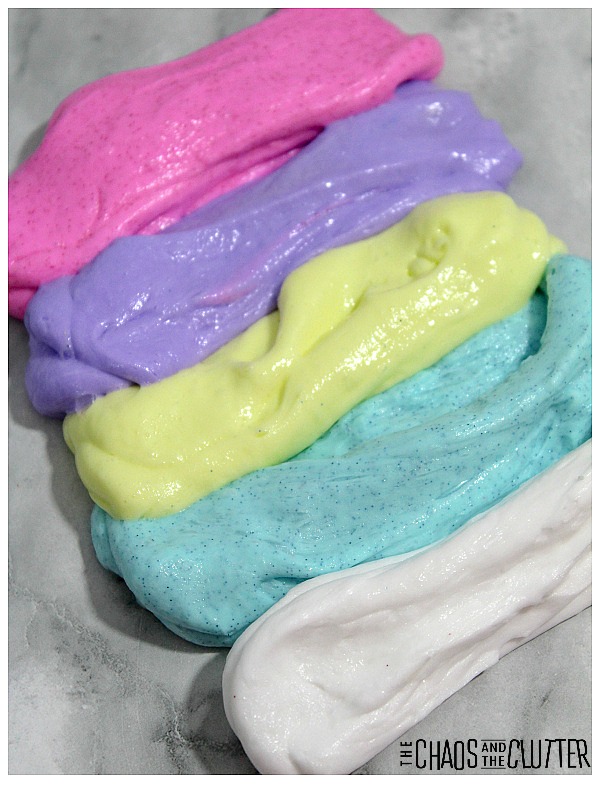
To make this unicorn slime, you need to like making slime because you’re going to need to make 5 colours. You’ll make each colour separately.
For those wanting a sensory activity for your kids that promotes proprioceptive input (heavy work), there will be a lot of kneading, pulling, and stretching to make these 5 colours. This is a great way to get in that heavy work which helps kids with self-regulation.
Unicorn Fluffy Slime Recipe
Slime Ingredients:
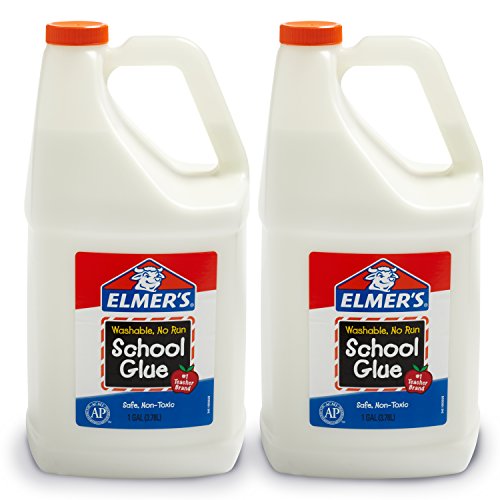
- 4 oz. (1/2 cup) Elmer’s white school glue
- 1/2 cup shaving cream
- 1/2 cup foaming hand wash
- 1/2 tsp. corn starch
- 1/2 tsp. body lotion
- 1/2 tsp. baking soda
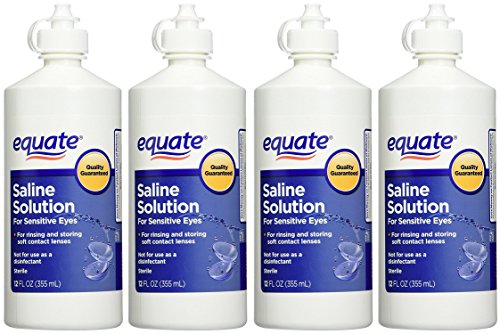
- 3/4 Tbsp. contact solution
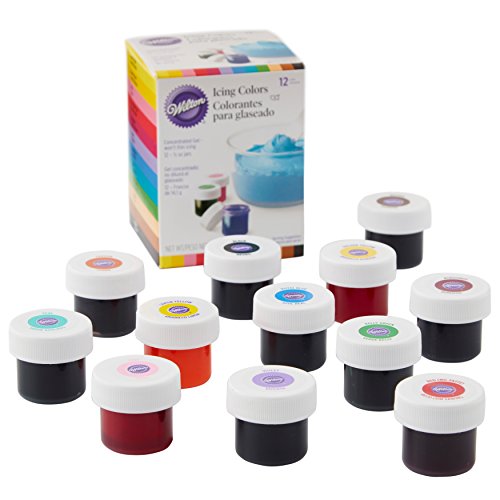
- candy colour or food colouring (yellow, pink, purple, and teal)
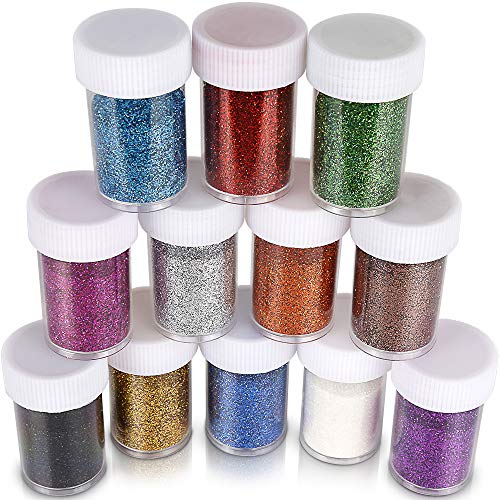
- glitter (yellow, pink, purple, teal, and iridescent)
How To Make Unicorn Slime:
- Pour 1/2 cup of white glue into a bowl.
- Add 1/2 cup of shaving cream. I like my slime a bit on the fluffier side, so I add a bit more than 1/2 a cup. Mix.
- Stir in 1/2 cup of foaming hand wash and mix well. The mixture will be very foamy at this point.
- Add 1/2 tsp of baking soda and 1/2 tsp. of body lotion.
- Put in a few drops of food colouring or candy colour. You’re going for pastel colours, so you won’t need to add much. Always best to add less at first. You can always add more later.
- Now is the time to add the glitter! Add the colour that corresponds with the colour of slime you’re working on. Use the iridescent for the white.
- Add in 1/2 tsp. of baking soda. You may need to add a bit more (see troubleshooting notes below).
- Put in 3/4 Tbsp. contact solution. Again, you may need slightly more (troubleshooting notes below). You have the right amount when the slime starts to pull away from the side of the bowl when mixing.
- Knead the slime.
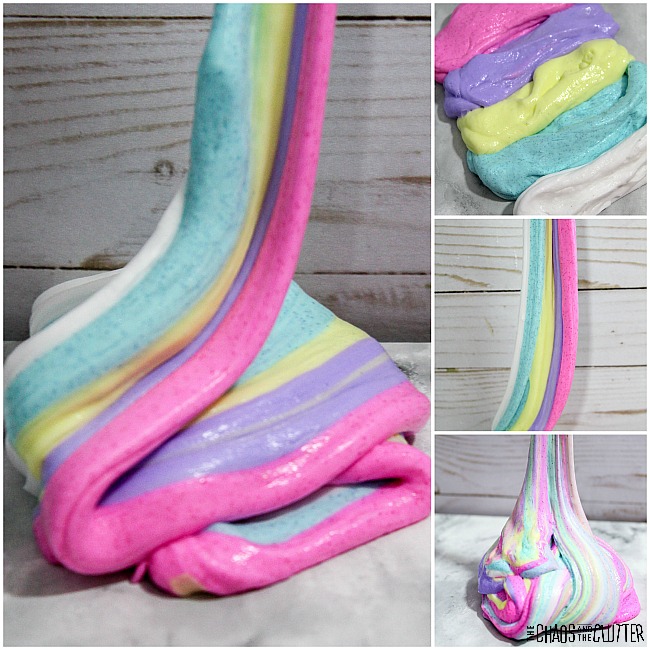
- Repeat the same steps for each of the other colours, omitting step #5 when you make the white slime. You will have a total of 5 types of slime. One white, one yellow, one teal, one purple, one pink.
- Swirl all the slime together.
- Store your slime in an airtight container.
Elmer’s White School Glue Saline SolutionWilton ColorsFine Glitter
Slime Troubleshooting:
I suggest always using Elmer’s school glue. Using less expensive glues hasn’t given me good results in the past, so I’ve learned to stick with the tried and true.
If you’re wondering how to fix slime that’s too runny, I’ve got you covered. Baking soda will thicken the slime, but you’ll only want to add a tiny bit at a time and make adjustments as you stir.
Or maybe you’re wishing you knew how to fix slime that’s too sticky. Add more saline solution one drop at a time to make your slime less sticky.
To ensure that you get stretchy slime, you need to read the ingredients on your saline solution and be sure that it contains sodium borate and boric acid. 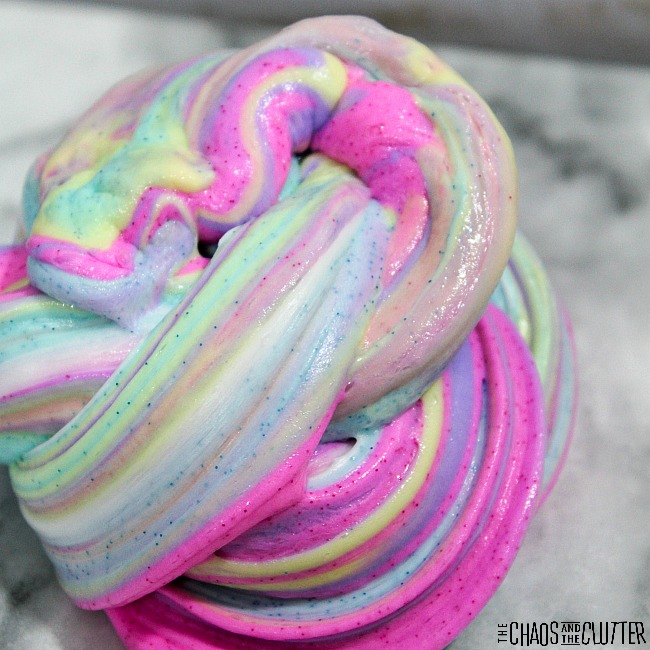
Sign up for our Sensory Solutions and Activities email series and get a free sample of our Sensory Play Recipes eBook so that you can create more sensory fun.
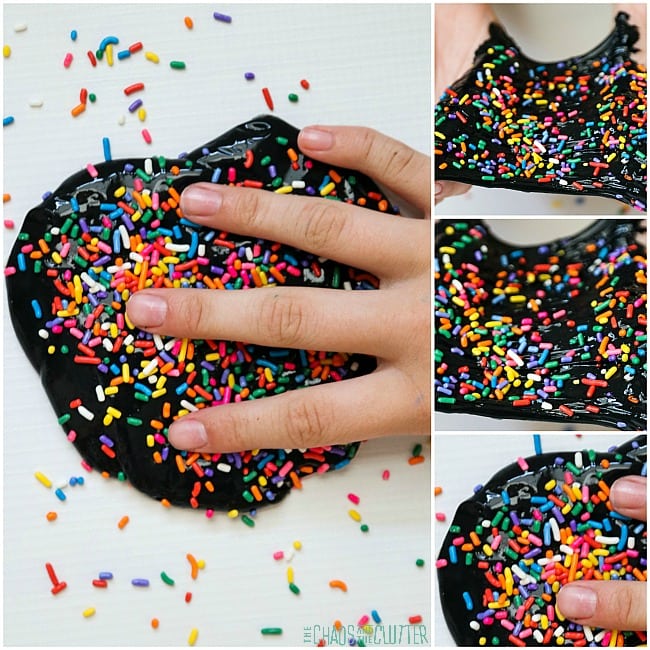
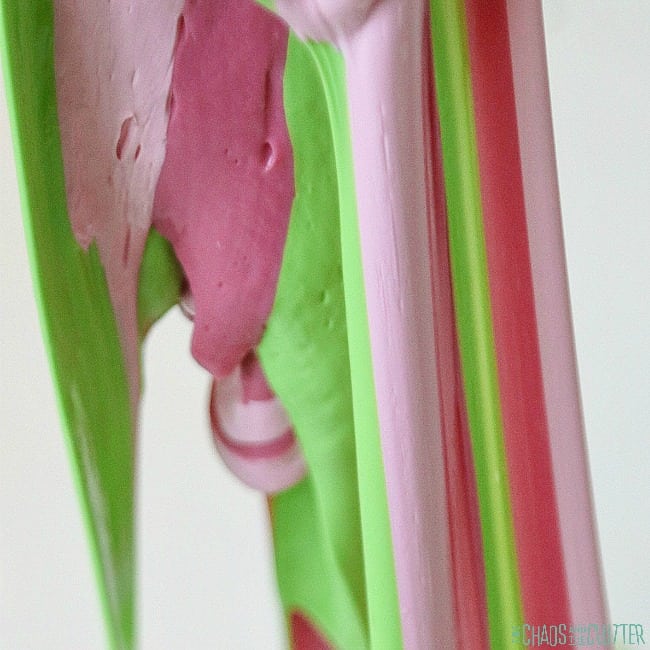
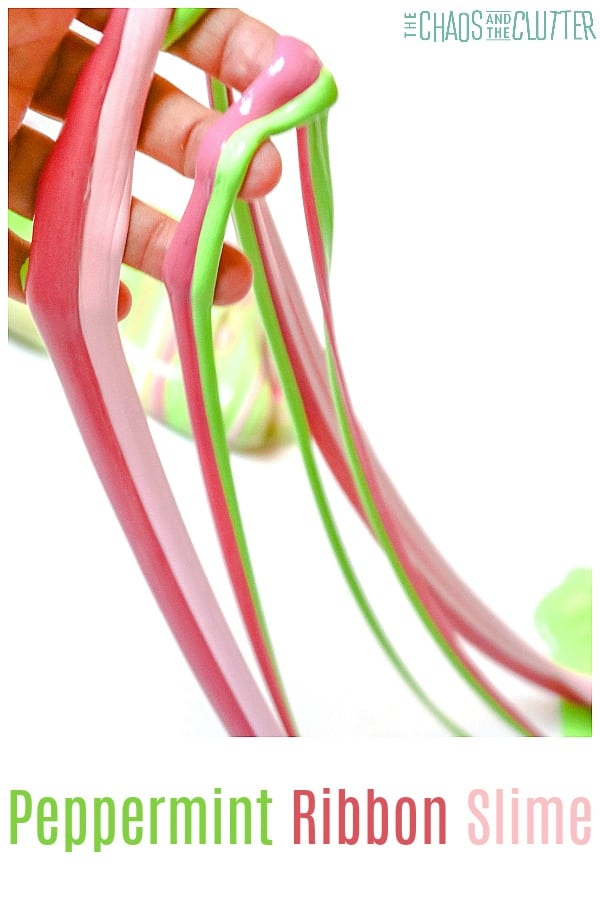
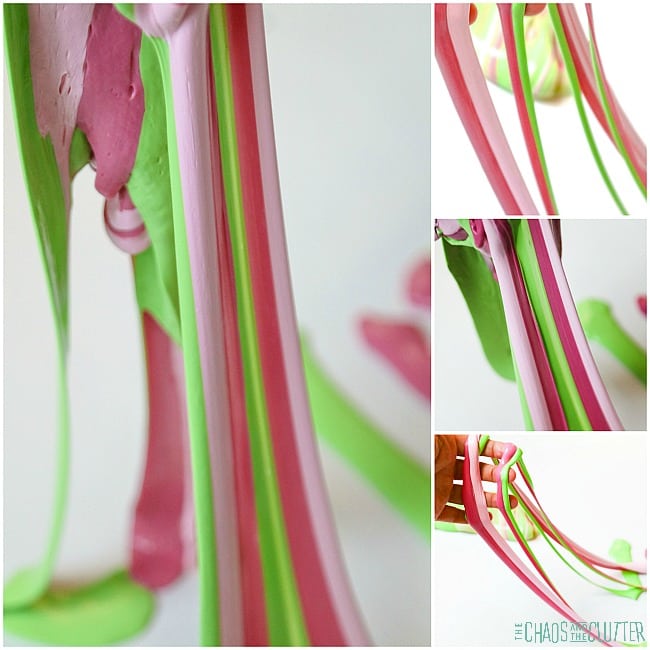
More Fun Slime Recipes:
Crunchy Slime With Mardi Gras Beads
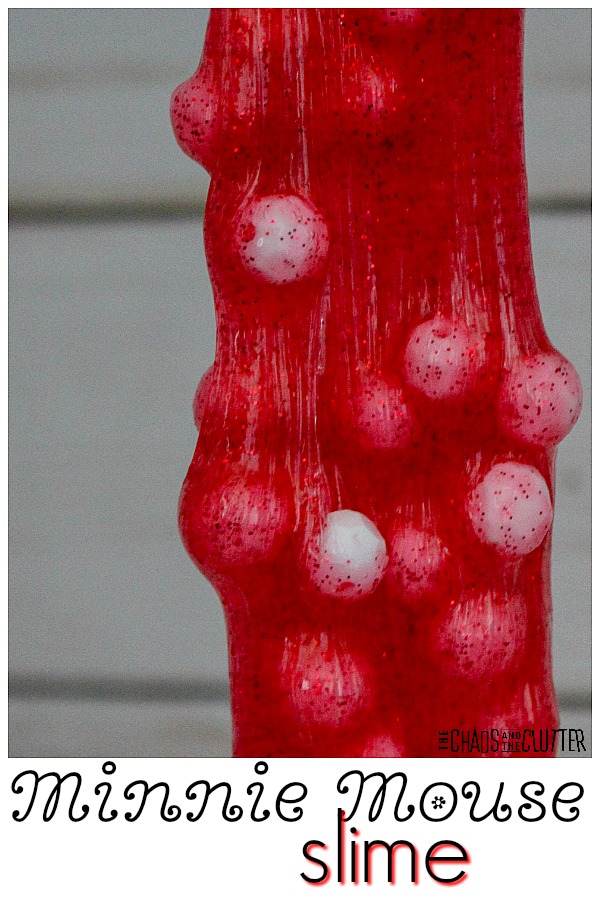
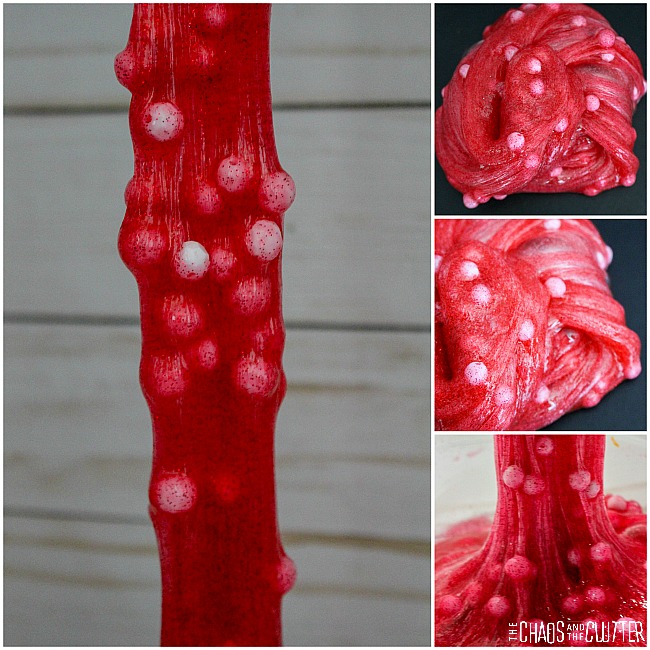 How to make Minnie Mouse Slime:
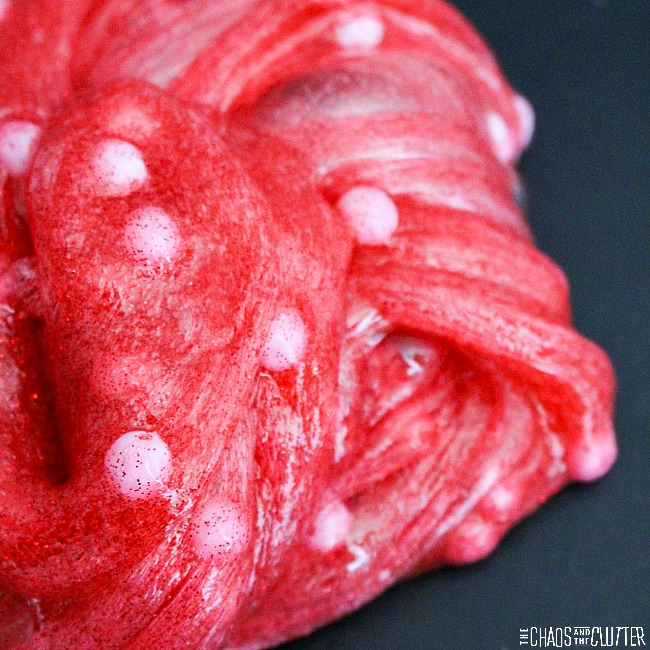
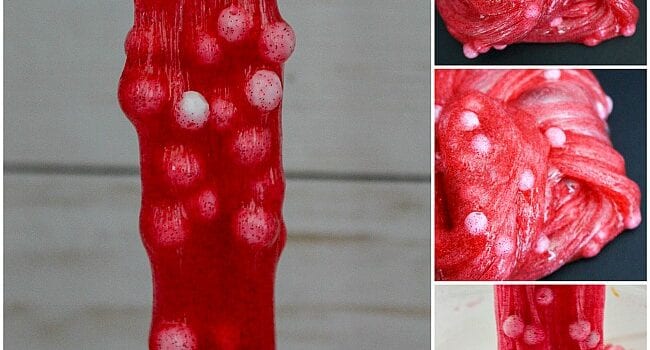
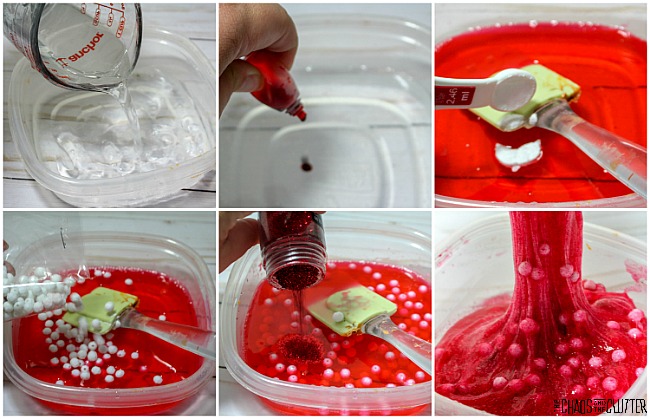 Creating a Minnie Mouse inspired slime was so simple. By adding the red colouring, red glitter, and the white beads, the finished slime is reminiscent of my favourite cartoon character. The beads become the polka dots.
 Besides the obvious appeal of this particular slime for me, I also like the sensory input it provides. All slime is good for proprioceptive input. When kids knead, pull, stretch, and squish, they are getting much needed proprioceptive input. This can help in emotional regulation and mood.
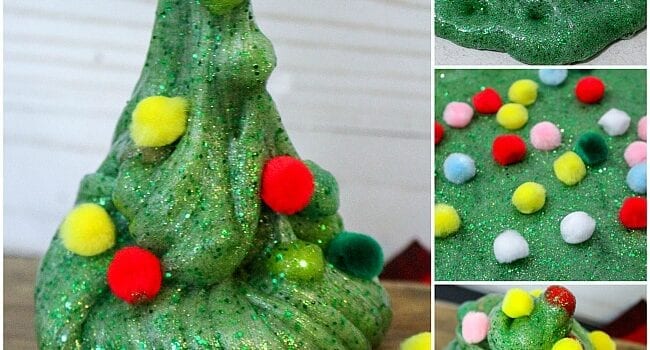
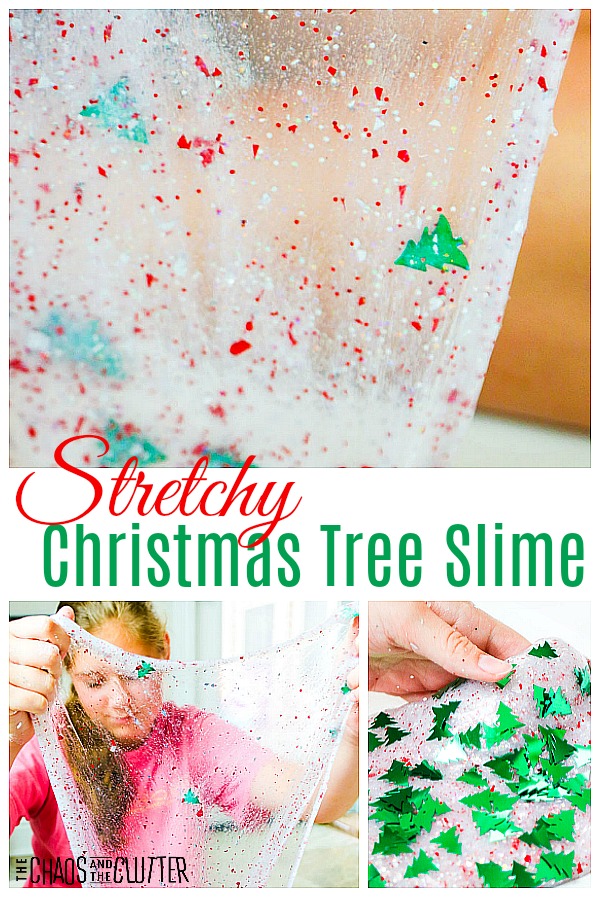
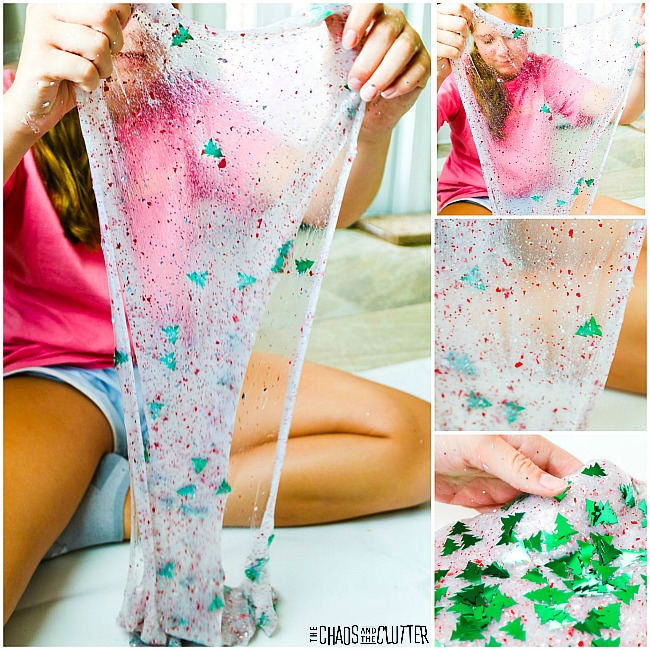
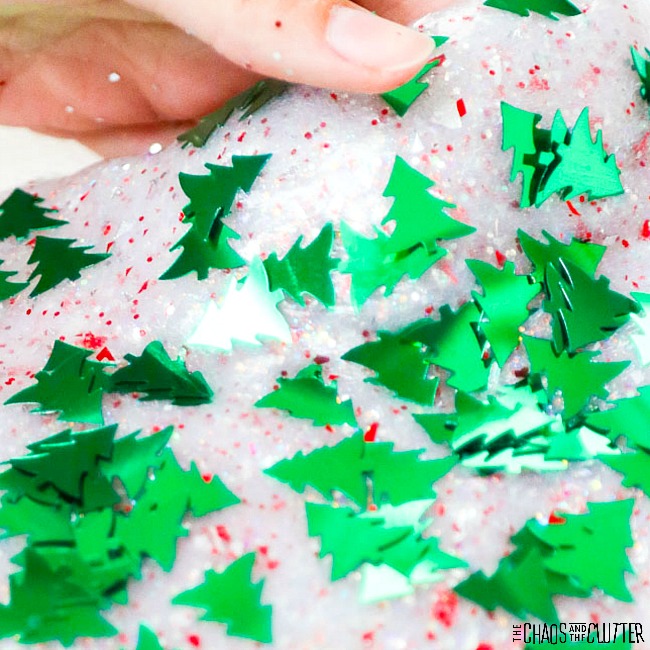
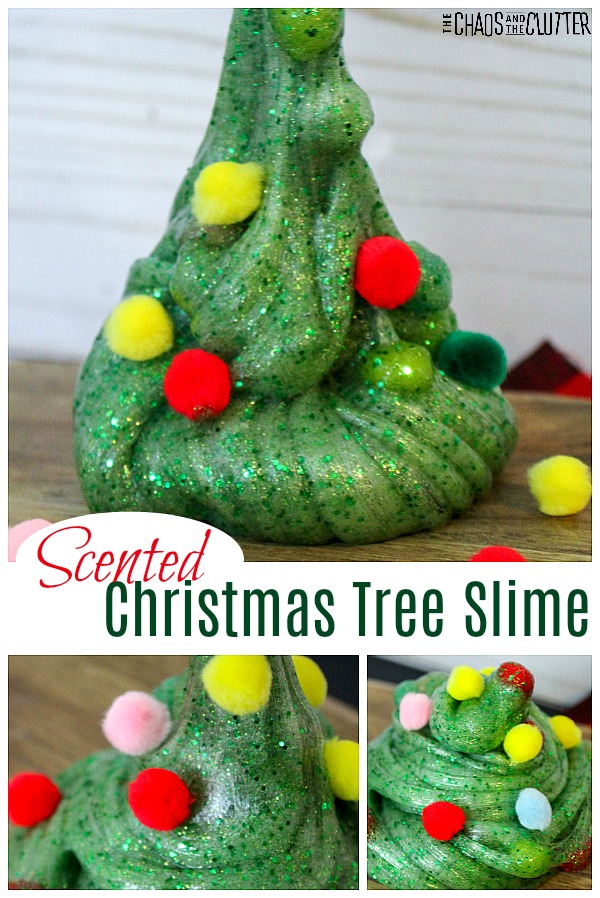 This holiday scented Christmas tree slime allows kids to use their imaginations as they “decorate” the tree. It also provides tactile, visual, olfactory (scent), and proprioceptive sensory feedback.
 Instructions:
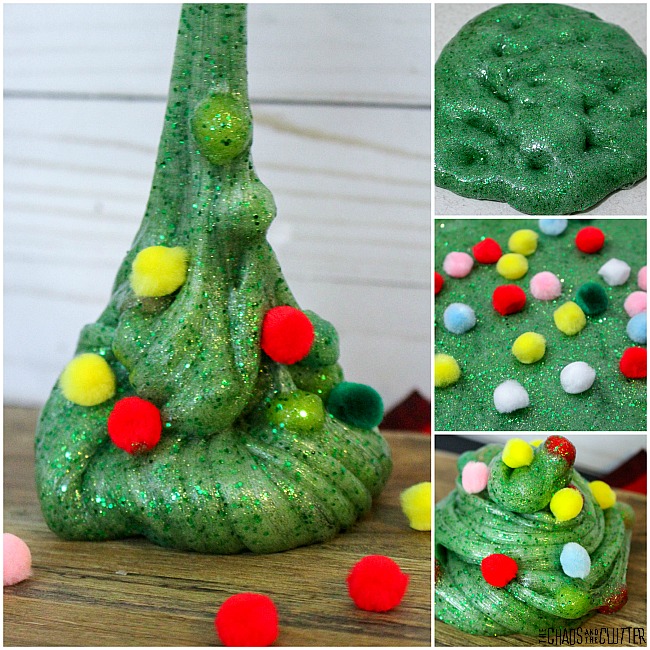 During the holidays, it can be even more important to have sensory play activities around. When kids aren’t doing their regular routine, they can have a harder time self-regulating. Ensuring that they are receiving plenty of sensory input, particularly the type that provides proprioceptive feedback can help them to regulate.

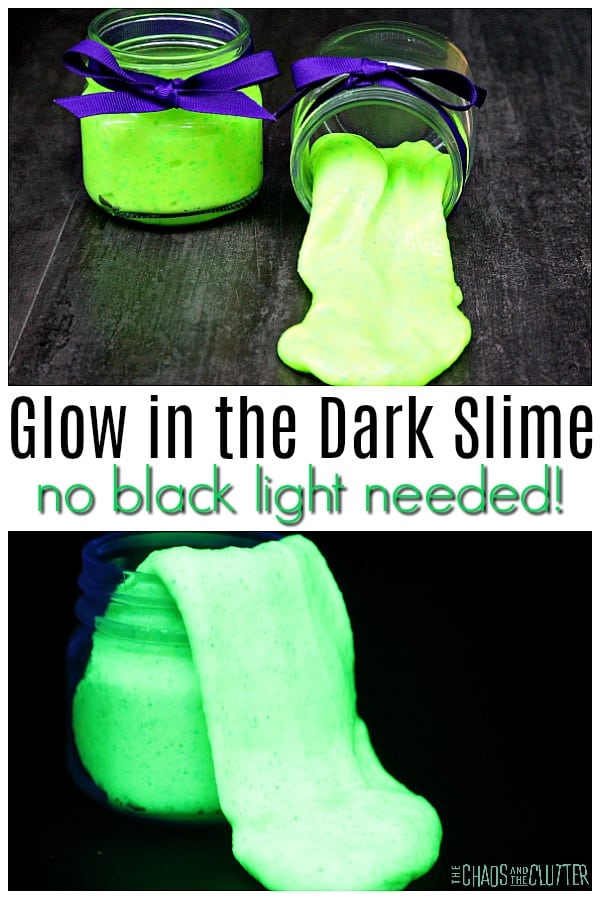 Adult supervision should always be used when making slime.
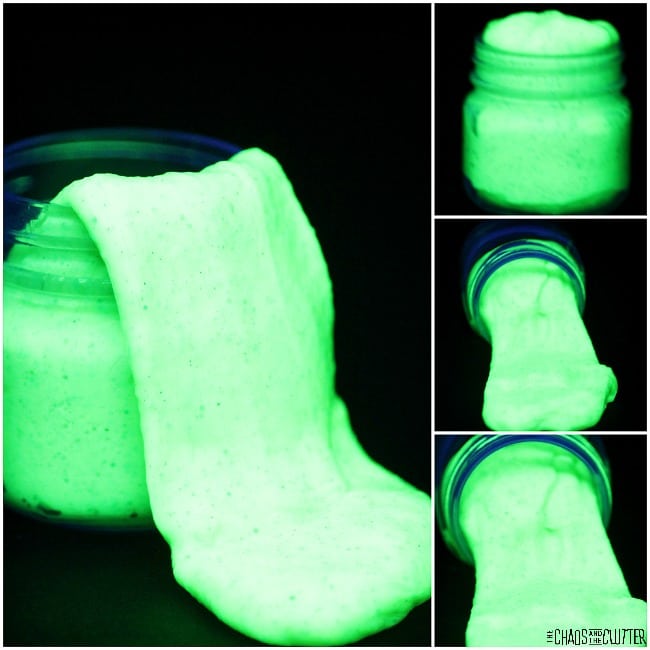 Instructions:
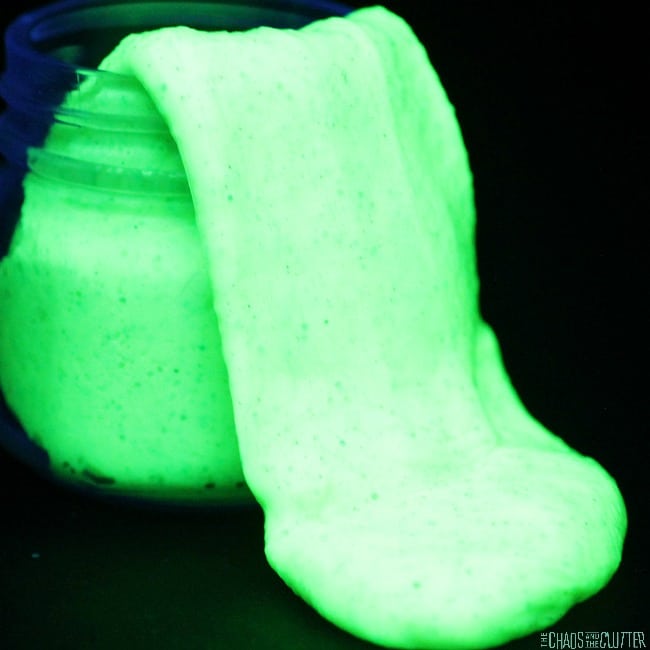 Store the glow in the dark slime in an airtight container or plastic bag. If stored properly, this slime will keep for a long time.

 Knead each one separately until it becomes the consistency of slime.
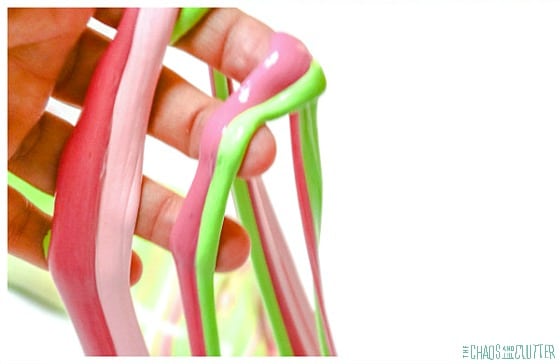 Just a little note to add: once you start playing with all three colours together, they will eventually mix. The colours don’t stay magically separated!