Making this snowflake sensory bottle also offers the opportunity for a simple science lesson. The results are so pretty.
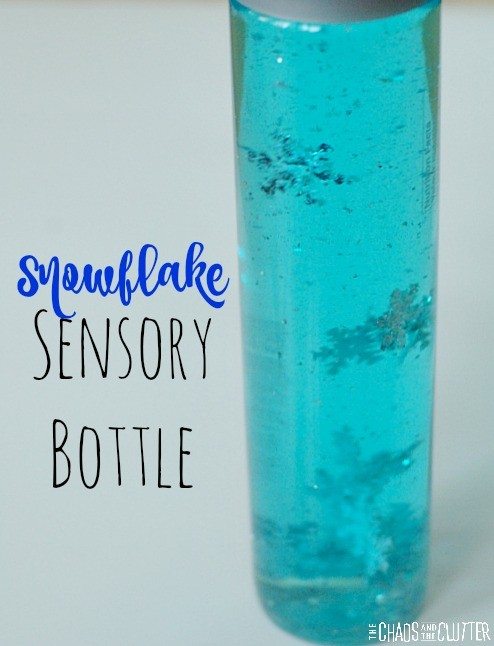
Materials needed:
- empty water bottle (I used a Voss water bottle because I like the look of the lid)
- blue food colouring
- silver glitter
- snowflake confetti
Fill the empty water bottle with water, almost to the very top. Add glitter and snowflake confetti.
This is where the science lesson comes in: Water is a polar liquid so it dissolves other liquids which are also polar or somewhat polar. Once you explain this to the kids, ask them if they think that food colouring is polar or non-polar, or in simpler terms, ask them if they think that food colouring will dissolve in water.
Then have one of the kids squeeze some drops of blue food colouring into the sensory bottle and observe what happens.
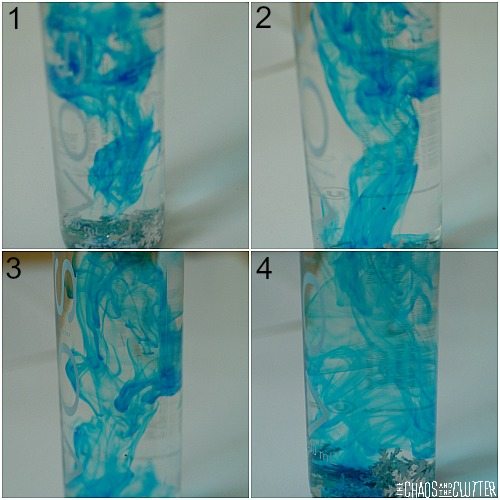 The kids will observe that the food colouring does dissolve in the water which means that it is also a polar liquid.
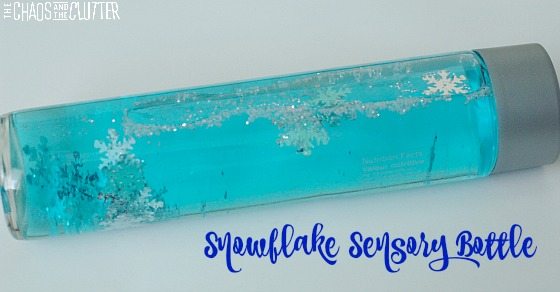 Put the lid on the bottle. If you are going to be using this snowflake sensory bottle with younger kids, you may want to secure the lid in place using a hot glue gun.
Of the sensory bottle we’ve made, for some reason, our daughter Dancing Queen found this one the most fascinating.
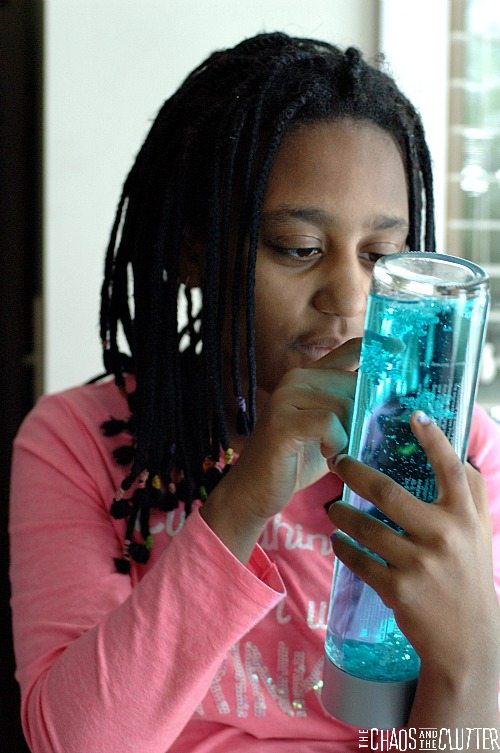
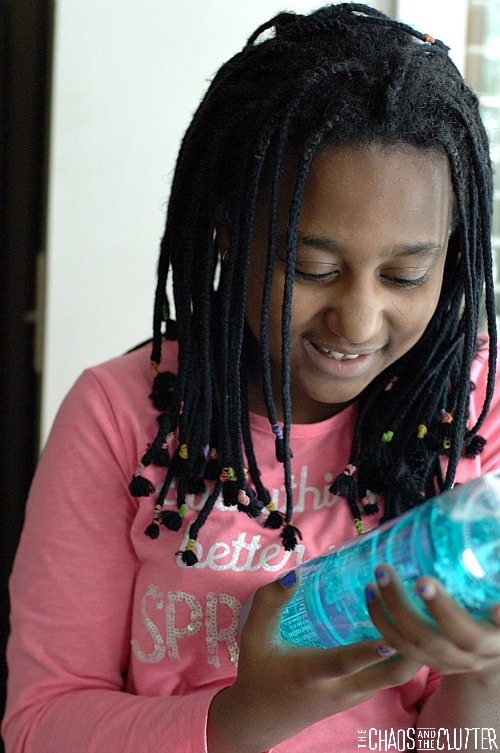
She was mesmerized by the movement and spent a lot of time playing with it. Our other kids enjoyed it too but she was the most thrilled by it.
If you are looking for other sensory ideas, sign up for the 5 part email series Sensory Solutions and Activities and get our free Sensory System Behaviours Easy Reference Cards.
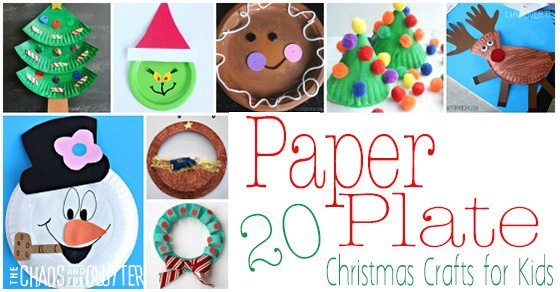
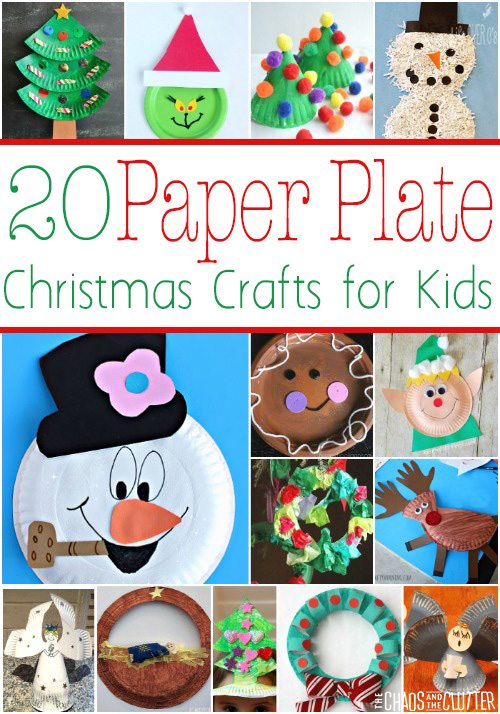 These paper plate crafts are perfect for doing with your kids or classroom students to prepare for the holidays or when stuck inside on a snow day. These crafts show that paper plates can be transformed into just about anything.
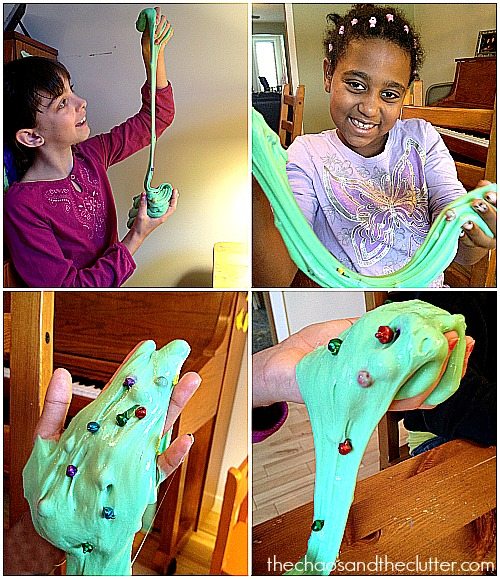
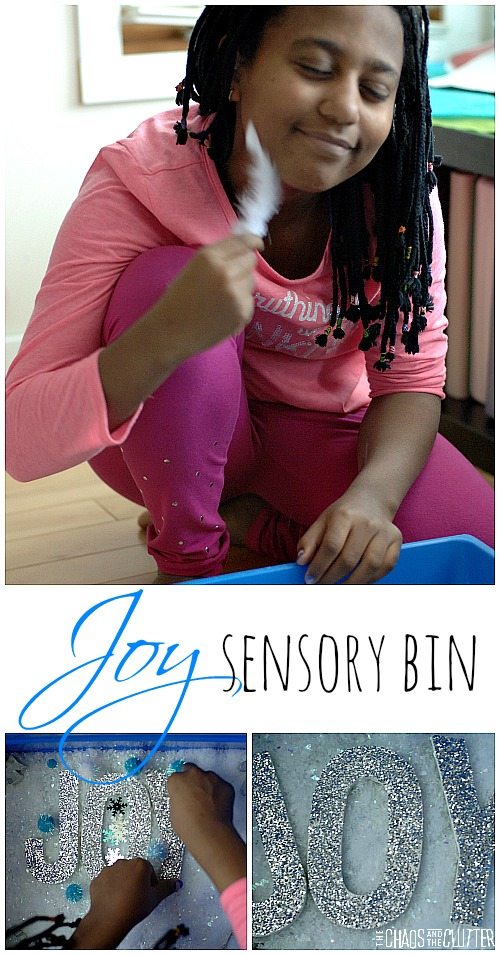 I am in love with that picture because Dancing Queen’s face looks so peaceful which shows the power of sensory play with kids who have sensory needs and anxiety.
 Last year for Christmas, I made a
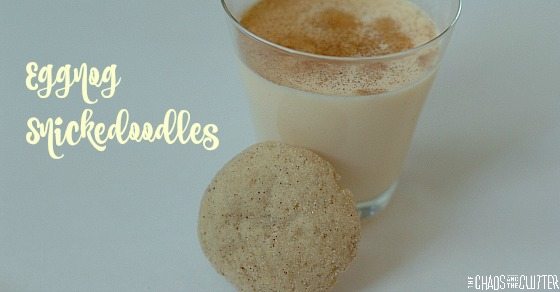
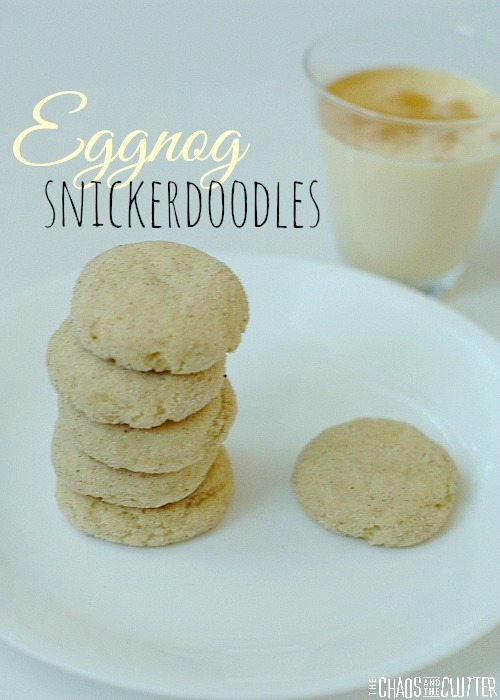 If you are a fan of eggnog, you are going to love these cookies! And the smell that fills the house as they are baking is as holiday as it gets.
 My husband loves eggnog, so he of course was happy to drink what was left after I bought some to make these cookies! I had to be careful to bake these directly after I bought the eggnog so that it wasn’t gone before I got the chance to use it.
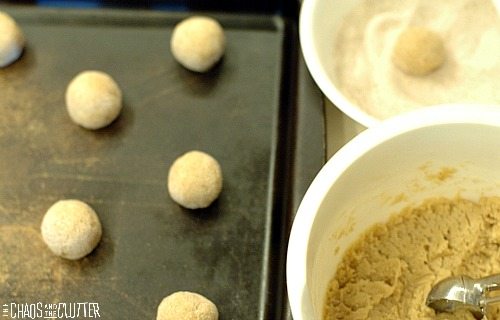 Make balls with the cookie dough (I used a
  This recipe makes about 3 dozen eggnog snickerdoodles, depending on the size you make them.
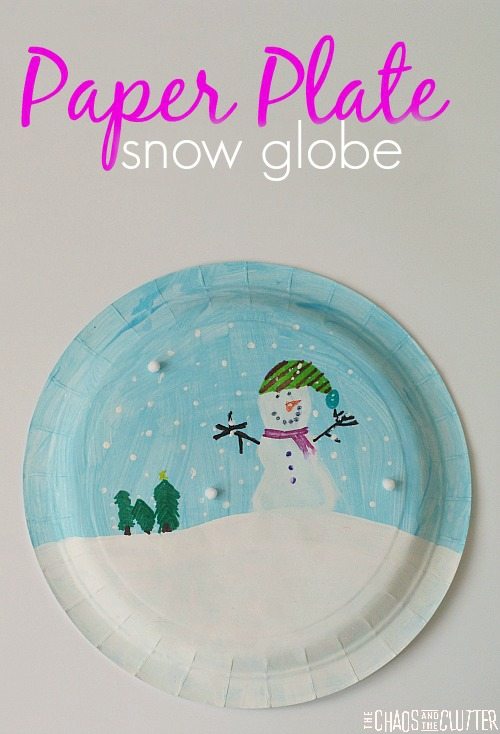 Paper Plate Snowglobe:
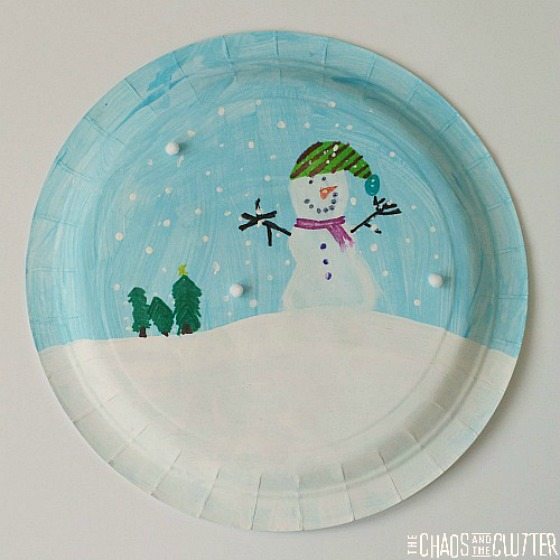
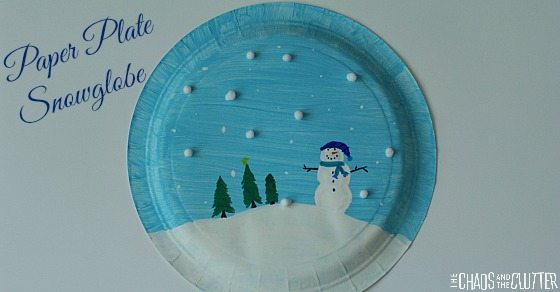 For this step, you can use either paint or permanent markers. We chose to use both. The kids used paint for the larger things such as the snowman shape and trees. They then added the finer details such as the snowman face, arms and buttons using the permanent markers.
 I just need to add a note here: I’m a bit of a spelling nerd and I do realize that snow globe is two words, but it turns out that most people spell it as one word when they are typing it into a search engine. For the purpose of people being able to find it, I am spelling it snowglobe!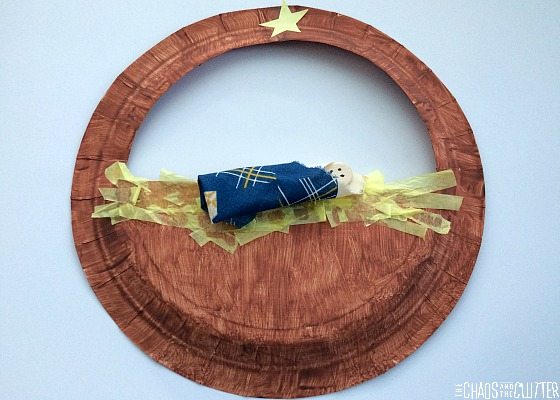
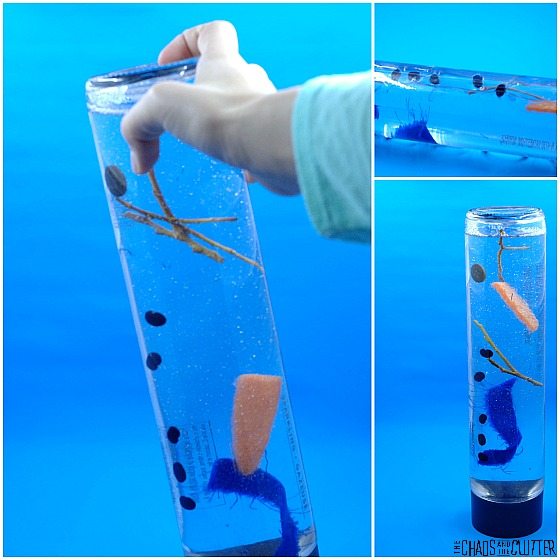
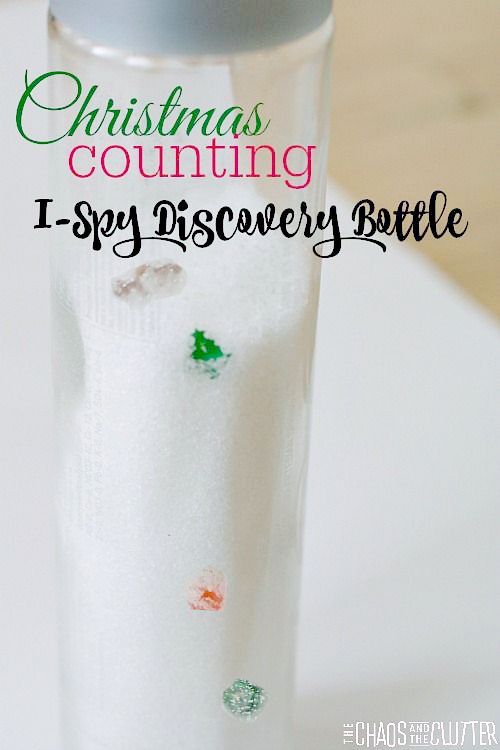 Materials needed:
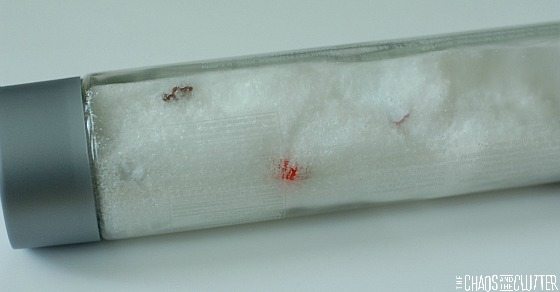 In my Christmas sensory bottle, I put:
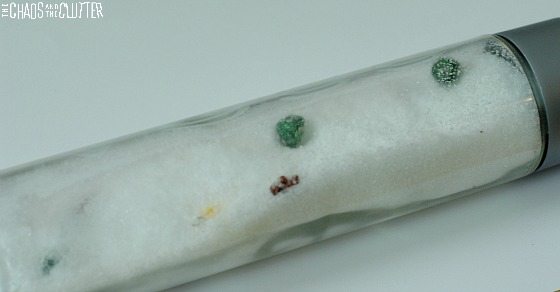 Next, write or type up a list of the items in the bottle so that the kids can reference it when they are seeking. The reason I chose to add groupings of items is so that kids could practise counting as they tried to find items.