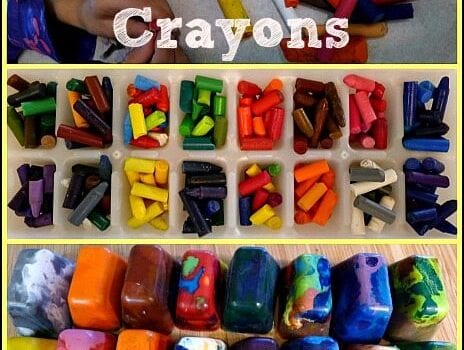
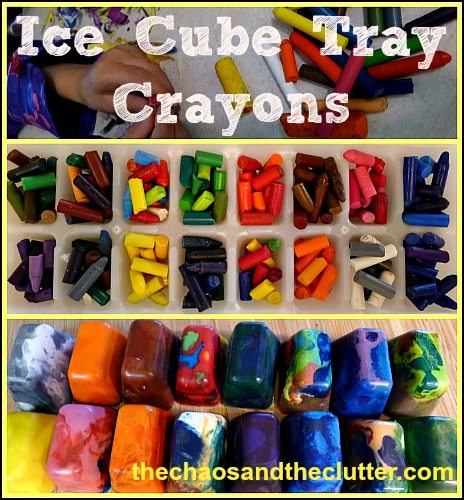
This melting crayons activity turned out so well and was a great bang-for-your-buck activity ideas. Just for something to do, we made new crayons out of our old crayon bits. It didn’t actually cost anything, but even in terms of time and effort on my part in exchange for the value, it was so worth it.
You know how sometimes as a mom, you spend hours preparing for an activity (running from store to store tracking down the necessary supplies, doing any prep. that is too advanced for your kids, laying everything out, helping the kids with it, not to mention the clean-up) and it occupies the kids for all of about five minutes?! Well, those kinds of crafts or activities are not what I would consider good bang for my buck!
What To Do With Old Crayons
To make these crayons, I pulled out the drawer where we keep markers, pencils, and crayons and the kids and I rifled through it to find all the old crayon bits. Then we peeled off the paper. This took quite a bit of time, but somehow, it held their attention. It was very quiet in the room as they tried to get even the most stubborn labels off.

Next, we broke some of the larger crayons into smaller bits and I placed them into an ice cube tray. For some, I kept it all one shade of one colour, for others, I did a mixture of bright colours. I also made a camouflage one, one with whites, greys, and black, and one of blues and greens.

How To Melt Crayons
I put the ice cube tray of crayon pieces in the microwave and set it for a few minutes. I put it in many, many times and checked it every few minutes. I found that some brands of crayons melted much more quickly than others. Here and there, I stirred them with toothpicks. When they were more or less melted, I put them in the freezer.
When I took them out of the freezer, I popped the ice cube tray crayons out on the counter. The great thing about this activity is that it continued on after we made the new crayons because of course the kids wanted to colour with the new crayons. The blue/green one worked really well to make a water effect. Super fun and easy!

Note: I used an extra ice cube tray knowing that I probably wouldn’t be able to use it for ice again. I reasoned that since they are only $1 at the dollar store, it was worth the sacrifice. I kept the tray in case we decide to do this again as it was a great way to clean out the crayon drawer and have a little fun.
IMPORTANT UPDATE!!!
I’ve had two readers contact me to let me know that their ice cube tray melted in the microwave when they tried melting the crayons. One of them also had a fire start in the microwave after using sparkly crayons. Please use caution. Do not use crayons with glitter or shimmer in them. Set your microwave at a lower temperature and check it often. I’m assuming that some ice cube trays are made of thinner plastic than others and that is why this is happening.
More Fun Activity Ideas:
16 Toilet Roll Paper Crafts
Sensory Bottles With Instructions
60 Paper Plate Crafts
Playdough Play Mats


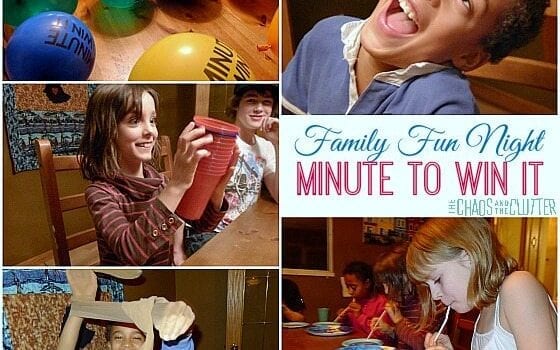
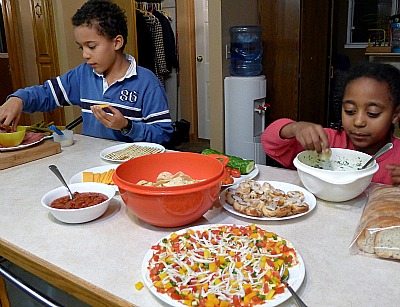
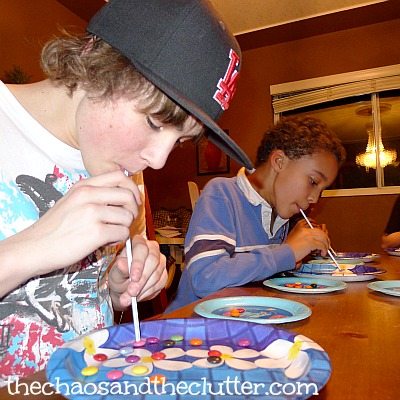
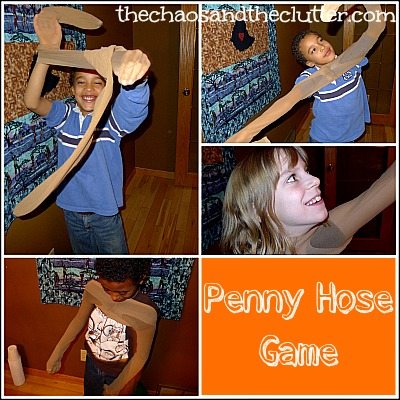
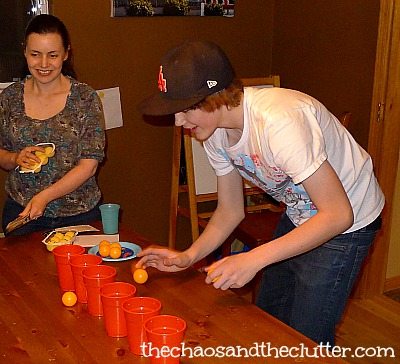
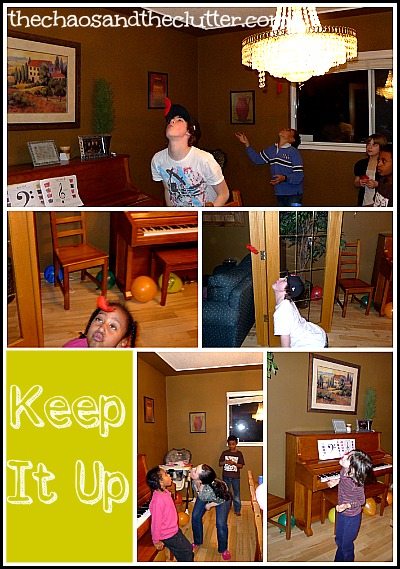
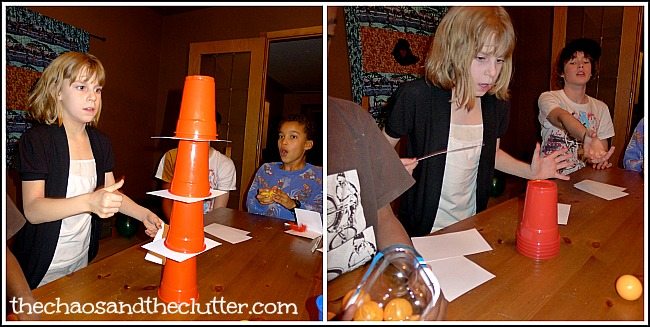
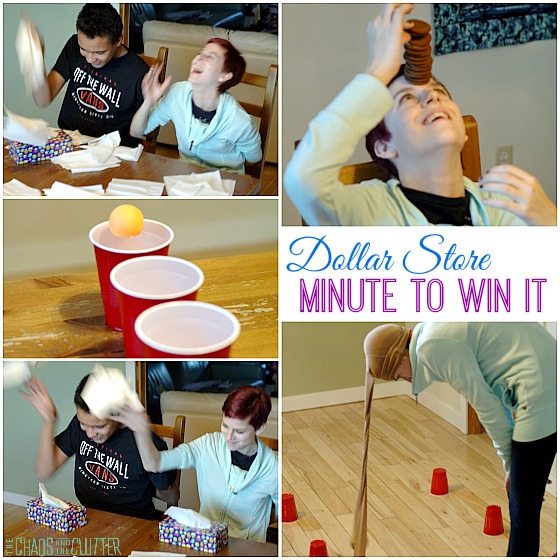
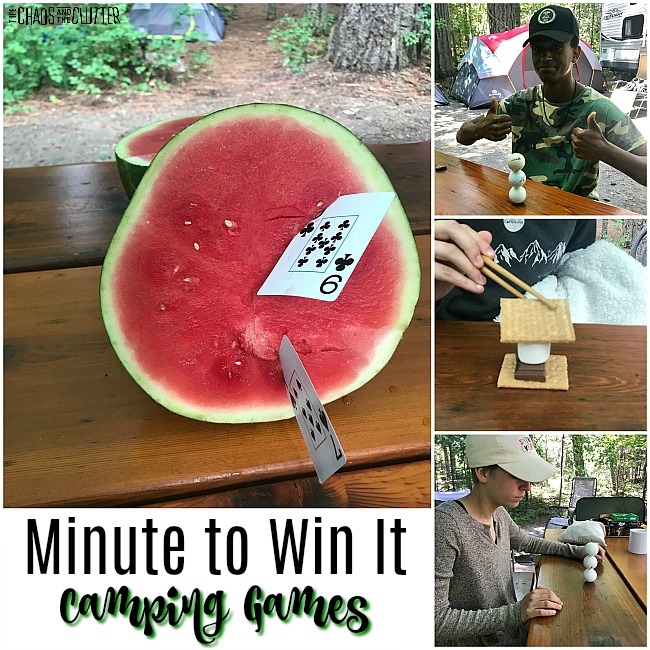
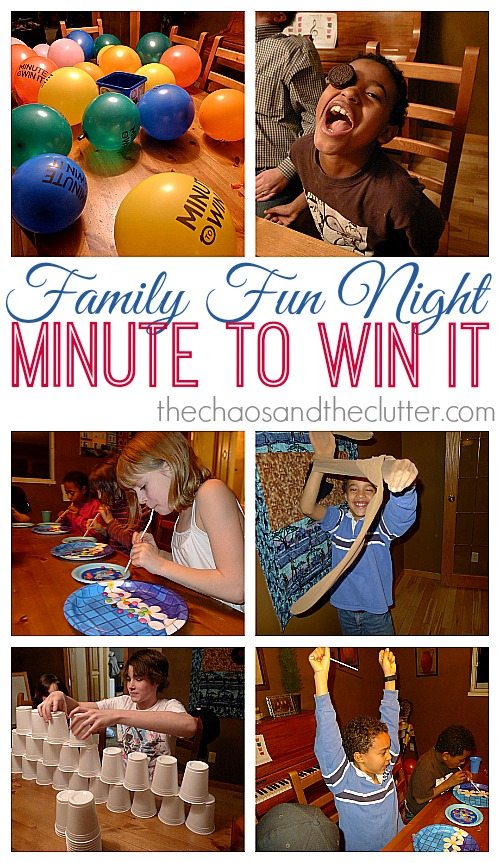 This theme made the evening so much fun! We laughed a lot. It also worked really well for all the different age groups from our youngest child right up to us adults. One of the things that makes these games so versatile is that they can be used with groups of all ages.

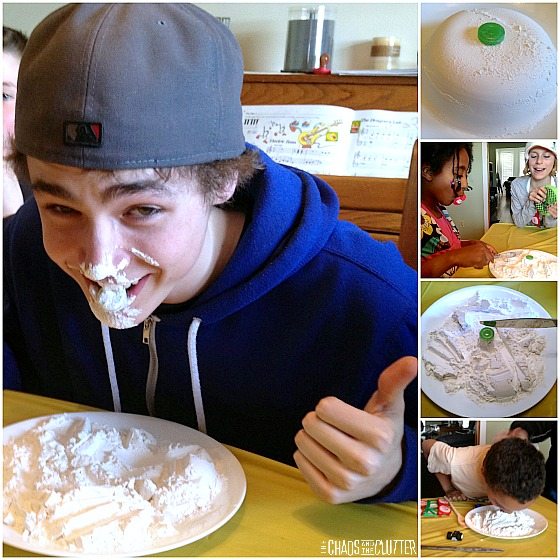
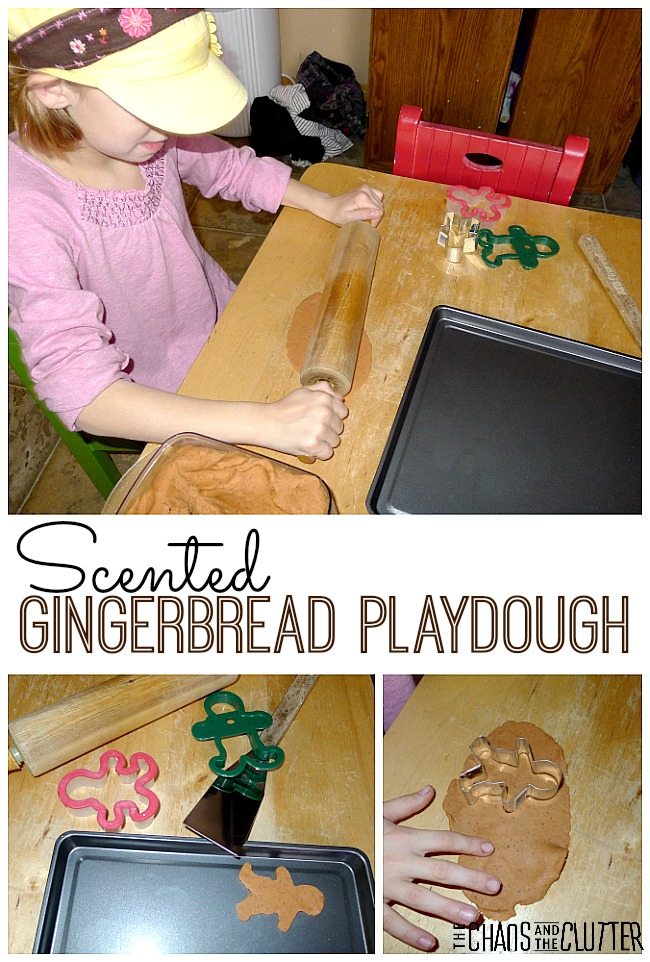 The only negative thing about this playdough is that it smells so good and the colour looks so much like true gingerbread dough that kids want to eat it. In fact, my great-niece was over last night and couldn’t resist tasting it!
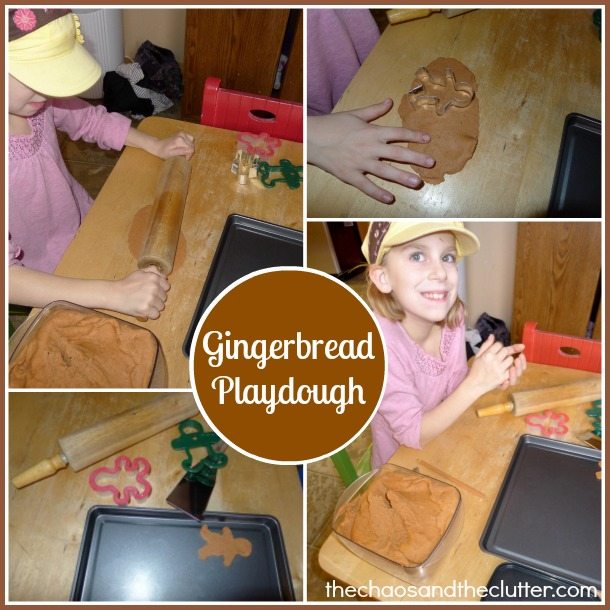
 We had a
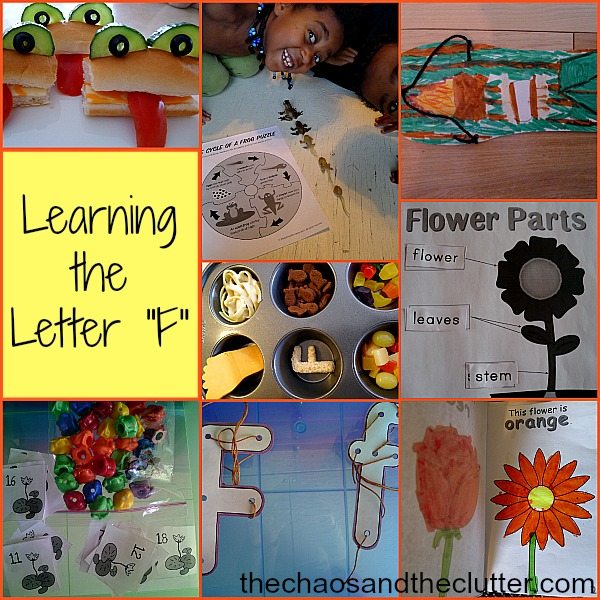
  I had gotten these feet shaped cardboards in socks awhile ago and saved them for this week. The kids made them into flip-flops by coloring them and hole punching then stringing yarn through them. They loved this activity and it didn’t cost anything. Also, foot and flip-flop are great “f” words!
 For our fish day, the kids did a number of fish activities from
  The kids glued sequins onto fish shaped paper frames.
 Making these flower mini books was a great way to reinforce colour concepts, especially for my younger kids. Plus, everybody loves mini books!
 I love this worksheet from
  This cut and paste worksheet is also from
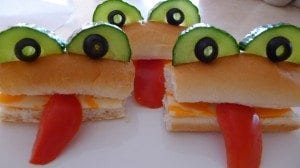 I also made another muffin tin lunch for the letter F.
 The frog life cycle – I had these plastic models of the frog life cycle and the kids enjoyed playing with them. I also printed off a puzzle from
  cut and paste of the frog life cycle


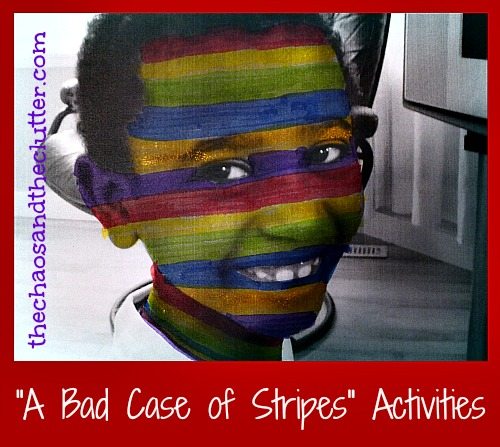
 There are so many activities that can be used with the book
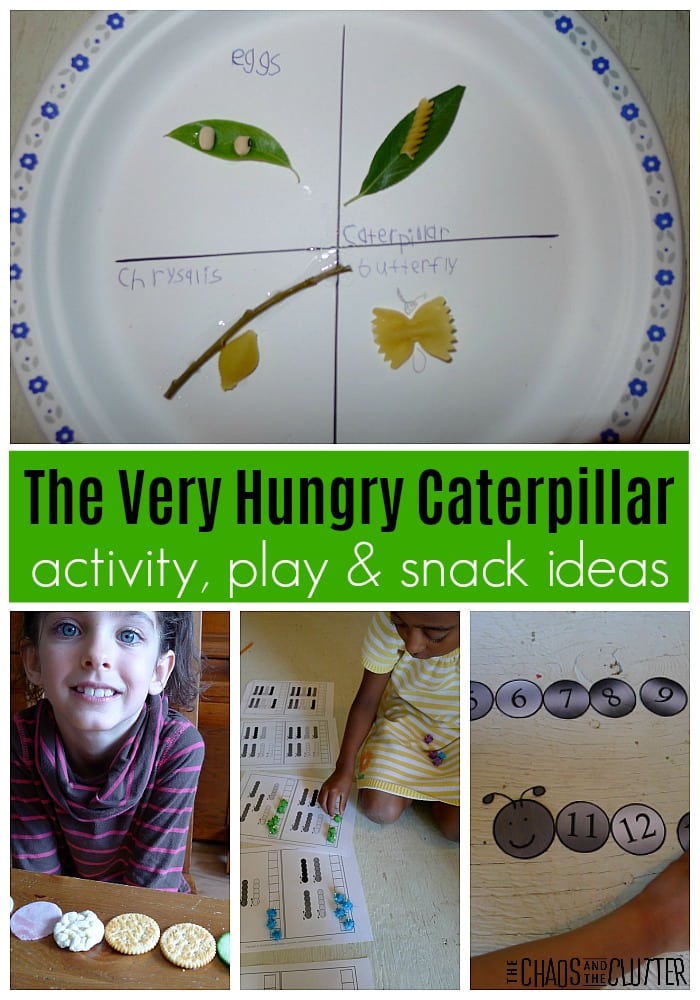
  I found this great idea for creating a Butterfly Life Cycle
  Our The Very Hungry Caterpillar themed muffin tin lunch tray included:
 caterpillar counting practise
 The kids did caterpillar counting using pompoms (find the printables on
  caterpillar colours sheet from
  butterfly craft using tissue paper
 hungry caterpillar Do-a-dot pages
 the very hungry caterpillar alphabet dot-to-dot from
  butterfly colour-by-number from