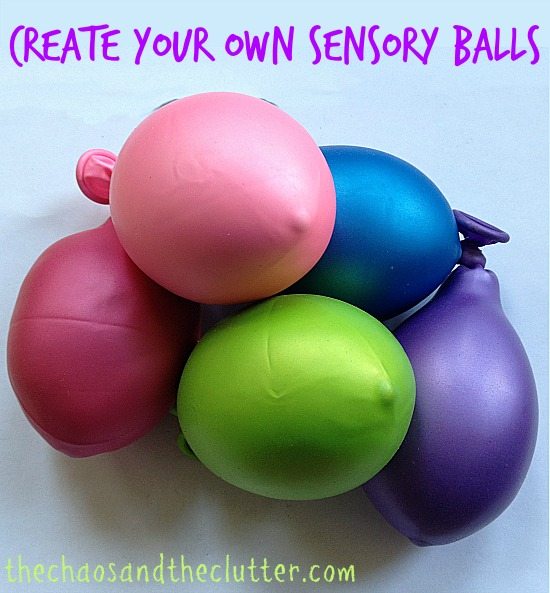
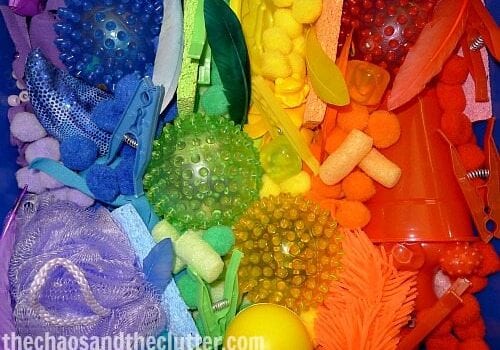
I have been busy making activity bags (also known as busy bags ironically!) for Dancing Queen and one of the things I decided to make for her were sensory balls. Making your own stress ball or sensory ball is easy to do and so inexpensive. Now that I know how easy these are to make, I keep some in the van, one in my purse, one in each of the kids’ backpacks, one in each of the calm down kits, and some in almost every room of the house.
How to make a stress ball:
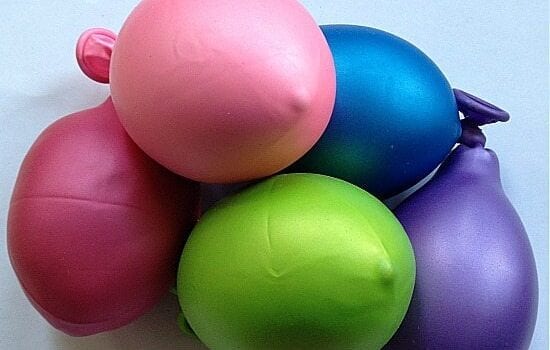
The first time I made sensory balls, I filled balloons with homemade playdough. I didn’t bother to add scent or food colouring because once it was inside the “ball”, it wouldn’t be seen or smelled.
 The next step seemed easy enough…stuff some of the playdough into a balloon. This was much easier said than done!!! I tried holding the balloon open with my fingers and shoving it in with the other hand. I tried holding it open with the fingers from two hands while having one of my girls shove playdough in and that resulted in little cuts on my fingers from her nails.
At this point, I still did not have one full stress ball! I then came up with the idea to insert a coupler (cake decorating tool) into the top of the balloon and make skinny snakes with the playdough and get them in that way. It was still tedious, but it was much easier than the other methods I had tried. After making about five of these playdough filled balloons, I began to think that there must be an easier way to make these sensory balls. I did a google search and read about filling them with flour. I made a funnel out of paper and quickly filled five balloons with flour.
The flour filled sensory balls felt very similar to the playdough filled ones. They had somewhat of a softer feel and did not hold their shape when pressed in the way the playdough filled ones, but when surveyed, every one of my kids preferred the flour filled sensory balls. I also filled a few with dry rice (also using the paper funnel) for a different sensory experience. None of my kids like the rice filled ones. Now when I make sensory balls, I don’t bother with the playdough ones at all. I fill all of them with flour instead of messing with the playdough or bothering with rice. The kids really like squeezing the sensory balls and they are a fraction of the cost that store-bought stress balls are.
*note: use the helium quality balloons for best results
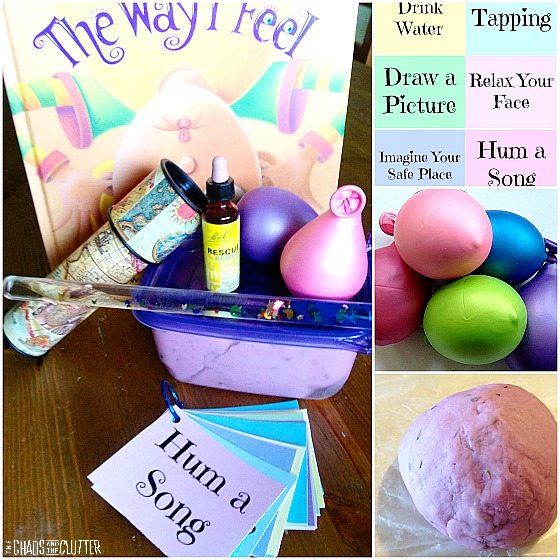
Update: We’ve made these using just flour another half a dozen times or so over the past few years. They sometimes last for many months at a time. You can use permanent marker to draw a face on them or write the name of the child it belongs to. Remind kids not to bite them as they will break if bitten hard enough.
We take our sensory balls with us everywhere. The kids each have one in their backpacks. I have one in my purse for waiting rooms or in the van. Our kids also include them in their anti-anxiety kit and we have one in our sensory room.
Important note: Balloons present a choking hazard and a mouthful of flour isn’t very fun either, so only use these if you know your child won’t be putting it in their mouth and always provide supervision. If you have a child who always needs to put things in their mouth, give them an alternative sensory item for chewing.
For sensory information and resources for the home or classroom, check out Sensory Processing Explained: A Handbook for Parents and Educators. 
Join me for a free 5 part email series, Little Hearts, Big Worries offering resources and hope for parents.
 I also served


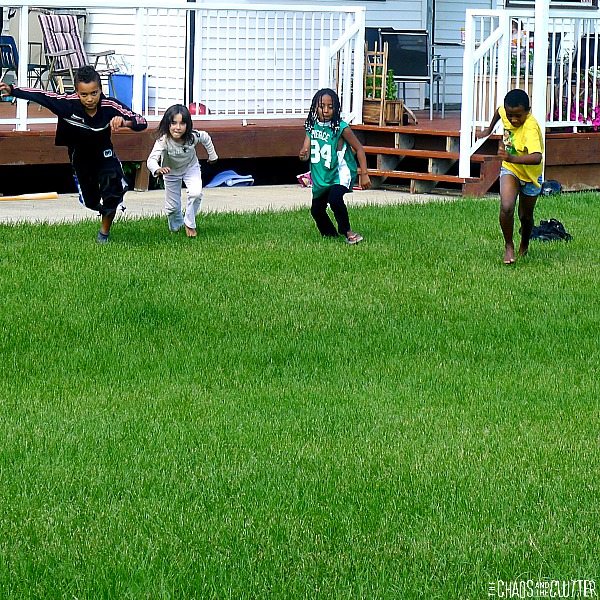
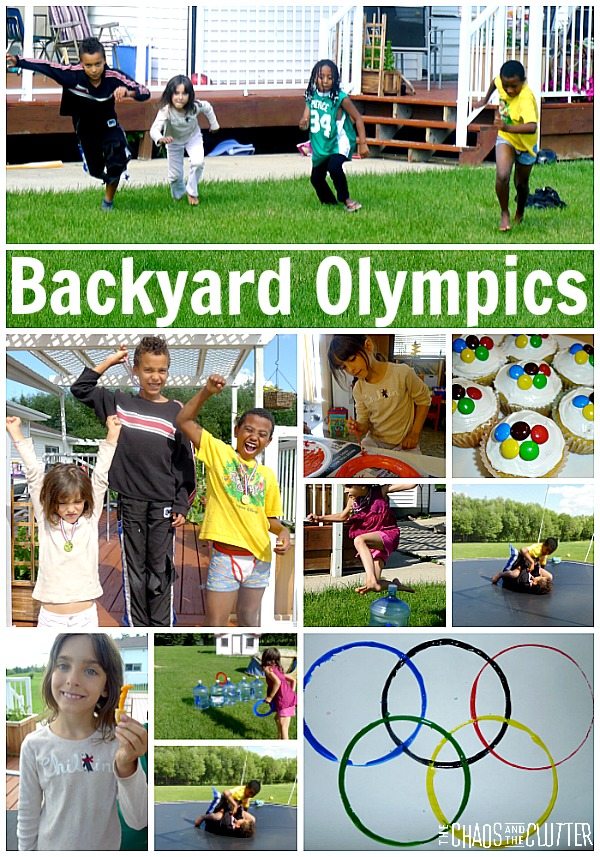
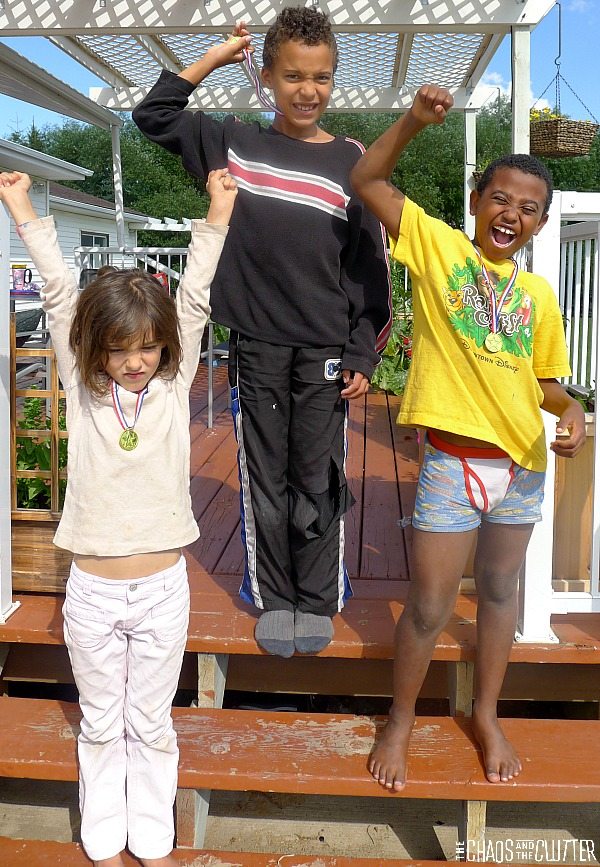 The other events included discus, ring toss (tossing the rings we had made out of foam plates onto large empty water bottles), wrestling (on the trampoline), gymnastics floor routine on the grass (this was the kids’ favourite!), and hurdles (over empty water jugs).
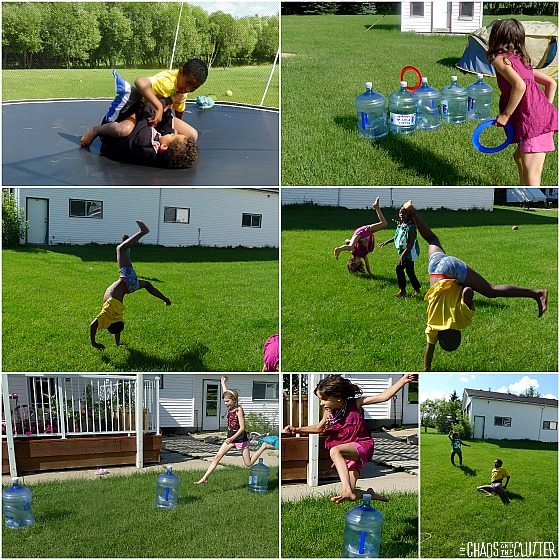 We have more Olympic activities planned in the coming weeks, so stay tuned! For more ideas, you can also check out my
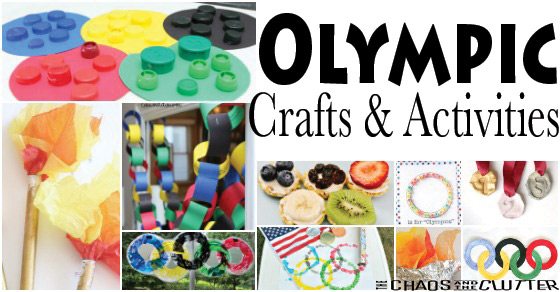


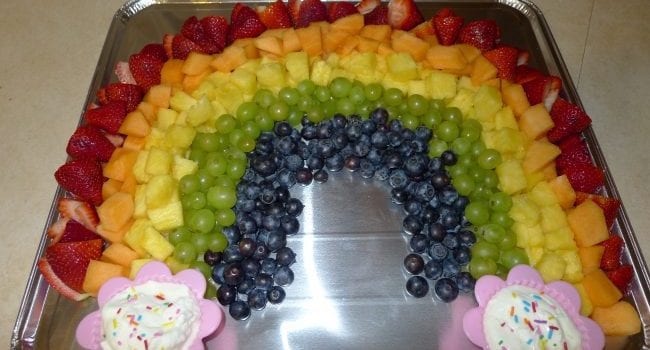
 In our Rainbow Fruit Tray:
 In our Rainbow Veggie Tray:
 Rainbow Themed Muffin Tin Tray:


 I printed the colour by number sheet and the “Rr is for Rainbow” sheet from

 My girls helped me make these treat bags to hand out to the party guests. I got the idea
 The food was a very colourful array. I tried to think of as many edible rainbow things as I could. You can find details about how to make the
  Making the layered jello cups took a lot longer than I anticipated, so I’m glad I got a picture because it’s unlikely that I’ll ever make them again! If I did though, I would make them in smaller plastic cups or make them in a sheet pan and cut them into squares.
 For crafts, I let imagination be the key. I put out paint, paintbrushes, clay,
  The decorate-your-own-cupcake area was popular, as evidenced from the expression on Dancing Queen’s face. Miss Optimism made vanilla cupcakes and added sprinkles before she cooked them so they had a bit of a rainbow on them. We set out four colours of icing, more sprinkles, and lots of candy for the kids to add.
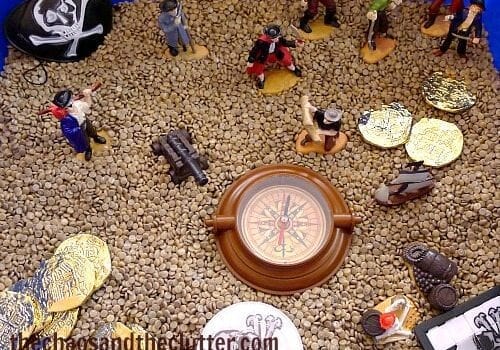


 I found an awesome printable for an outdoor pirate nature scavenger hunt where the kids could find things in the yard. Pictured here:
 Snuggle Puppy sailed his ship on the high seas!


 We used some books of course as part of our study. For reference, we mostly used the

