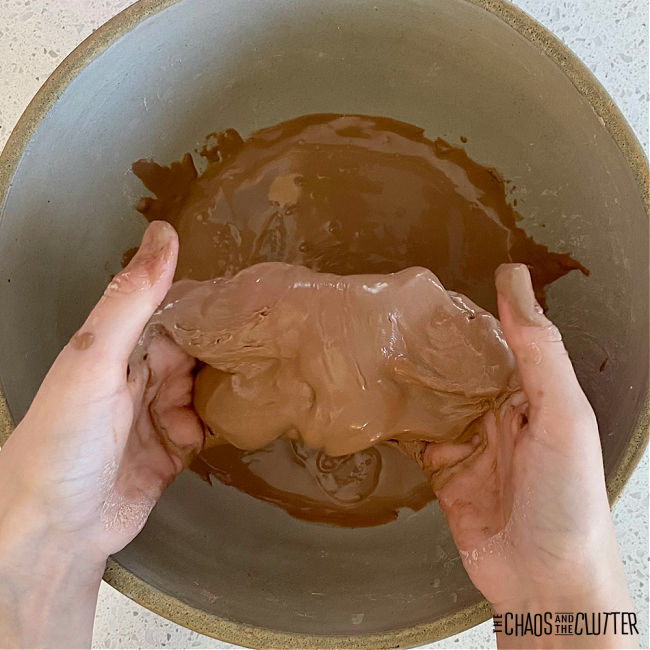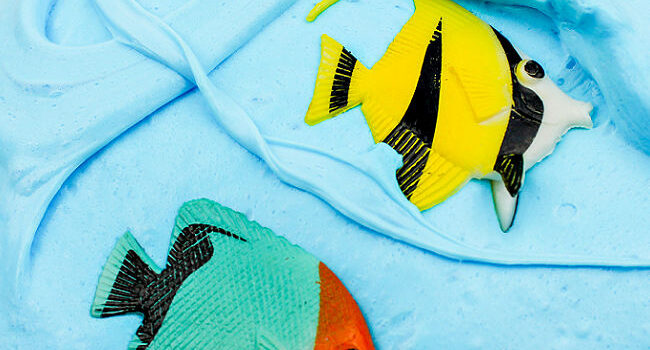
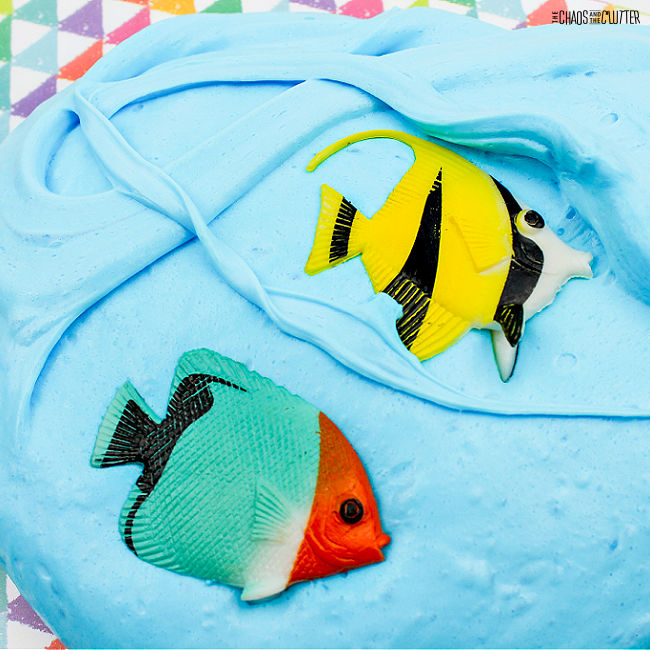
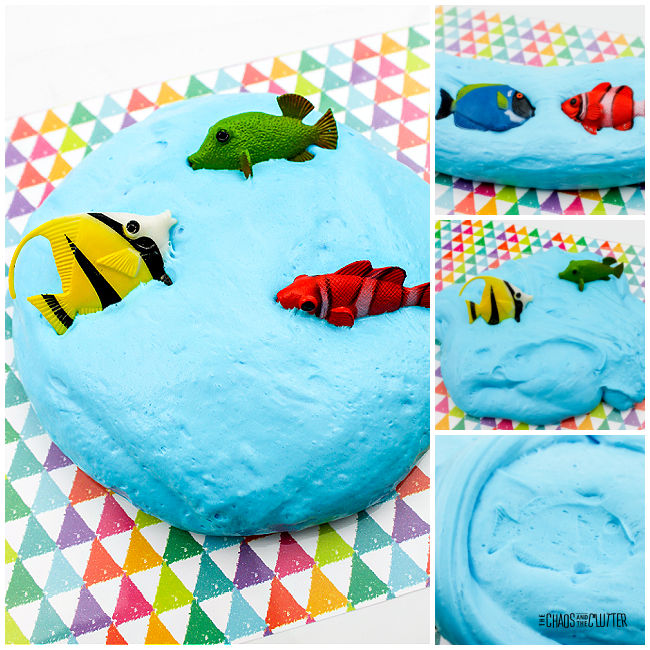
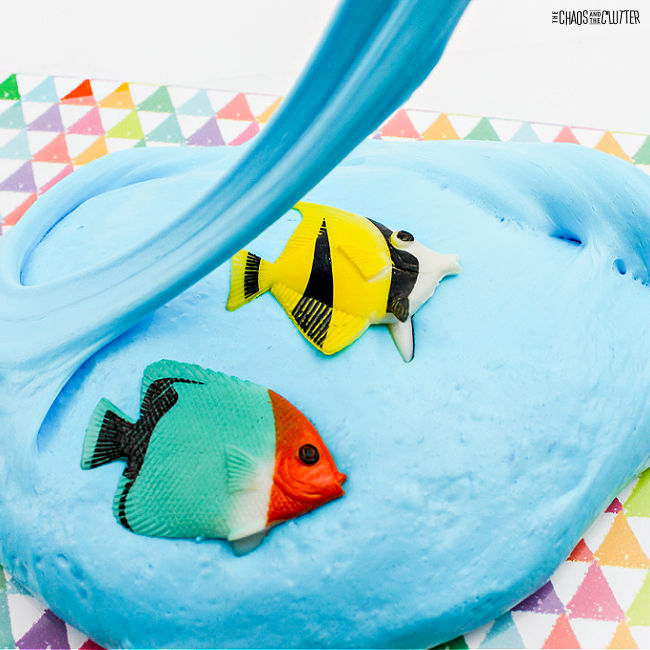
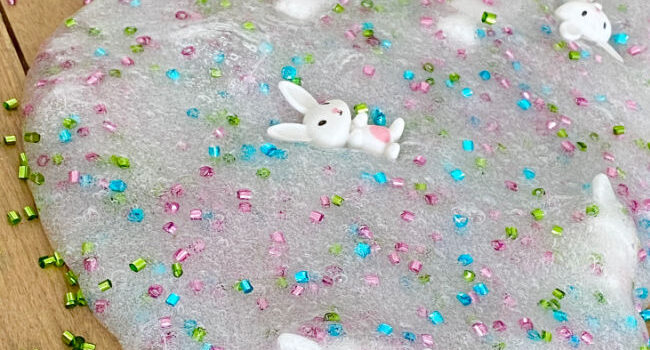
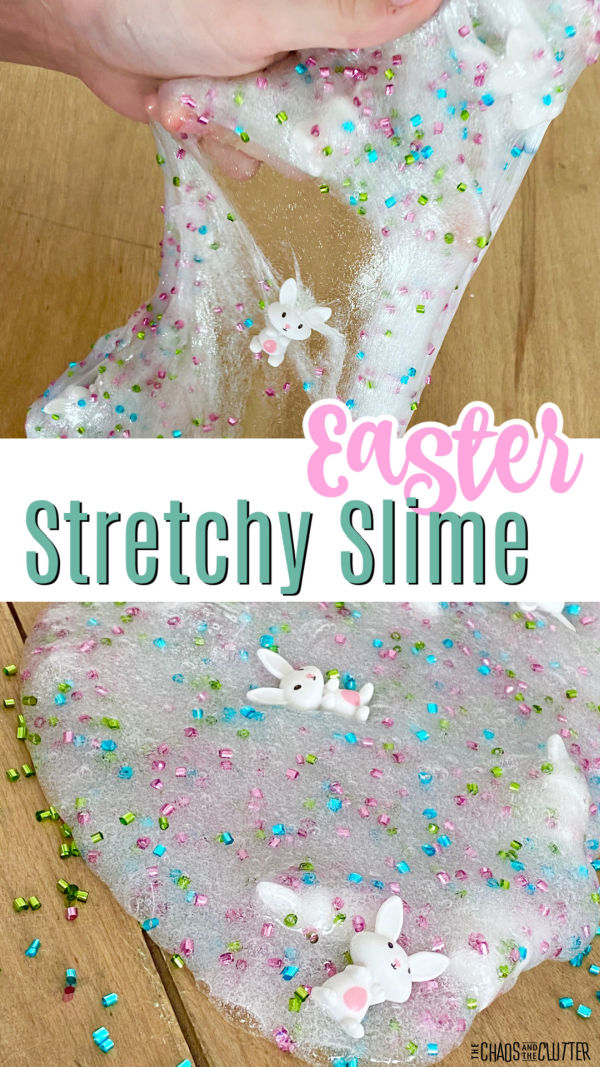
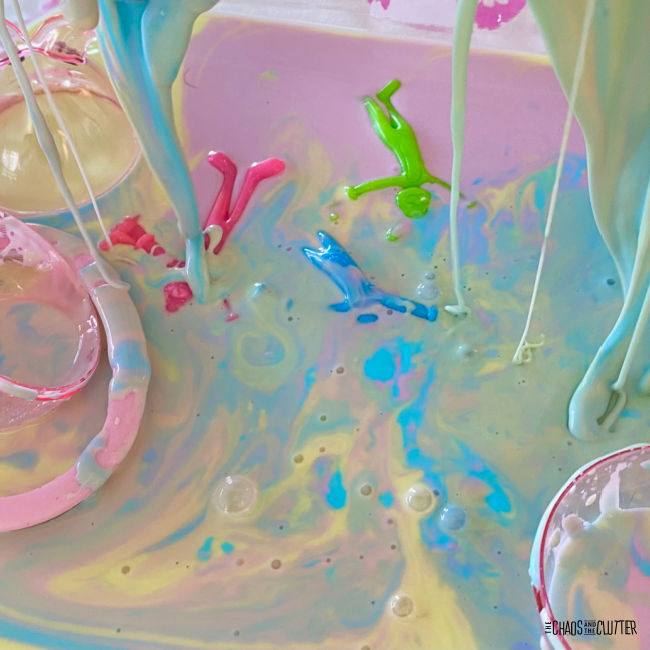
Pretend you’re playing underwater with this fluffy fish slime. The consistency of this fluffy slime lends itself well to imaginary play and the fish add another adorable element.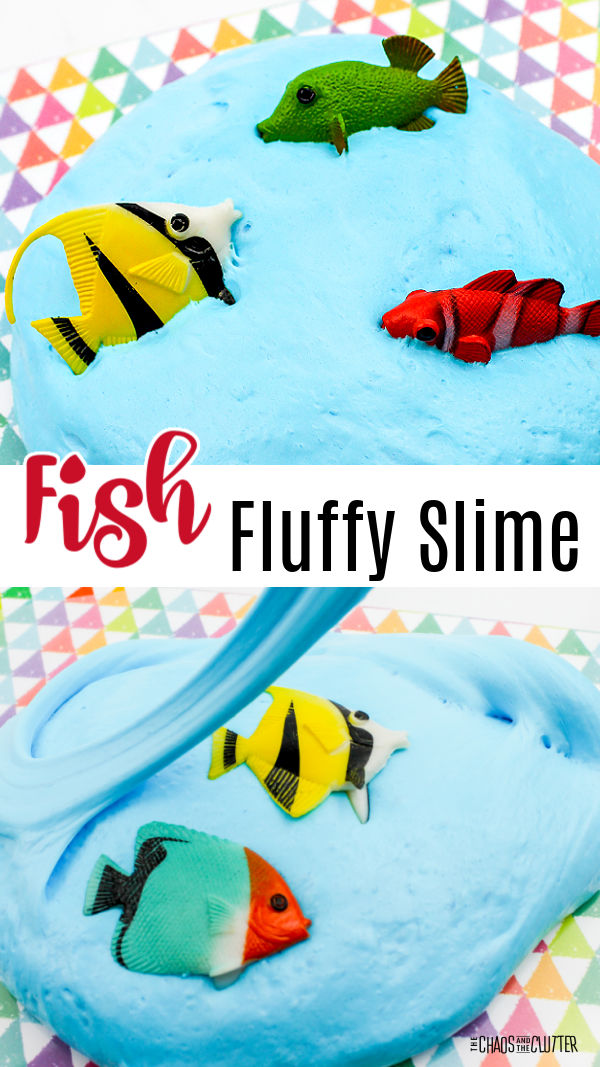 Slime is pretty popular in our house and fluffy slime is the favourite. Everyone loves the texture that the shaving cream gives to it. Plus, it’s got that really nice stretch to it.
Fluffy Fish Slime Recipe:
Supplies needed:
- ⅔ cup white Elmer’s School Glue
- 1 1/2 Tbsp. contact solution containing boric acid and sodium borate
- ¼ cup water
- ½ tsp. baking soda
- 3 cups foaming shaving cream
- 10 drops neon blue food colouring
- mixing bowl
- mixing spoon
- fish toys
- baby oil (optional)
 Directions:
- Pour the glue into a large mixing bowl.
- Add in the water and mix well with a spoon (we find that a wooden spoon works well).
- Drop in the baking soda. Mix.
- Spoon in the shaving cream. Fold into the mixture and mix.
- Add the blue food colouring drops. Stir well until the slime is blue all over.
- Slowly add in the contact solution and stir.
- Continue to stir to get a fluffy slime consistency.
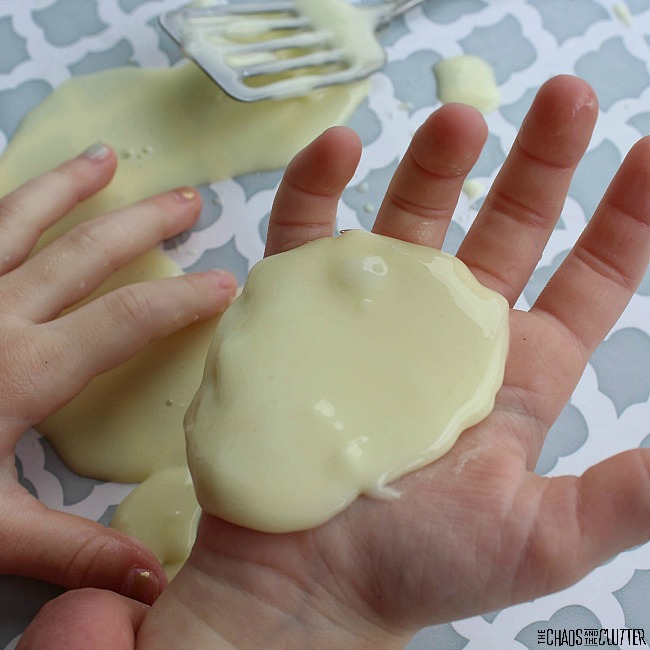
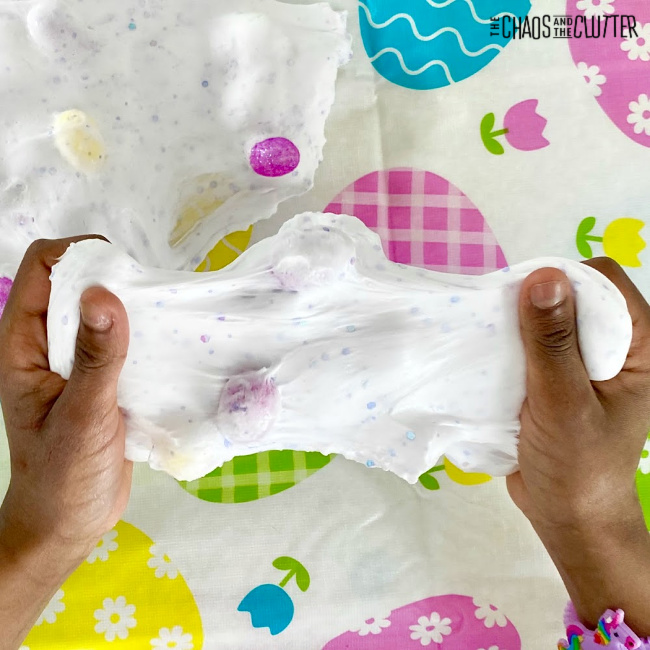
- Finish by kneading the slime with your hands. The slime is going to feel sticky at first. But don’t give up. Keep kneading! If you like, you can use a small amount of baby oil on your hands to keep the slime from sticking to you.
- After kneading for several minutes, the slime should be nice and fluffy!
- Add the fish toys and fold them into the slime.
 Adult supervision should be used with this and all other sensory play activities.
This engages the visual, proprioceptive, and tactile sensory systems, making it a great sensory play idea. You can find more easy ideas in our Sensory Play Recipes eBook.
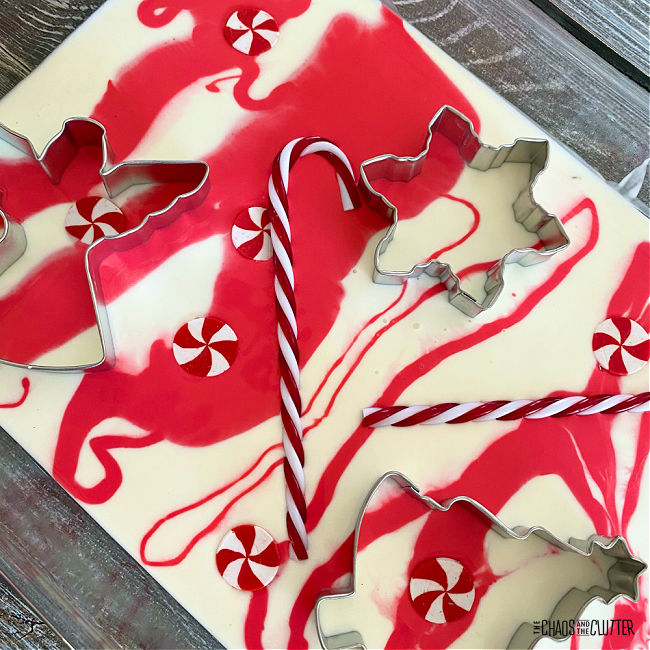
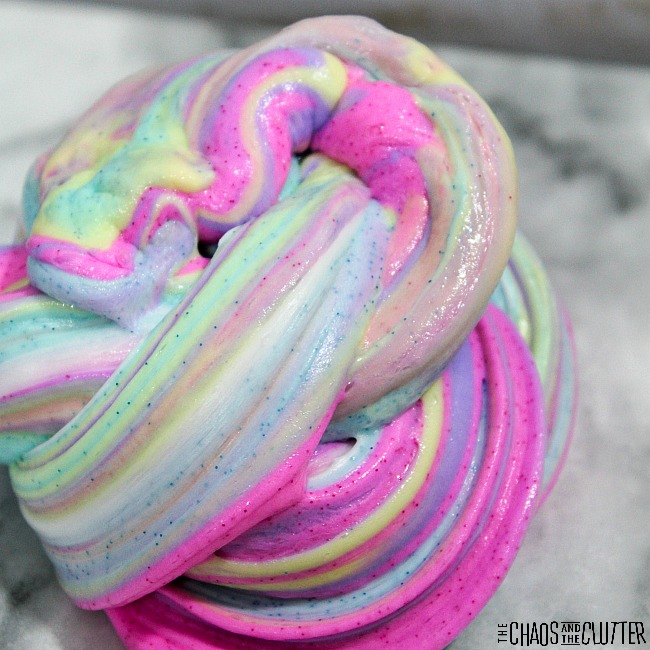
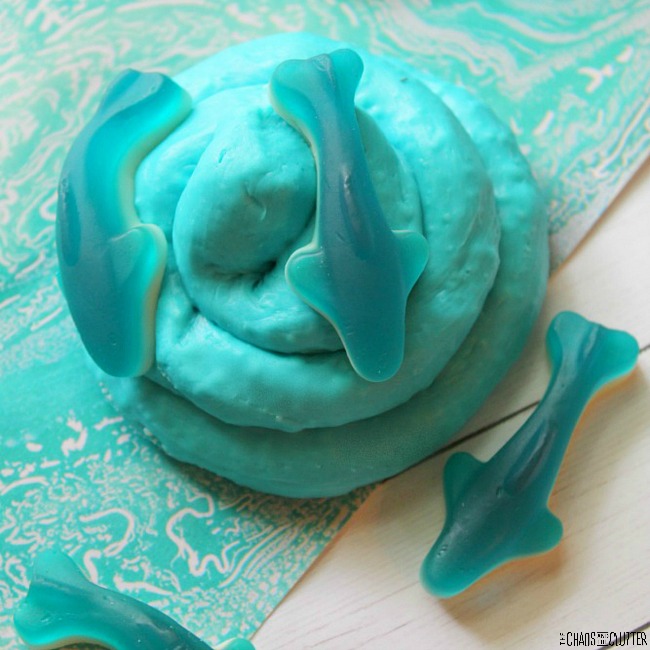
 Be sure to check out some of our other fluffy slime recipes. These ones are our favourites:


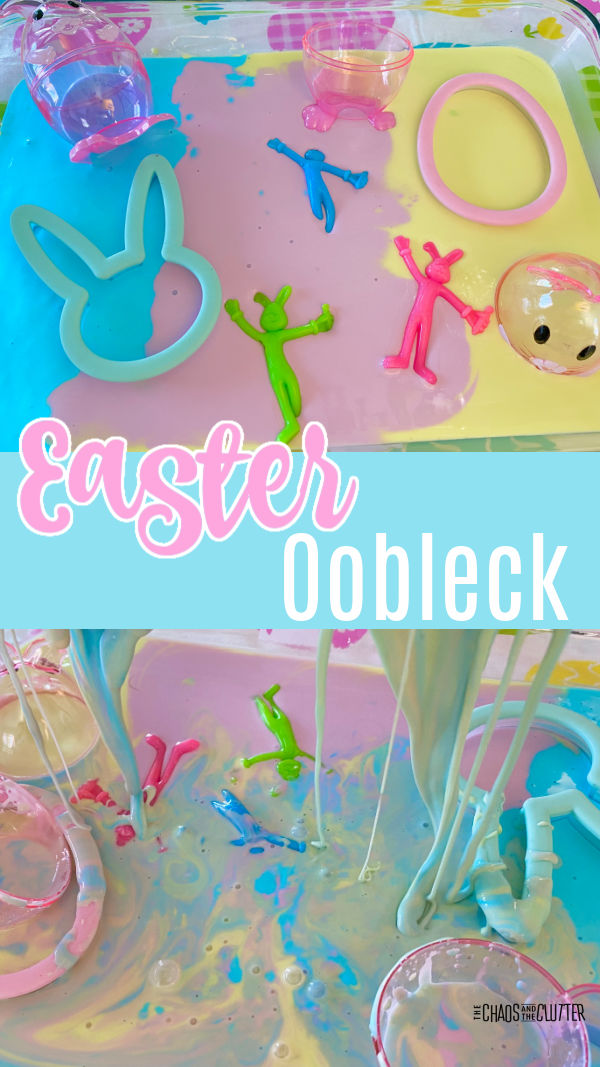
 Homemade slime is great for any occasion. In the video below, you’ll see just how easy it is to make this slime at home.
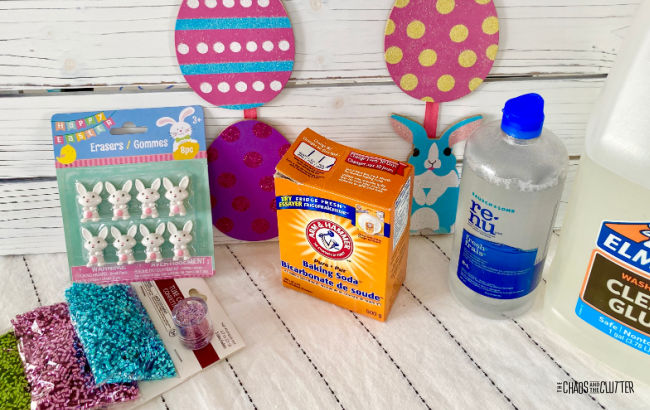 Instructions:
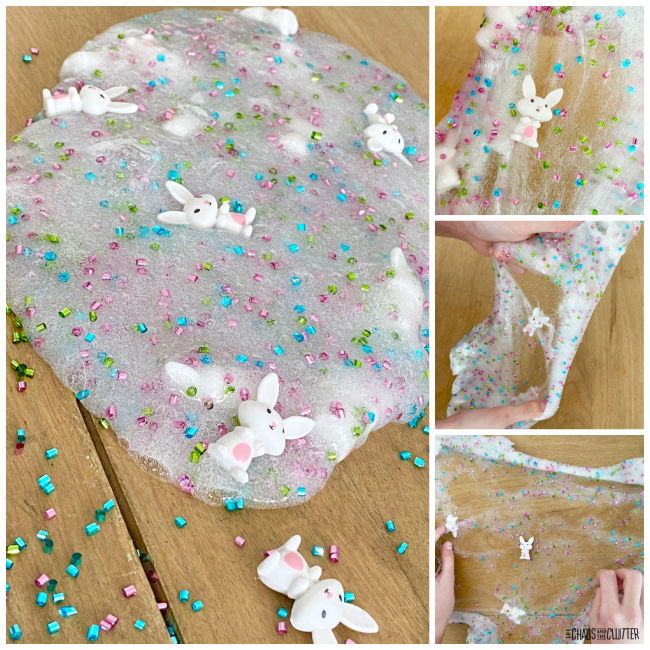 Be sure to use adult supervision with this or any other sensory play activity.
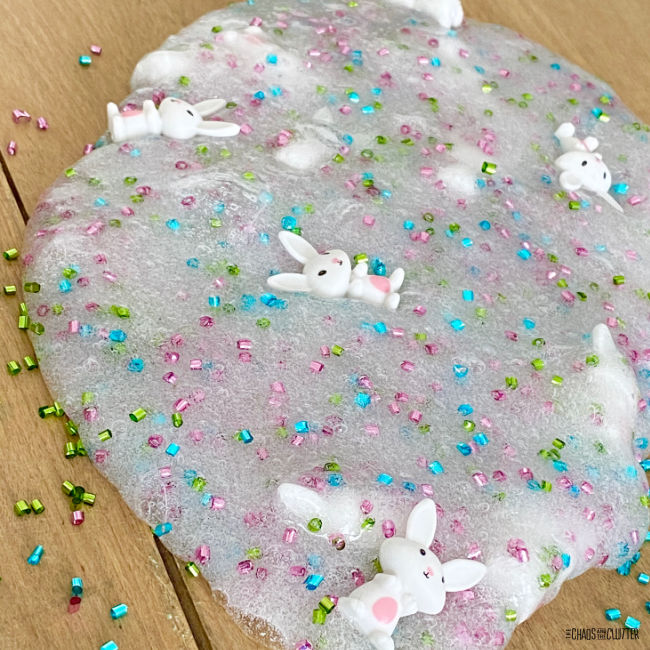
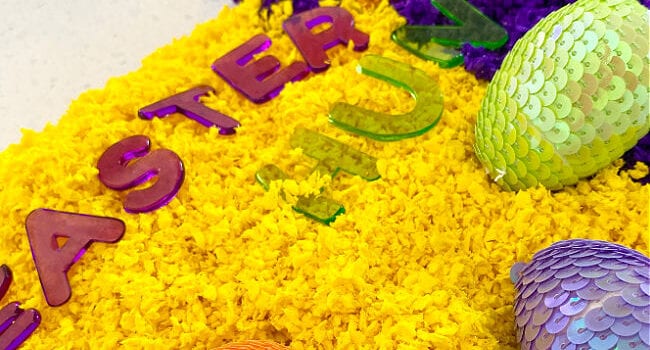
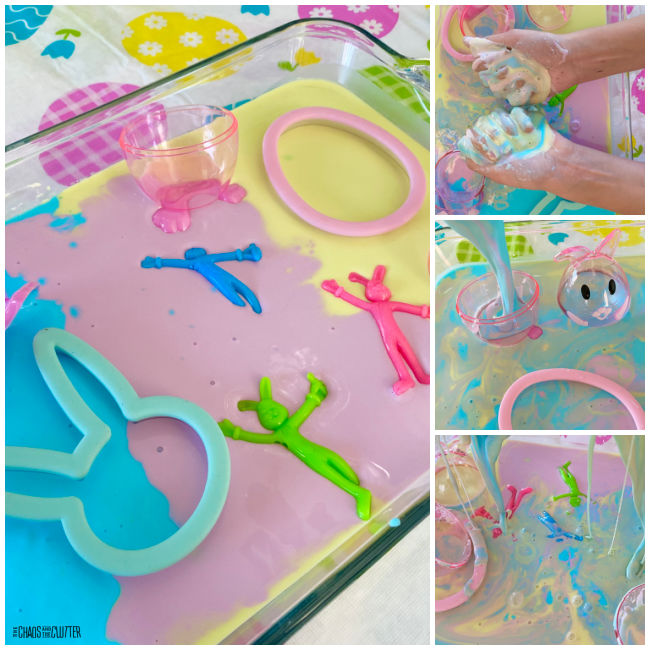
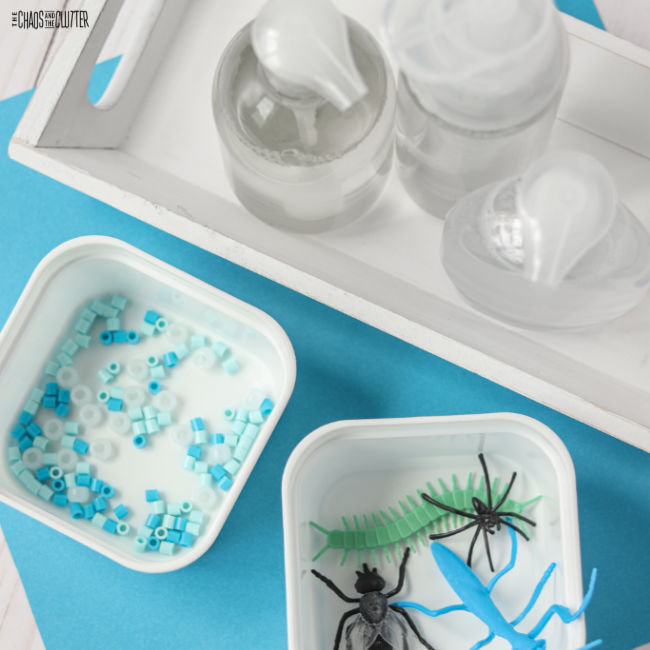
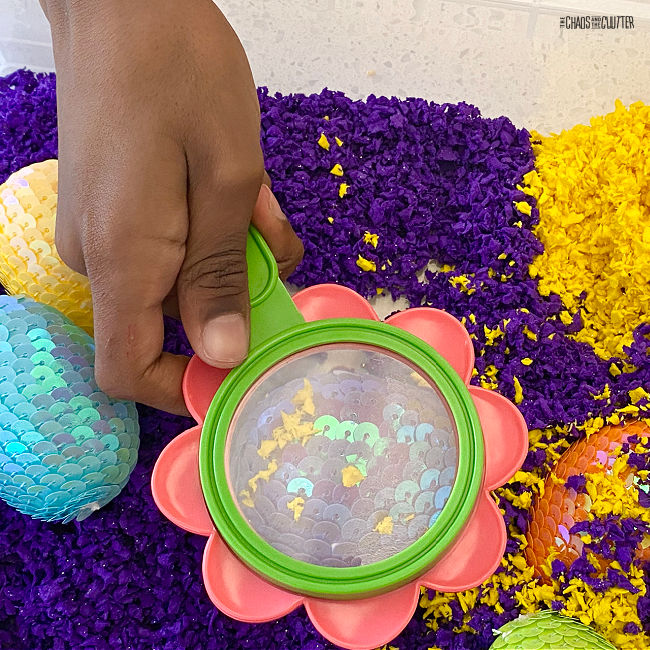
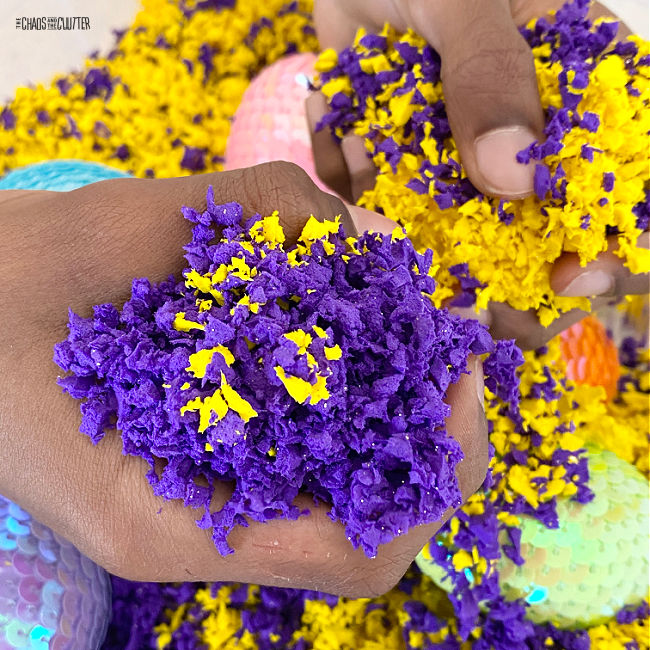
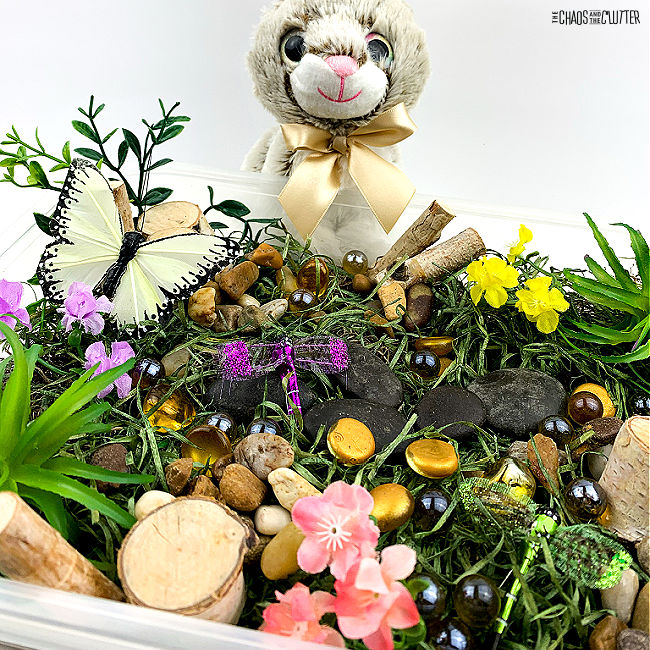
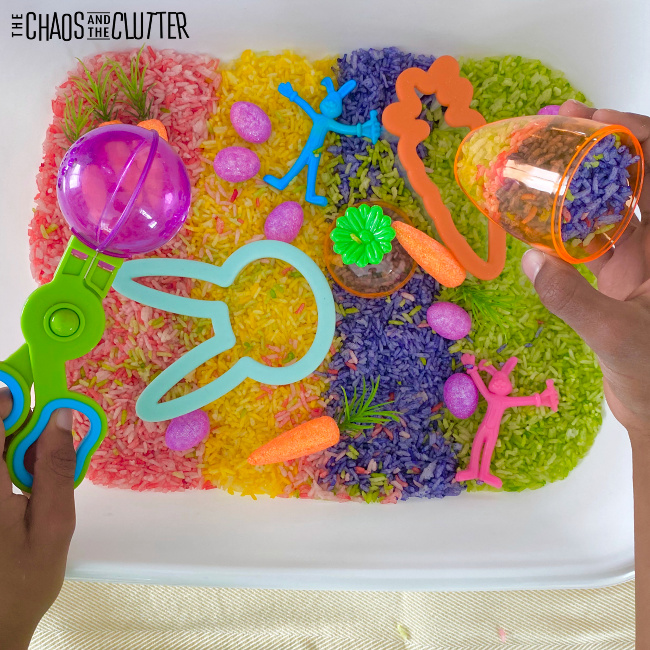
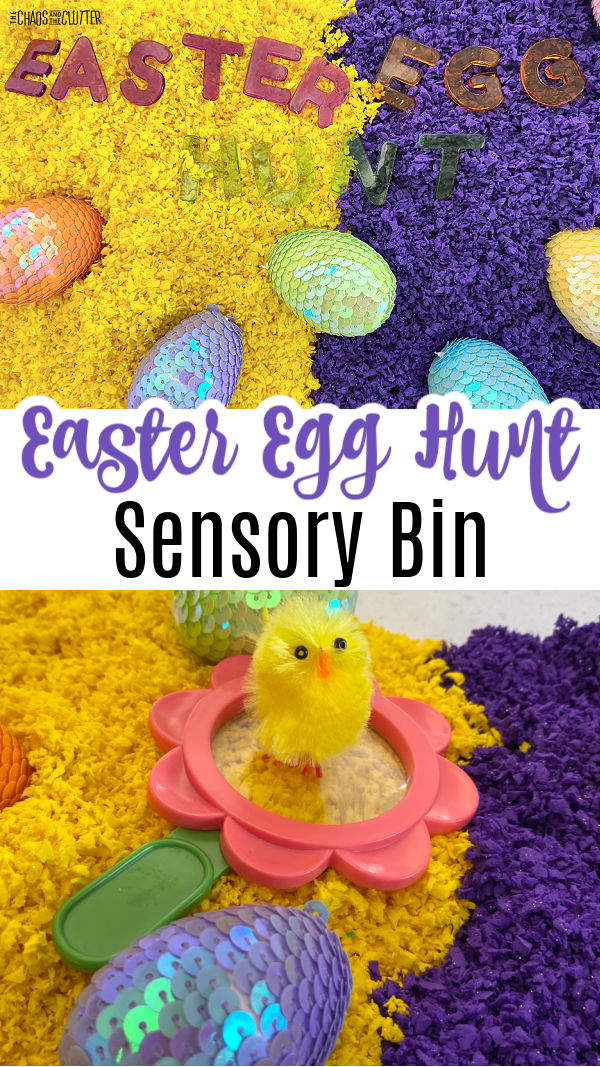 Using common Easter themed items in your sensory bin is the perfect way to get your kids playing and learning by using their senses. Each item on the bin is designed to help your child learn as they play by engaging at least one of their senses – sight, sound, smell, touch, and taste.
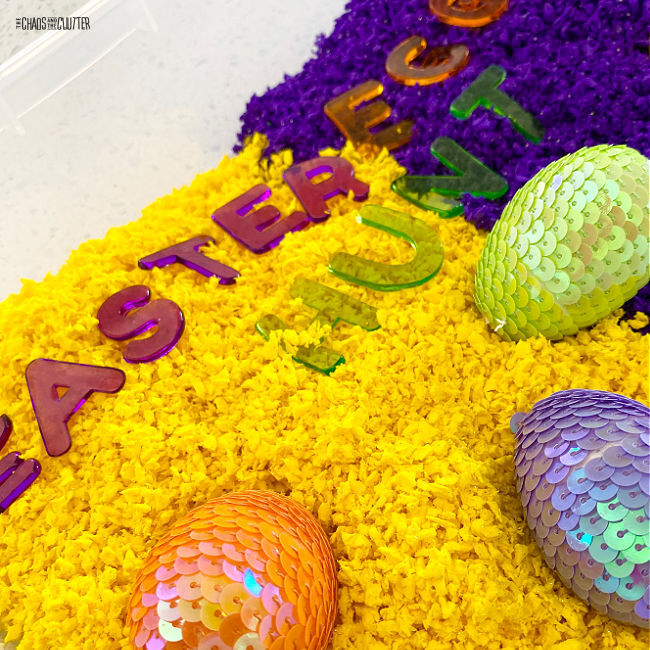 Instructions:


 Instructions: