I’ve always thought of Fall as my favourite time of year, but this year, I’m rethinking that. It’s felt like an especially long winter both literally and figuratively and it feels so good to see signs of Spring emerging. Maybe you feel the same way.
This Spring Bucket List is a great way for you to celebrate this new season and what it represents by creating new memories with your family.
Download and print off the list and put it up on your fridge or bulletin board for easy reference. I purposely chose activities that were low cost or free. 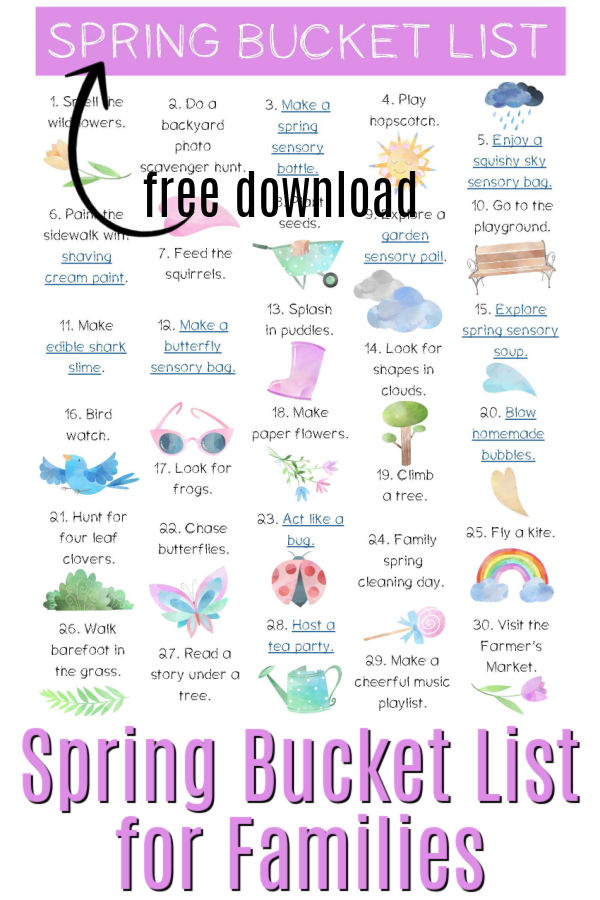 As you complete items, cross them off the list. Do them in order, choose them at random, or do them in the order that works best for your family.
This is not meant to be an exercise in perfection. Use this as a guide and let the fun grow from there. This is meant to foster family connection and allow you to enjoy time together.
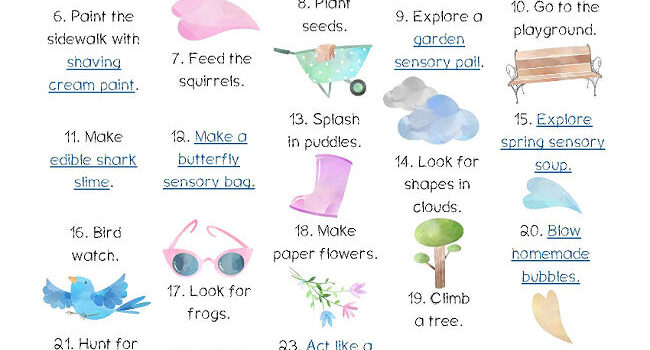
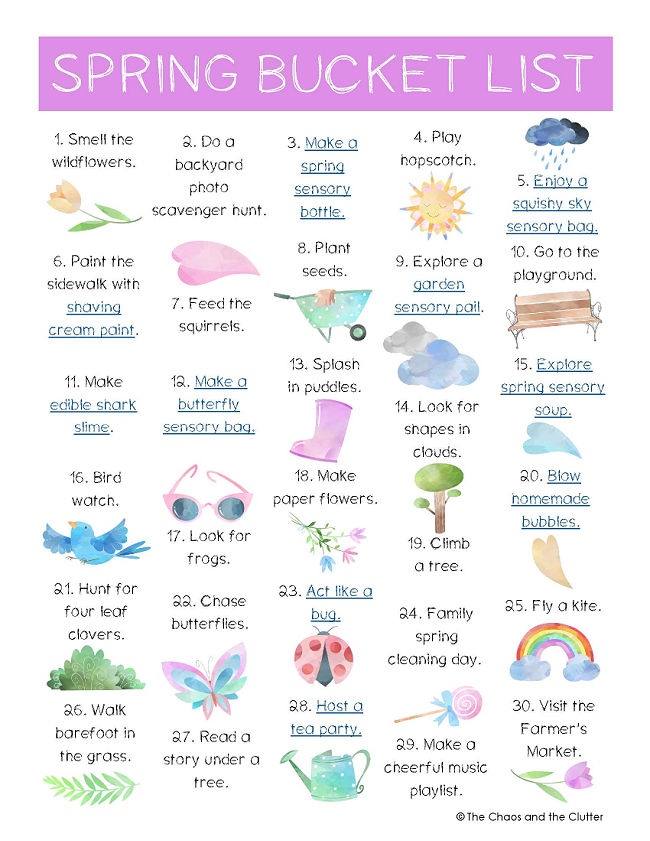
Spring Bucket List Ideas:
-
- Smell the wildflowers.
- Do a backyard photo scavenger hunt.
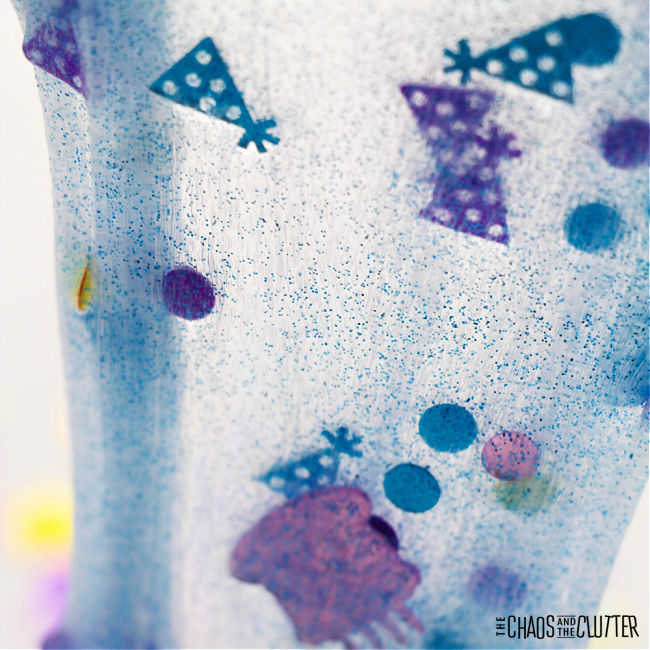
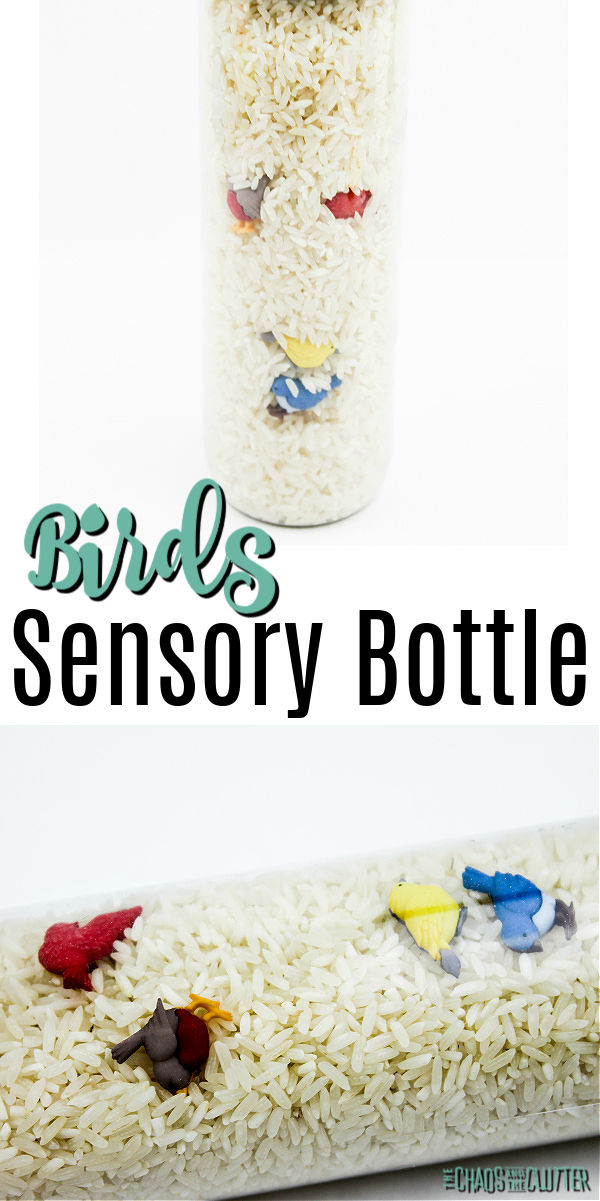
- Make a Spring sensory bottle.
- Play hopscotch.
- Enjoy a squishy sky sensory bag.
- Paint the sidewalk with shaving cream paint.
- Feed the squirrels.
- Plant seeds.
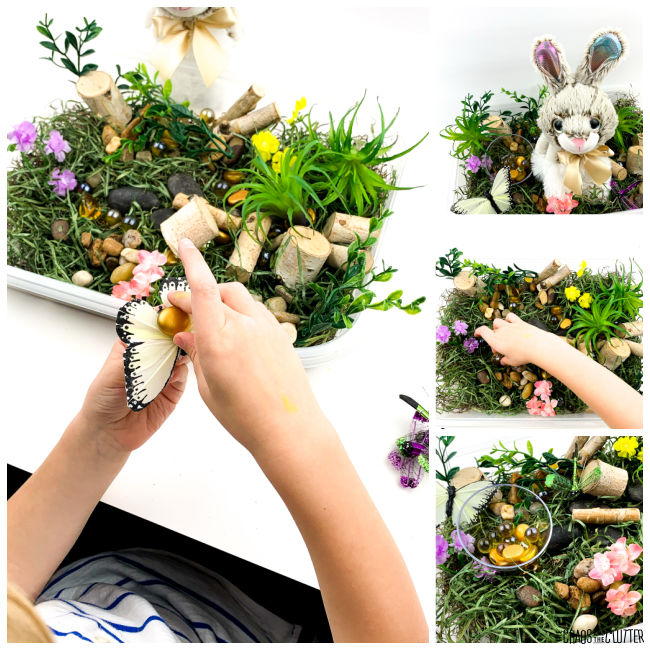
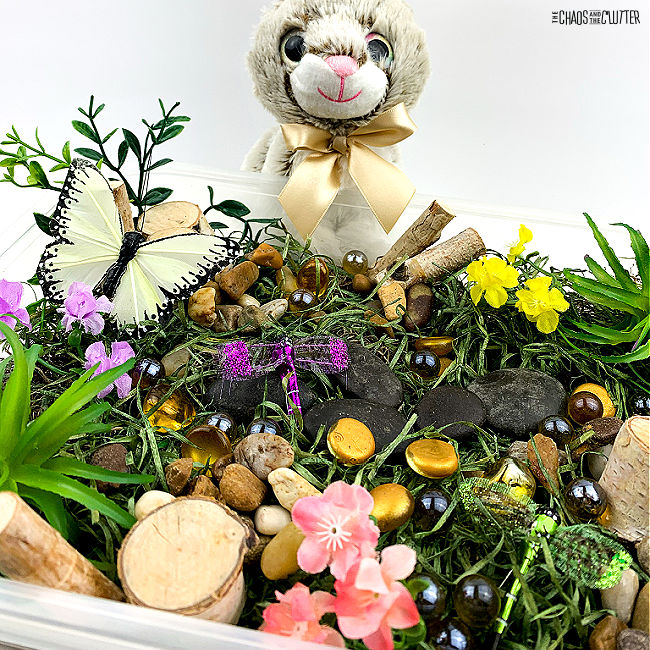
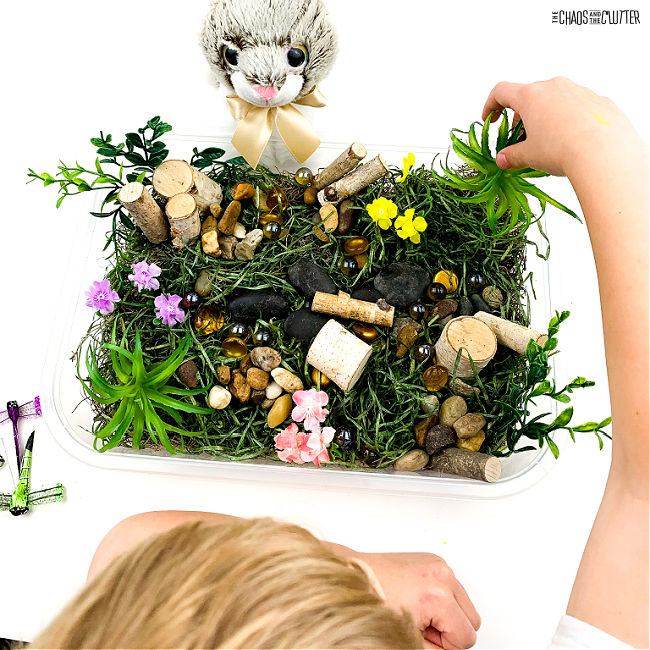
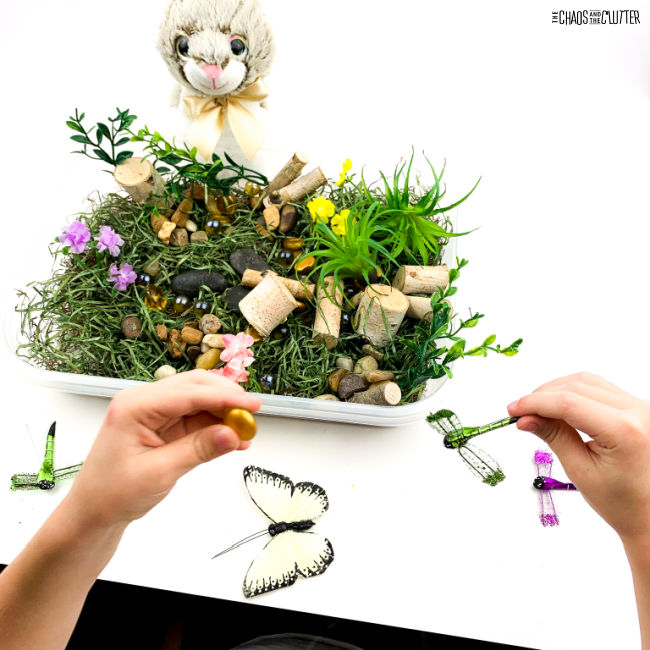
- Explore a garden sensory pail.
- Go to the playground.
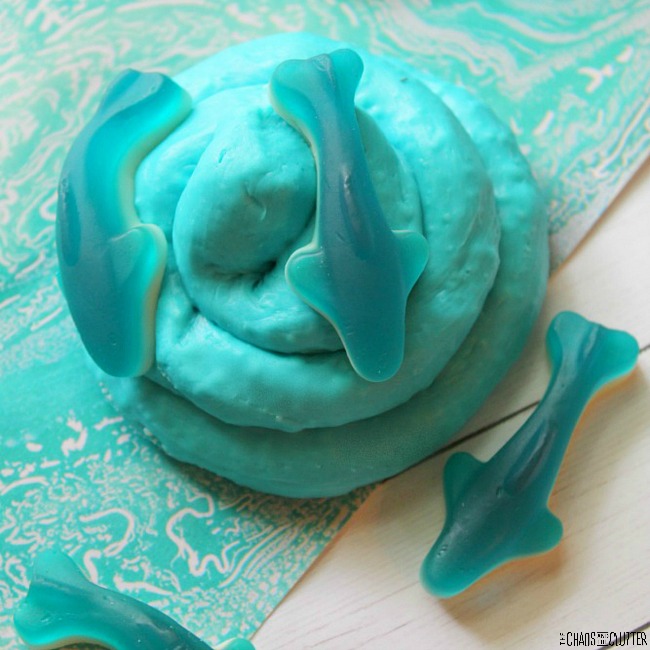
- Make edible shark slime.
- Make a butterfly sensory bag.
- Splash in puddles.
- Look for shapes in the clouds.
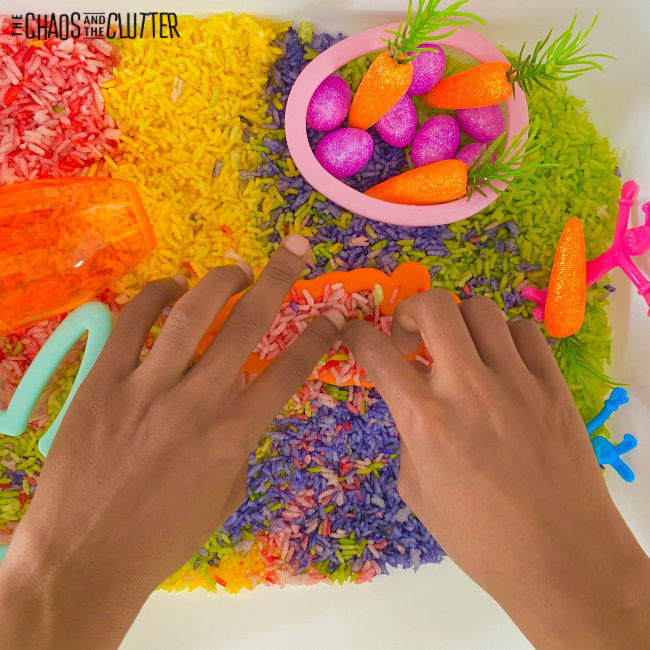
- Explore spring sensory soup.
- Bird watch.
- Look for frogs.
- Make paper flowers.
- Climb a tree.
- Blow homemade bubbles.
- Hunt for four leaf clovers.
- Chase butterflies.
- Act like a bug.
- Family spring cleaning day.
- Fly a kite.
- Walk barefoot in the grass.
- Read a story under a tree.
- Host a tea party.
- Make a cheerful music playlist.
- Visit the Farmer’s Market.
 Download your Spring Bucket List today and you’ll also get our free email series 5 Secrets to Powerful Family Connection.
You may also be interested in:
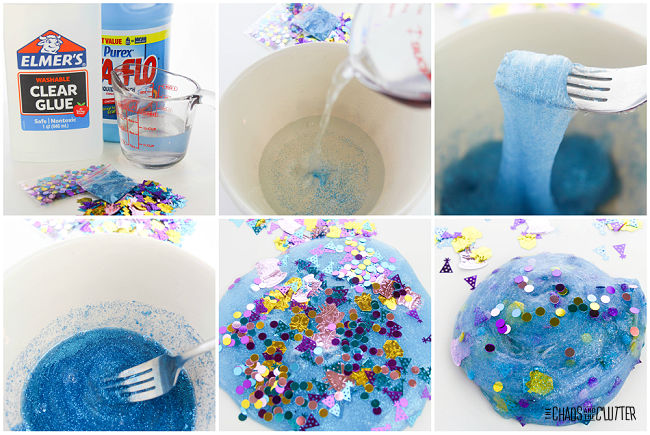
 Instructions:
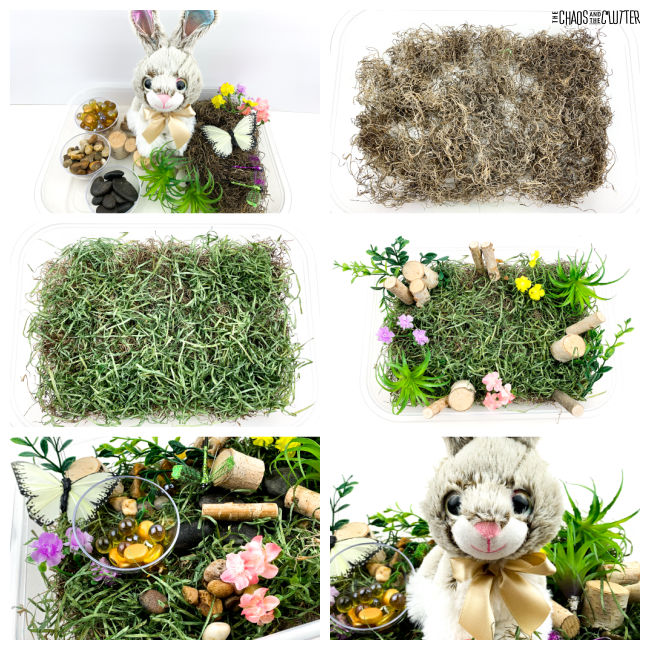
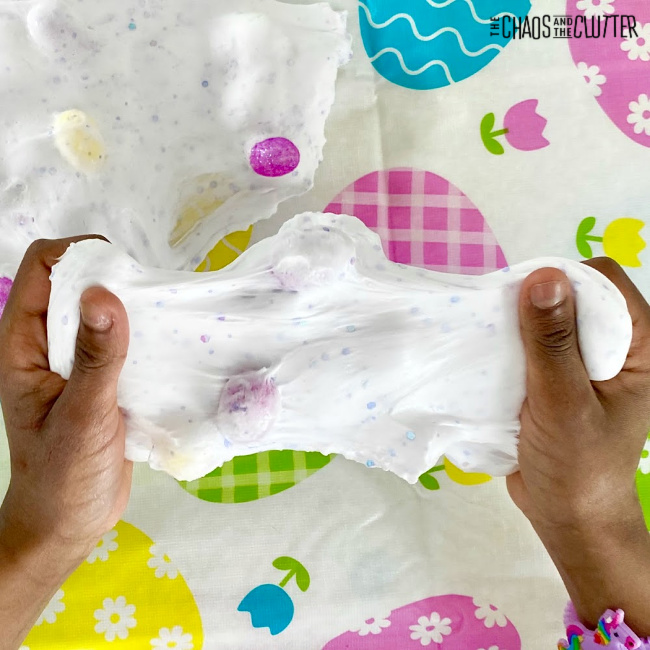
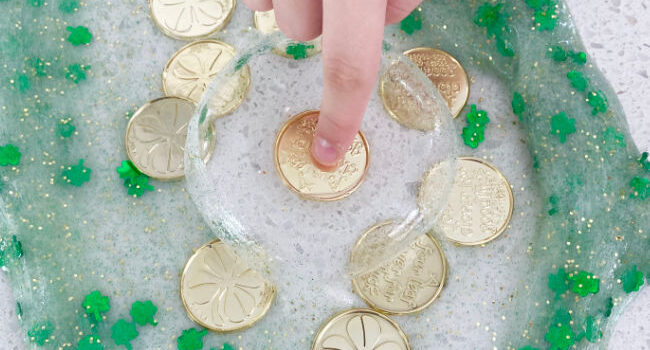
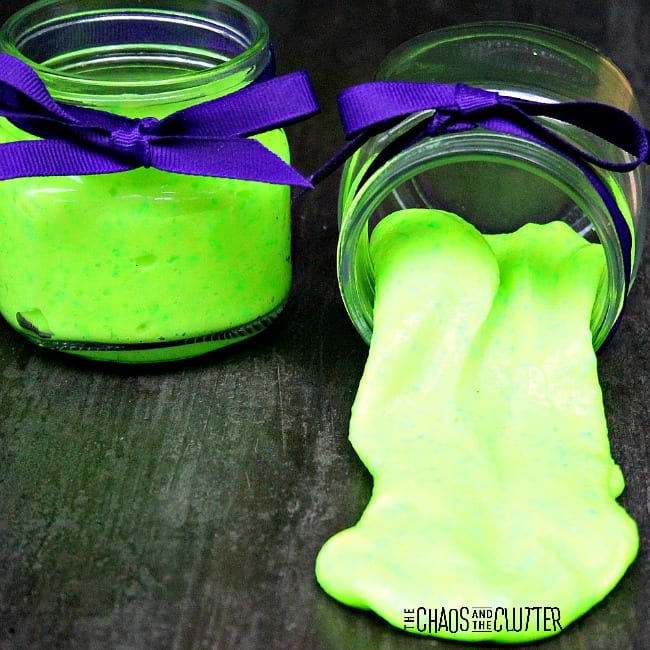
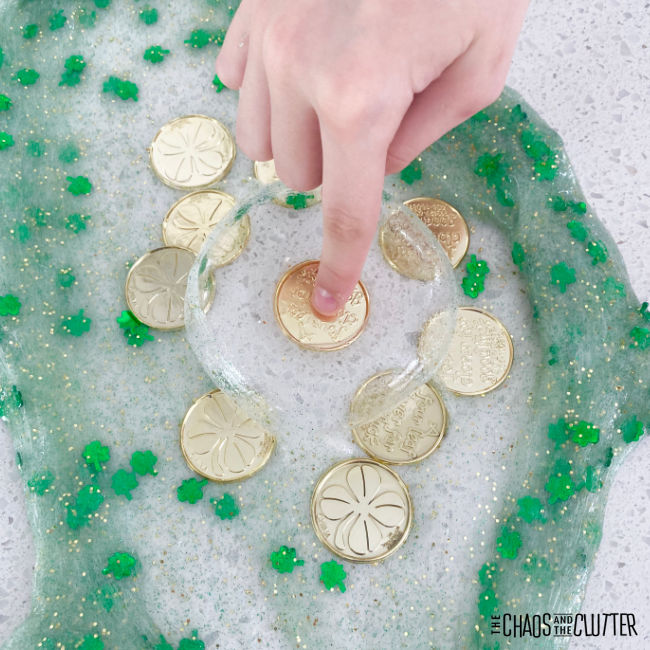
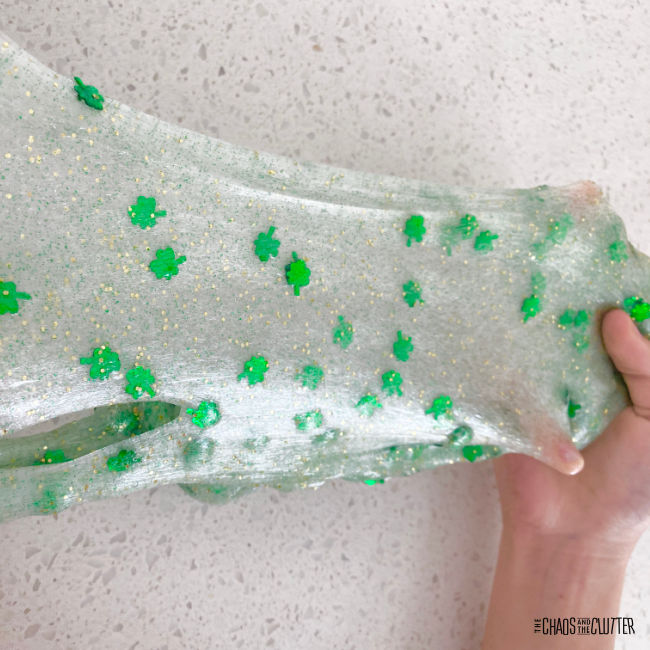
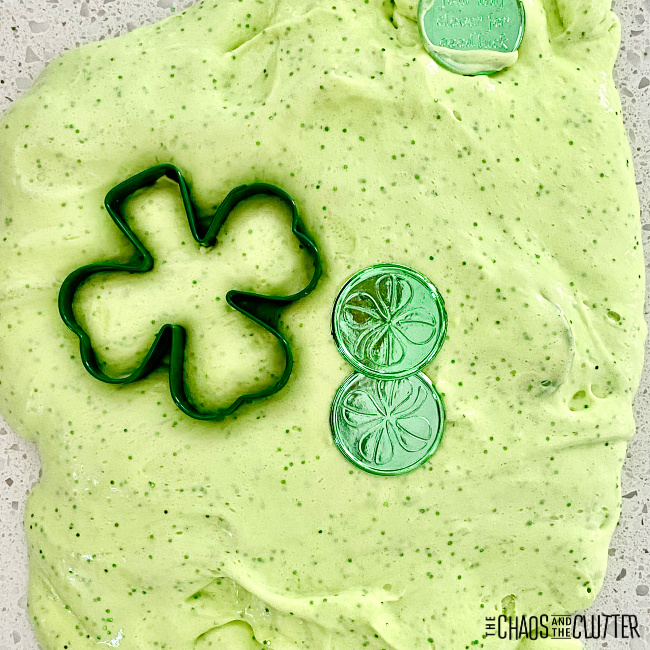
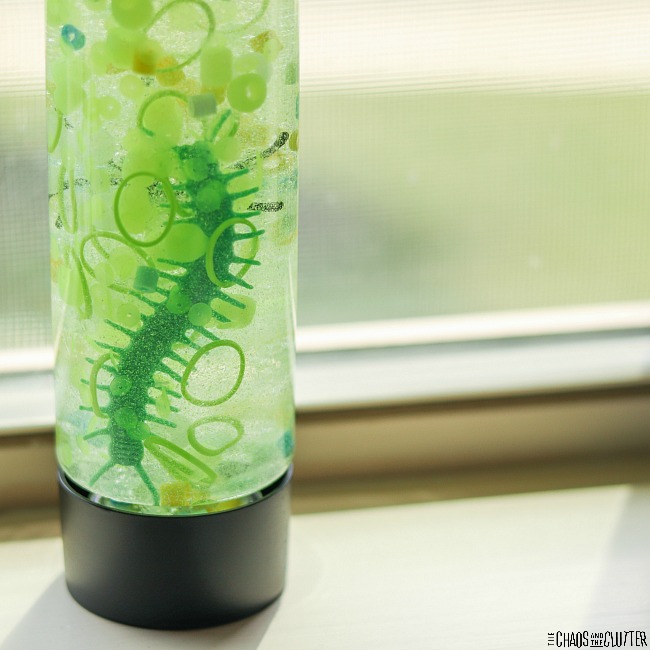
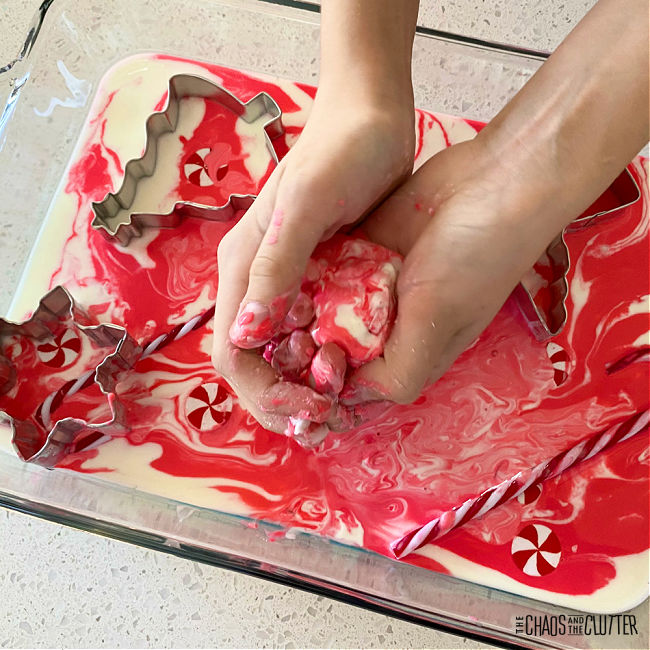
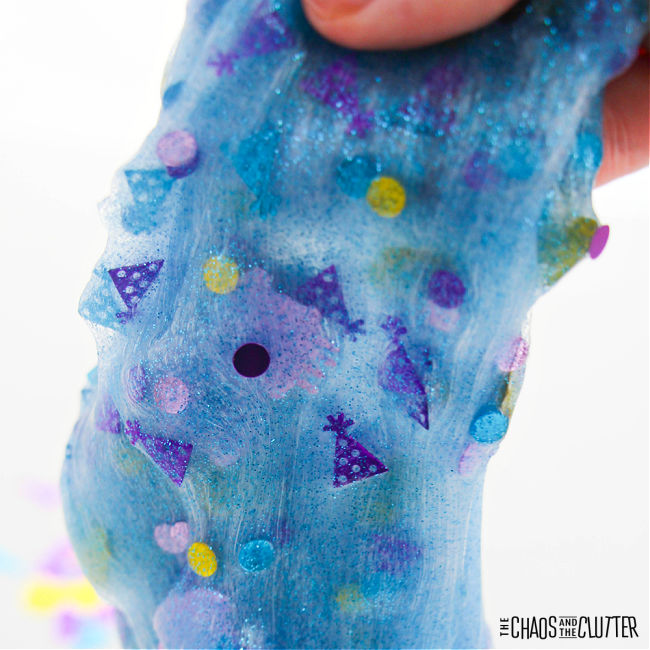
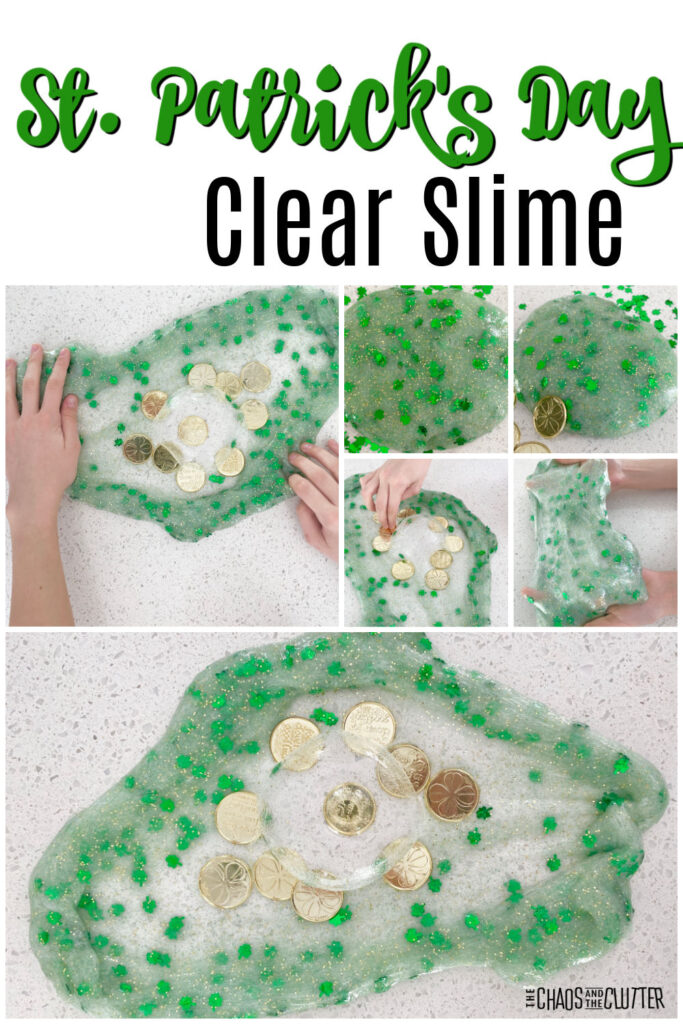 What’s so great about making clear slime is how easily it can be adapted to the holiday season. Use the basic recipe to make the slime, then mix in different elements based on your celebration. To make your own St. Patrick’s Day slime, grab some gold glitter, shamrock confetti, and plastic coins for your kids to incorporate into their homemade recipe.
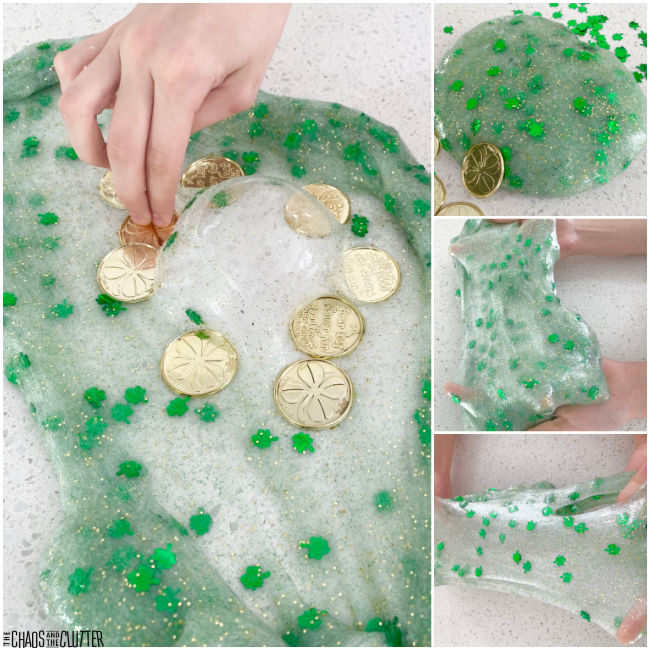
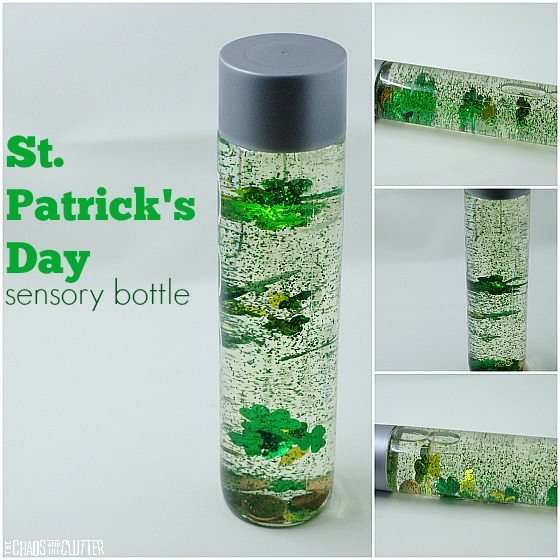
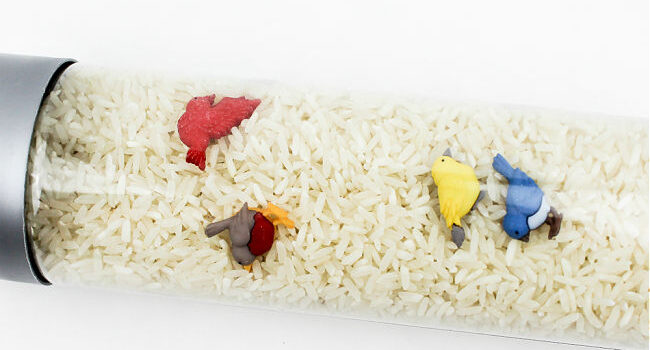
 This sensory bottle creates opportunity for kids to use their tactile, visual, and proprioceptive sensory systems. Sensory input is an important part of child development and emotional regulation.
 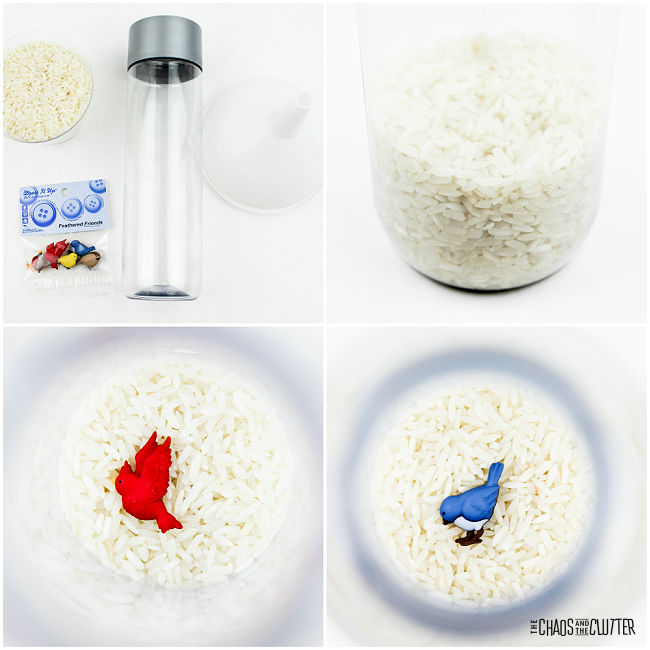 Allow the child to move and shake the rice around until they find all of the birds. They can even expand the activity by researching what type of birds they are.
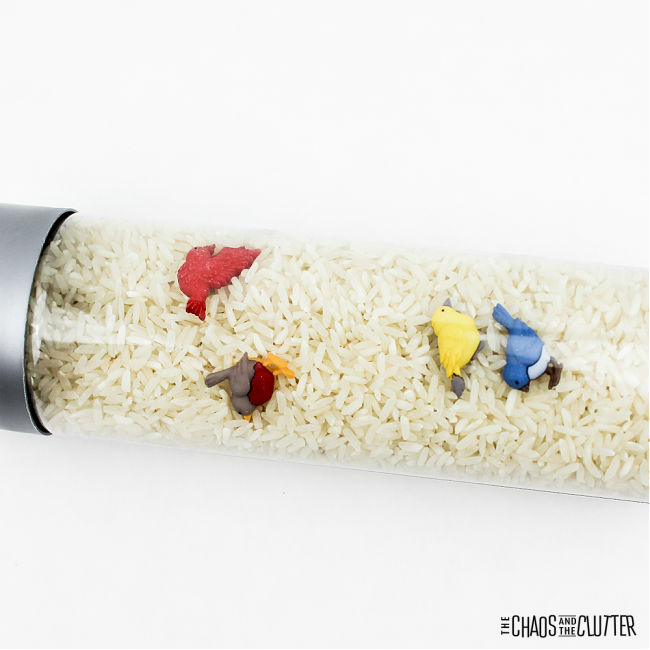
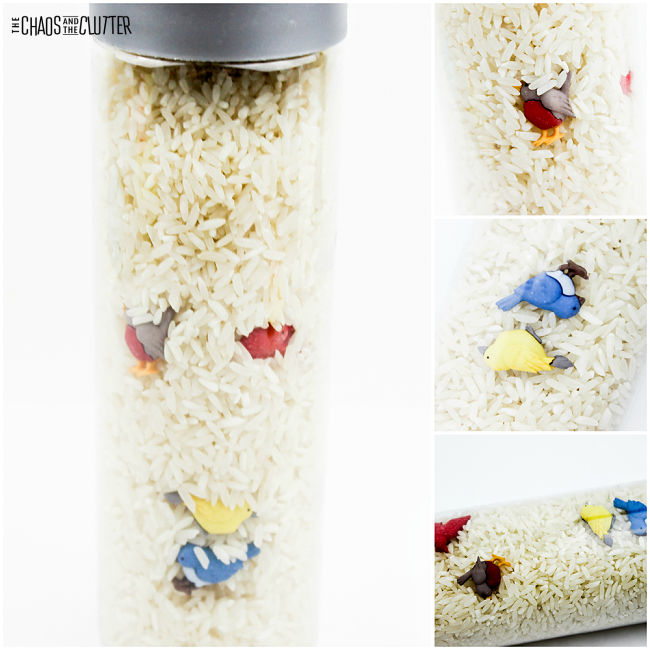 As with all sensory play activities, adult supervision should be used at all times. Even if you have secured the lid with glue, it is still possible to get it open and the bottle contains small parts which are choking hazards for children.
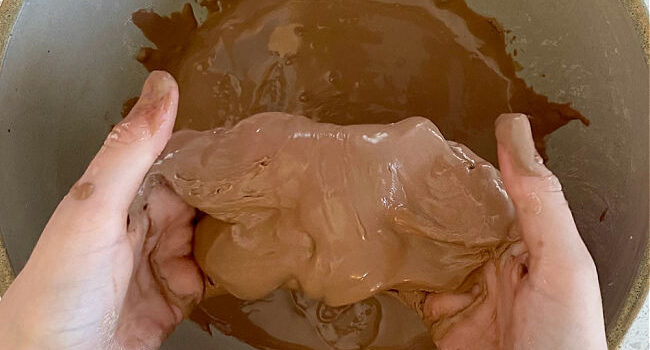
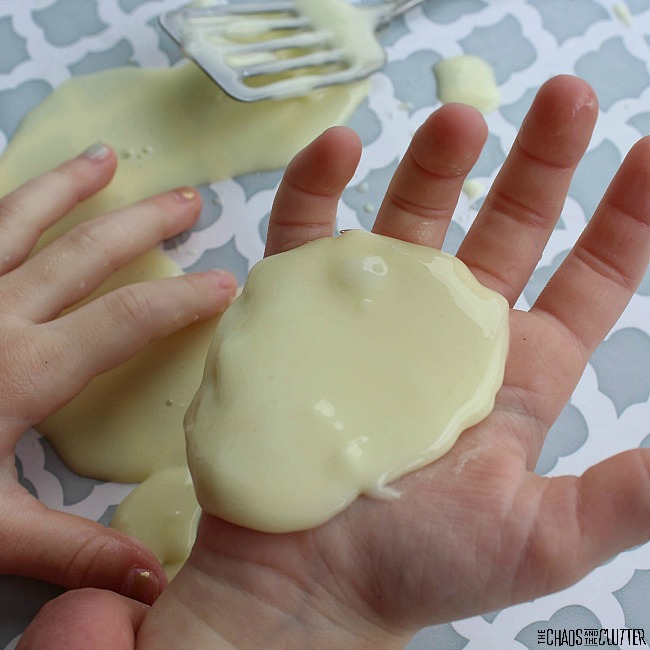
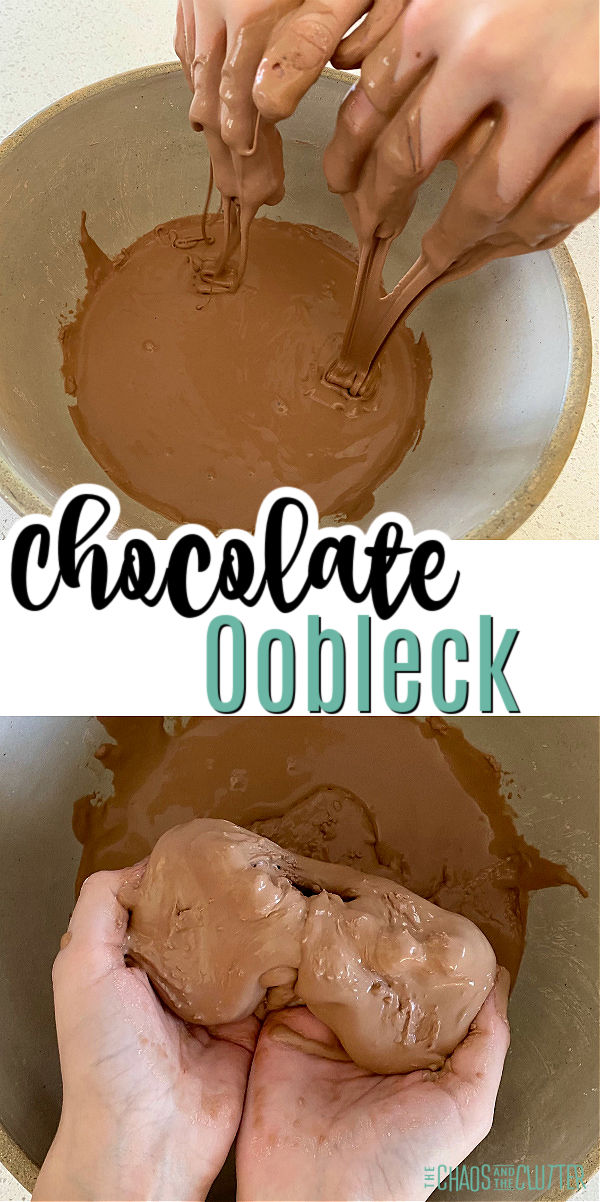 This recipe makes great messy fun for kids. It can be used at home or in the classroom for a fun sensory activity. Because it’s taste safe, it can even be used with toddlers or preschoolers.
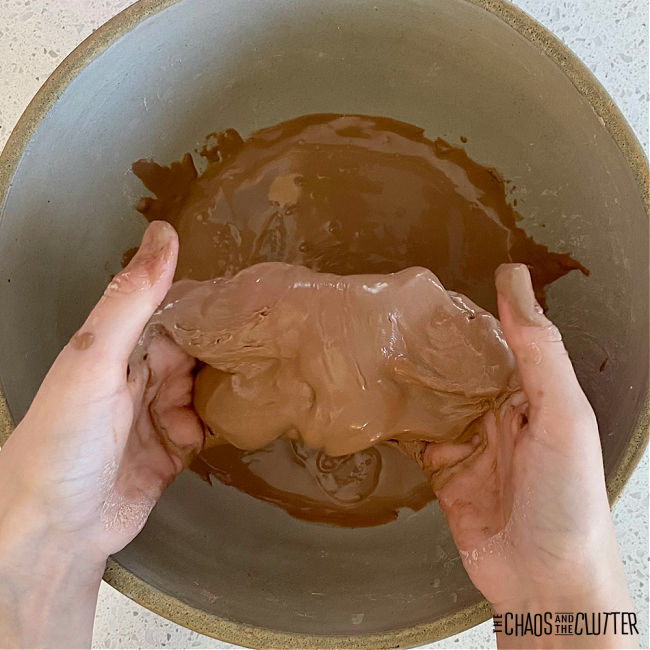
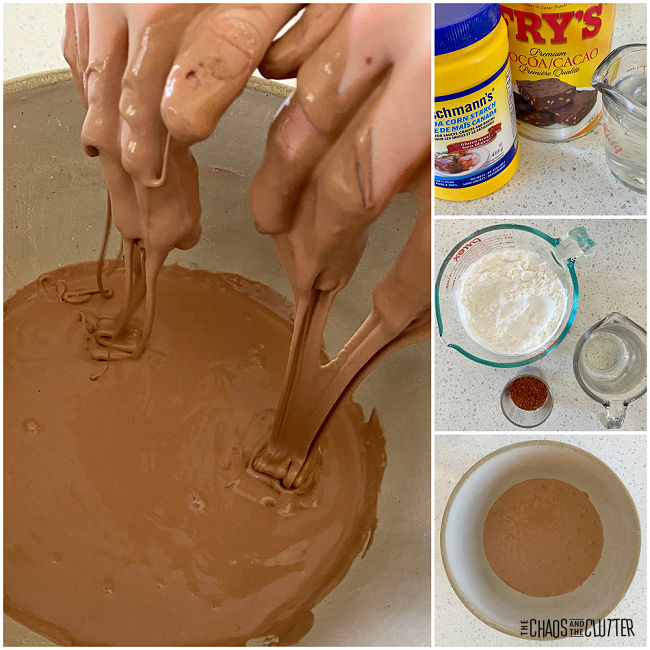 Important notes: Make your oobleck on the day you want to play with it as it doesn’t keep longer than a day or two. NEVER dispose of oobleck down the drain as it will clog your drain. Allow it to dry uncovered and then scoop it into the garbage.
 Directions:
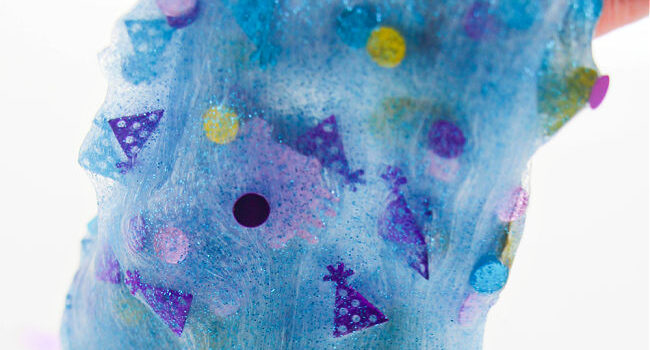
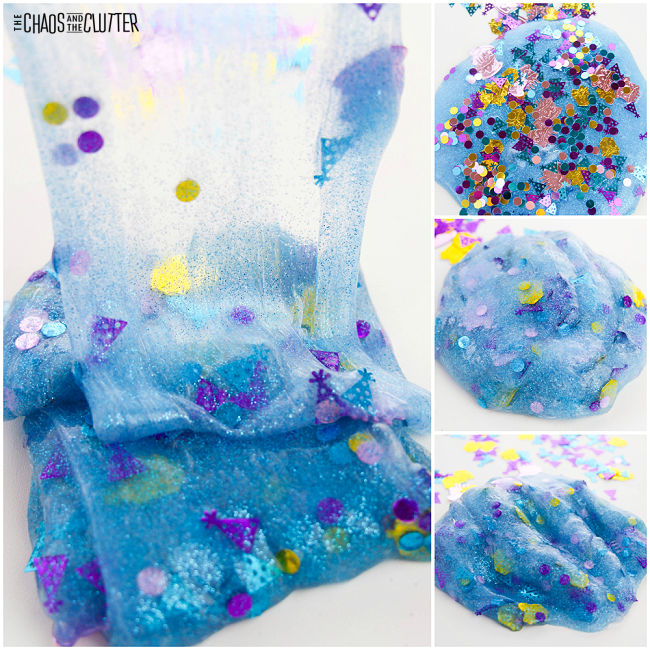 When not in use, store in an airtight container or resealable bag. Adult supervision should be used for this and all sensory play. Be sure to wash hands well after handling slime.