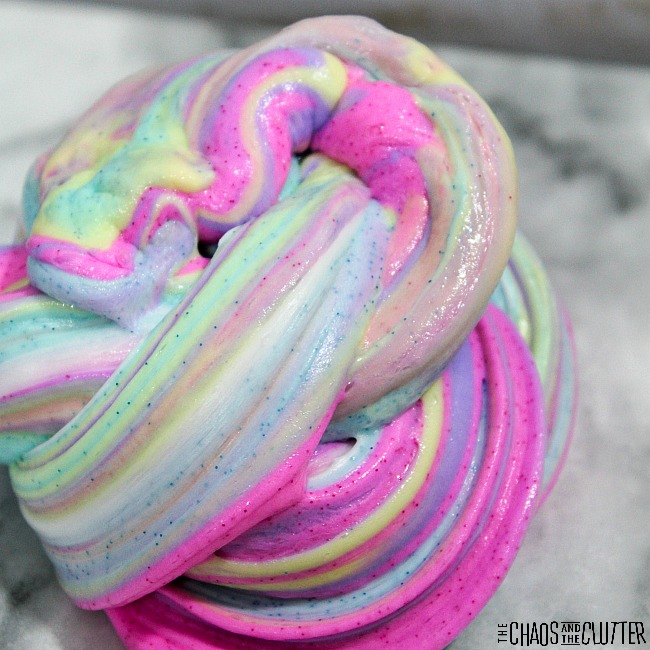
This stretchy superhero slime is great for inspiring imagination. It can be used for sensory play or made as a party favour for a superhero themed birthday. 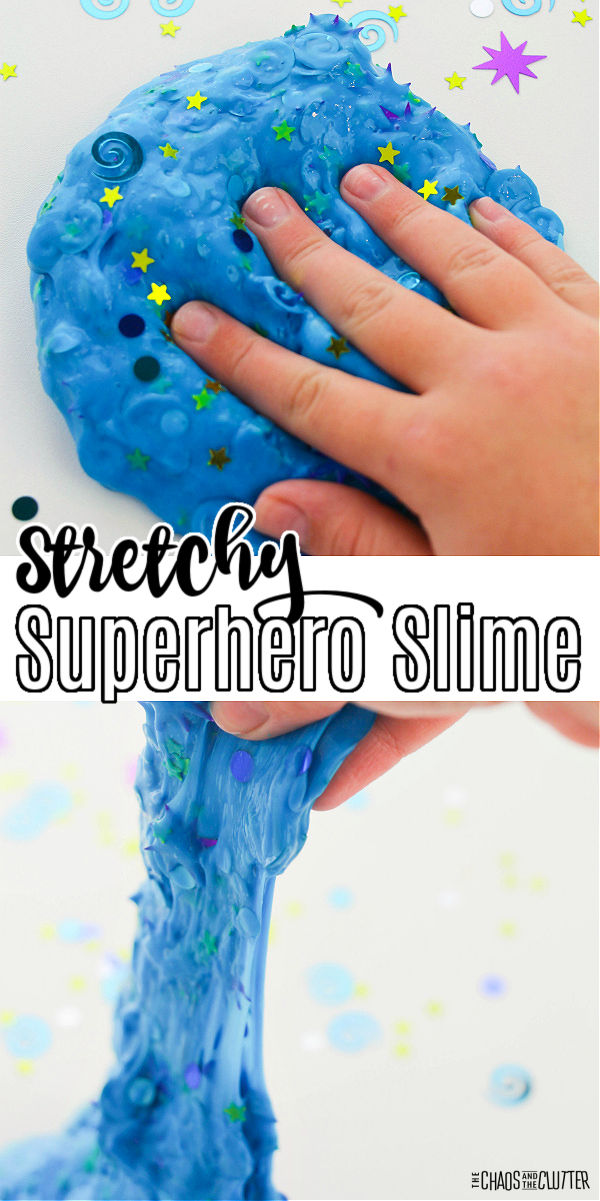 One of our daughters is a huge fan of all things superhero. She loves the Marvel and DC movies and comics. She is inspired by the thought of superpowers. We even had a DC themed birthday party for her last year.
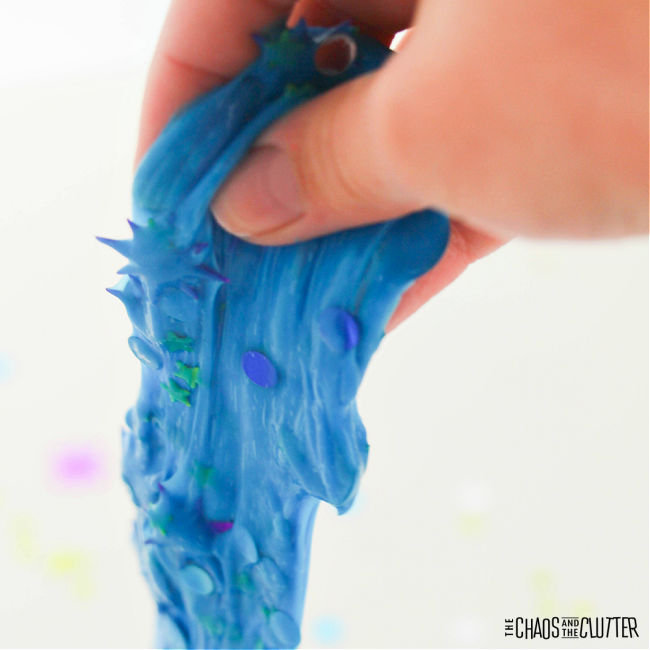 So I guess it comes as no surprise that I’m talking about how to make superhero slime.
Superhero Slime Recipe:
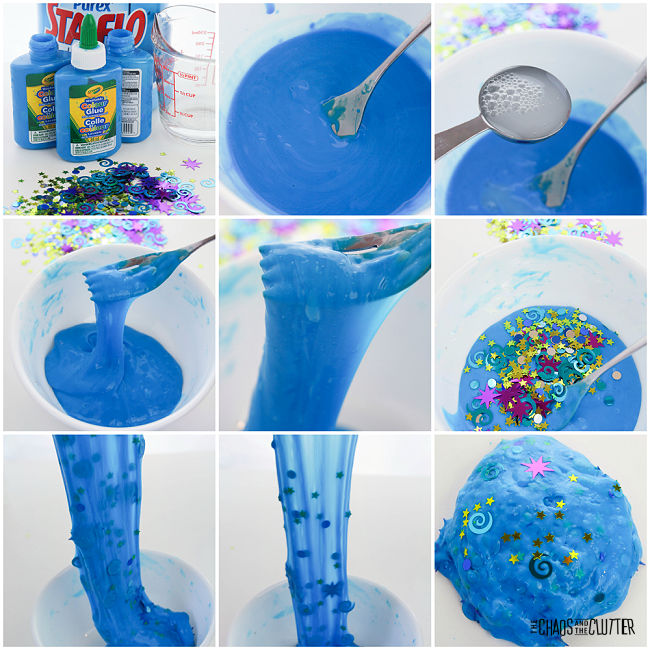
Supplies needed:
- 6 oz. bottle Elmer’s Blue coloured Glue
- 1/4 to 1/2 cup warm water, as needed
- 1/4 to 1/2 cup liquid starch, as needed
- Superhero confetti
Directions:
- Pour the blue glue into a medium-sized bowl.
- Use a fork to stir in 1/4 cup of warm water.
- Add 3 Tablespoons of liquid starch and stir well for 2 minutes.
- Test the slime. Add more water if too stiff, more liquid starch if it’s too sticky.
- Continue stirring until the slime forms into a ball, then knead for 2 minutes, adding more water or liquid starch as needed.
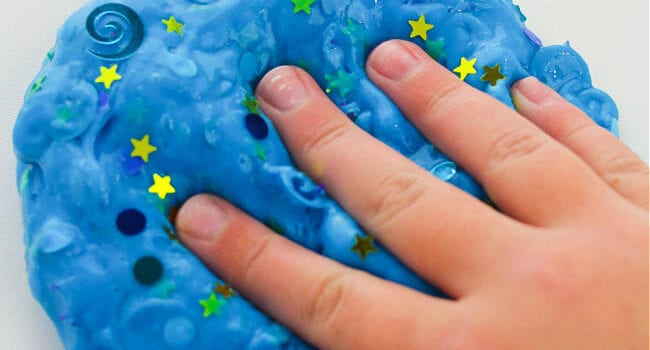
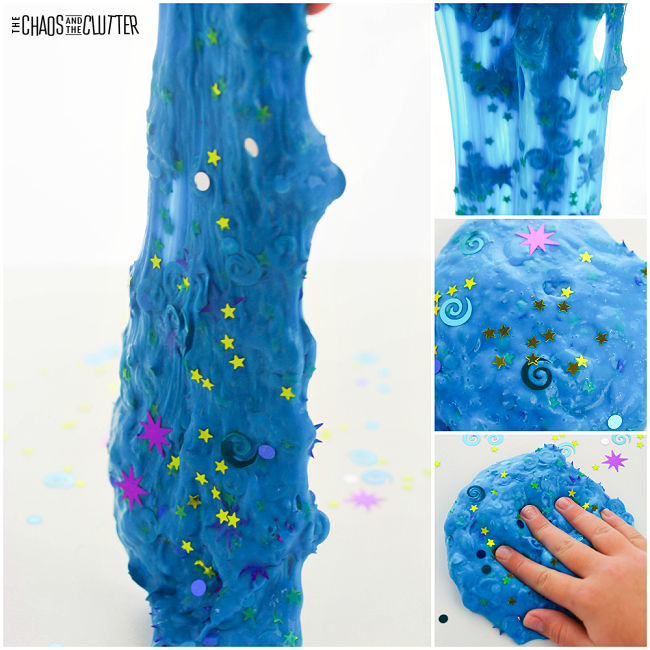
- Once the slime is stretchy and no longer sticky, knead in the superhero themed confetti.
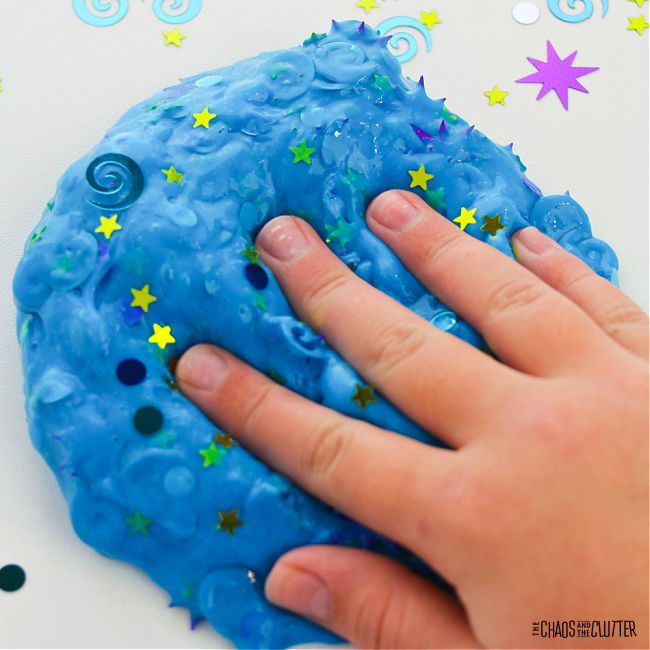
 As kids play with their slime, they engage their visual, tactile, and proprioceptive sensory systems. Getting enough sensory input is important not only for brain development, but for emotional regulation.
 Slime can be stored in a resealable bag or airtight container when not being used.
As with any sensory play, adult supervision should be used both while making the slime and while interacting with it afterwards. Hands should be washed thoroughly after playing with this or any other slime.
Ideas for using this slime as a party favour:
- Gift this in a sealed sandwich bag decorated with superhero stickers.
- Or use special slime gift containers and attach a mini superhero figure to the top of the lid with a hot glue gun.
- Set up a station to have the kids participate in making the slime at the party. This is best if the party is for older kids or teens.
 Are you looking for other easy sensory play recipes to make at home? Join us for a five day email series on Sensory Activities and Solutions and get a free sample of our Sensory Play Recipes eBook.
Check out some of our other slime recipes:

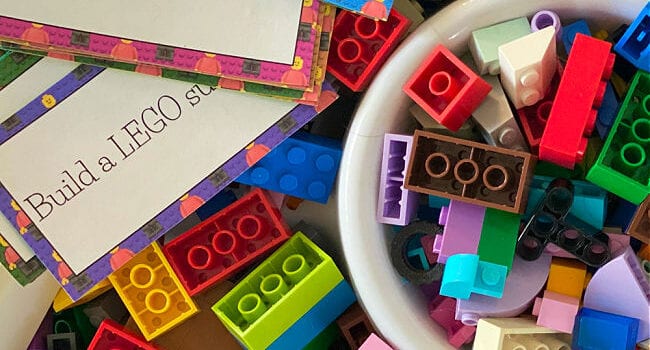
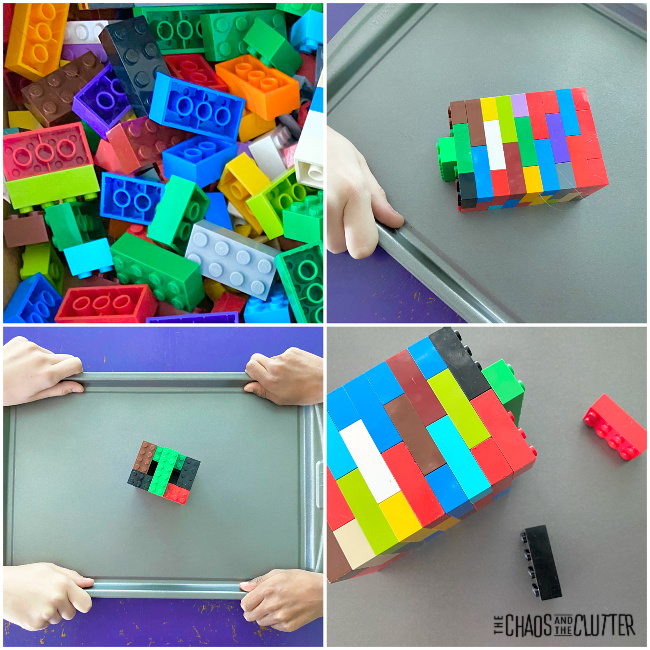
 Lego is something that I often incorporated in our homeschooling. Whether is was a tool for
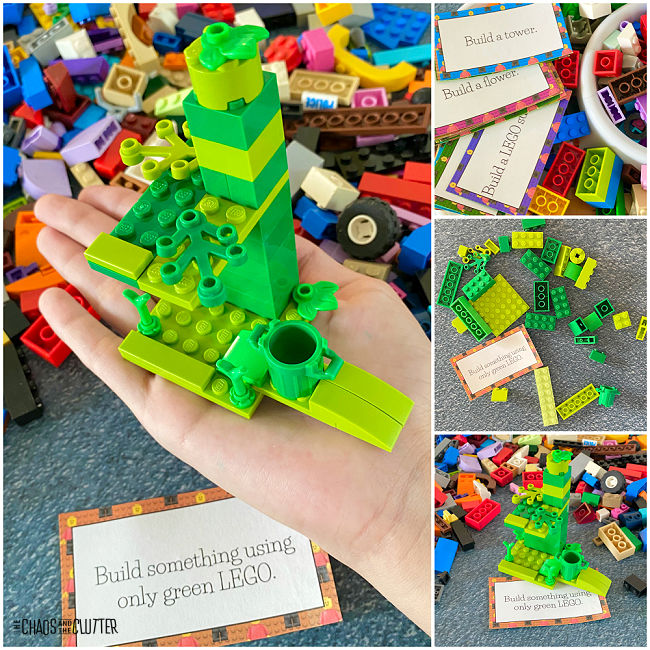

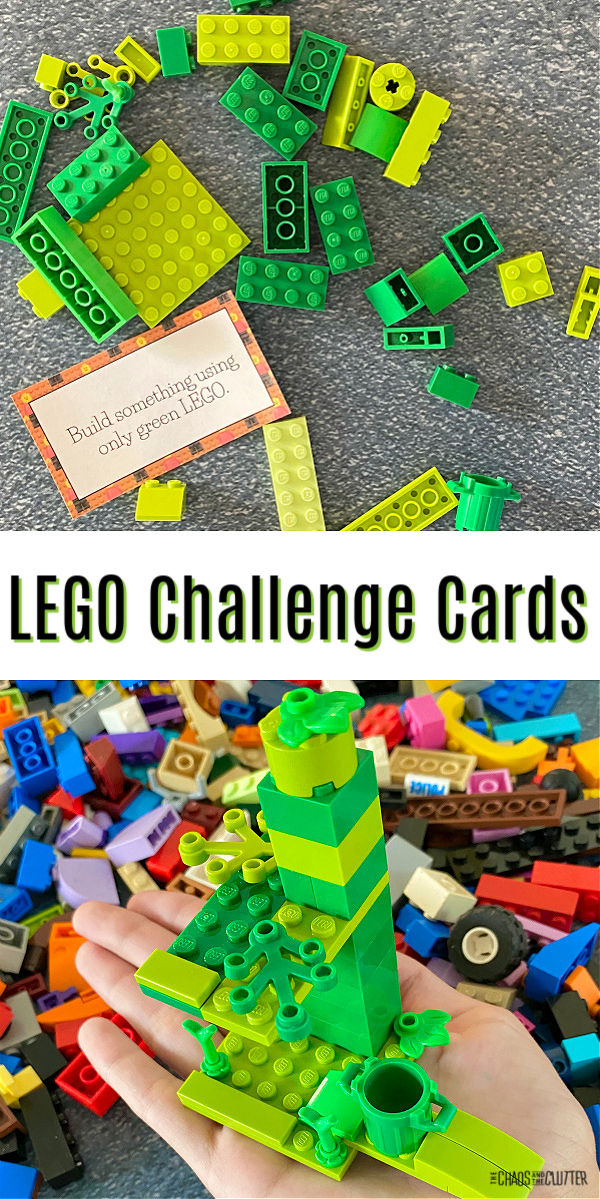
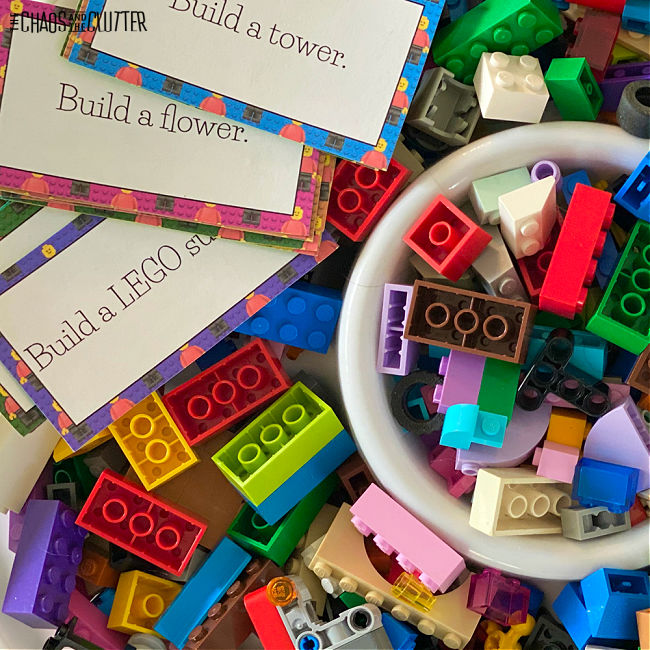 Sign up to receive the complete set of LEGO Challenge Cards free and be entered in our 5 Secrets to Powerful Connection email series.
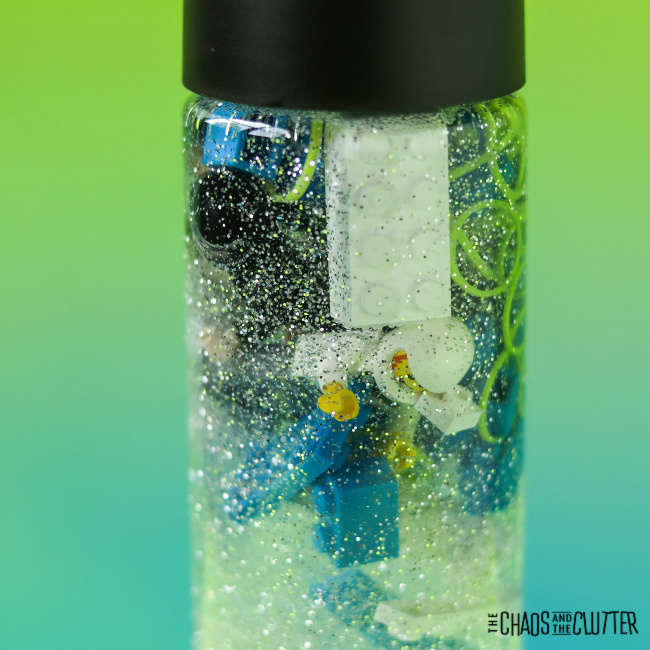
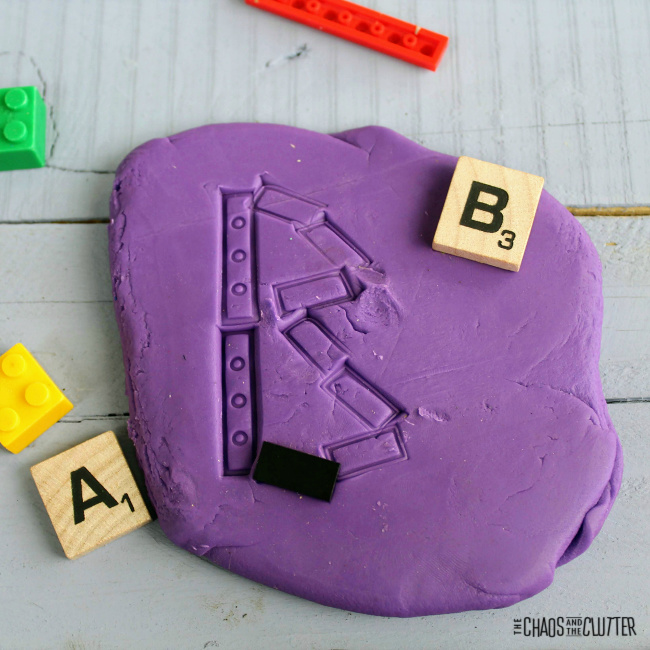
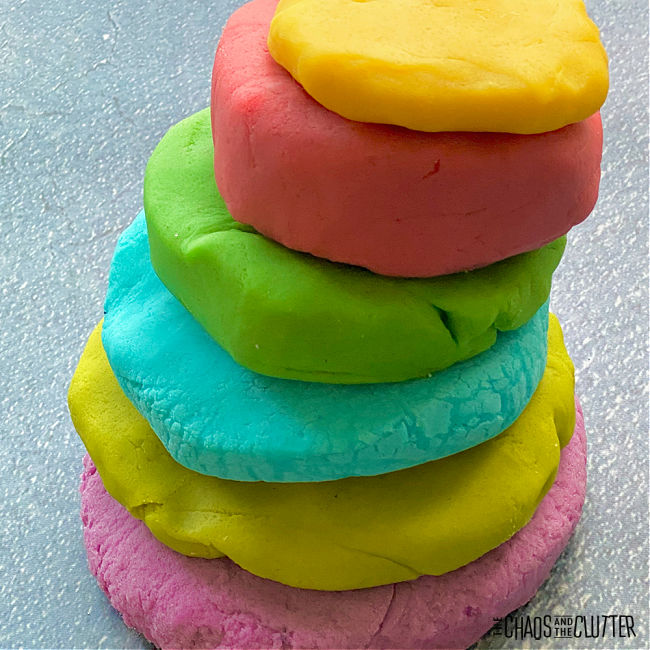
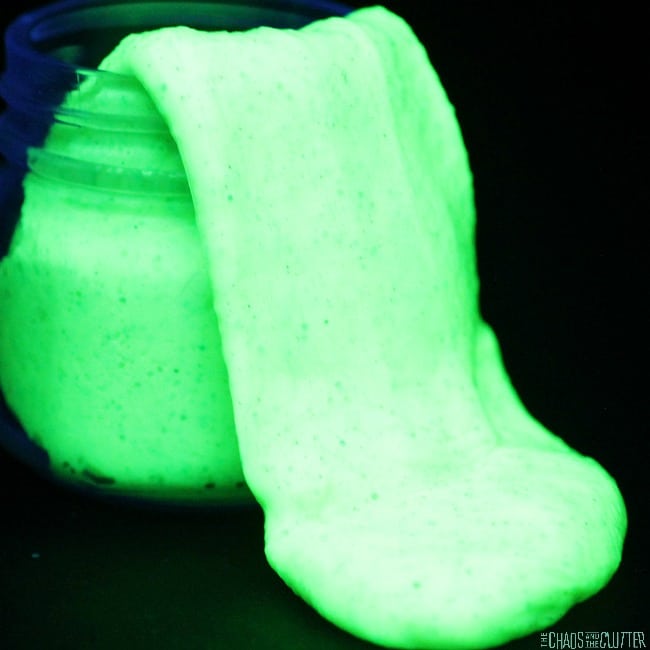
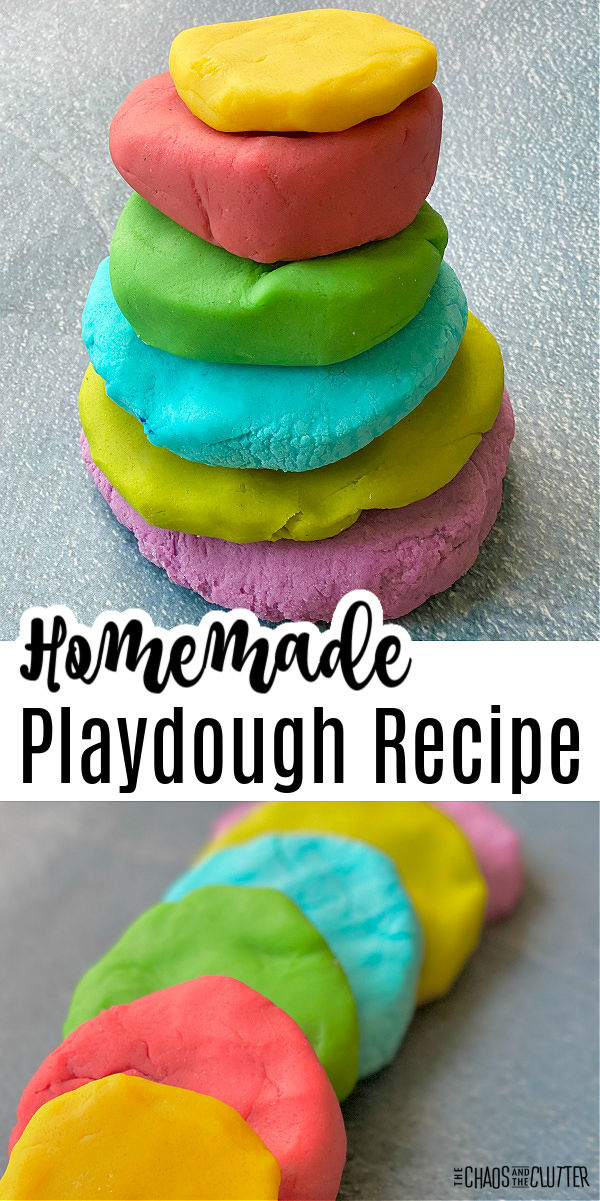 When I was growing up, my mom made homemade playdough. For some reason, our playdough was always green. I’m not sure why she never made it another colour, but when I think of homemade playdough, a certain shade of green is what comes to mind!

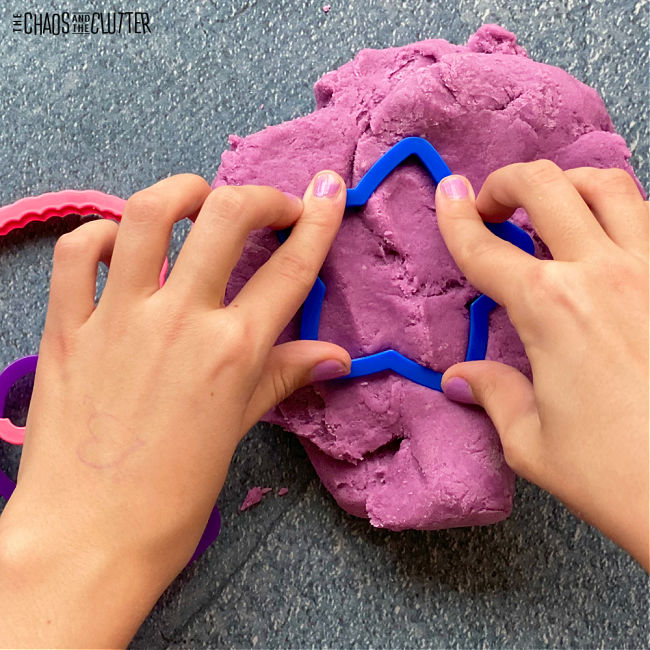 Get an entire set of printable transportation alphabet playdough mats free by entering your email address below. You’ll also be signed up to receive our email series Sensory Activities and Solutions.
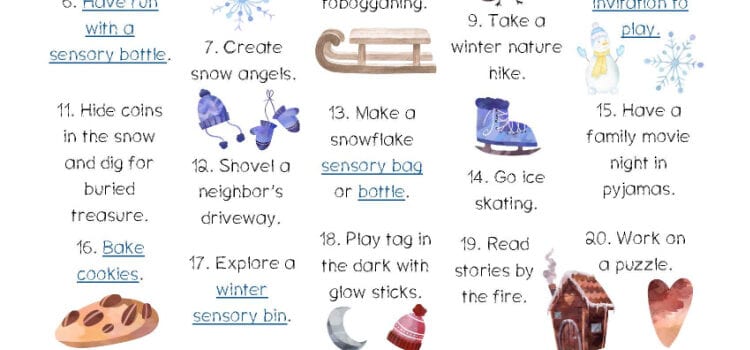
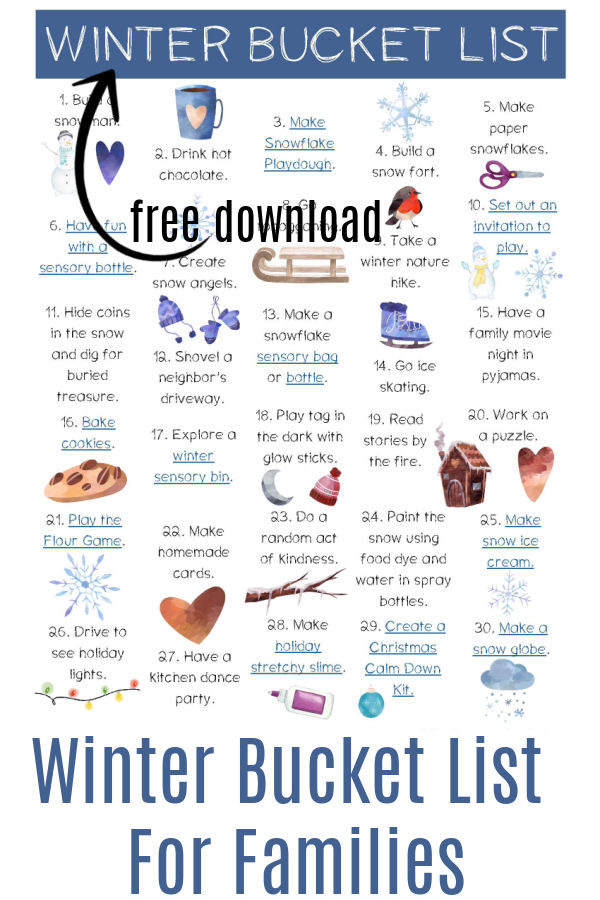 I chose things for the list that were simple and were either free or cost very little. You can
  Note that if you live in a climate where there isn’t snow, many of these ideas can be adapted. For example, “build a snow fort” can simply become “build a blanket fort”.

 Directions:
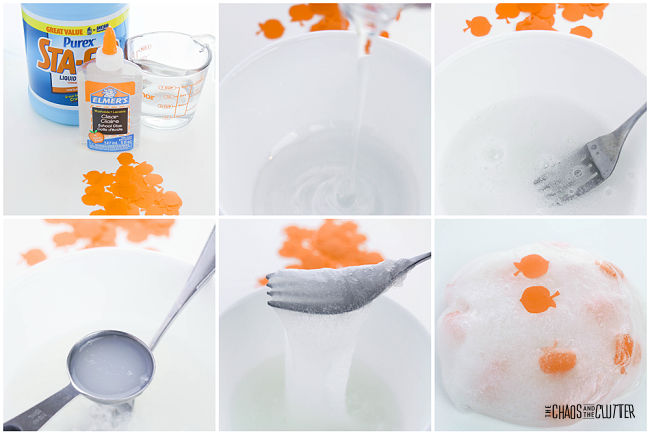 Slime should be stored in an airtight container or sealed bag when it’s not being played with. Be sure to wash hands thoroughly after handling slime.
 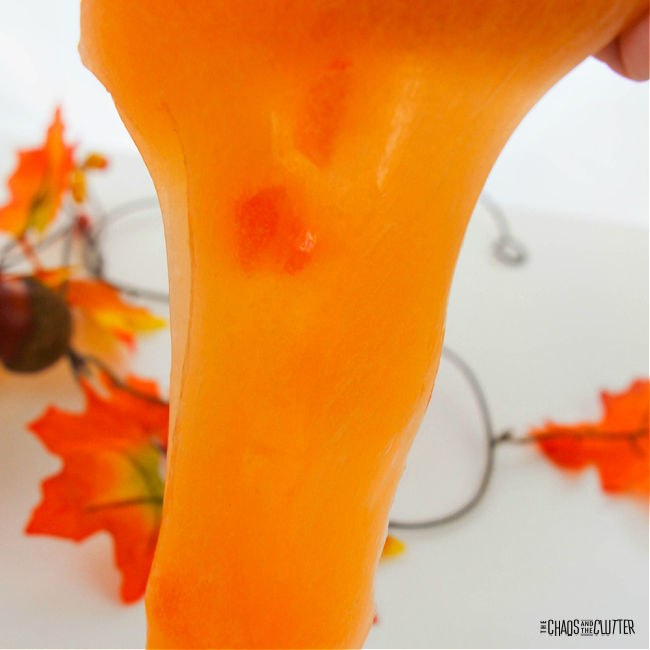 As with all sensory play recipes, adult supervision is recommended.
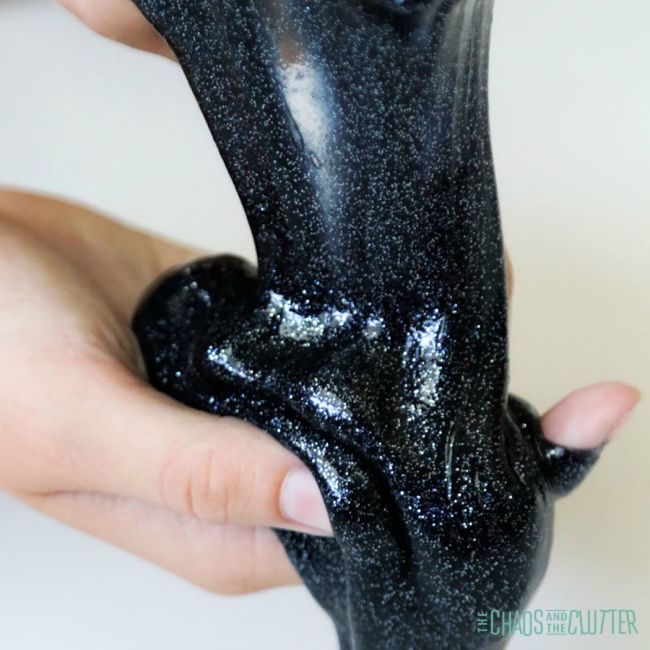
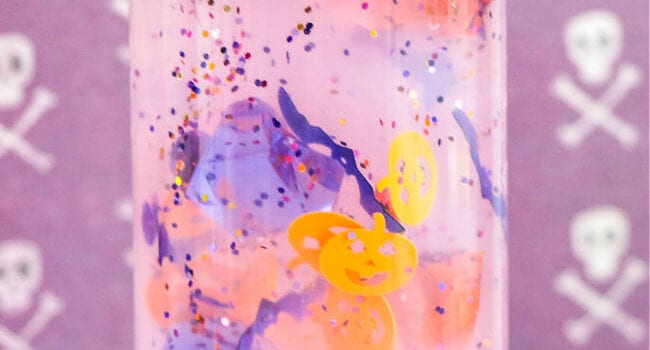
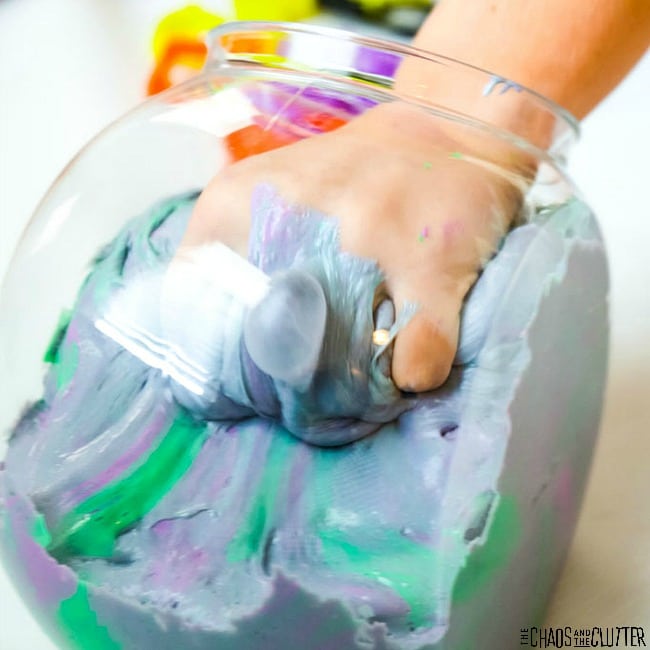
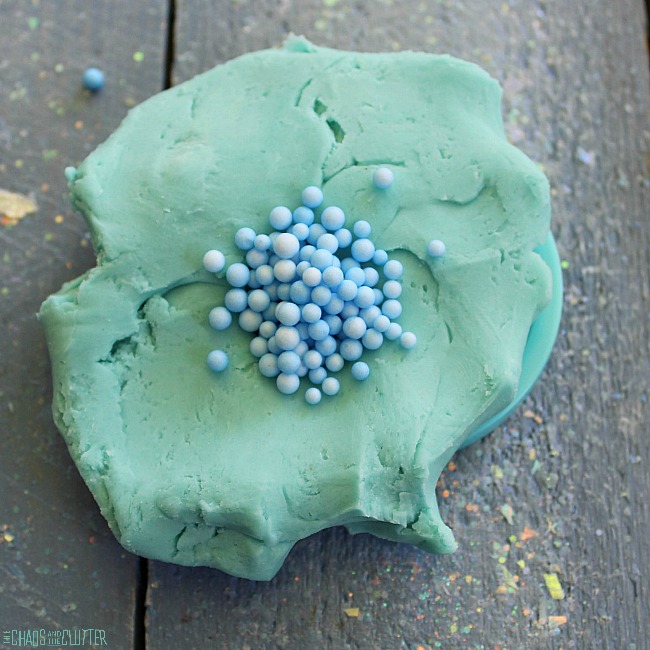
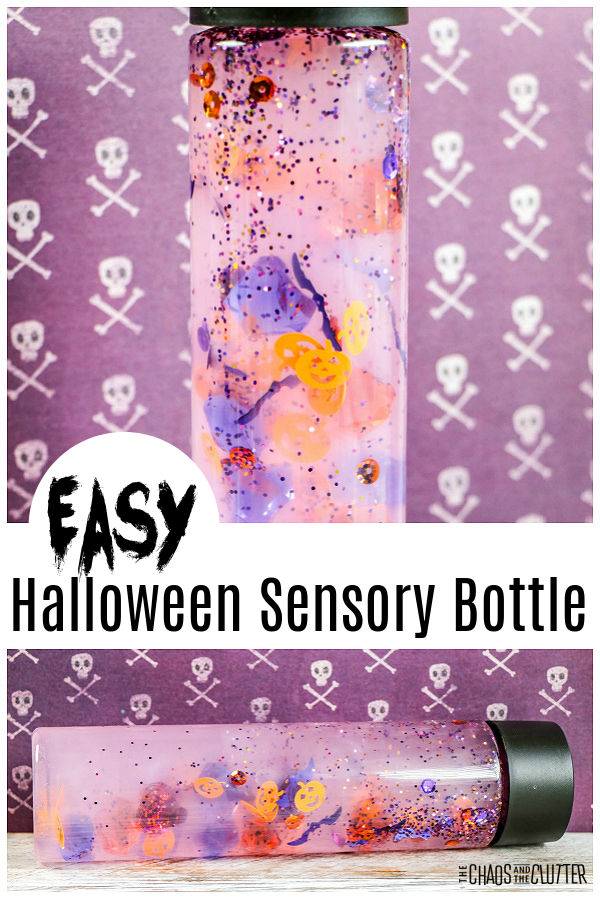 This is a simple activity to do in a preschool class or at home. Because the glitter and confetti travel slowly through the glue and water, it makes a great calm down bottle for kids to observe when their emotions get too big.
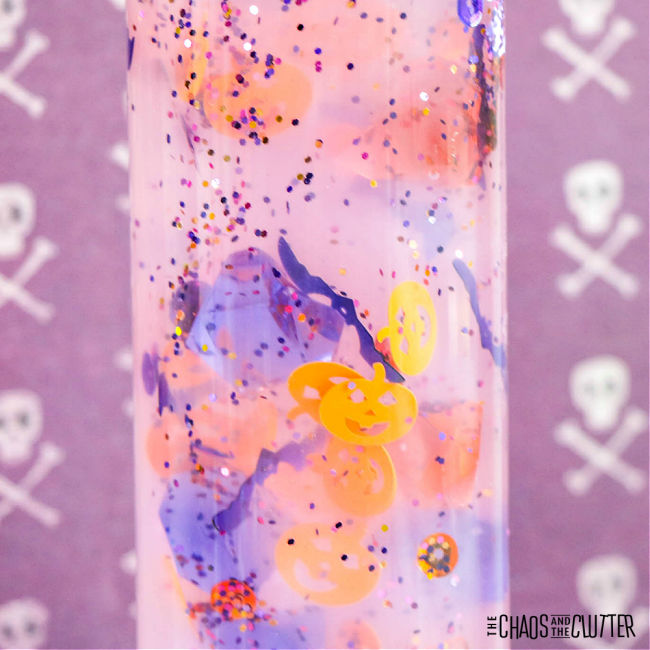 Directions:
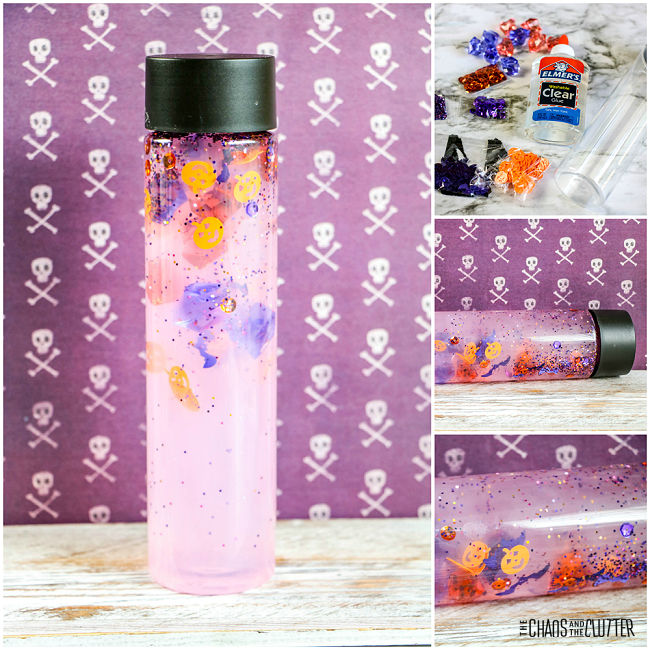 Are you looking for more easy sensory play ideas? Join us for a five day email series on Sensory Activities and Solutions and get a free sample of our Sensory Play Recipes eBook.