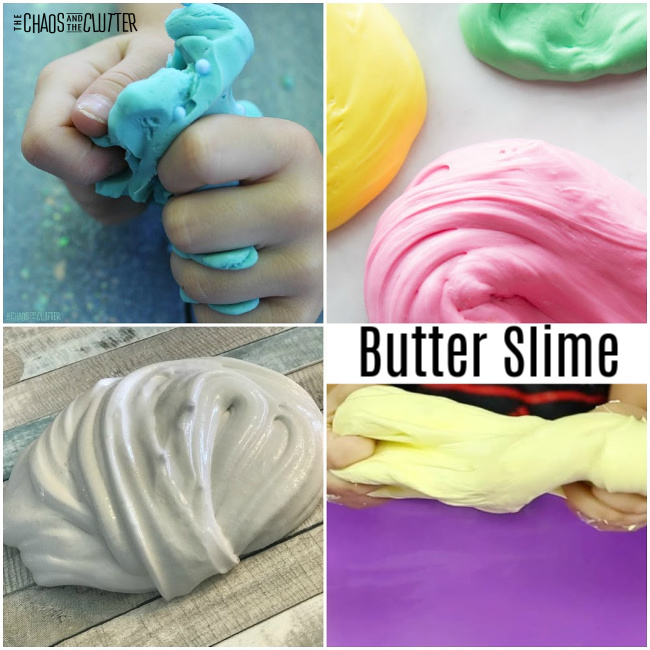
Butter Slime gets its name from its buttery texture. Some make it yellow in colour as a play on the name. One of the things I like about butter slime is that most recipes don’t stick. As a mom, this is a big selling point!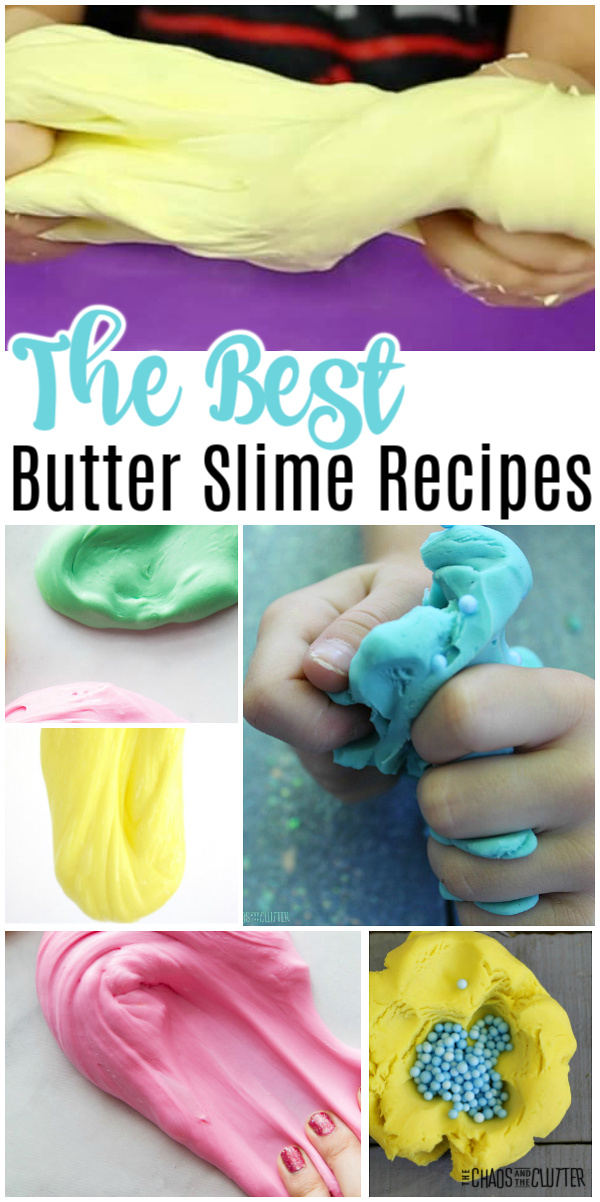 I thought it might be helpful for those who are looking to try this kind of sensory fun if I put together a list of the best recipes out there for this type of slime. If you’re feeling really ambitious, you may even want to make several of the recipes and see which one is your favourite.
If you’re new to this kind of thing, check out our Complete Guide to Making Slime for tips and tricks to help you get the best results possible. That can also help you troubleshoot if you run into any issues.
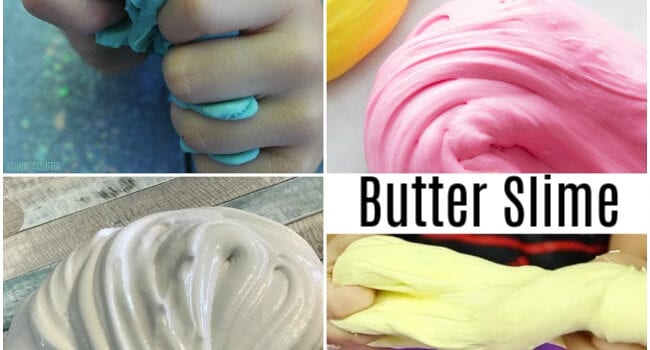
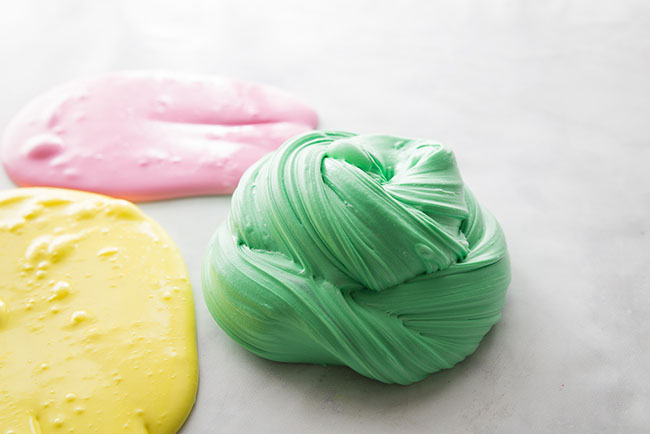
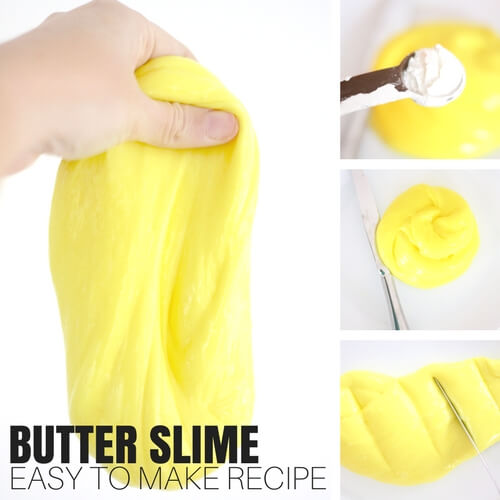
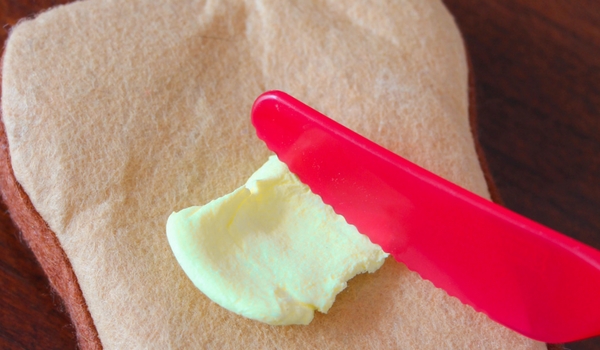
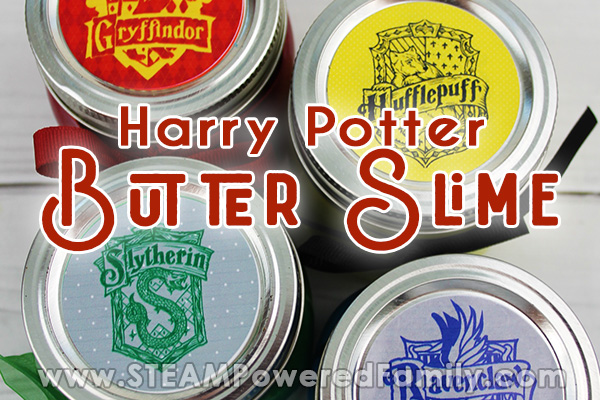
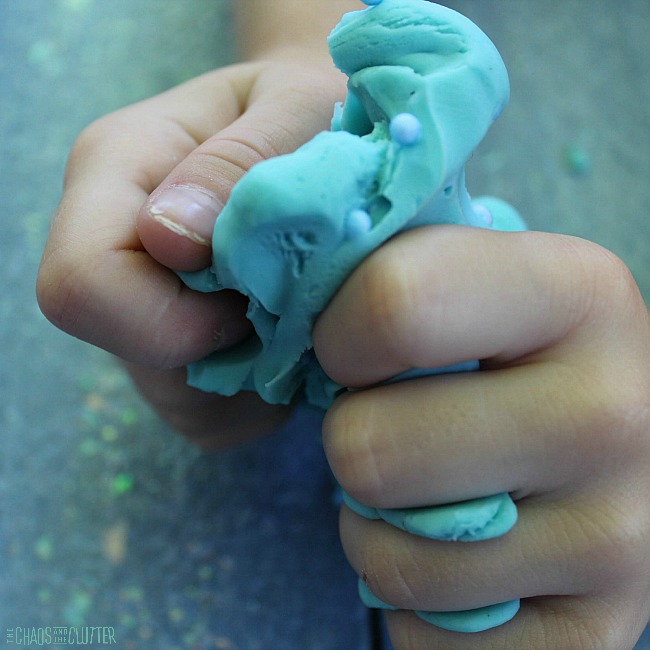
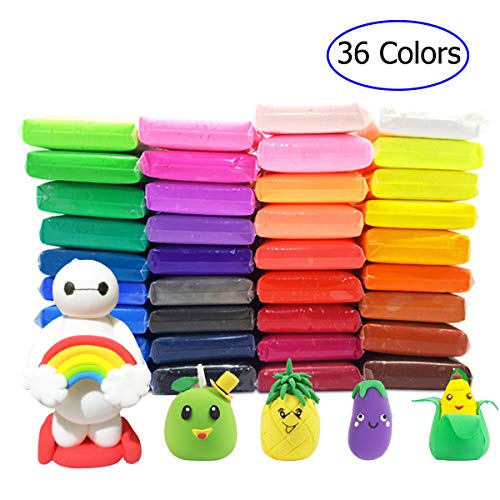
The smoothness of the slime contrasts with the textured beads to create an awesome sensory experience. This butter slime has a moldable and fluffy like texture to it! Butter slime without the soft clay! No clay is needed for this butter slime with an incredible texture that uses a simple kitchen ingredient instead! This moldable - not messy - slime is perfect for kids who love to SQUISH! Harry Potter Butter Slime - embrace the magic of your favourite Hogwarts House with these vibrant and fun butter slime recipes. A simple and easy butter slime recipe that the kids are going to love! No clay or playdough in this one.The Best Butter Slime Recipes

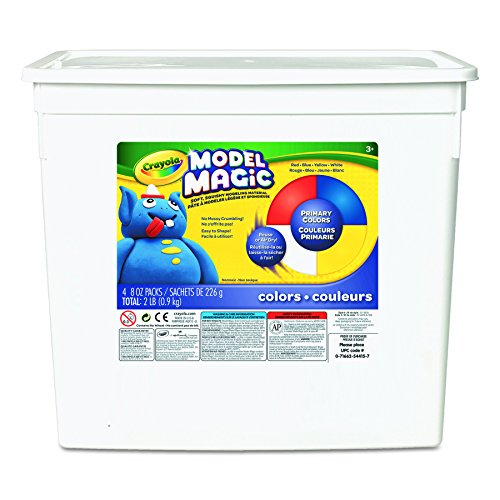
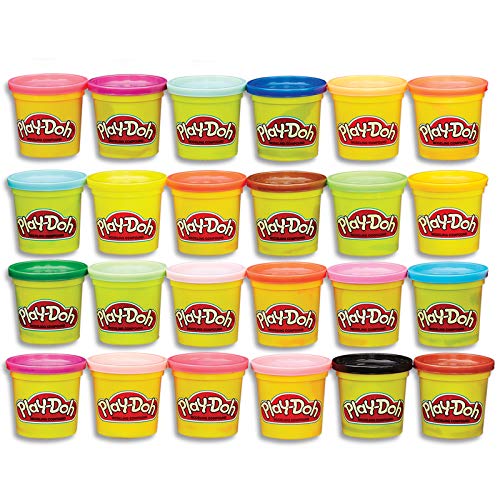
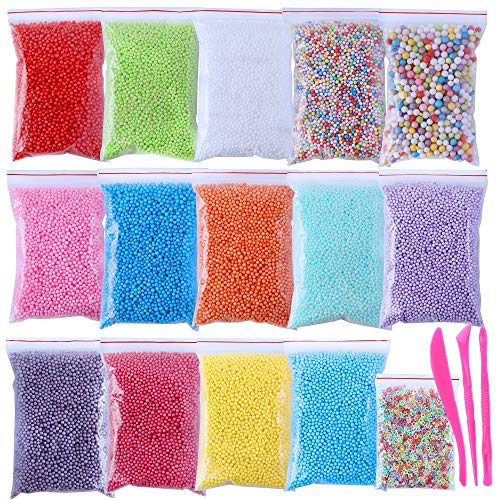
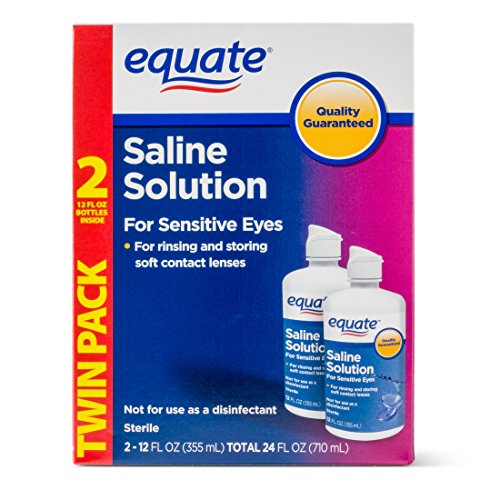
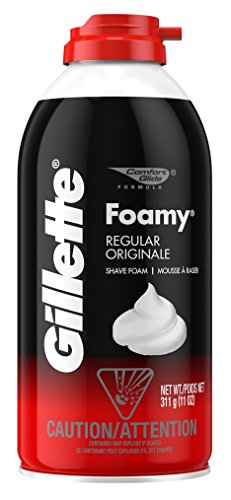
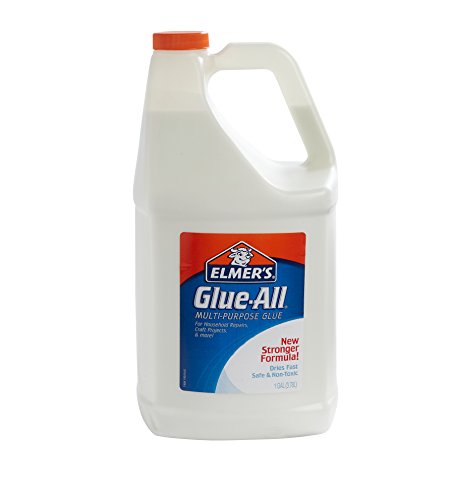
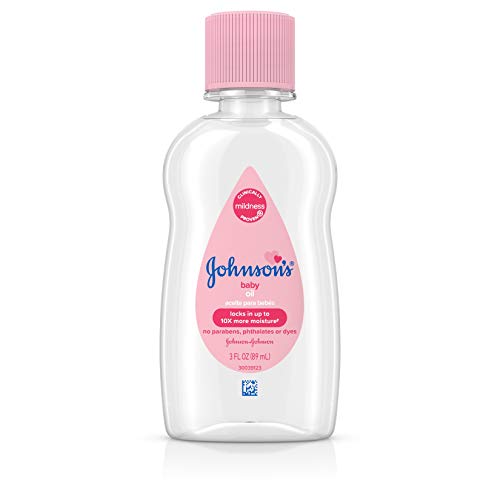
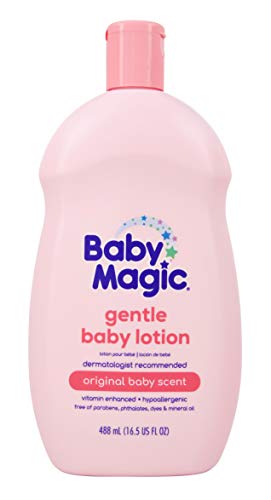
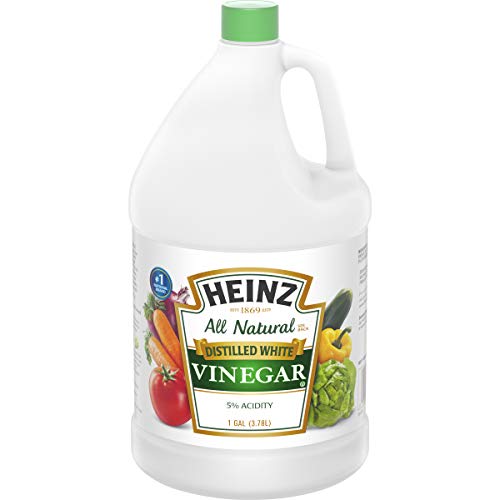
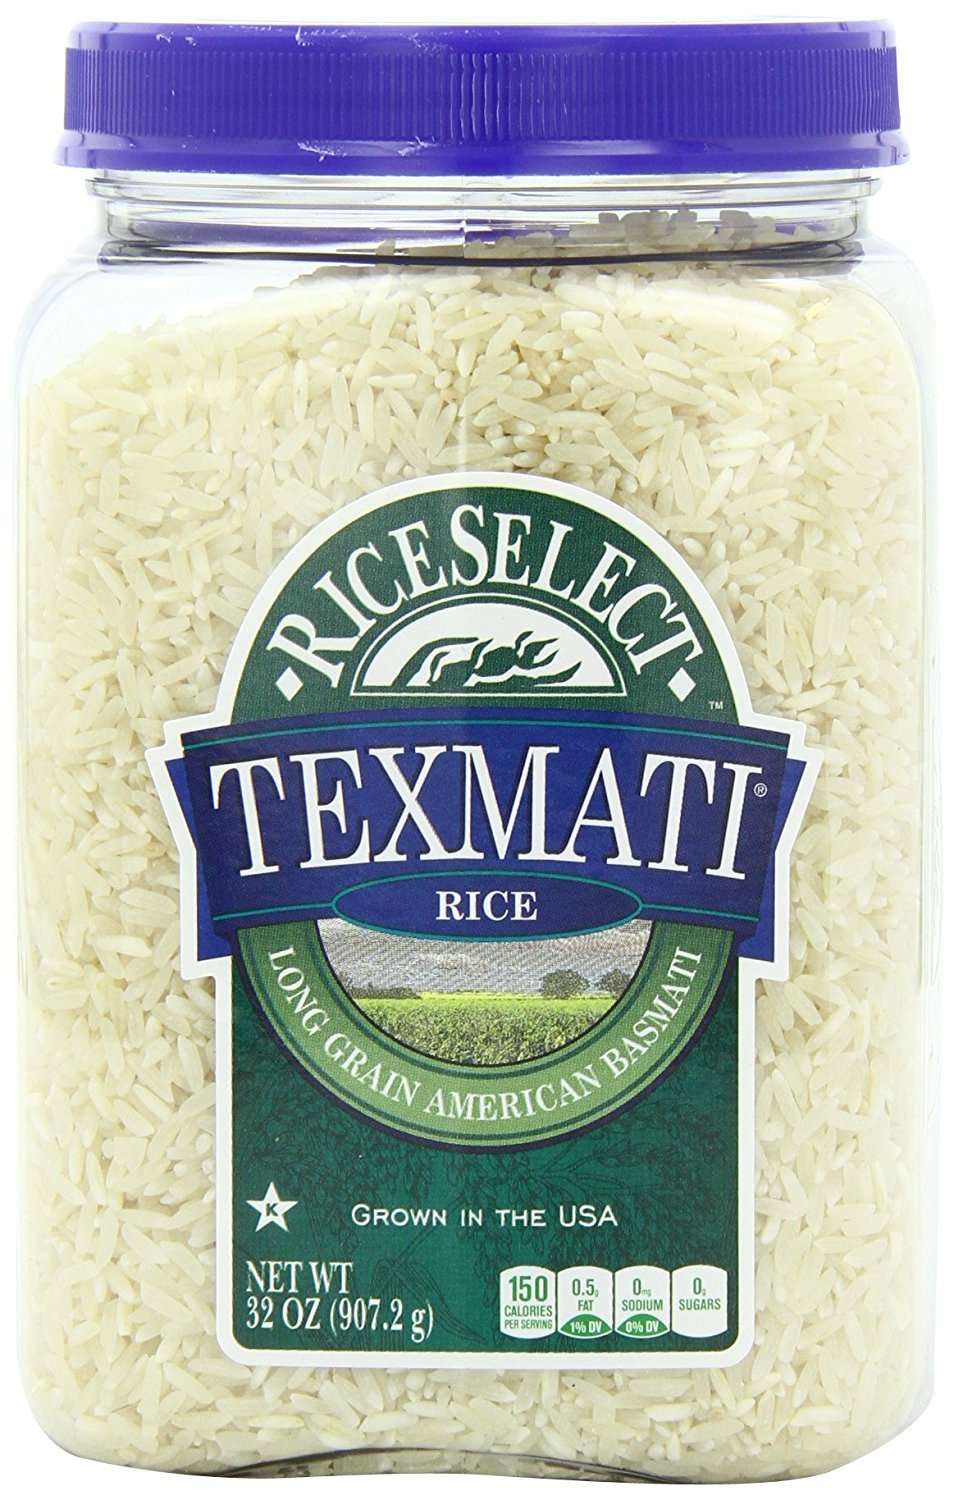
Crayola Model Magic Air Dry ClayPlay-DohFoam Balls for SlimeSaline SolutionShaving CreamElmer’s White GlueBaby OilBaby Lotion
Safety tips:
- Adults should always handle the ingredients as there may be chemicals.
- Adult supervision should be used both when making or playing with any sensory recipe.
- Do not lick or eat the slime or any of the ingredients.
- Always wash hands before and after play.
- Those with skin sensitivity should wear gloves and long sleeves when playing with their slime and if a rash or skin irritation develops, discontinue play immediately.
- When not in play, store properly in an airtight container.
 Now that you’re armed with ideas to make this smooth, stretchy slime, you’ll have to give it a try and see what you think!
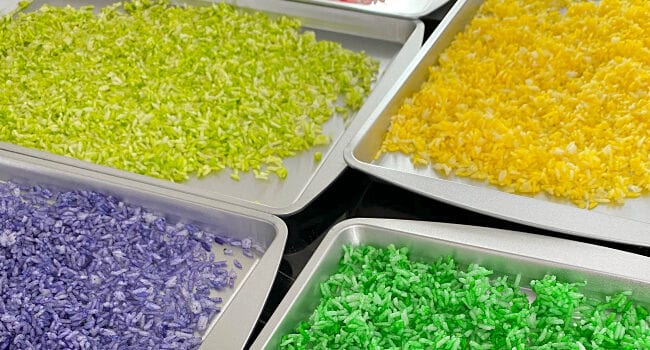
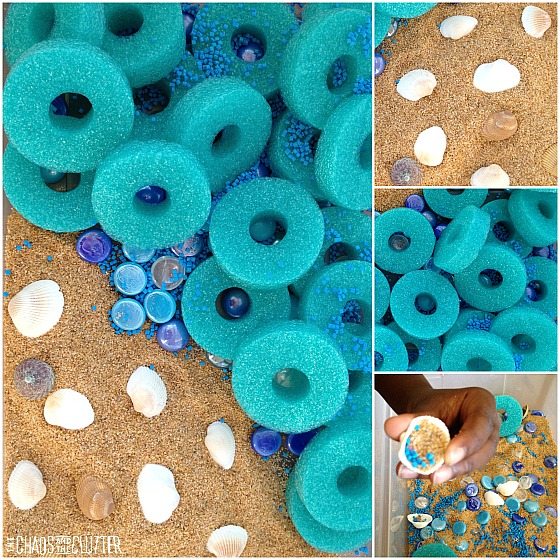
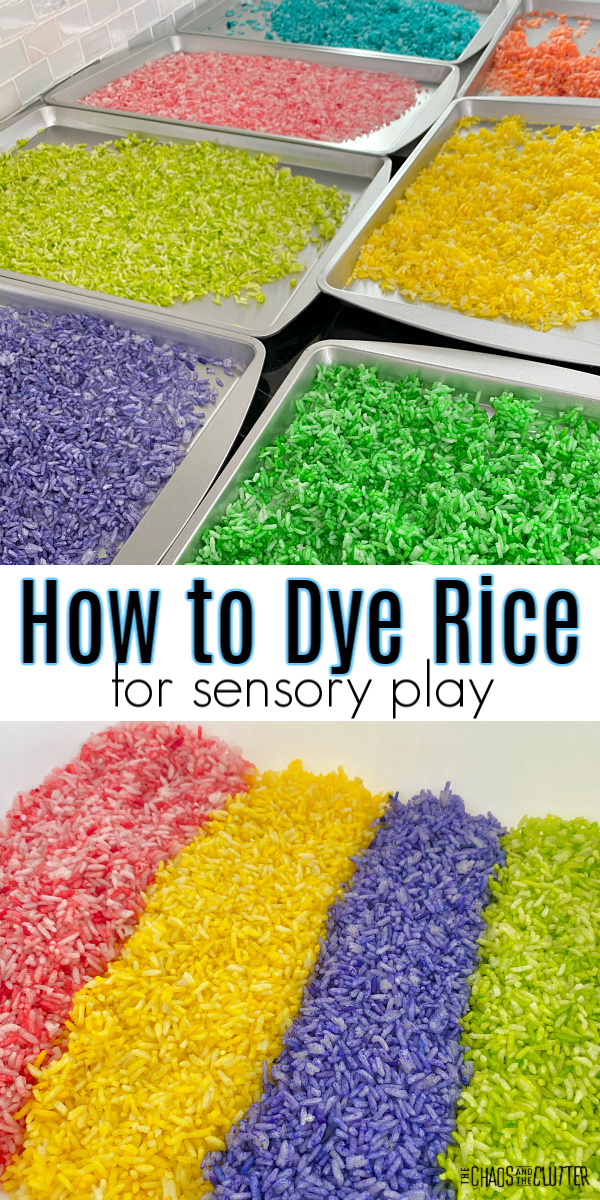 Rice is one of my favourite sensory bin fillers. I always make extra of the green because I find that it looks like grass which makes it versatile for all kinds of sensory bins, bottles, and bags.
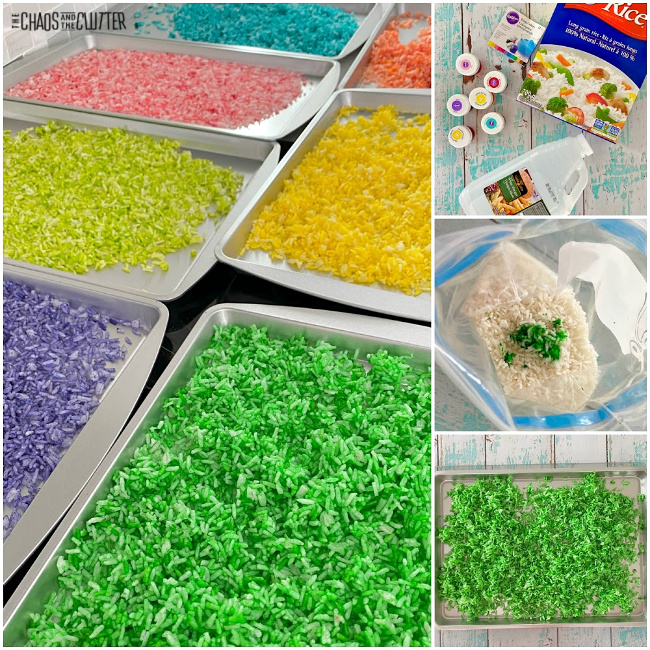 *A note about the essential oils:
 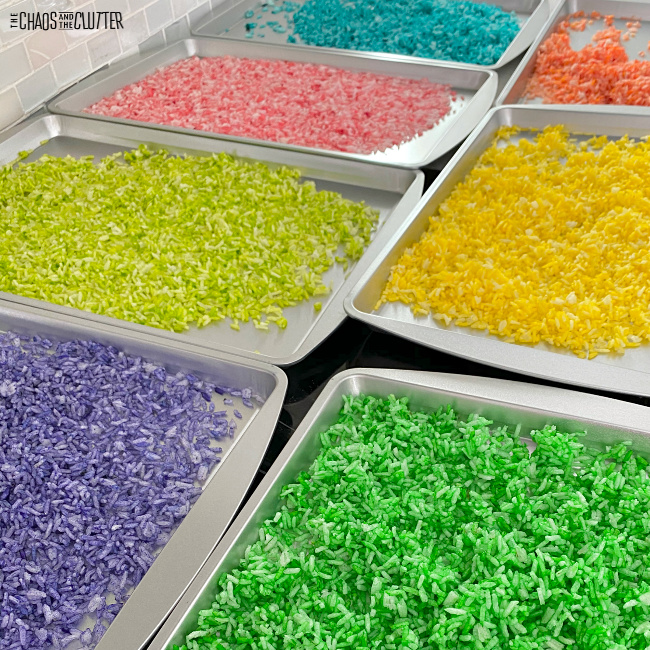 When not in use, be sure to store your coloured rice in a sealed plastic bag or an airtight container. You can reuse it over and over again as long as it’s properly stored.
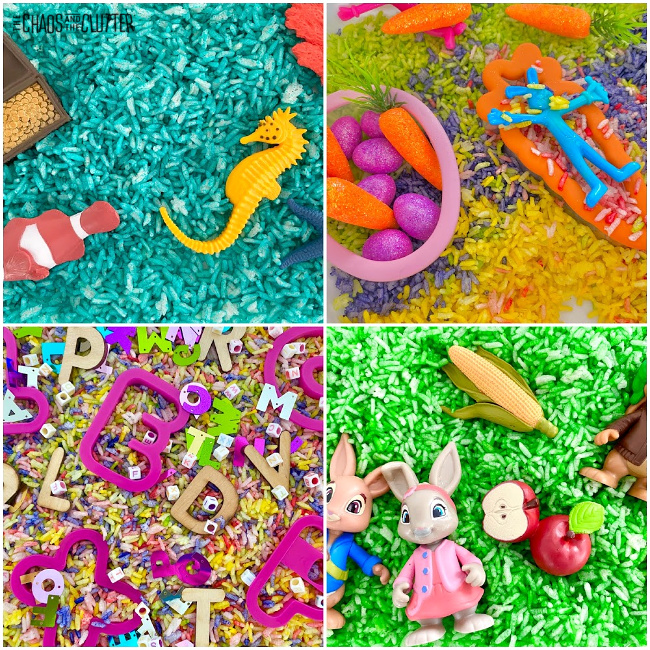 Other helpful information about sensory play:

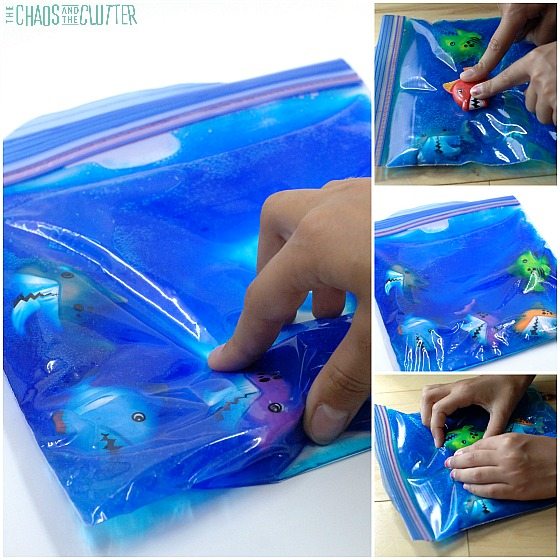
 Whether or not you secure the bag with duct tape, adult supervision should be used as this contains small parts that could present a choking hazard.
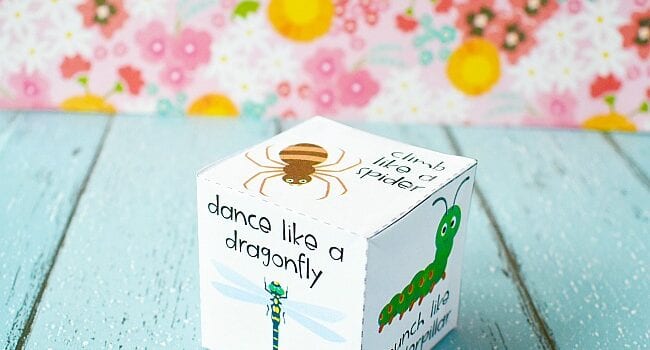
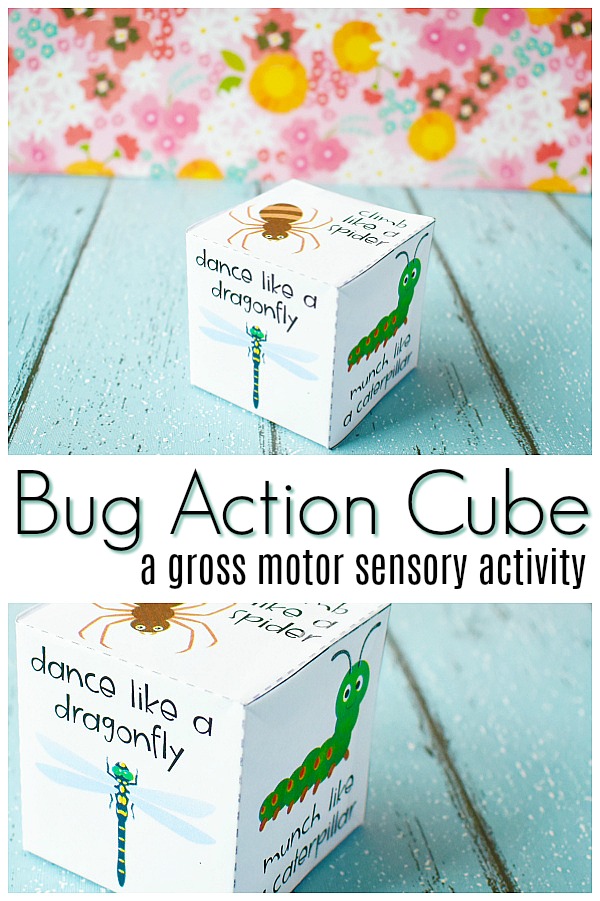 This is a great (and inexpensive) way for kids to burn off energy. If you do an insect learning unit in your classroom or homeschool, it’s also a cute addition to your unit study. You can also pair this cube with our
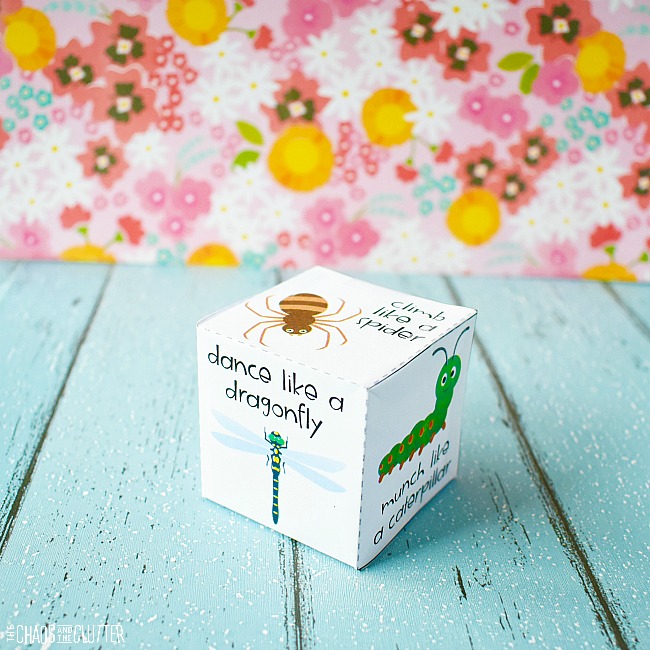
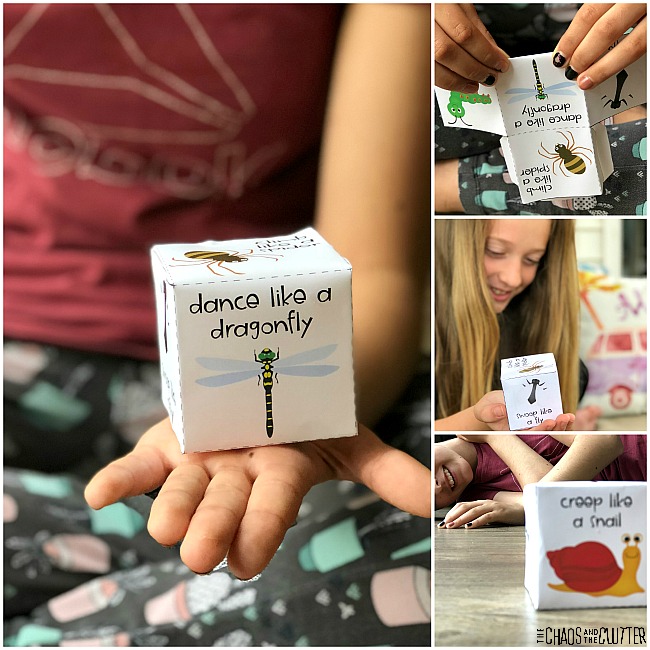
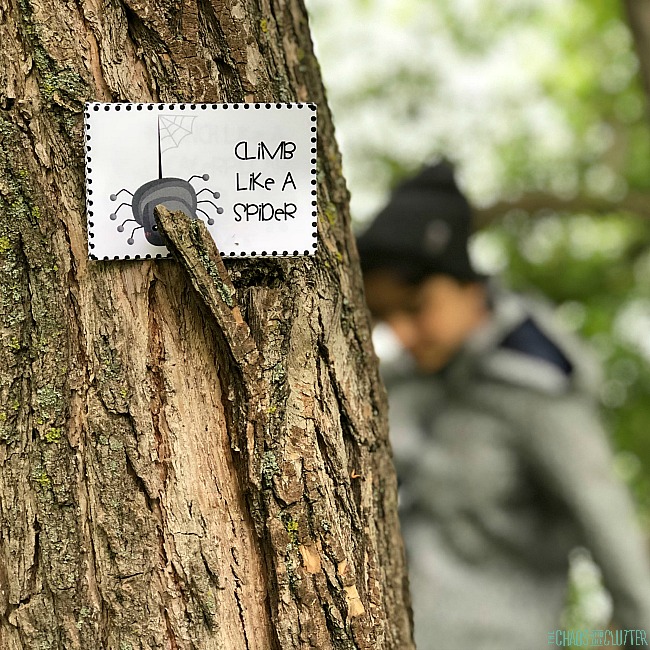
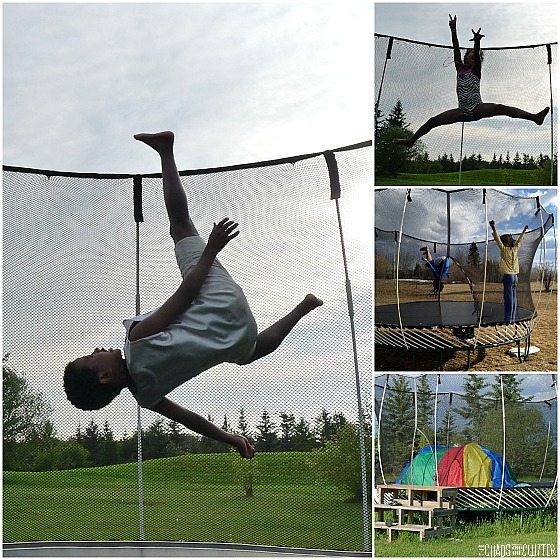
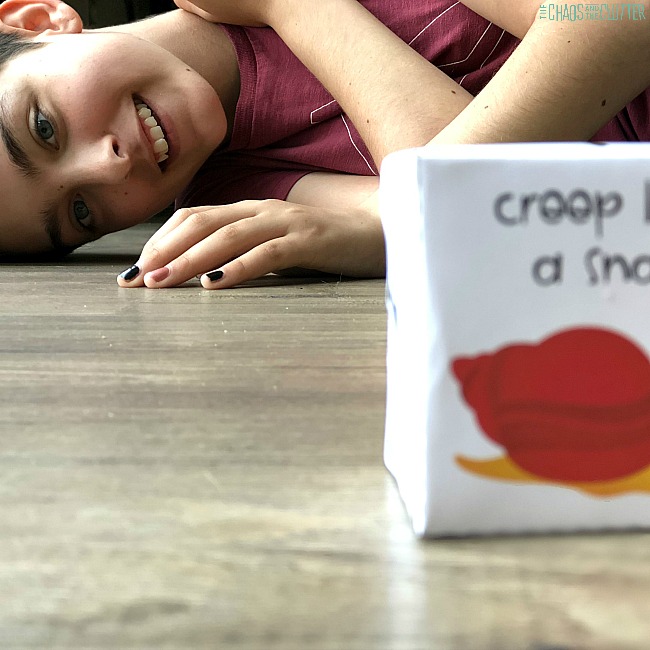 Breaking up schoolwork or screen time by providing a quick five minute brain break like this can actually make a significant difference in focus and concentration. These activities involve whole body movement so they are a wonderful reset to mood as well. You’ll be amazed the difference in your child after just a short brain break like this.
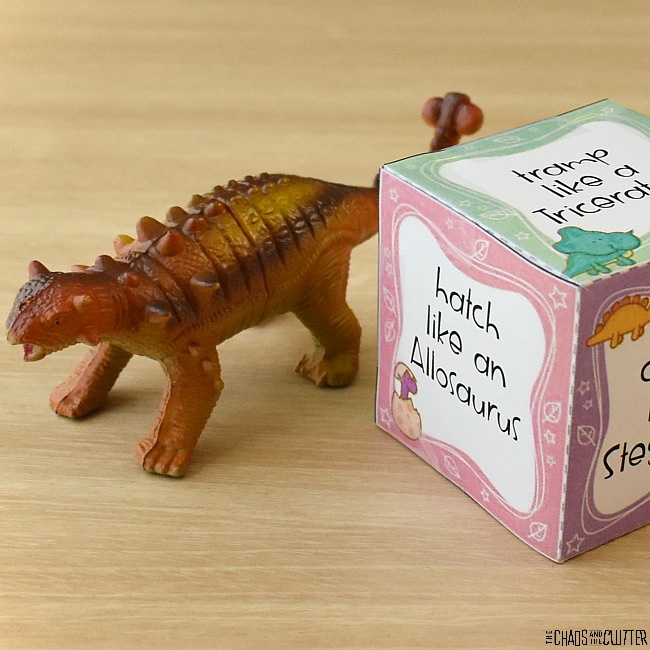

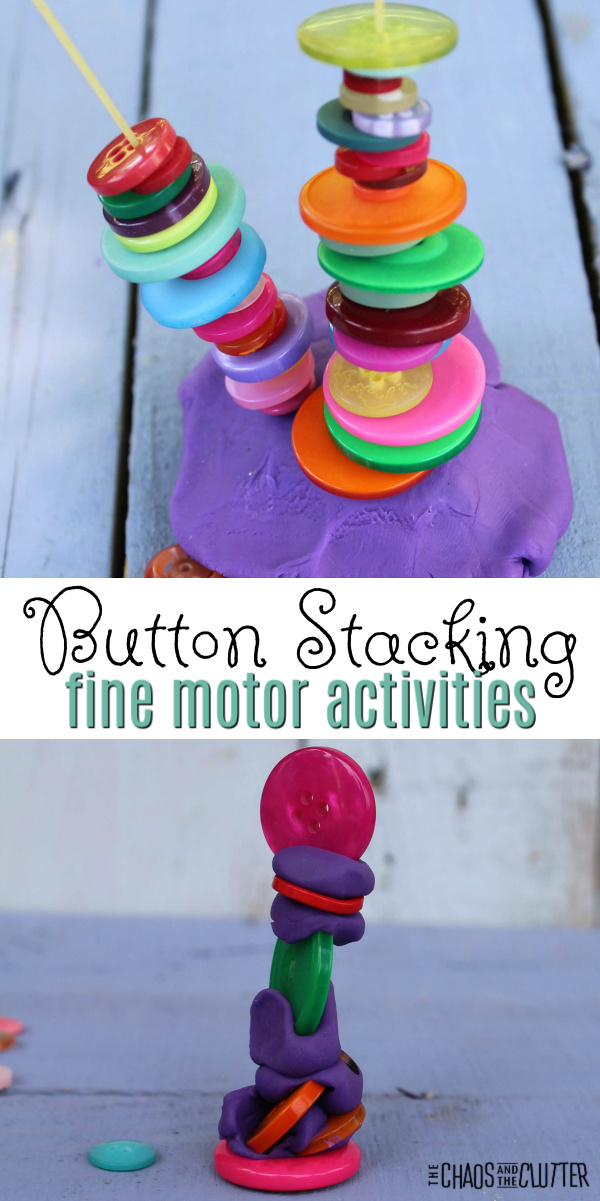 You can easily set these up at home or as a learning station in a preschool or Kindergarten classroom. It is inexpensive and fast to set up.
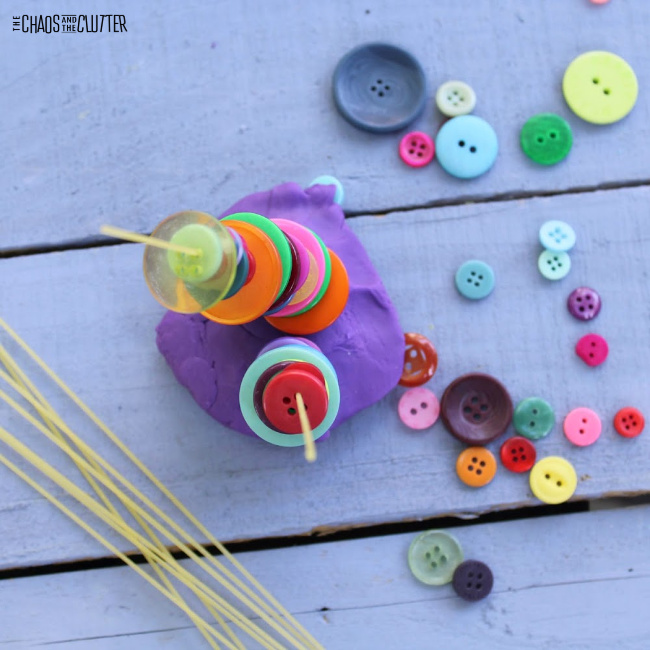 Directions for the noodles and buttons activity:
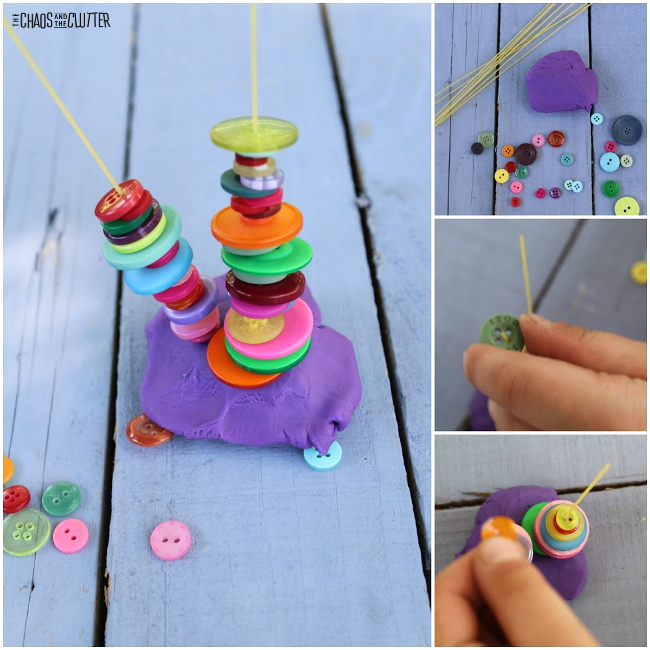 Depending on the age and ability of your child you can have them insert the spaghetti noodles or you can set that part up for them.
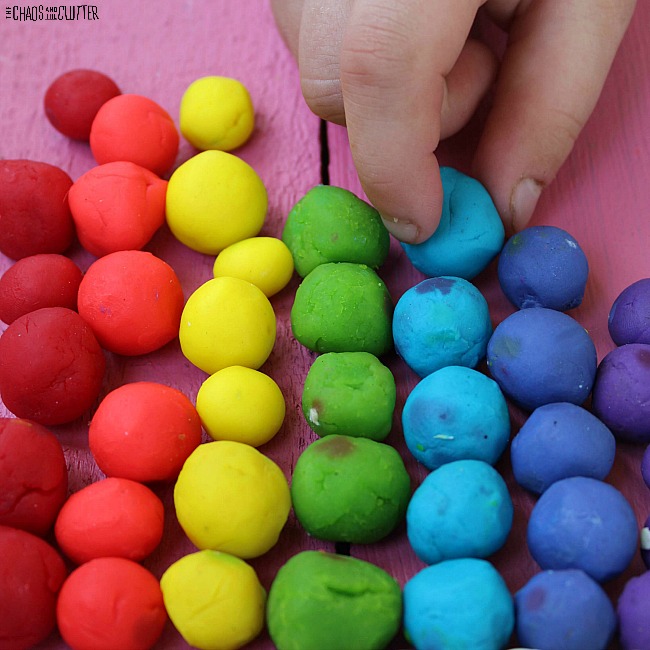
 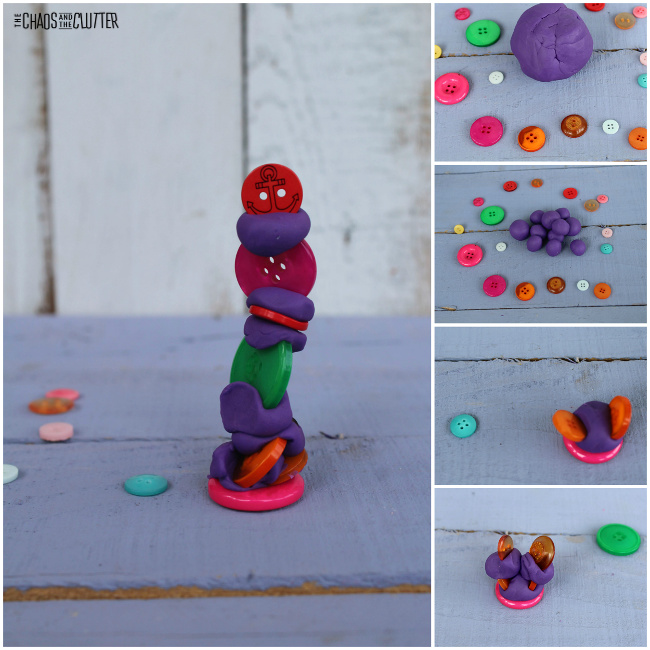 The playdough and buttons create a unique building material. What may seem like a simple activity is actually an introduction to engineering concepts. Kids can discover how many buttons they can stack before their tower tumbles or if stacking the buttons flat or sideways yields better results. They can also experiment with what building methods are most stable.
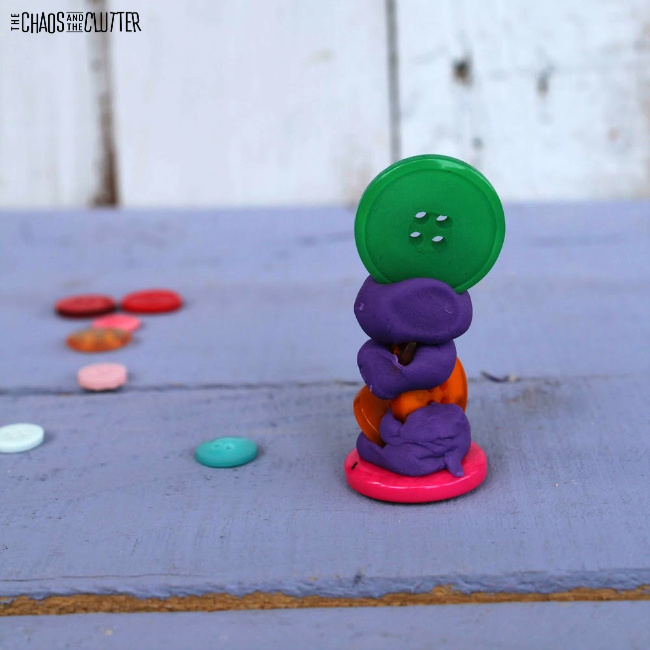
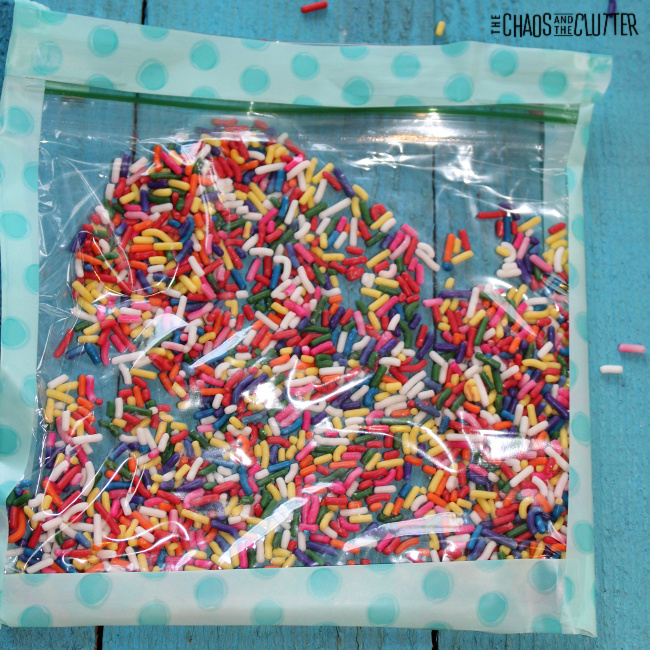
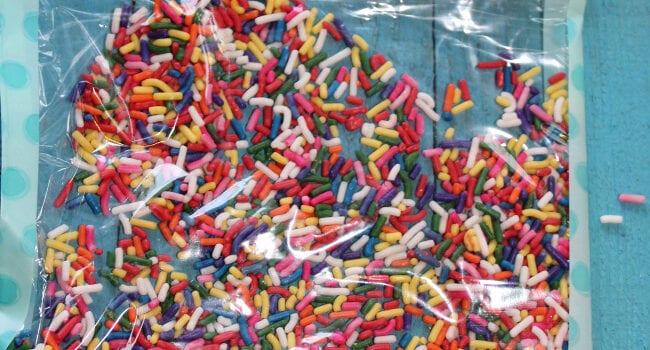
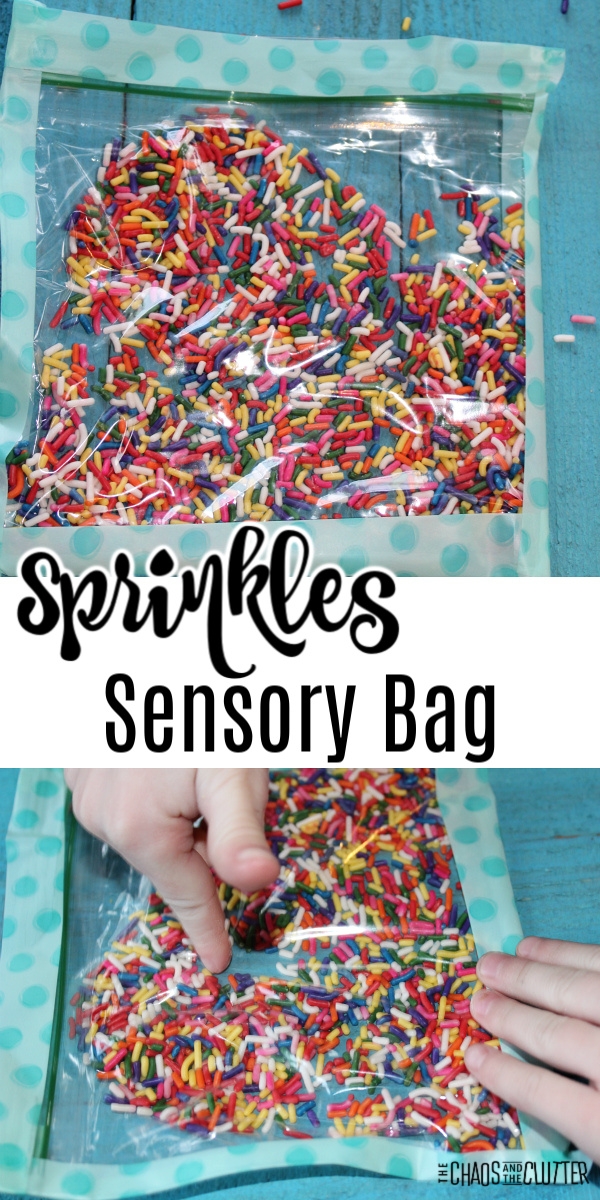
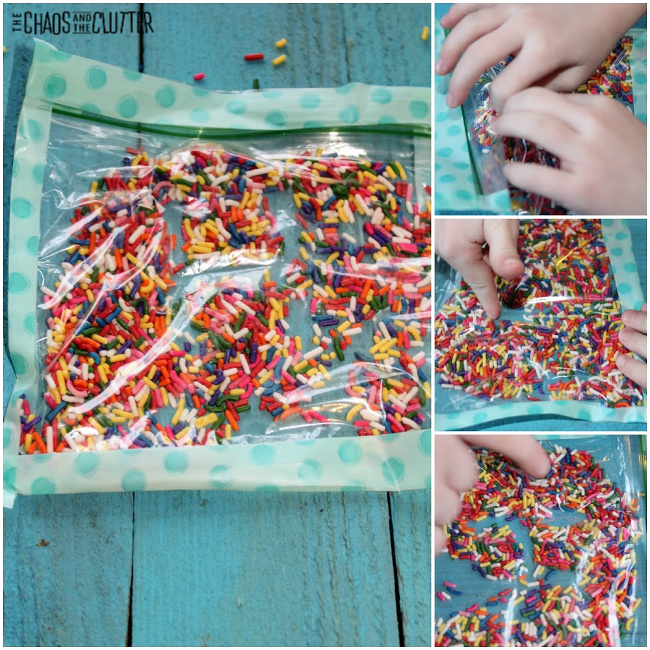 Your child can trace letters, numbers, or shapes in the sprinkles with their finger. This will help reinforce learning and also give them fine motor practise.